Last Updated on March 6, 2024 by teamobn
The necktie is a symbol of sophistication and power. It is the finishing touch to a well-dressed man’s outfit and can make a woman feel confident and stylish. Wearing a necktie can also be a sign of respect and professionalism. Whether you are dressing for a job interview, an important meeting, or a night out on the town, a necktie is always a good choice.
Organizing my husband’s ties used to be a huge challenge for me. No matter how meticulous I get, arranging them ever so carefully, his tie drawer will be a mess by the end of the week. Inevitably, I would find ties crumpled up at the bottom of the drawer, or tangled around other ties.
It was a never-ending battle. And so I have to start with the process of arranging them again. You bet I constantly nagged him about it – but nothing happened. I guess I’ll just have to do it myself then. That’s just the way it is with men, they never listen!
I was on the brink of losing my sanity when a friend gave me a tie rack hanger that she made herself. I don’t know what I would have done without that tie rack hanger. It’s helped me keep my husband’s ties organized and out of the way, and it’s been a total lifesaver. I’m so grateful to my friend for making it and giving it to me.
I’m so glad I found this tie rack hanger! It’s been such a game-changer for me. I wanted to replicate the hanger so I could give some to friends. Fortunately, my husband loves to work with his hands and has great woodworking skills. He was able to quickly make a few more hangers for me. Now my friends can enjoy the same benefit of having a stylish and organized way to hang their ties.
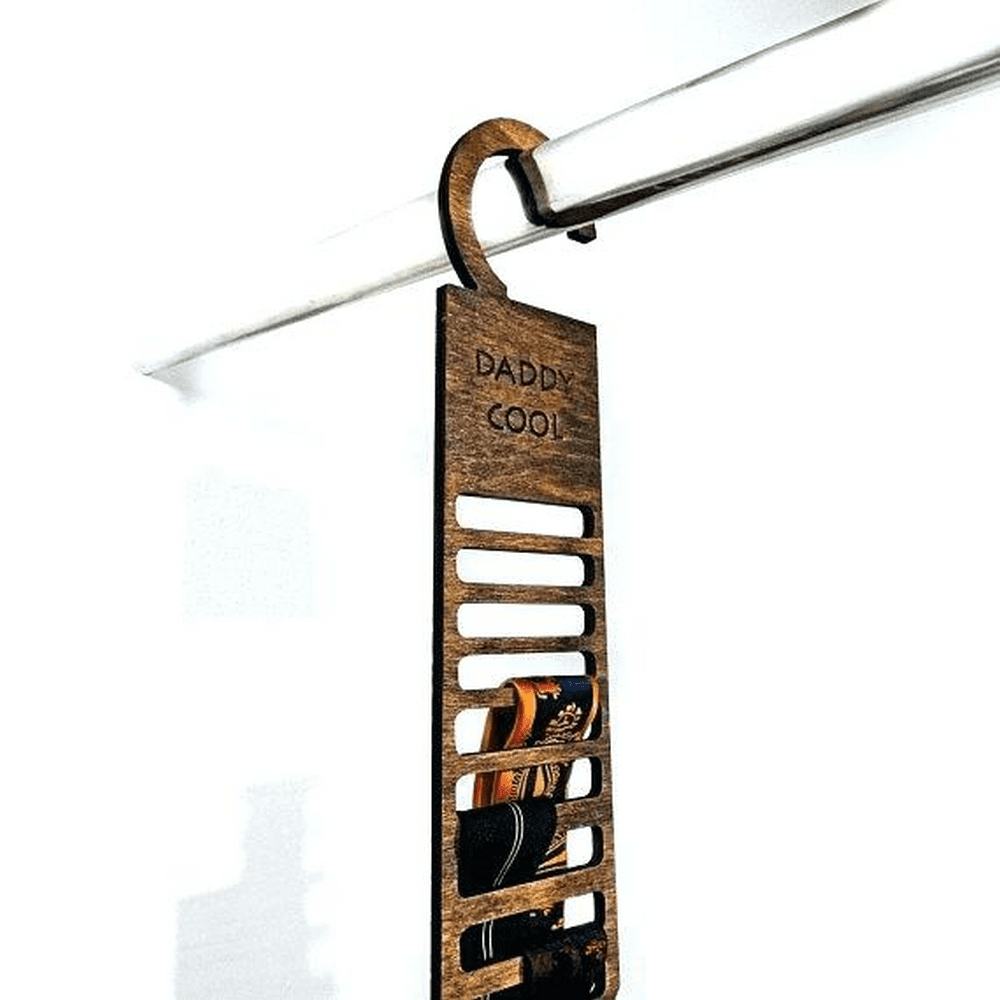
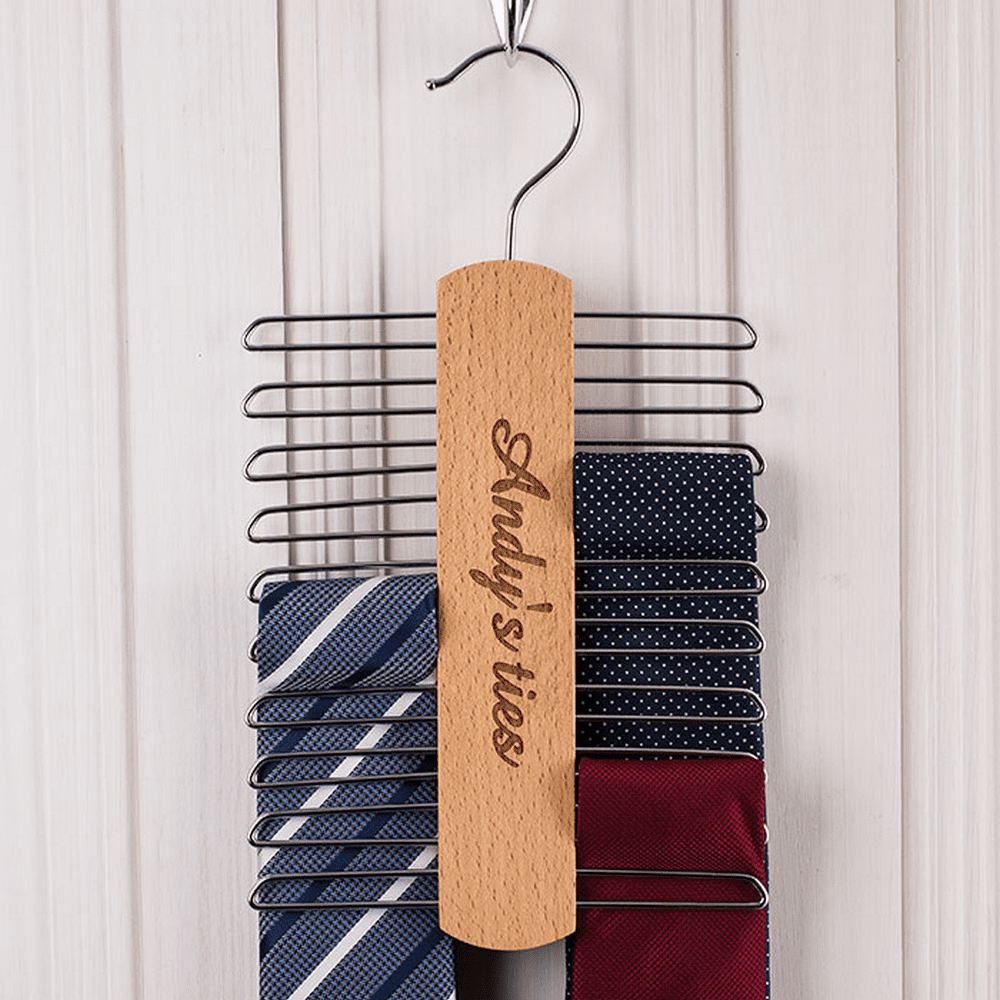
As of today, I have given more than a dozen tie rack hangers to family and friends. I personalize them with names or quotes. Needless to say, the gift is a huge hit! I love seeing the joy on their faces when they open up their new tie rack hanger, personalized just for them.
Contents
Building a Tie Rack Hanger
Materials
- Wood
- Dowel Rod
- Wood glue
- Finish
Tools
- Table saw
- Drill with drill bits
- Measuring tape
- Pencil
- Sandpaper
Steps:
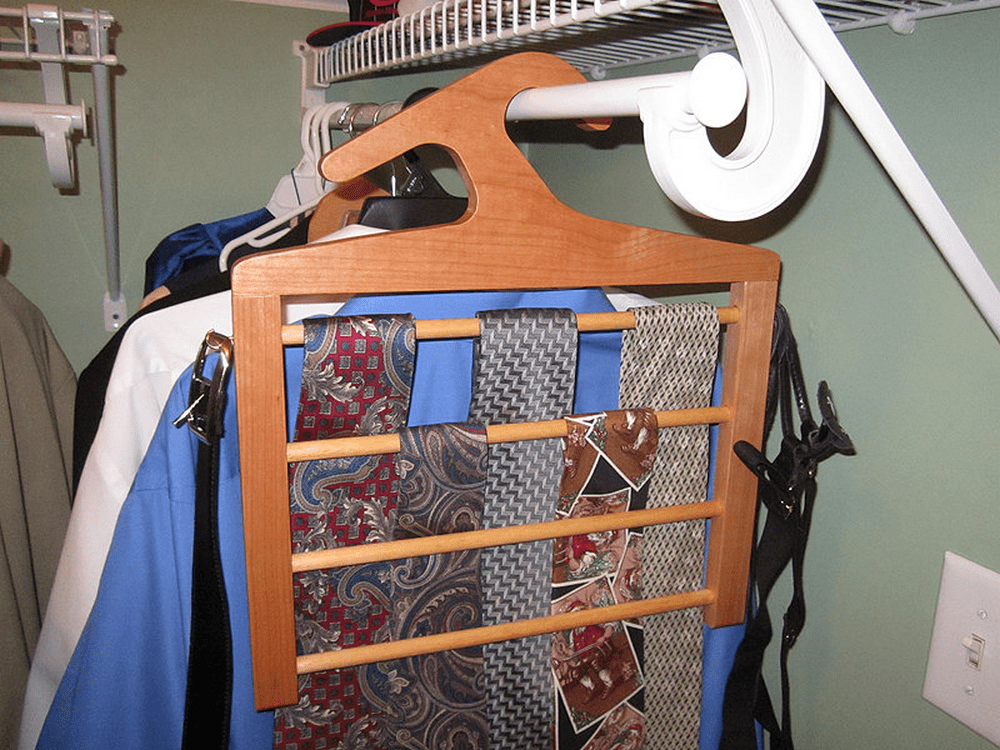
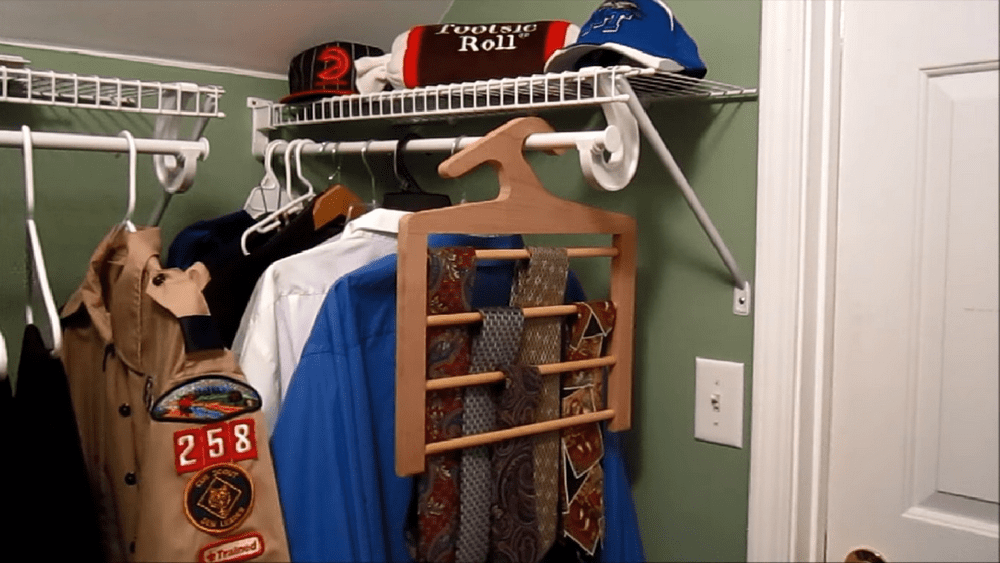
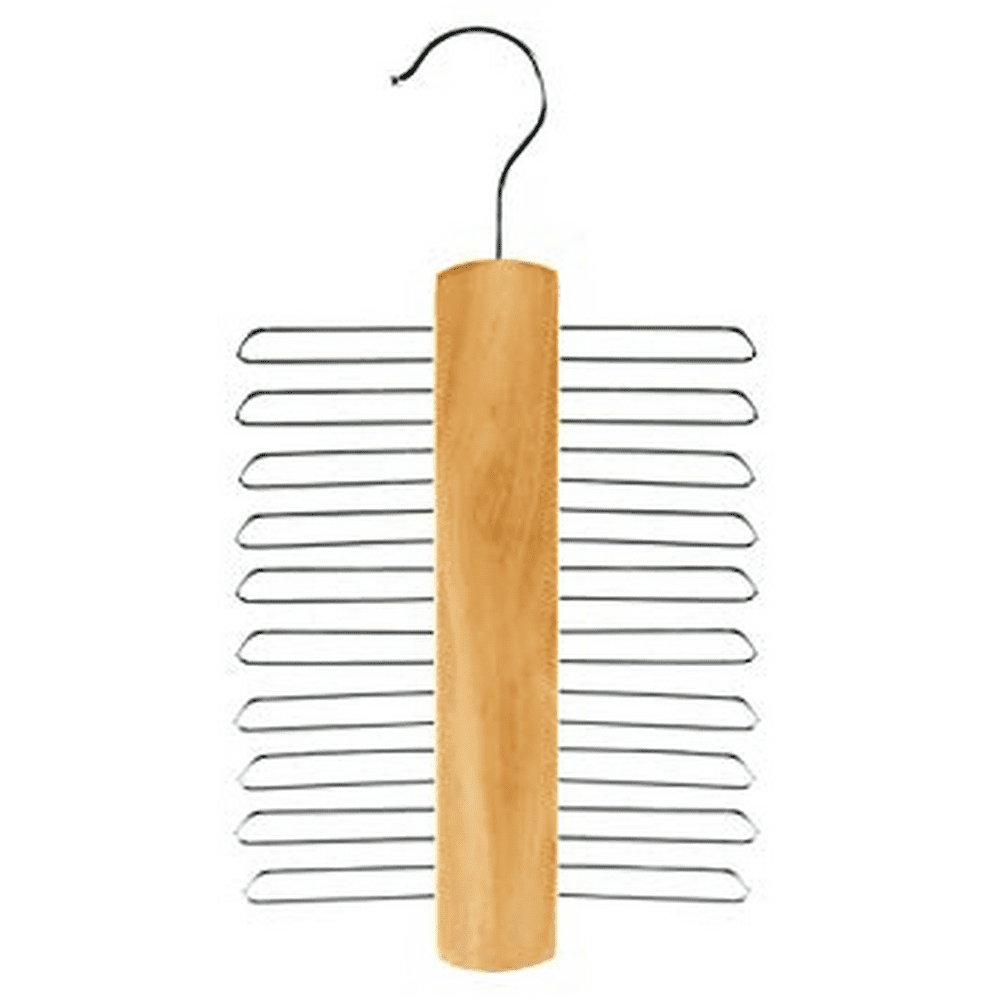
We will be making a 15″ wide hanger with 2 vertical pieces that hang down to the end. This will be great for hanging neckties in your closet, in line with your clothes. The dowel rods going across will make it easy to hang the ties and keep them organized.
Let’s start with the hanger! You can download a hanger design of your choice and trace them into the wood you have. Cut them off with a saw, and then use a file to smooth off the edges. Then we can proceed to prepare the vertical pieces of the hanger, you can opt to have a 1″x1″ piece of wood with a length that suits you.
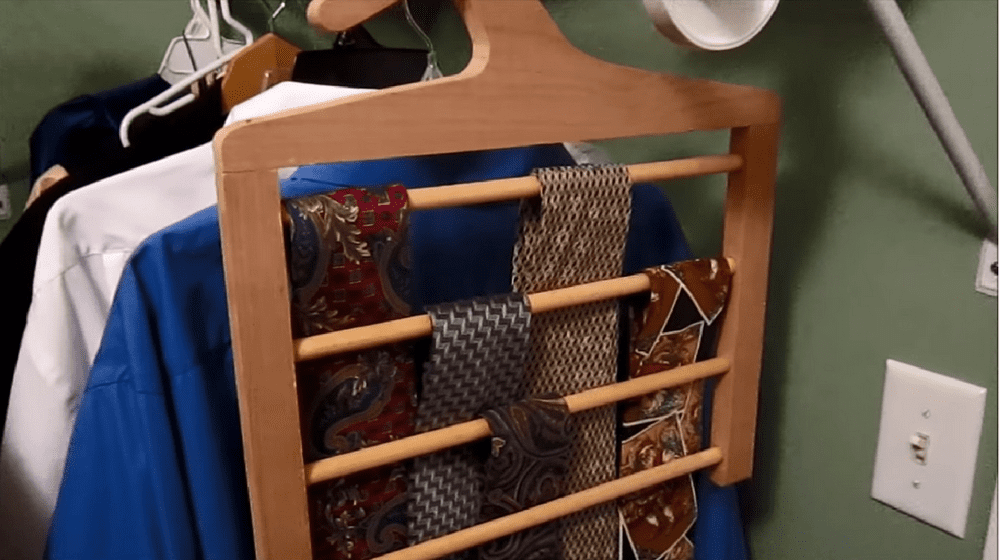
You can then mark the vertical pieces and drill the holes in them. Now that you’ve marked and drilled the vertical pieces for dowel insertion, take care to ensure that both pieces have the same measurement. This will ensure that your tie rack is level. Dowel placement can be tricky, but with a little patience, you’ll get it just right.
Next, cut the dowels to the desired length of the tie rack. Make sure it won’t exceed the hanger’s width. You can always trim the dowels later if needed.
Finally, you can assemble your tie rack hanger, start by sliding in the dowels on the vertical pieces into the drilled holes you made a little earlier, and secure them with glue. To complete your project, you’ll need to connect the vertical pieces to the hanger. You can do this by drilling pilot holes and then connecting them with screws. Be sure to use screws that are long enough to go through the hanger and into the vertical piece.
Guide to Selecting the Right Tie for Occasions
Selecting the right tie for an occasion can elevate your outfit from good to impeccable. Ties, the quintessential symbols of elegance and professionalism, can significantly influence your appearance and the impression you make. With a well-organized collection on a tie rack hanger, choosing the perfect tie becomes a seamless part of your routine.
Let’s delve into how to select the ideal necktie for various events, ensuring your ties are well chosen and well cared for, thanks to the convenience of a tie rack hanger.
Job Interviews: The First Impression
For job interviews, opt for a tie that communicates professionalism and reliability. Solid colors or subtle patterns, like stripes or small dots, are best. A silk tie in navy, burgundy, or dark green can convey confidence and respect for the occasion. Before the interview, ensure your chosen tie is wrinkle-free and ready to wear by storing it on a tie rack hanger, where it remains in perfect condition.
Weddings: Celebratory Elegance
Weddings call for a more festive and sophisticated choice. Depending on the time of day and the formality of the event, silk or satin ties in brighter colors or with elegant patterns can complement your suit. Floral patterns or paisley ties add a touch of celebratory flair. Use your tie rack hanger to display these more ornate options, making it easy to compare and select the best match for your wedding attire.
Business Meetings: Professional and Polished
In business meetings, your tie should enhance your professional demeanor. Classic colors like blue, gray, or burgundy with simple patterns such as stripes or checks work well. Wool or silk ties are ideal for a polished look. Keeping these options neatly arranged on a tie rack hanger ensures you can quickly find and assess your ties, helping you maintain a professional image with minimal effort.
Casual Outings: Relaxed but Refined
For more casual occasions, feel free to experiment with textures and colors. Knit ties or those with bolder patterns can add personality to your outfit without appearing overly formal. Casual ties should still be chosen with care and kept in good shape on a tie rack hanger, ensuring they’re ready to wear whenever the occasion arises.
Formal Events: Timeless Sophistication
Black tie events or formal dinners require a classic approach. A black silk tie or a bow tie is traditionally appropriate, offering a timeless and sophisticated look. These formal options deserve a special place on your tie rack hanger, preserved for occasions when only the highest standard of dress will suffice.
Maintaining Your Tie Collection
Regardless of the occasion, keeping your ties organized on a tie rack hanger is essential for maintaining their condition and ensuring you can easily find the right one. A tie rack hanger not only keeps your ties neatly displayed but also prevents wrinkling and damage, preserving the quality and appearance of your collection.
Selecting the right tie for any occasion involves considering the event’s formality, time of day, and overall outfit. With the help of a tie rack hanger, you can keep your collection in pristine condition, making it easier to choose the perfect tie every time.
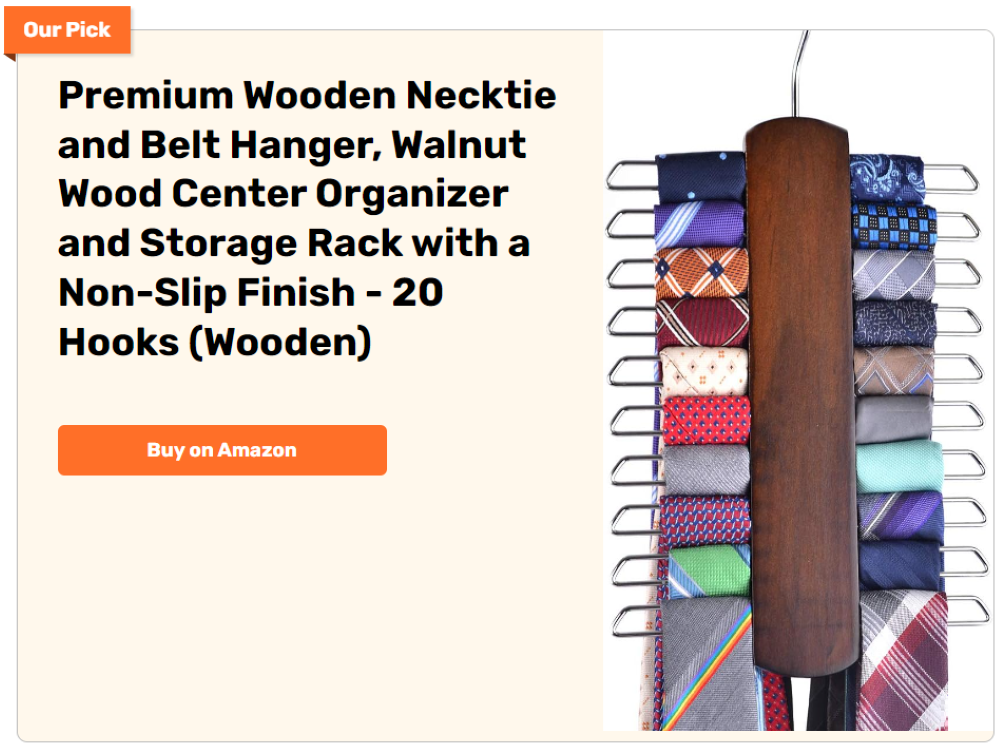
Would you need to have a tie rack hanger organizer for your husband or father perhaps?
Click on any image to start the lightbox display. Use your Esc key to close the lightbox.


Watch the tutorial video below to learn how to make a DIY tie rack hanger.
Creative Personalization Ideas for DIY Tie Racks
Creating a DIY tie rack hanger solves the challenge of organizing your collection and offers a unique opportunity to infuse personal style into your space. With a touch of creativity, your tie rack hanger can become more than just a storage solution—it can transform into a personalized piece of art that reflects your personality or even make a thoughtful, customized gift for someone special.
Here are several creative personalization ideas for DIY tie rack hangers, ensuring you’re reminded of that personal touch every time you reach for a tie.
Monogramming
Monogramming introduces a level of sophistication and personalization to your tie rack hanger that is unparalleled. This method involves integrating initials or full names into the design of the tie rack hanger, making it distinctly yours. The beauty of monogramming lies in its versatility—whether you opt for painting, carving, or wood-burning techniques, the result is a refined piece that stands out in any space.
Imagine a beautifully carved monogram with intricate details adorning your tie rack hanger. It serves not just as a functional piece for organizing ties but as a bespoke work of art that captures the essence of its owner.
For gift-giving, a monogrammed tie rack hanger becomes a thoughtful and personalized present, ideal for commemorating special occasions such as weddings, where it can serve as a lasting memento of the day or graduations, symbolizing a step towards professional life.
The process of monogramming can be tailored to match the owner’s style. The customization options are endless, from classic, elegant fonts that evoke a sense of tradition to more modern, abstract designs that cater to a contemporary aesthetic. A monogrammed tie rack hanger not only helps to identify the owner uniquely but also elevates the decor of the space where it is displayed.
Themed Designs
Themed designs take the personalization of tie rack hangers a step further by incorporating elements that reflect the owner’s hobbies, interests, or passions. This approach allows for a creative exploration of design, making each tie rack hanger a reflection of the individual’s personality.
For example, a tie rack hanger designed with nautical elements such as anchors or ship wheels can indicate an owner’s love for the sea or sailing. By using decals, painting, or carving to incorporate these themes, the tie rack becomes more than just a place to hang ties—it becomes a piece that tells a story. Each time the owner reaches for a tie, they are reminded of their passion, making selecting a tie a more meaningful experience.
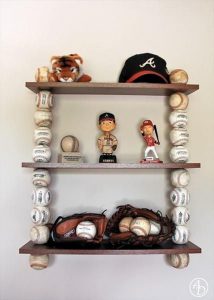
This method of customization does not stop at nautical themes. Whether it’s a love for music, represented by notes and instruments; a passion for sports, with team logos and memorabilia; or an appreciation for nature, through floral and wildlife motifs, themed tie rack hangers serve as daily inspiration and conversation starters. They bring a personal touch to the space, making the tie rack hanger a centerpiece that organizes and celebrates the owner’s interests.
Color Coding
Color-coding your tie rack hanger introduces an element of organization that is visually appealing and highly practical. By assigning different colors or patterns to each dowel or section, you can create a system that categorizes your ties based on various criteria, such as occasion, color, or pattern. This method makes selecting the right tie for any event quicker and adds a vibrant touch to your closet or dressing area.
Imagine starting your day with a color-coordinated display of ties, where a simple glance at your tie rack hanger helps you immediately identify the section that corresponds to your needs. For instance, blues and greens are used for business meetings, reds and purples for social events, and monochromes for formal occasions. This system saves time and makes choosing a tie more enjoyable.
Beyond its practical benefits, color-coding your tie rack hanger allows you to express your creativity. The possibilities are endless, whether you opt for solid colors, gradients, or patterns. You can match the color scheme to your room’s decor, create a cohesive look, or use bold contrasts to make your tie rack hanger stand out. This customization enhances your space’s visual appeal and turns your tie rack hanger into a statement piece.
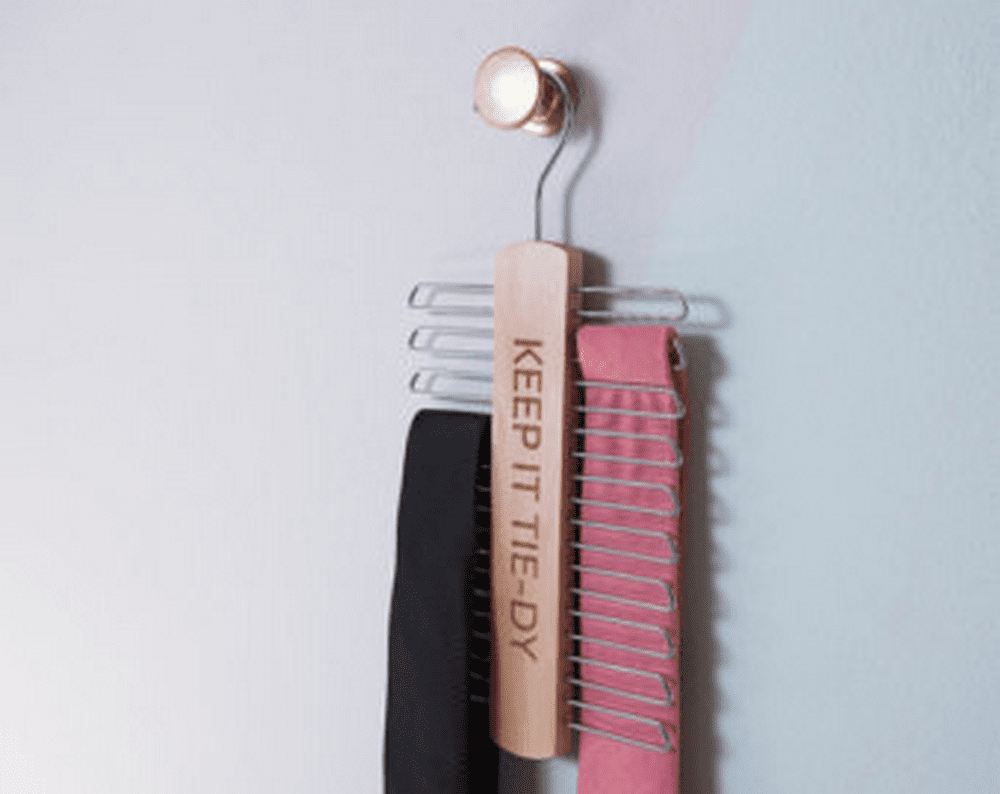
Inspirational Quotes
Adding an inspirational quote or personal mantra to your tie rack hanger is a daily motivation source. Choosing a quote that resonates deeply with you transforms your tie rack hanger into a personal motivator, offering encouragement and inspiration each time you select a tie. This feature is particularly meaningful in preparing for the challenges of the day ahead, making choosing a tie a moment of reflection and empowerment.
The process of incorporating quotes can be as unique as the quotes themselves. Techniques like painting, stenciling, or applying adhesive letters allow various artistic expressions, from elegant and understated to bold and impactful. The choice of font and color can complement the overall design of the tie rack hanger, ensuring that the quote inspires and integrates beautifully with the room’s aesthetic.
For those who appreciate motivational reminders or enjoy starting their day with a positive mindset, a tie rack hanger adorned with an inspirational quote can make a significant difference. It turns a routine task into a moment of inspiration, making it more than just a tool for the organization but a personal touchstone that sets the tone for the day.
Interactive Features
Incorporating interactive features into your tie rack hanger elevates it from a mere organizational tool to an essential part of your daily life, engaging you in a more dynamic relationship with your wardrobe. Adding elements such as a chalkboard or whiteboard surface to your tie rack hanger opens up a world of possibilities that blend practicality with personal expression, making it a versatile addition to your routine.
With a chalkboard or whiteboard surface integrated into your tie rack hanger, you can plan your outfits, reducing the morning rush and ensuring you always step out in style. Imagine noting down combinations that work well together or planning your week’s attire in one go; this feature turns your tie rack hanger into a strategic planning tool. It becomes particularly useful for those busy days filled with meetings or special occasions, where first impressions matter.
The interactive surface also serves as a platform for personal messages, whether they’re motivational quotes to kickstart your day, reminders for important dates and events, or sweet notes left by loved ones. This adds an emotional value to your tie rack hanger, making it a source of daily inspiration and connection. In households where multiple people are getting ready simultaneously, it can become a communication hub, fostering a sense of closeness and family cohesion.
For the fashion enthusiast, this interactive feature is a canvas for creativity. Jot down notes about which ties pair best with specific shirts or suits, or even sketch out ideas for future purchases. It can also record what you wore to past events, ensuring you always bring your fashion A-game without repeating outfits too frequently. This aspect of the tie rack hanger becomes invaluable for those who view their fashion choices as an extension of their personality.
Beyond its practical applications, the addition of an interactive surface introduces an element of fun into the daily routine. Changing messages or drawing designs can be a playful start to the day or a relaxing way to wind down in the evening. For children or teenagers learning to take pride in their appearance, this feature can make the process more engaging, teaching them the importance of organization and planning in a fun and interactive way.
Incorporating such a feature into your tie rack hanger design is surprisingly straightforward, yet it can seamlessly blend into the aesthetics of your space. The interactive surface can be customized to fit the overall decor, whether you opt for a sleek, minimalist look or something more rustic. It serves its function and adds a unique decorative element to your room.
Repurposed Materials
Repurposed materials for your tie rack hanger contribute to environmental sustainability by giving new life to old items and imbuing your tie storage solution with unique characters and a story. Imagine a tie rack hanger crafted from the rich, patinated wood of an antique table, its grain-telling tales of years gone by, or from the ornate handles and knobs of vintage dressers, each carrying the essence of its previous life.
These elements introduce an element of nostalgia and warmth. It makes your tie rack hanger a functional item and a piece of history displayed proudly in your closet or bedroom.
Moreover, incorporating repurposed materials such as reclaimed wood, old furniture parts, or vintage knobs and hooks can turn the creation of a tie rack hanger into a creative project that reflects your style and commitment to sustainability.
Each choice of material not only adds to the uniqueness of the tie rack hanger but also contributes to a story of preservation and reimagining, turning the ordinary act of organizing ties into an expression of craftsmanship and environmental consciousness.
Lighting
Adding lighting to your tie rack hanger transforms it from a simple organizational tool into an illuminated showcase that enhances your space’s functionality and ambiance. Imagine the convenience of selecting the perfect tie in the soft glow of LED lights, ensuring your choice complements your outfit without straining your eyes in low-light conditions. This feature elevates the practicality of your tie rack hanger, making it an indispensable part of your dressing routine.
Beyond functionality, the integration of lighting—through small LED lights, strip lighting, or even spotlights—transforms your tie rack hanger into a focal point of the room. It casts your collection in a literal spotlight, showcasing the colors, patterns, and textures of your ties, and turning your collection into a part of the room’s decor.
The soft illumination not only highlights your ties but also creates an ambiance that enhances the overall appeal of your space, adding a touch of elegance and sophistication.
Furthermore, adding lighting to your tie rack hanger allows you to experiment with different lighting colors and intensities, setting the mood of the space or highlighting specific aspects of your tie collection.
Whether you opt for a warm, inviting glow that complements the wood tones of a repurposed-material tie rack hanger or a bright, clear light that emphasizes the vibrant colors and patterns of your ties, the choice of lighting can significantly impact the aesthetic and atmosphere of your dressing area.
The possibilities for personalization are endless in crafting your DIY tie rack hanger. These creative touches not only enhance the functionality of your tie rack hanger but also transform it into a meaningful piece that reflects your individuality. Whether making one for yourself or as a gift, a personalized tie rack hanger is a stylish and practical addition to any home.
Conclusion
Crafting a tie rack hanger offers an innovative solution to tie organization, blending functionality with personalized style. Integrating features such as repurposed materials, lighting, and interactive elements transforms it into a focal point that enhances your space’s aesthetics and the ease of selecting the perfect tie. Ultimately, a custom tie rack hanger streamlines your daily routine and serves as a testament to creativity and environmental consciousness.