Last Updated on May 28, 2024 by teamobn
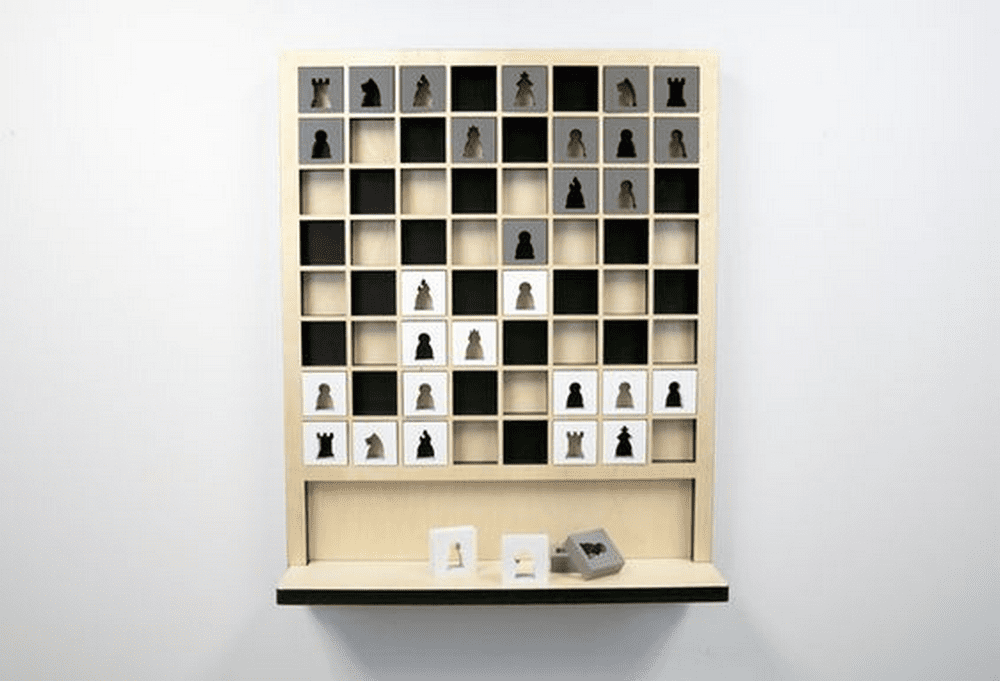
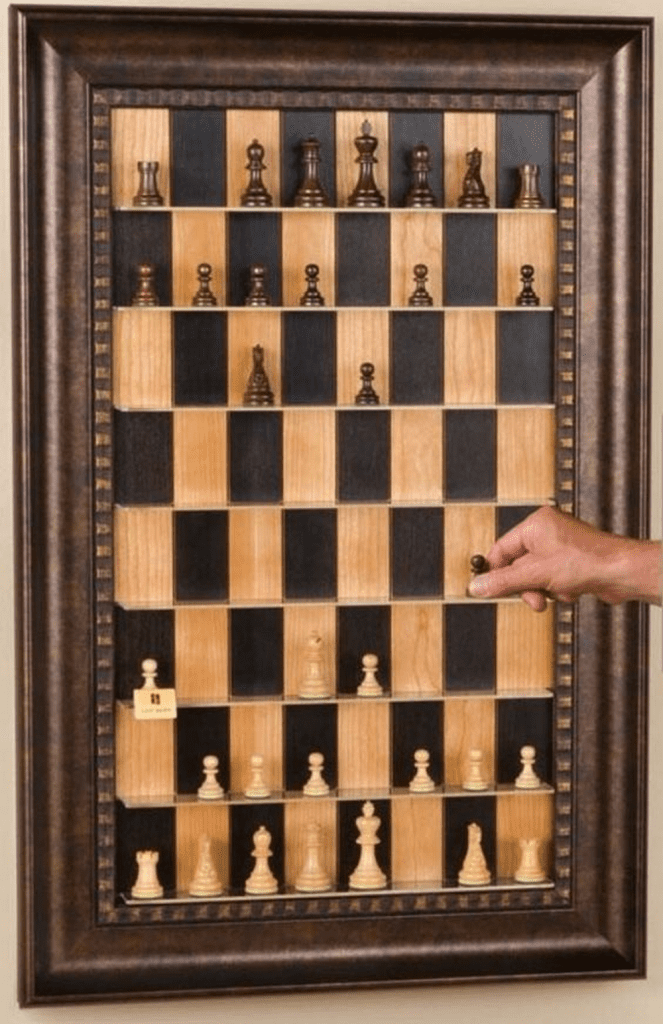
If you’re a chess lover, this wall chessboard is exactly what you need for your entertainment area.
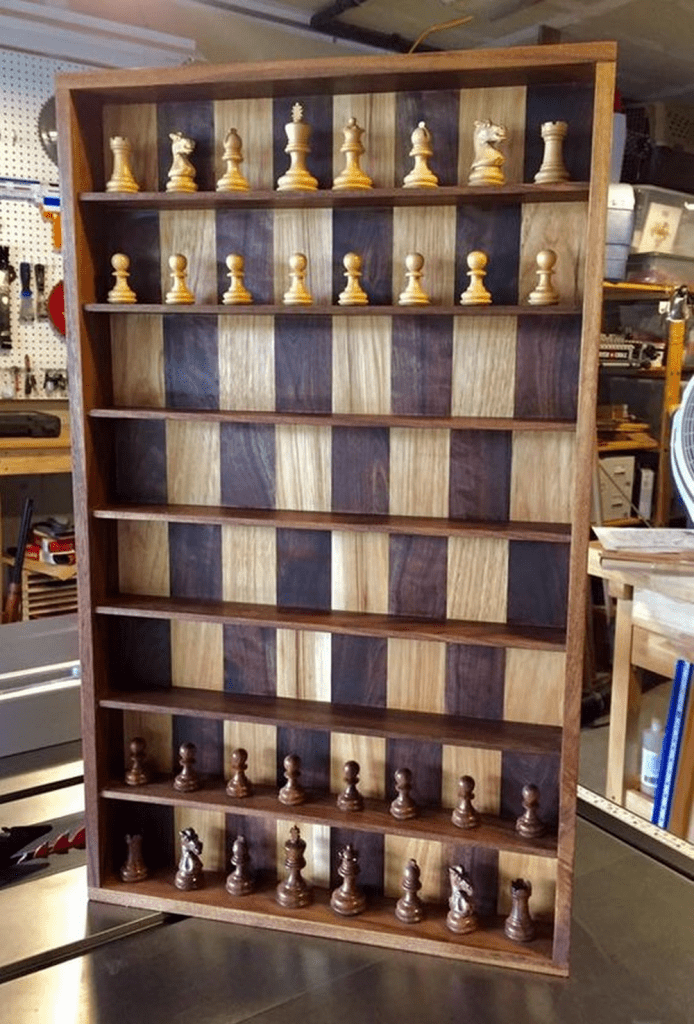
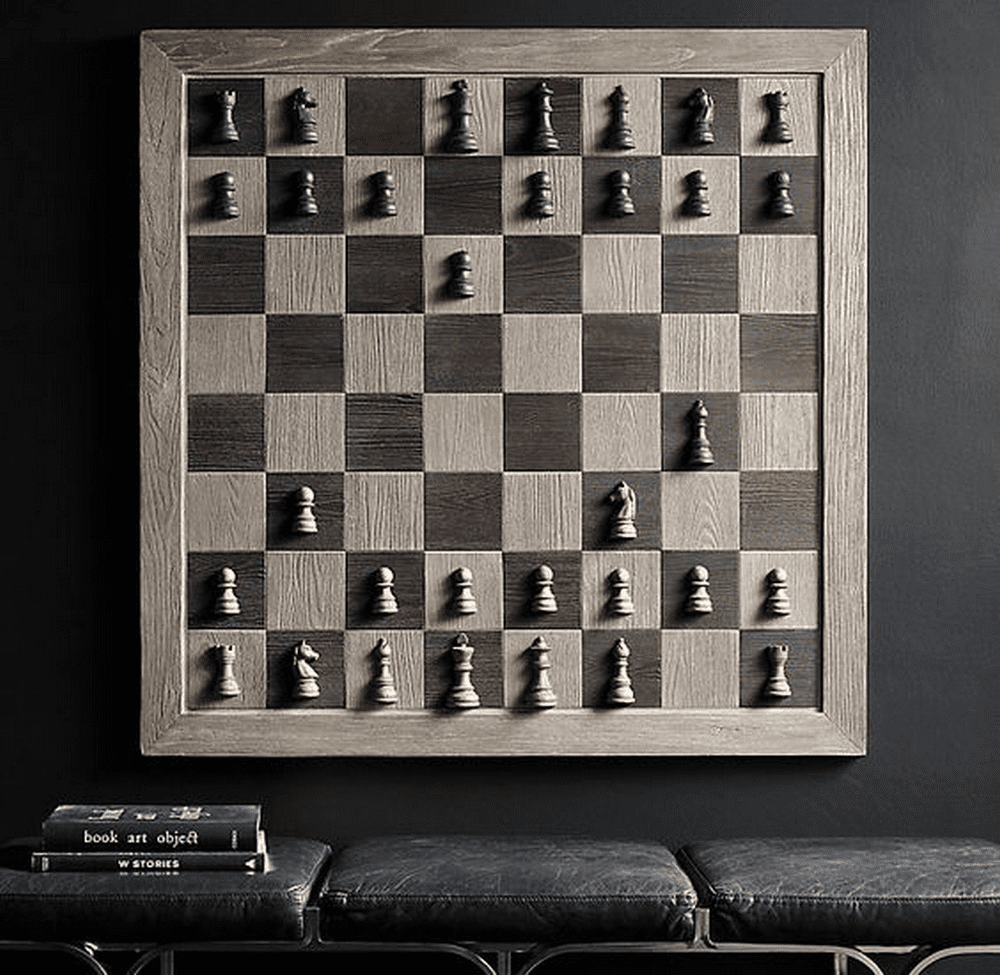
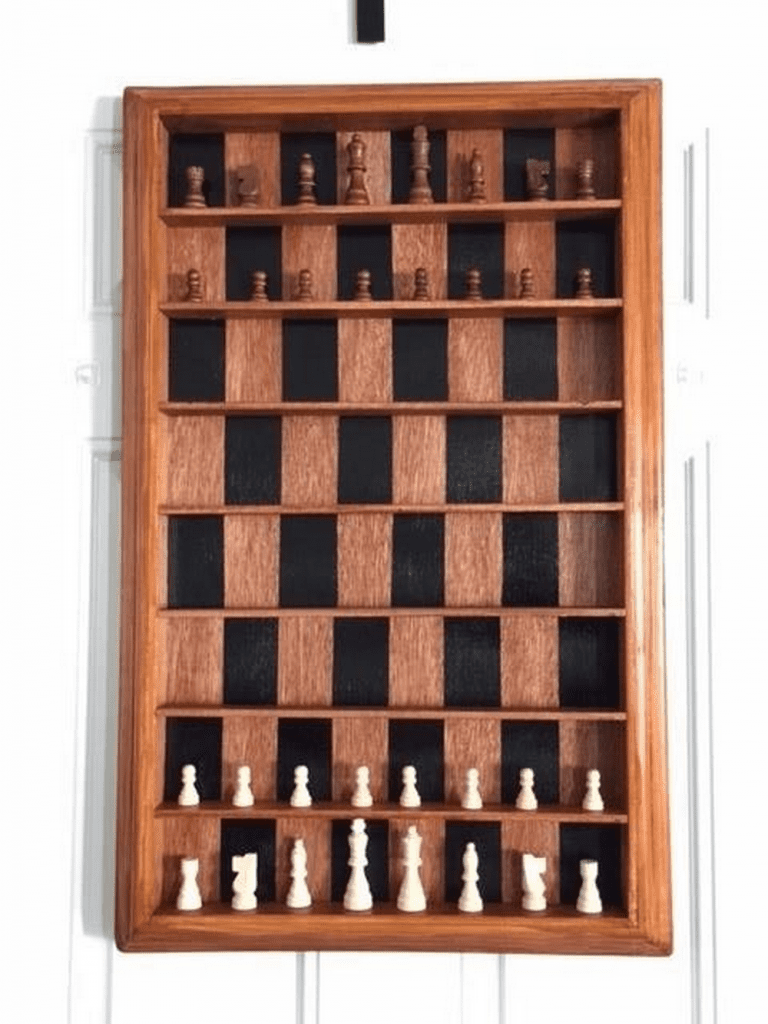
This DIY wall chess board is perfect for any chess enthusiast. Not only is it a great decorative piece, but it also serves as a fully functional wall chessboard. So whether you’re looking to add a touch of class to your home décor or you’re looking for a new chess set, this project is for you.
This DIY wall chess board is not only a great gift for your chess-loving friends, but it is also a project worth your time and effort. The beautiful design and craftsmanship make this set a real work of art, and the attention to detail is sure to be appreciated by anyone who loves chess.
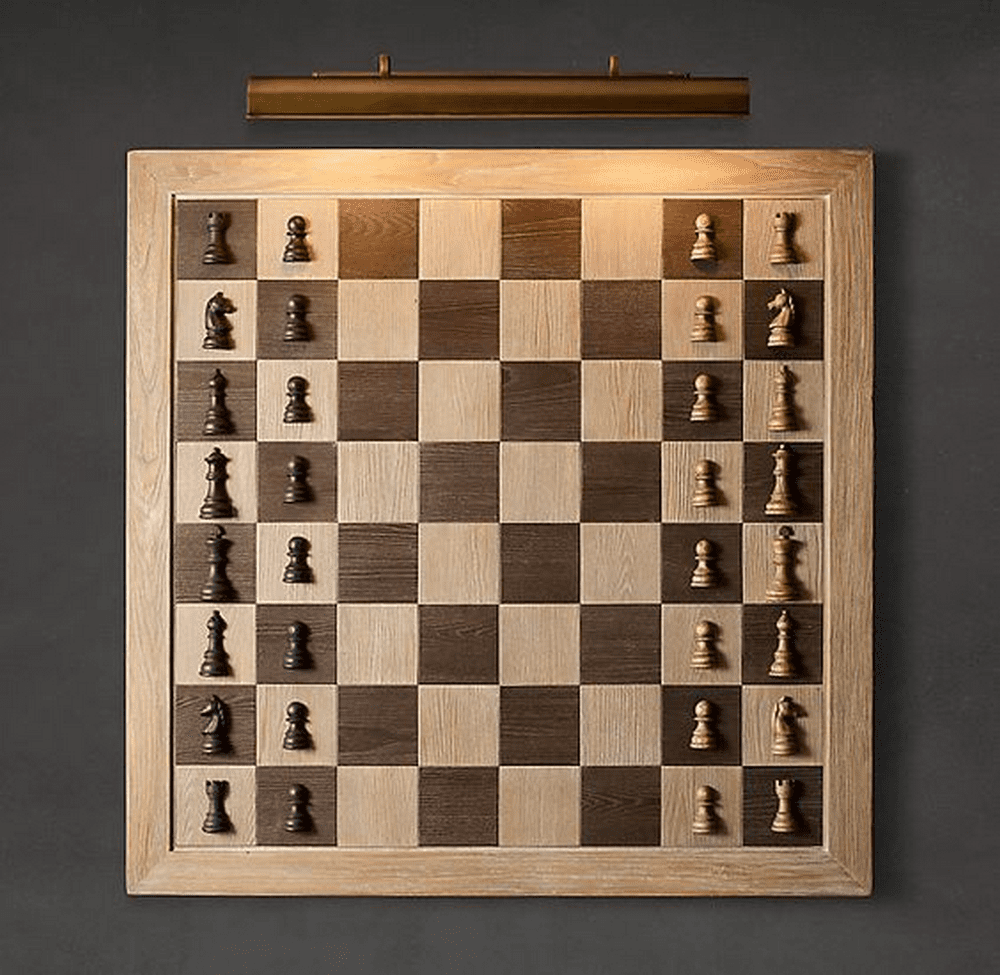
This handsome DIY wall chessboard would make a great addition to any room in your house, especially if you have an entertainment area. It’s easy to make, and you can customize it to match your décor. Plus, it’s a great way to show off your love of chess!
Now you don’t have to sit in front of a chessboard for hours on end. You can pick up a drink and socialize with friends, or do something else while waiting for the next move. This way, you can have the best of both worlds – enjoying your time with friends while also getting into a good game of chess.
This new way of playing chess is perfect for those who want to enjoy their time with friends, but don’t want to sacrifice their love for the game. Now you can have the best of both worlds, and there’s no need to choose one or the other.
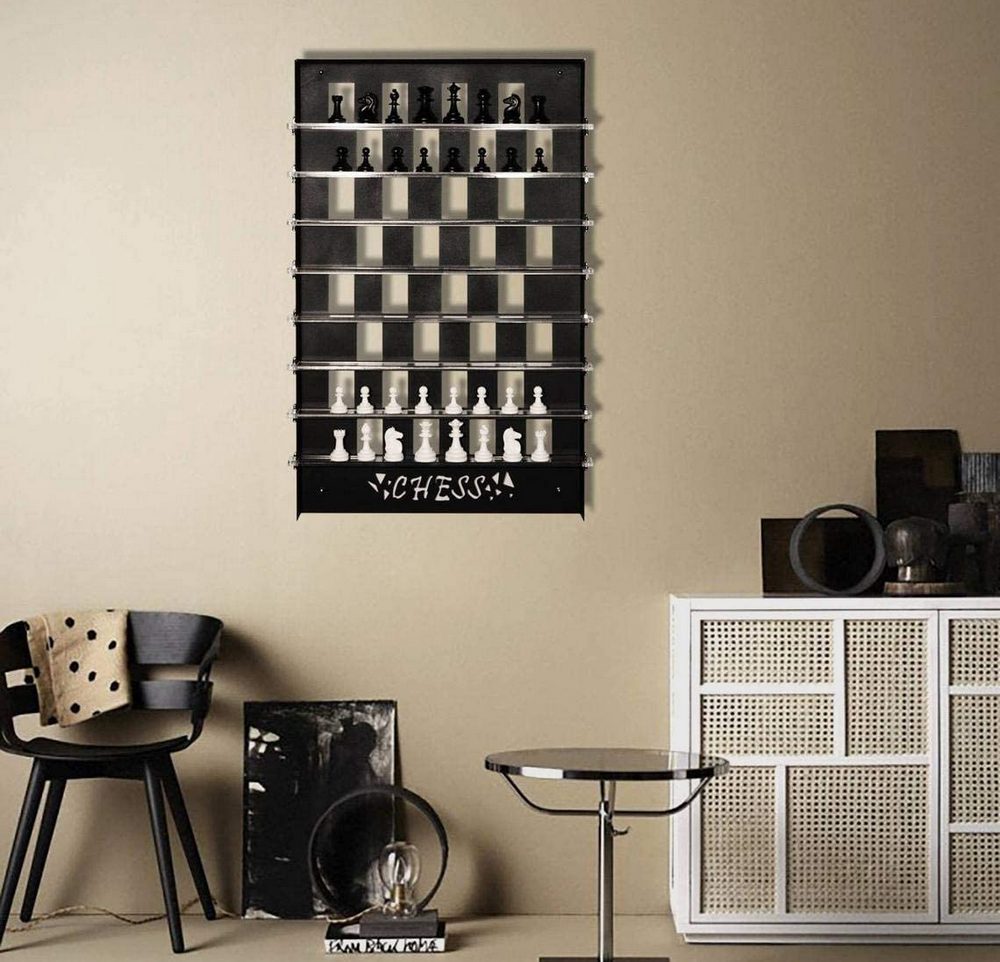
This DIY wall chess set is a great project for those with basic woodworking skills. If you don’t have any woodworking experience, don’t worry – you can always ask for help from a friend or family member. The finished product will be a beautiful and unique addition to your home, and it will provide endless hours of entertainment for you and your family.
Contents
Building a Wall Chess Board
Materials
- 16 thin pieces of wood, cut into 16″ lengths
- 4 pieces of crown moulding, for the frame
- Stain
- Polyurethane
- Black paint
- 4 long strips of painter’s tape
- Wood glue
- 4 small cylindrical dowels
- 4 rubber bands
- 2 long square dowels, for the frame
Tools
- Electric drill with drill bits
- Table saw
- Circular saw
- Clamps
Instructions
Step 1: Prepare the Chessboard Base
- Arrange the Wood Strips: Lay out the 16 thin pieces of wood on a flat surface. Alternate the orientation of the wood grains for a more visually appealing design.
- Apply Wood Glue: Apply a generous amount of wood glue along the edges of each wood strip. Carefully align them so they fit snugly together, ensuring no gaps.
- Clamp the Wood: Use clamps to hold the glued strips together tightly. Check for alignment and adjust as necessary before the glue sets. Leave the glue to dry according to the manufacturer’s instructions, usually overnight.
Step 2: Cutting the Checkerboard Pattern
- Mark the Cutting Lines: Once the glue is dry, use a ruler and a pencil to mark where you will cut the strips to create the checkerboard pattern. You should have 8 rows and 8 columns.
- Use the Circular Saw: Carefully cut along the marked lines with the circular saw. This step requires precision to ensure straight cuts for a perfect checkerboard pattern.
Step 3: Stain and Paint
- Apply Stain: Choose your desired stain color and apply it to the entire surface of the chessboard. Let it dry completely.
- Tape for Painting: Apply painter’s tape to create a grid that mimics a chessboard. Make sure the tape is secure and evenly spaced to ensure clean lines.
- Paint the Squares: Paint every other square using black paint to create the classic black and white chessboard pattern. Allow the paint to dry, then carefully remove the painter’s tape.
Step 4: Apply Finish
- Apply Polyurethane: To protect the painted and stained surfaces, apply a coat of polyurethane. This will also give your chessboard a glossy finish. Allow it to dry as instructed by the product label.
Step 5: Construct the Frame
- Measure and Cut the Moulding: Use the table saw to cut the crown moulding and square dowels to the dimensions of the chessboard.
- Assemble the Frame: Attach the crown moulding around the edges of the chessboard using wood glue and small cylindrical dowels for additional support.
- Drill and Secure: Use the electric drill to carefully make holes and insert dowels into the frame and chessboard to secure them together. Use rubber bands to hold the frame tightly while the glue dries.
Step 6: Final Touches
- Inspect and Touch-Up: Check the entire chessboard for any missed spots or uneven areas. Apply additional paint or stain if needed.
- Hanging Mechanism: Attach a suitable hanging mechanism to the back of the frame, ensuring it is strong enough to support the weight of the chessboard.
Step 7: Display
- Hang the Chessboard: Find the perfect spot on your wall to display your newly crafted chessboard. Ensure it is at a comfortable height for viewing and playing.
Click on any image to start the lightbox display. Use your Esc key to close the lightbox.
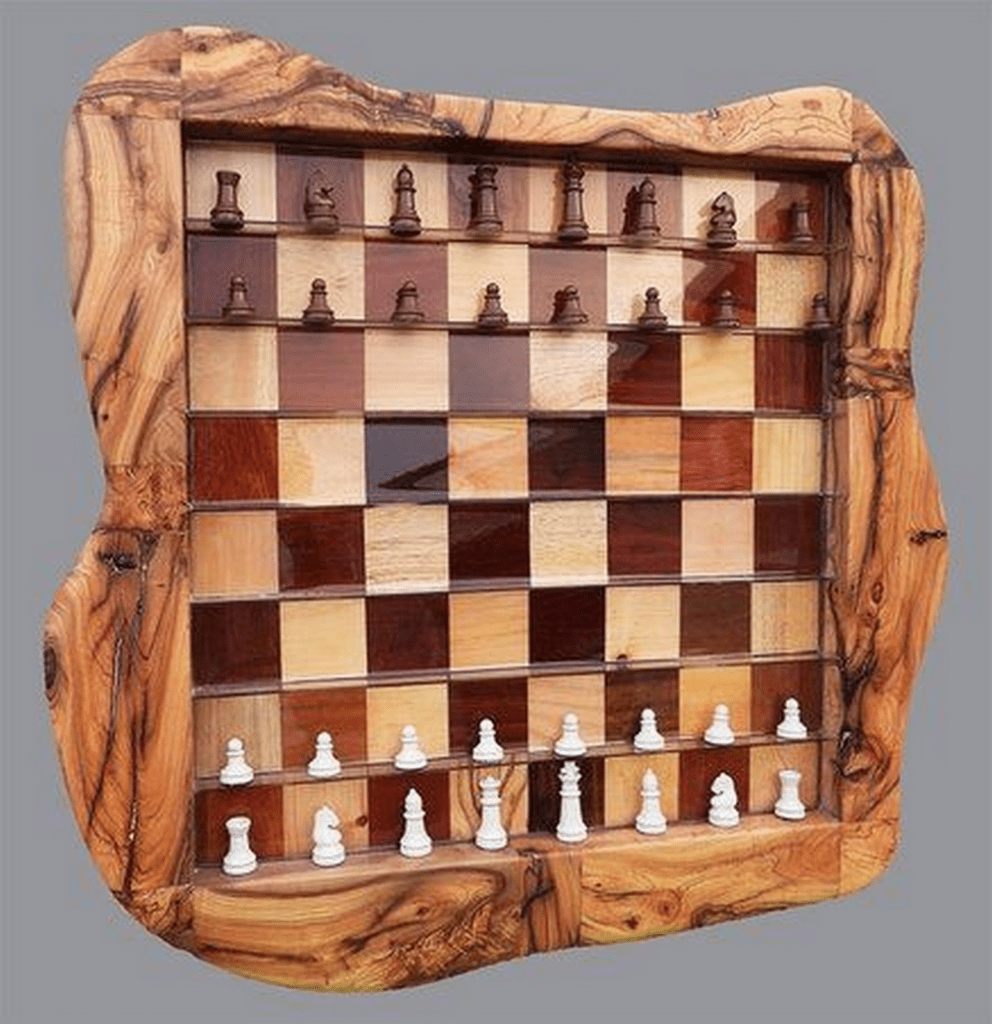
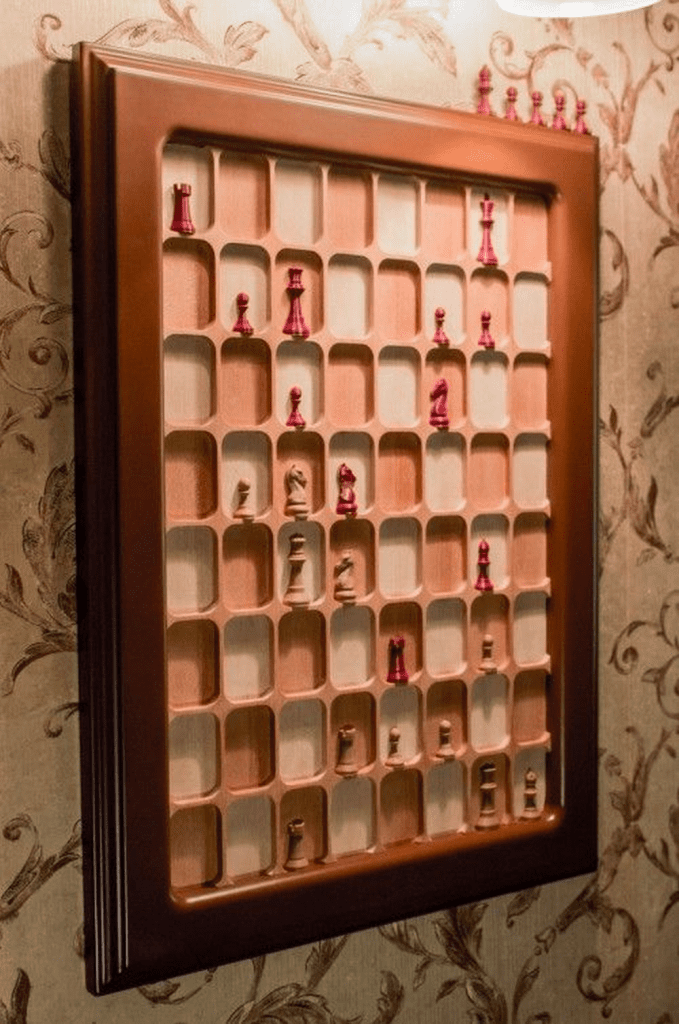


For visual instructions, watch the video below.
Advanced Customization Options
When creating a DIY wall chess board, there are numerous ways to elevate your project with advanced customization options. These enhancements not only add a personal touch but also improve the functionality and aesthetic appeal of your wall chess board. Here are some creative ideas to consider:
LED Lighting Integration
Your wall chess board may be elevated from a basic game board to a visually arresting work of art by adding LED illumination. To light up the chess pieces, place tiny LED lights behind some squares or all across the board. This not only creates a dramatic impact that can emphasize your plays or improve the appearance of your gaming space, but it also makes the board simpler to operate in low light.
Magnetic Chess Pieces
Adding a magnetic feature to your wall chess board ensures that pieces stay secure, even when the board is mounted vertically. This involves embedding small magnets in each chess piece and installing a metallic sheet or magnetic paint under the surface of the board. The magnetic setup prevents pieces from falling off and allows for a more dynamic and engaging game experience.
Custom Carvings and Engravings
Add engravings or carvings to the frame or even the squares itself to make your wall chess board unique. These little touches with a cordless comapct router, such a beautiful border, initials, or a chess-related theme, may make your chess board a unique work of art. Your wall chess board becomes more than simply a tool for play; carvings and engravings give it depth and personality.
Interactive Technology
For those who enjoy technology, integrating digital interfaces with your wall chess board can provide a unique twist. Consider installing a touch-sensitive surface or connecting your board to a computer interface that records moves, suggests strategies, or even allows you to play against a virtual opponent. This tech-savvy approach enhances the traditional chess experience, making your wall chess board a modern and interactive centerpiece.
Use of Exotic Wood and Finishes
Selecting high-quality or exotic woods and applying unique finishes can significantly elevate the appearance of your wall chess board. Woods like mahogany, walnut, or cherry not only offer durability but also provide rich colors and textures. Finishes such as a high-gloss lacquer or a hand-rubbed oil can protect the wood and bring out its natural beauty, making your wall chess board a luxurious addition to any room.
Game Progress Tracking
Incorporate sensors or smart recognition technologies that can track the movement of pieces across your wall chess board. This information can be fed into your home automation system to keep a log of ongoing games, allowing players to review past moves or pause and resume games without losing track of positions. It’s especially useful for training purposes or for playing extended games over several days.
Voice-Activated Controls
Use voice control integration to make playing on your wall chess board more intuitive. With simple voice commands, you can record moves, request potential strategies, or even get suggestions for your next move from a connected AI chess assistant. Voice integration can make the chess-playing experience more engaging and accessible, especially for visually impaired players or those who prefer a hands-free approach.
Integration with Entertainment Systems
Link your wall chess board with other elements of your home entertainment system for a holistic experience. For instance, set up your system so that when you start a game, the room’s speakers play classical music to enhance concentration, or the ambient lighting adjusts to create a focused environment. This integration can transform your chess sessions into immersive experiences, making each game a special event.
These advanced customization options not only enhance the functionality of your wall chess board but also transform it into a striking feature that reflects your personal style and love for the game.
Conclusion
Building a wall chess board is a rewarding project that combines craftsmanship with the timeless appeal of chess. This DIY endeavor allows you to customize the board to fit your home’s decor and your personal style, making it a unique piece of functional art. With the right materials and a bit of creativity, your wall chess board will be a stunning centerpiece that offers endless entertainment and style.


