Last Updated on July 11, 2024 by teamobn
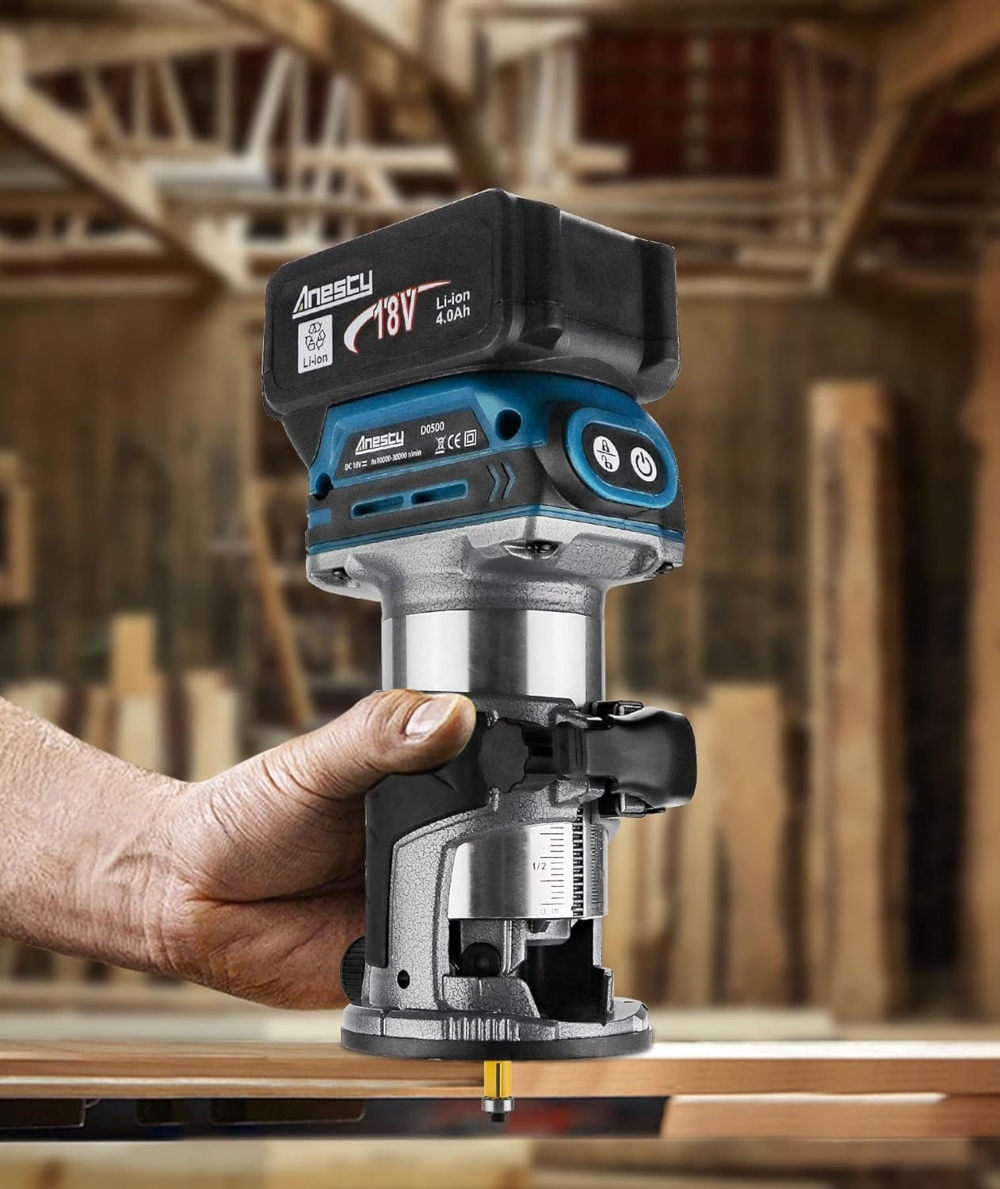
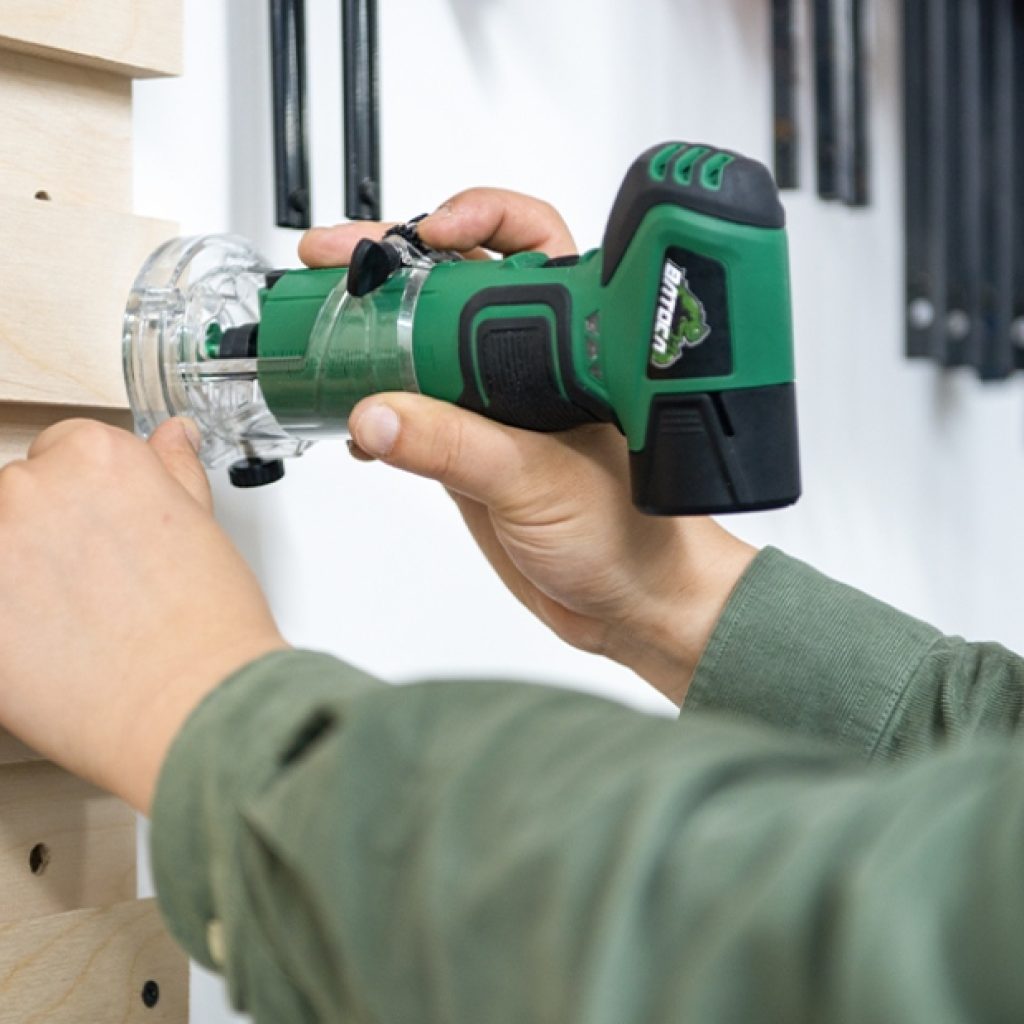
For its accuracy and mobility, woodworkers highly value the wonderfully adaptable cordless compact router. But this instrument has many inventive uses outside of the traditional ones in carpentry and cabinetry. Whether you’re an experienced professional or a committed do-it-yourselfer, learning these unusual applications can change the way you tackle jobs.
This post will look at the best ten inventive uses for a cordless compact router, all of which promise to improve your skills and broaden your creative horizons.
Contents
- 1 Ways of Using Your Cordless Compact Router
- 1.1 Intricate Inlays in Woodworking
- 1.2 Detailed Edge Profiling
- 1.3 Precision Drilling and Dadoes
- 1.4 Artistic Sign Making
- 1.5 Building Custom Wooden Toys
- 1.6 Decorative Carving on Curved Surfaces
- 1.7 Homemade Musical Instruments
- 1.8 Restoration of Antique Furniture
- 1.9 Architectural Millwork on a Small Scale
- 1.10 Crafting Unique Wooden Jewelry
- 2 Conclusion
Ways of Using Your Cordless Compact Router
Intricate Inlays in Woodworking
Creating intricate inlays is a refined skill that can elevate the aesthetic of any woodworking project. With the right tools and techniques, even the most complex designs can be seamlessly integrated into wood. The cordless compact router is ideal for this task, offering the precision and control needed for detailed work.
Choosing the Right Bit and Template
To begin, selecting the appropriate router bit is crucial. For inlays, use a bit that matches the width of your desired inlay strips. Templates are equally important, as they guide the cordless compact router to ensure your cuts are accurate and consistent.
Setting Up Your Workspace
Ensure your workspace is stable and your material is securely fixed. This stability is vital when working with a cordless compact router, as it helps prevent slips and enhances the accuracy of your inlays.
Routing the Inlay Groove
Set the depth of the cordless compact router to match the thickness of the inlay material. Carefully guide the router along the template path to create the groove. It’s important to make smooth, steady movements to achieve clean cuts.
Fitting the Inlay
Once the groove is cut, test-fit your inlay material. If it fits snugly, you can proceed to glue it in place. After the glue dries, use the cordless compact router again to level the inlay with the surrounding surface, ensuring a smooth, flush finish.
By mastering these steps, you can use your cordless compact router to add beautiful, intricate inlays to your woodworking projects, enhancing their beauty and value.
Detailed Edge Profiling
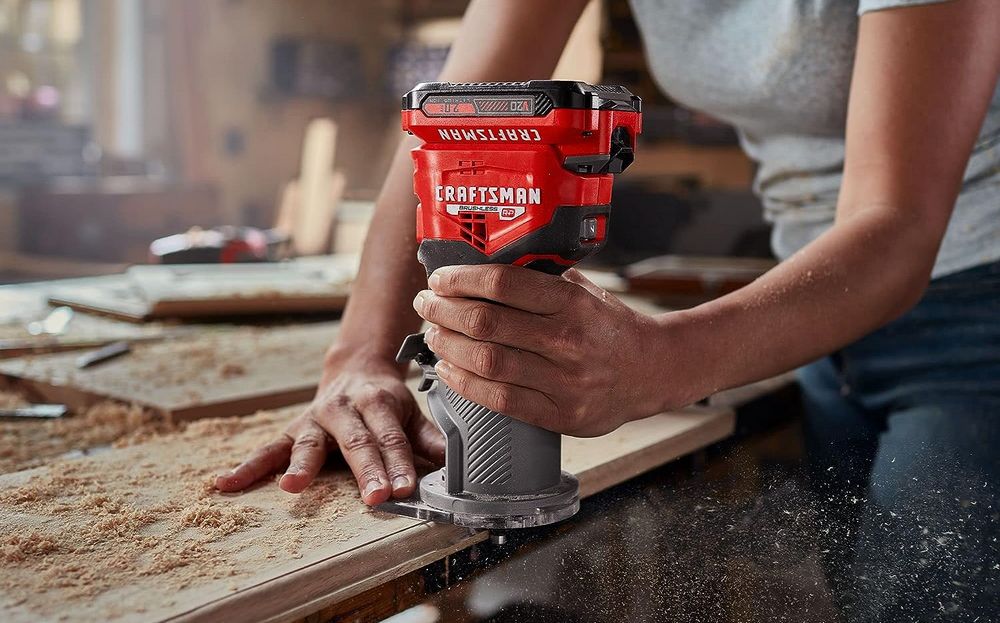
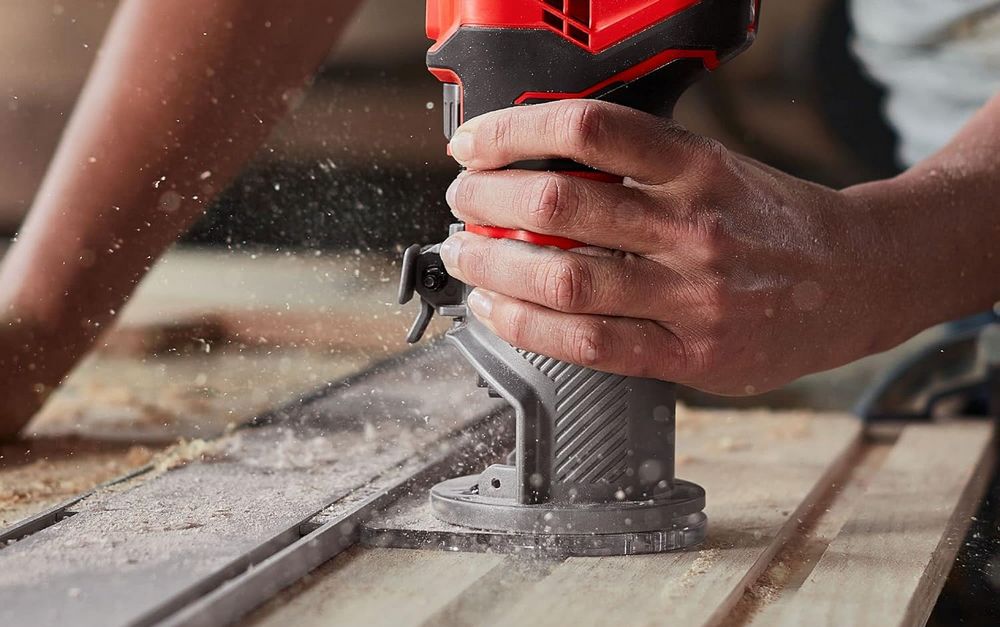
Edge profiling is a critical skill in woodworking, used to add character and detail to the edges of various projects. The cordless compact router excels in this task, allowing for precision and versatility in shaping edges.
Selecting the Profile Bit
The first step in edge profiling is to choose the right router bit. There are many profiles available, from simple rounds to complex ogees. Select a bit that aligns with the design aesthetic you’re aiming for.
Setting Up the Cordless Compact Router
Secure your wood piece firmly to prevent any movement. Adjust the depth of the cordless compact router to suit the profile bit you’ve chosen. Ensuring the router is set up correctly is essential for achieving a clean, uniform edge.
Profiling the Edge
Start the cordless compact router and carefully guide it along the edge of the wood. Keep a steady hand and maintain consistent pressure to ensure a smooth finish. If necessary, make multiple passes, incrementally increasing the depth until you achieve the desired profile.
These instructions will help you make beautiful, intricate edge profiles with your cordless compact router that will improve the visual appeal of your woodworking products.
Precision Drilling and Dadoes
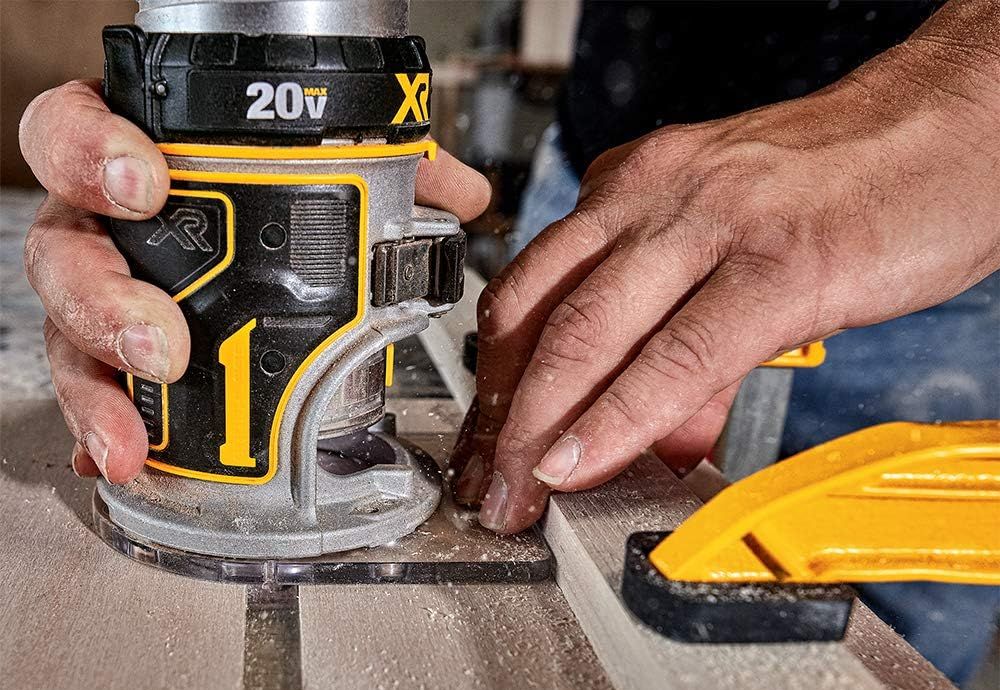
Precision drilling and creating dadoes are essential techniques in woodworking, especially for constructing sturdy, interlocking joints and accurate placements of hardware. The cordless compact router is perfectly suited for these tasks, offering both precision and ease of use.
Preparing for Drilling
Before beginning, it’s important to select the right drill bit for the task at hand. For holes, use a straight bit that matches the diameter needed. For dadoes, which are slots cut into the wood to fit another piece of wood, a straight bit or a plunge bit is appropriate, depending on the depth and width required. Ensure that the bit is sharp and in good condition to avoid tear-out or uneven cuts.
When setting up for precision drilling with a cordless compact router, consider using a template or a jig. This can help guide the router and maintain consistency, especially when multiple, identical cuts are needed. For example, when adding shelf pin holes to a bookcase, a template ensures that all holes are evenly spaced and aligned.
Setting Up and Using the Cordless Compact Router
To begin, secure your workpiece firmly to your workbench or within a vise. Movement during drilling can cause inaccuracies and can be dangerous. Adjust the depth of the cordless compact router according to the thickness of the material and the depth of the hole or dado required. For dadoes, it is often best to make several shallow passes, increasing the depth slightly with each pass, rather than trying to cut the full depth in one go.
Position the cordless compact router at the starting point of the cut and ensure it is stable. When ready, start the router and gently guide it along the path of the cut or hole. It’s crucial to maintain a steady hand and a consistent speed to ensure clean, accurate cuts. Rushing the process can lead to mistakes and might require starting over or, worse, ruining the material.
For dadoes, after the initial cuts, check the fit of the piece that will be inserted into the dado. It should fit snugly but not require excessive force to insert. If adjustments are needed, make slight corrections with the router until the fit is perfect.
Using your cordless compact router to learn these precision methods will improve the structural integrity and functionality of your woodworking projects by making every joint and fixture sturdy and precisely positioned.

Artistic Sign Making
Creating artistic signs is a fantastic way to personalize spaces and express creativity. Whether for business storefronts or home decor, signs can be both functional and beautiful. A cordless compact router is an excellent tool for this craft, allowing for precise cuts and intricate details in various materials.
Designing Your Sign
Start by choosing a design that fits the purpose of the sign. This could be anything from elegant cursive text for a wedding sign to bold letters for a coffee shop. Use design software to create your template, or draw it freehand for a more rustic touch. Transfer this design onto your material using carbon paper or a marking tool.
Choosing Materials and Bits
Select a material that matches the sign’s intended style and environment. Woods like cedar and redwood are popular for their durability and ease of routing, but you can also use plastics and soft metals for more modern signs. Choose router bits that best suit the level of detail in your design—V-groove bits are ideal for fine lines and detailed work, while straight bits can be used for broader cuts.
Routing the Sign
Secure your material to your workbench to prevent any movement. Set the depth of your cordless compact router to match the thickness of the material or the desired depth of the cut. Begin routing your design, following the lines closely. It’s important to go slowly to enhance precision, especially around tight corners or intricate details.
Finishing Touches
After routing, sand the edges and surface of your sign to remove any rough spots or splinters. Apply a suitable finish to protect the sign from weather elements if it will be displayed outdoors. This can include sealants for wood or appropriate coatings for other materials.
Using a cordless compact router for sign-making not only gives you the ability to create customized signage but also adds a professional touch to your projects, showcasing detailed craftsmanship that can’t be easily replicated by other tools.
Building Custom Wooden Toys
Building custom wooden toys is a delightful way to craft unique and personal gifts for children or to create collectible items. With the versatility and precision of a cordless compact router, creating toys that are both beautiful and durable is easier than you might think.
Planning Your Toy Design
Start with a clear plan or blueprint of the toy you want to build. This could be anything from a classic car or a puzzle to a detailed dollhouse. Consider the age of the child and safety requirements when designing your toy—avoid small parts for younger children and ensure all edges are smooth and rounded.
Selecting Wood and Preparing Pieces
Choose a suitable wood that is durable and easy to work with, such as pine or birch. Use your cordless compact router to cut out the main components of the toy. This might include body parts for cars or animals or panels for a dollhouse. The precision of the cordless compact router ensures that all parts will fit together perfectly.
Detailing and Assembly
After the basic shapes are cut, switch to a finer bit on your router to add detailed features like windows, wheels, or decorative elements. The router can create intricate patterns and textures that add a playful touch to the toy. Once all routing is completed, sand each piece thoroughly to ensure it’s smooth and safe for handling.
Final Assembly and Finishing
Assemble the toy using wood glue and non-toxic finishes. You might also want to paint the toy with bright, child-safe paints to make it more engaging. The assembly process will vary depending on the complexity of the toy, but with the groundwork laid by the precise cuts made with the cordless compact router, this step should be straightforward.
Custom wooden toys made using a cordless small router not only enable the production of cherished toys that can last for many generations, but it also infuses the joy of crafting into the toy-making process, producing high-quality, character-filled items.

Decorative Carving on Curved Surfaces
Decorative carving on curved surfaces adds an elegant and custom touch to woodworking projects. Whether you’re enhancing the beauty of wooden bowls, ornamental columns, or curved furniture pieces, mastering the technique of carving on curves can elevate your craft.
Understanding Curved Surfaces
Carving on curved surfaces presents unique challenges due to the changing angles and contours. It’s crucial to first understand the form you are working with and plan your design accordingly. The design should complement the curve, flowing naturally with the shape of the piece.
Choosing the Right Tools and Materials
Selecting the right tools for carving on curved surfaces is vital. A flexible shaft attachment for your router can be incredibly helpful, as it allows for greater maneuverability and precision. Ensure the wood or material you are using is suitable for detailed carving—softer woods like basswood are often preferred for intricate designs.
Preparing the Surface
Before beginning your carving, the surface should be smooth and well-prepared. Any imperfections can distort the final design. Sand the surface thoroughly, and if necessary, apply a stabilizer to reinforce weaker wood grains, which helps in achieving cleaner cuts.
Carving Techniques
Begin your carving with a detailed sketch of the design directly on the surface or use a stencil as a guide. When you start carving, use steady, controlled motions to follow the design outline. It’s important to adjust the depth and angle of the router as you navigate the curves. Work slowly, removing small amounts of material at a time to avoid mistakes that can be difficult to correct on curved surfaces.
Finishing Touches
Once the carving is complete, sand the design gently to smooth out any rough edges and enhance the details. Finish with a suitable sealant or wood finish that protects the carving and highlights the natural beauty of the wood grain.
Decorative carving on curved surfaces is an art that requires patience and precision, but with practice and the right techniques, it can add incredible value and aesthetics to any wooden piece.
Homemade Musical Instruments
Crafting homemade musical instruments combines the joy of music with the satisfaction of DIY projects. Utilizing a cordless compact router allows for precision in shaping and detailing, essential for instruments that not only look beautiful but also produce quality sound.
Design and Planning
Begin by choosing the type of musical instrument you want to create, such as a guitar, violin, or flute. Research the specific dimensions and materials used in traditional versions to guide your design. Create detailed plans and templates to ensure accuracy during the building process.
Preparing Materials and Components
Select high-quality wood that resonates well, such as spruce or maple, for stringed instruments, or hardwoods for wind instruments. Using your cordless compact router, carefully shape the body, neck, and other components. The router is ideal for hollowing out wood sections, crafting soundholes, and creating smooth, curved edges that are critical for both aesthetics and sound quality.
Detailing and Assembly
With the main components shaped, switch to finer bits on your cordless compact router for detailed work, like creating fret slots on a guitar or intricate designs on a violin’s body. Precision is key, as even small inaccuracies can affect the instrument’s sound. After routing, assemble the pieces, often using wood glue and clamps to ensure tight, seamless joints.

Finishing Touches
Sand all surfaces smoothly to prepare for finishing. Apply stains or varnishes that enhance the wood’s natural beauty and protect the instrument. Finally, install any additional hardware, such as strings, tuning pegs, and bridges, which are essential for the instrument’s functionality.
Creating homemade musical instruments with a cordless compact router not only allows for a customized aesthetic but also ensures high-quality sound through precise construction techniques. This blend of craftsmanship and musical artistry results in instruments that are both playable and cherished for their unique qualities.
Restoration of Antique Furniture
Restoring antique furniture is a delicate process that blends artistry with technique to breathe new life into old pieces. This practice not only preserves historical artifacts but also revitalizes their aesthetic appeal and functional use.
Assessing the Furniture
Start by thoroughly assessing the piece to understand its condition, structure, and historical style. Identify areas that require repair or replacement, and determine the original materials and finishes used. This initial evaluation is crucial for planning an appropriate and respectful restoration.
Choosing the Right Tools and Techniques
For authentic restoration, it’s essential to use tools and techniques that can delicately handle antique wood without causing further damage. Precision tools such as fine-grit sanders and soft brushes for cleaning are critical. When it comes to intricate carving or reproducing damaged or missing decorative elements, a router can be invaluable.
Preparing the Furniture
Carefully clean the furniture using mild cleaners that won’t damage the wood or existing finish. Strip old paint or finish only when necessary and always in a manner that conserves the underlying material. This step is crucial for ensuring that any restorations blend seamlessly with the original craftsmanship.
Detailed Carving and Replacement
Use a router to replicate intricate carvings or to craft replacement parts that match the original designs. This process often involves creating templates based on existing patterns. Precision is key, as the goal is to maintain the integrity and style of the antique.
Finishing Touches
Match the original finish as closely as possible, whether it involves staining, waxing, or varnishing. Apply the finish evenly and with care to protect the wood while enhancing its appearance. Finally, replace or repair any hardware, ensuring it is appropriate for the period the furniture represents.
Restoring antique furniture is an art that requires patience, a gentle hand, and an appreciation for historical details. Through meticulous work and respect for original craftsmanship, these timeless pieces can be preserved for future generations to enjoy.
Architectural Millwork on a Small Scale
Architectural millwork on a small scale allows crafters to bring the intricate details and elegance of classical architecture into miniature projects, such as dollhouses or model buildings. This process requires precision and attention to detail, making every small component a crucial part of the overall aesthetic.
Understanding Scale and Design
Begin by selecting a scale and style that matches your project. Whether you’re replicating Victorian trims, modern minimalist edges, or detailed Gothic arches, it’s important to understand architectural styles and scale them down accurately. This ensures that the millwork fits seamlessly with the rest of your miniature project.
Choosing Materials and Tools
For small-scale millwork, choose materials that are easy to work with and can be finely detailed, such as basswood or balsa wood. These materials are soft enough to be manipulated with precision tools yet sturdy enough to hold their shape. A router, especially one designed for intricate work, is essential for creating consistent and clean cuts.
Crafting the Millwork
Start by creating templates based on your design. These will guide your cuts and ensure consistency across multiple pieces. Use your router to carve out the designs, focusing on maintaining the integrity of the scale. For small-scale projects, even a slight deviation can be noticeable, so precision is key.
Assembly and Installation
Once all pieces are crafted, carefully assemble them to form the complete architectural element. This might include assembling miniature columns, arches, or intricate window frames. Use a strong, yet minimally visible adhesive to keep the focus on the craftsmanship.
Finishing and Painting
Finish the millwork by sanding down any rough edges and applying a suitable finish or paint. The right finish not only enhances the appearance but also protects the wood. When painting, choose colors that are historically accurate or best match your project’s overall aesthetic.
Small-scale architectural millwork is a meticulous process that enhances the realism and beauty of miniature projects. With careful planning and precise execution, these tiny details can make a significant visual impact.
Crafting Unique Wooden Jewelry
Crafting unique wooden jewelry allows artisans to express their creativity through wearable art. Using a cordless compact router, you can create intricate designs and detailed finishes that transform simple wood pieces into stunning accessories.
Designing Your Pieces
Begin by sketching your jewelry designs. Consider the size, shape, and type of wood you’ll use. Whether crafting earrings, necklaces, or brooches, each piece should be planned to optimize the natural beauty and grain of the wood. Utilize a cordless compact router to achieve precise cuts and intricate details that would be difficult to manage by hand.
Preparing the Wood
Select high-quality hardwoods like walnut, maple, or cherry for their durability and aesthetic appeal. Cut the wood into rough shapes that match your design sketches. The cordless compact router is perfect for this initial shaping, as it can handle both the delicate nature of the pieces and the precision required for wearable art.
Adding Details and Textures
Switch to a finer bit on your cordless compact router to add textures and detailed patterns. This can include engraving intricate designs or creating smooth recesses for inlaying stones or other materials. The router allows for consistent depth and precision, essential for creating multiple pieces of the same design or achieving symmetrical patterns in a set of earrings.
Finishing and Assembling
After routing, sand the pieces thoroughly to prepare them for finishing. Apply a protective coat such as a non-toxic varnish or beeswax to enhance the wood’s natural color and ensure durability. Finally, assemble the pieces with metal findings and hardware appropriate for jewelry, such as earring hooks, necklace chains, or pin backings.
Crafting unique wooden jewelry with a cordless compact router not only provides a platform for artistic expression but also results in one-of-a-kind pieces that are sure to be conversation starters. This process marries the rustic charm of wood with the precision of modern tooling, creating accessories that are both beautiful and personal.
Conclusion
A multitude of creative endeavors find the cordless compact router to be an essential instrument because of its accuracy and adaptability, which can turn common materials into spectacular works of art. Its portability makes intricate work easy to handle in practically any environment possible, improving the usefulness and visual appeal of many crafts. Whether creating elaborate jewelry, carving ornate signs, or building sturdy wooden toys, this tool improves the workmanship and caliber of your work.