Last Updated on October 19, 2022 by teamobn
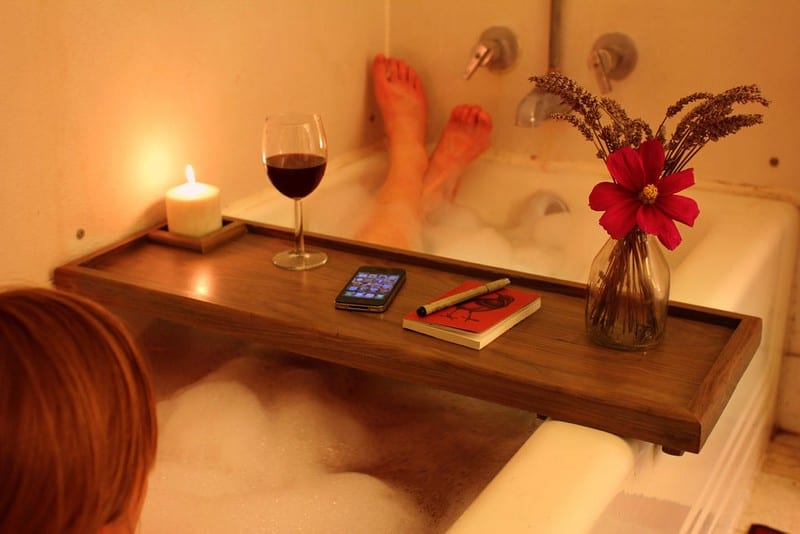
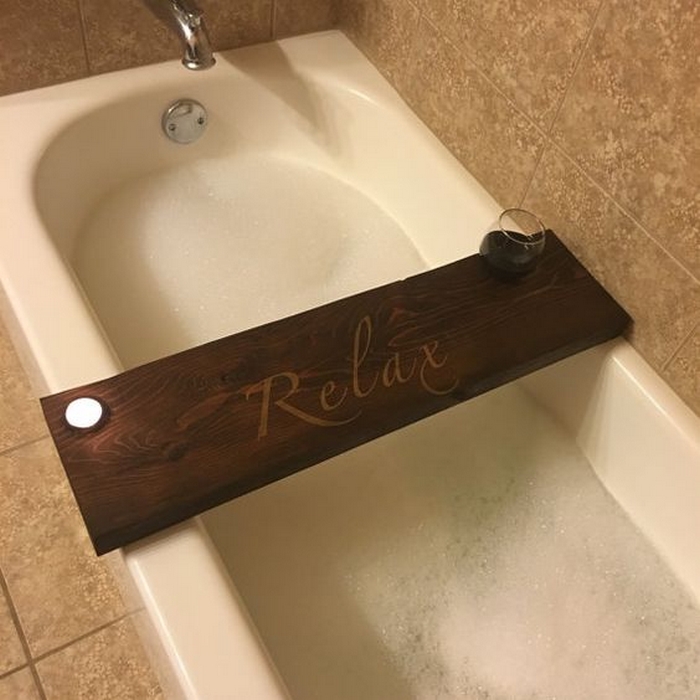
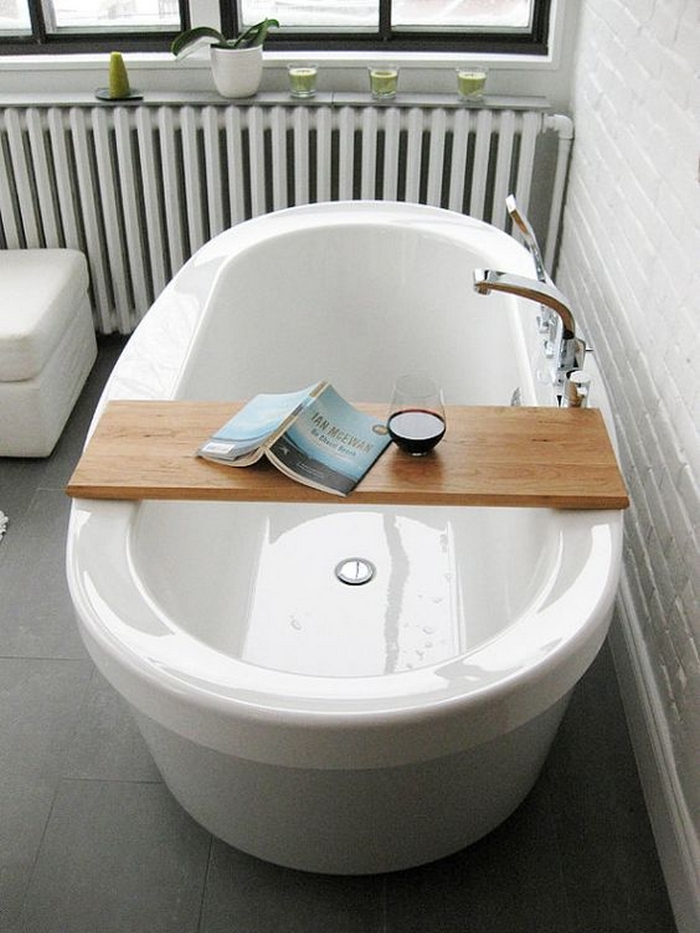
What could be more relaxing than a luxurious bath? Add a glass of wine and your favourite book, and you have the perfect way to unwind after a long day.

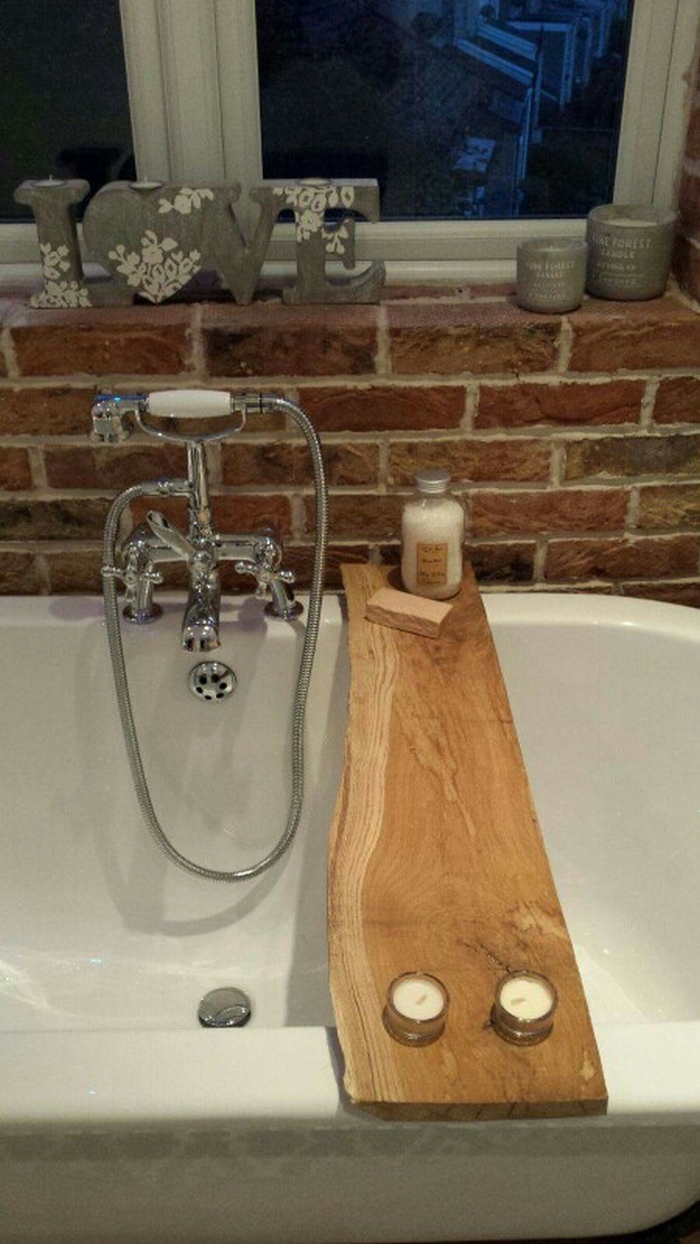
Relaxing in the bath is a great luxury, but some tend to be short on level space. No problem! You can have this DIY bathtub caddy!
This DIY bathtub caddy project will let you read, have a glass of wine, etc while soaking your troubles away!
Click on any image to start the lightbox display. Use your Esc key to close the lightbox.![]()
You’ll need these materials:
- Walnut Board
- MDF Board
- Wood Glue
And these tools:
- Jointer
- Planer
- Table Saw
- Miter Saw
- Palm Sander
- Biscuit Joiner
- Router with Round over bit
- 2 – Paint Brush
- Brad Nailer
Steps to make a DIY bathtub caddy project:
Start your DIY bathtub caddy project by joining the straighter/truer narrow edge. My jointer is a little underpowered, so we had to make sure to advance slowly and remove only small amounts of material with each pass.
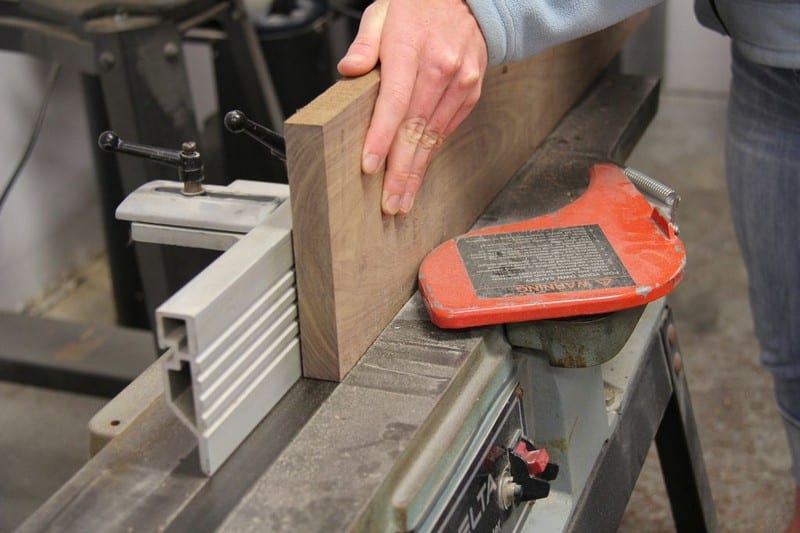
Place the jointed edge against the table saw fence and rip the board to width creating two parallel sides. We cut our board down to around 5 or 6″ wide.

This board was a little too wide for my old joiner to joint a face before planning, so we just went straight to the planer and planed both faces of the DIY bathtub caddy. It was planed at the mill and wasn’t in too bad a shape. Run it through, flip, and repeat. Comes out good enough for this casual DIY bathtub caddy project.

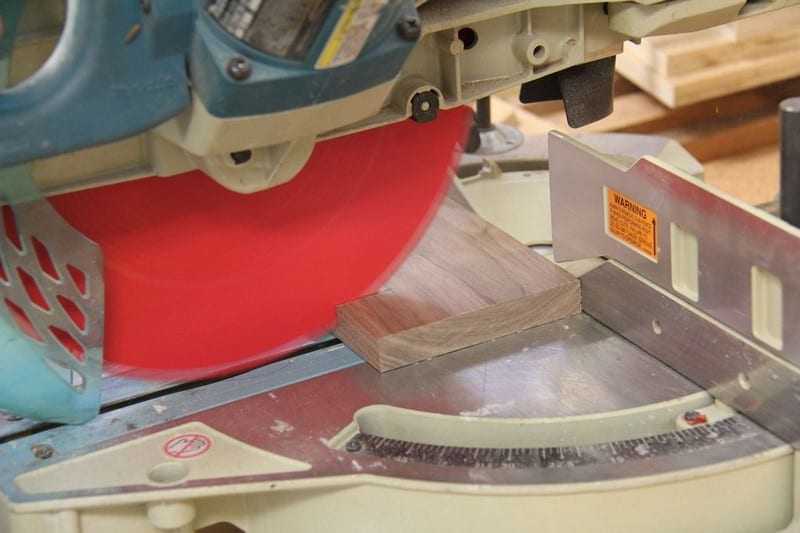
Trim the boards to the length of the chop saw. We cut the longboard down into two shorter sections that are going to be biscuit joined together to make the DIY bathtub caddy wider than the original board.
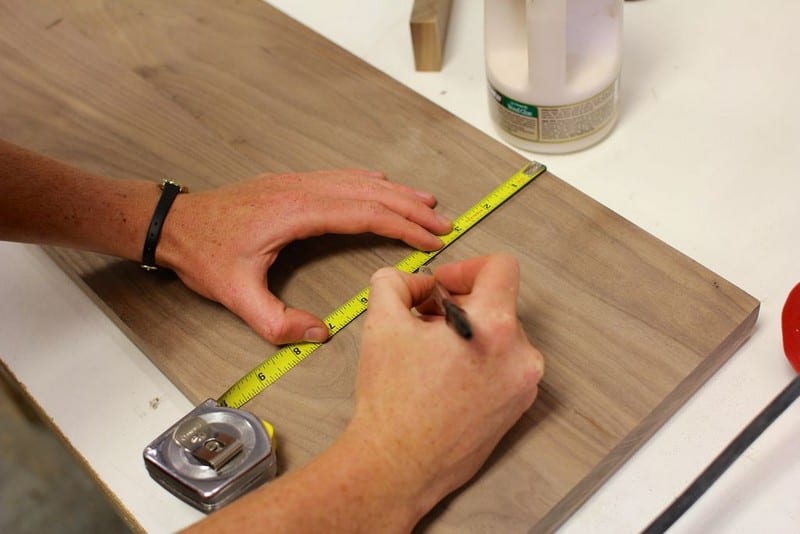
The length of the DIY bathtub caddy depends on your bathtub and should be sized to fit it precisely. Measure the tub and add a few extra inches if you want it to overhang the outer lip.
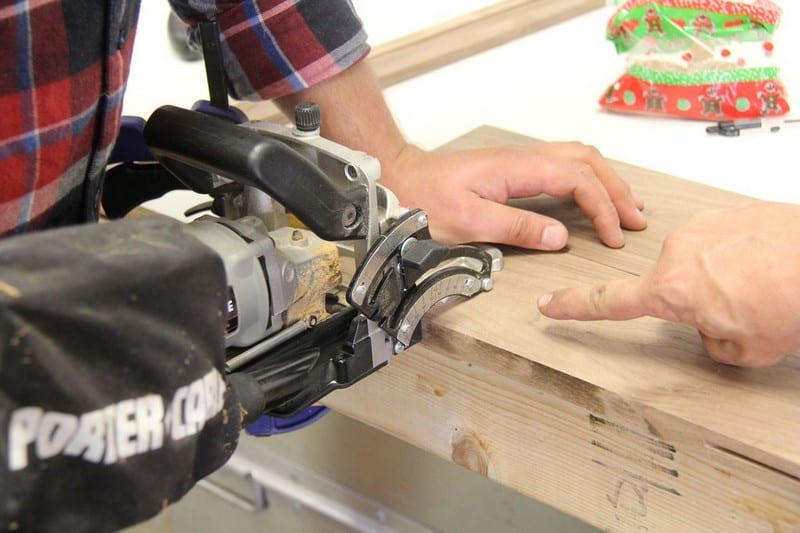
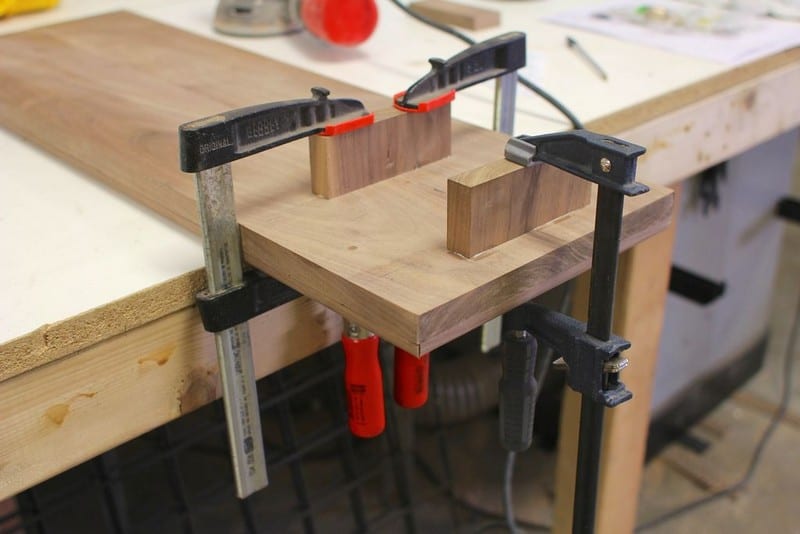
To join the two boards together we used a biscuit joiner. The biscuit joiner cuts slots in the side of the wood for glue and the wooden biscuits which hold the boards together permanently and precisely in place.
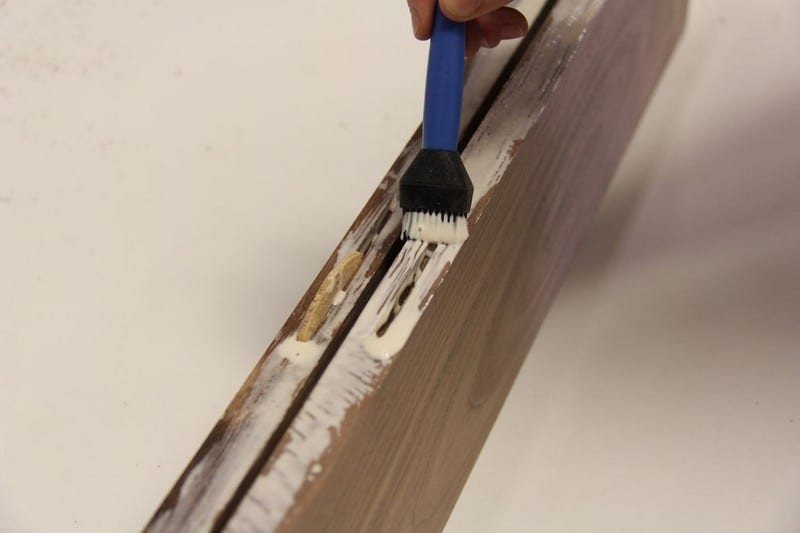
Brush some wood glue into the slots and onto the edges about to be joined. Fill the slots with wood biscuits, clamp the boards, and let the glue dry.
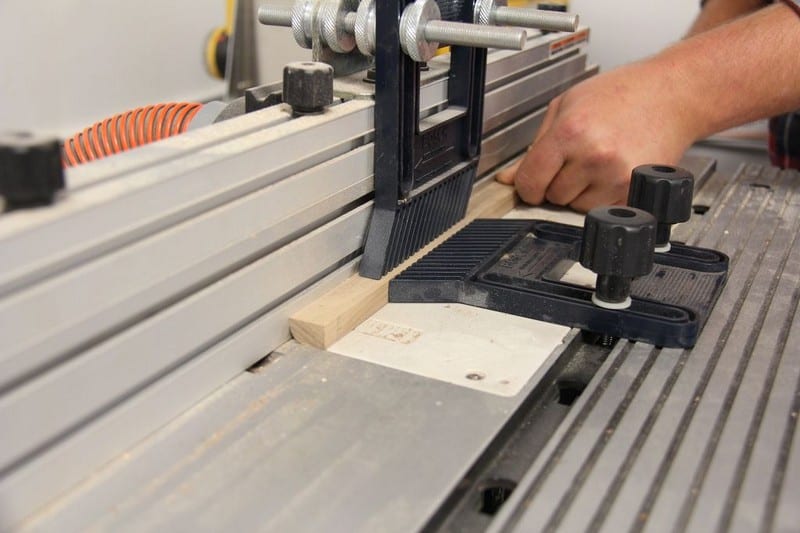
While the glue was drying we set off to make some simple walnut quarter-round moulding. Slice a 5/8″ x 5/8″ strip of walnut off of the remaining board from the lumber yard and run it through the router with a round-over bit.
Since the piece was small I used feather boards to hold it in place while I slid the stock through.
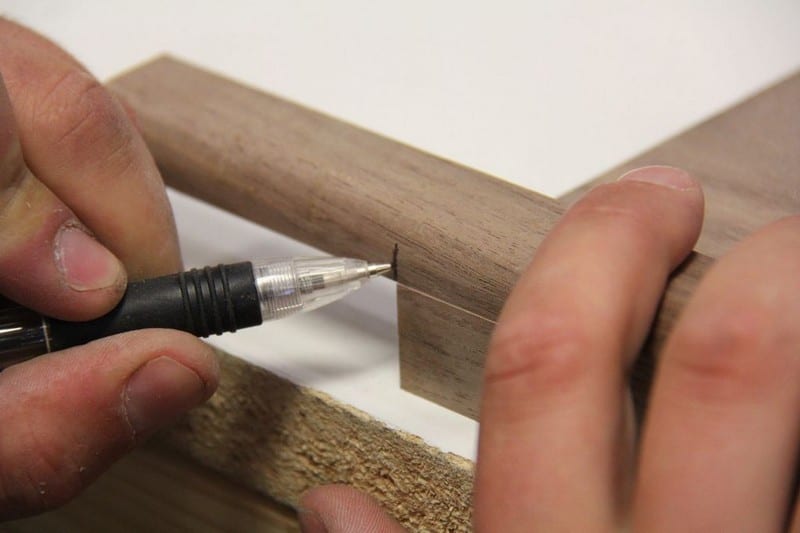
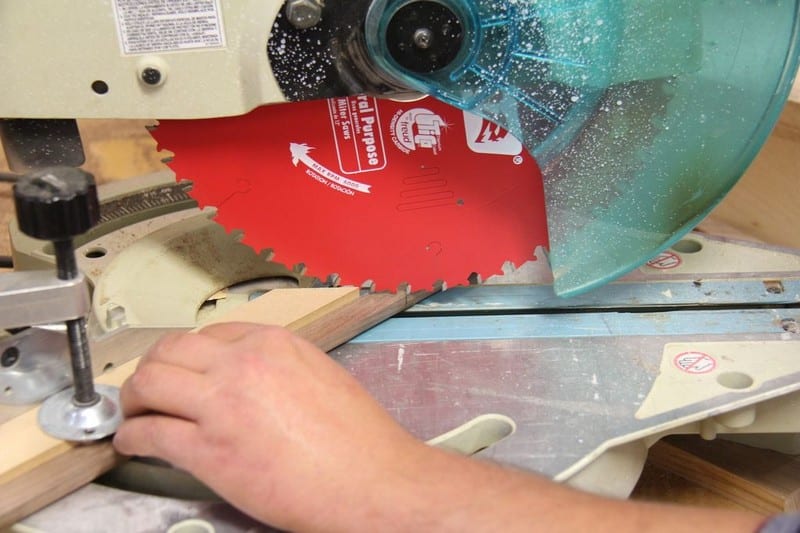
Mark the moulding length right on the mainboard for the tub caddy. We used a mitre saw and set the fence at 45 degrees to cut the mitres. A mitre box would also work just fine.
I used a scrap piece of MDF to create a zero-clearance fence to support the cuts to minimize tear-out.
Cut the walnut quarter-round moulding to the proper lengths to create a border for the DIY bathtub caddy.
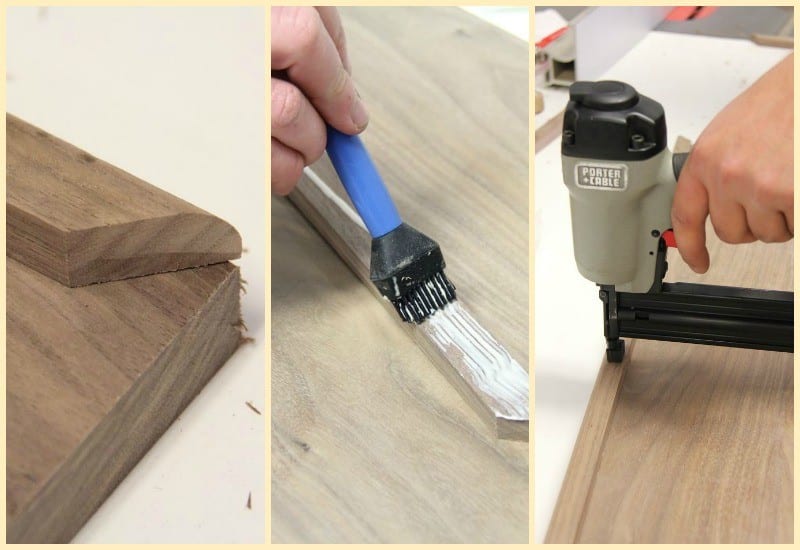
Fit the moulding place on top of the now dry mainboard for the caddy. If everything lines up apply some wood glue to the back of the moulding. Lay it down on top of the board and carefully line up the mitres. I used a brad nailer to shoot some brads in place while the glue dried.
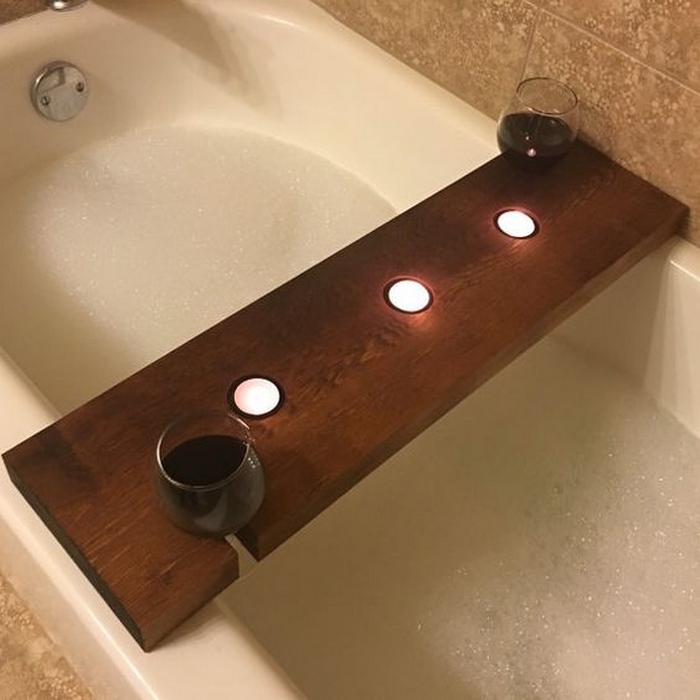
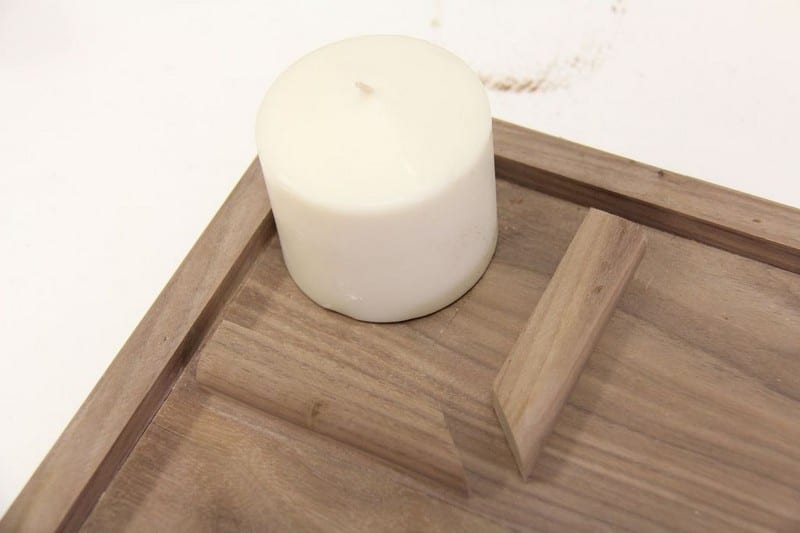
Once the outer moulding was on, we still had some extra walnut quarter-round material left. We decided to make a small box in the corner of the caddy to hold things like candle wax, a wine glass, or perhaps a flower vase in place. Cut two short sections of the quarter round with a single mitred end, position, glue, and finally brad nail the corner piece in place.
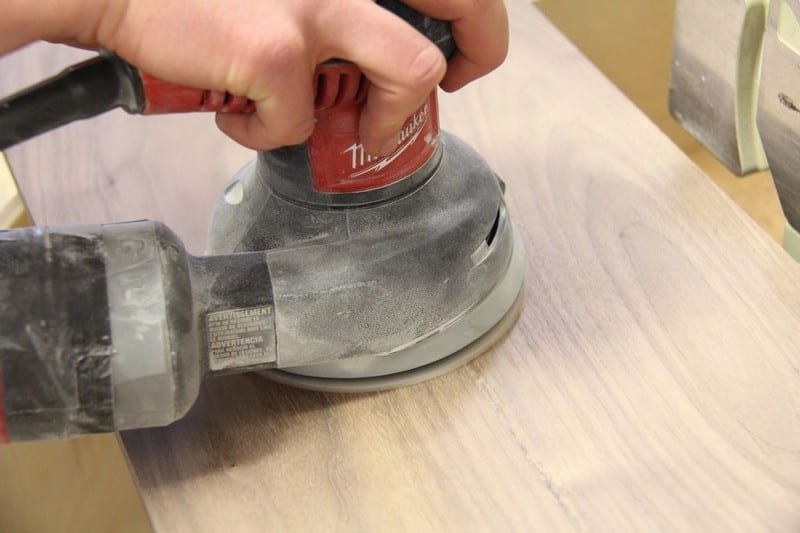
Sand the entire caddy with 120 and then 220 grit sandpaper. I used a random orbital sander, but it’s small enough to do it by hand. Some of the detail areas need to be hand sanded.
Some kind of basic system is necessary to hold the wood in place on the tub so it doesn’t slip around and fall in. We measured the interior width of our tub and installed a very simple cleat system that locks the caddy in place securely.
The process went something like this: measure from the wall to the interior left side of the tub. Measure the distance between the two sides of the tub, inside measurement. Finally, measure the width of the exterior tub wall on the right side. Mark these measurements onto the tub caddy and glue walnut cleats onto the bottom of the main board at these locations for a total of 3 cleats.
In theory, you only need the two right cleats which grab the exterior wall of the tub, however, the left cleat is nice because it locks everything in place tightly.
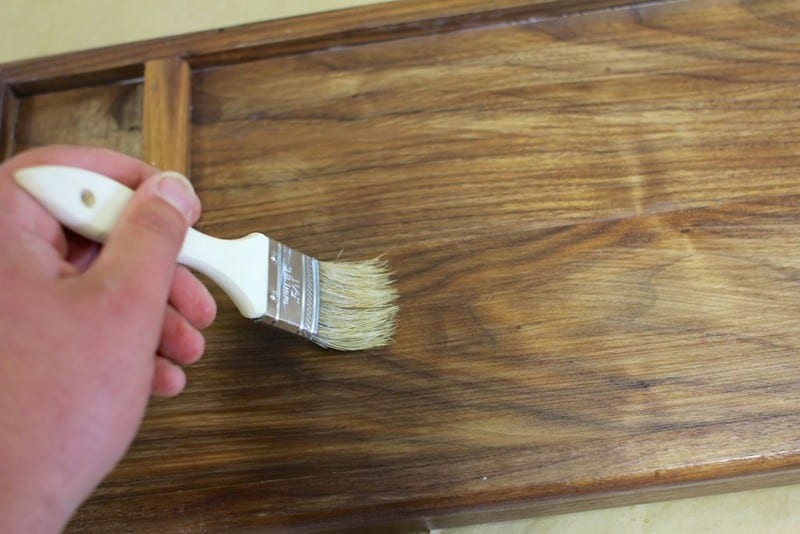
Since the walnut is going to be used in a watery environment, we sealed everything with two coats of a water-based spar varnish urethane from Varathane. It goes on a little milky but dries with a nice satin clear finish. Very easy stuff to work with.
Once the varnish is dry the project is done!
Thanks to noahw for this great project.