Last Updated on December 2, 2024 by teamobn
Have you ever dreamt of having a tiki bar right in your backyard? Wouldn’t it be the perfect spot to entertain family and friends? Imagine having cocktails on a hot summer day without having to leave home. Building a tiki bar is a great way to add value to your home and create a space that everyone will love.
Entertaining with a tiki bar is like having guests enter an enchanted world – reminiscent of an upscale camp in a tropical paradise. Here is a small corner built to help you forget your worries – and maybe even the government’s recommended maximum units of alcohol per day!
With a backyar tiki bar, you can bring tropical paradise to your guests, no matter what the weather is like outside. If you want to go all out, you can even build a small thatched hut to serve as your tiki bar – transport your guests to another world for the evening! Make sure to stock your bar with all of the right supplies, including plenty of rum, and exotic fruits.

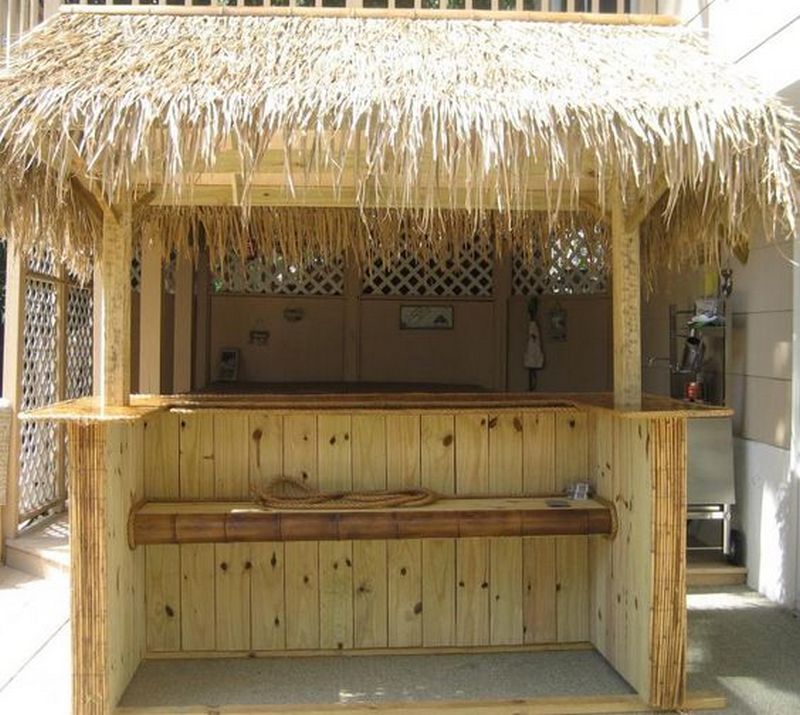
Well, you can build your backyard tiki bar with this easy DIY project! This bar comes complete with bamboo accents and a thatched roof, giving you the perfect tropical getaway right in your backyard. This project is easy to follow and will have you enjoying your new backyard tiki bar in no time!
When you’re done with your DIY backyar tiki bar project, all that’s left for you is to learn how to make a mean mai tai! This classic cocktail is the perfect way to show off your new tiki bar, and with some easy recipes, you’ll be impressing your guests in no time.
This project will require some work to be completed successfully. Because of its scale, you may want to consider asking for help from a friend or family member. Having an extra pair of hands when attaching the roof will be beneficial and can help speed up the process. With careful planning and attention to detail, this project can be completed successfully.
This project may take a few days to complete, but the result will be worth the effort. Make sure to take your time and do a good job – rushing through it will only result in subpar results. If you take your time and do a professional job, you’ll be glad you did when you see the final product.
To complete this project, you will need to gather a variety of materials and tools. Make sure to have a comprehensive checklist ready before you go shopping so that you don’t forget any important items. This will help ensure that your project is completed successfully and without any unnecessary delays.

Contents [show]
Building a Tiki Bar DIY Project
Materials you’ll need to build a backyard tiki bar DIY project:
- 3/4″ pressure-treated plywood sheets
- 4×4 posts
- bamboo sheets
- polyurethane
- L brackets
- pine 2x4s
- thatch
- 1×2 poplar boards
Tools:
- air compressor
- tape measure
- framing nailer
- air compressor hoses
- screw gun
- finish nailer
- safety goggles
- plastic sheeting

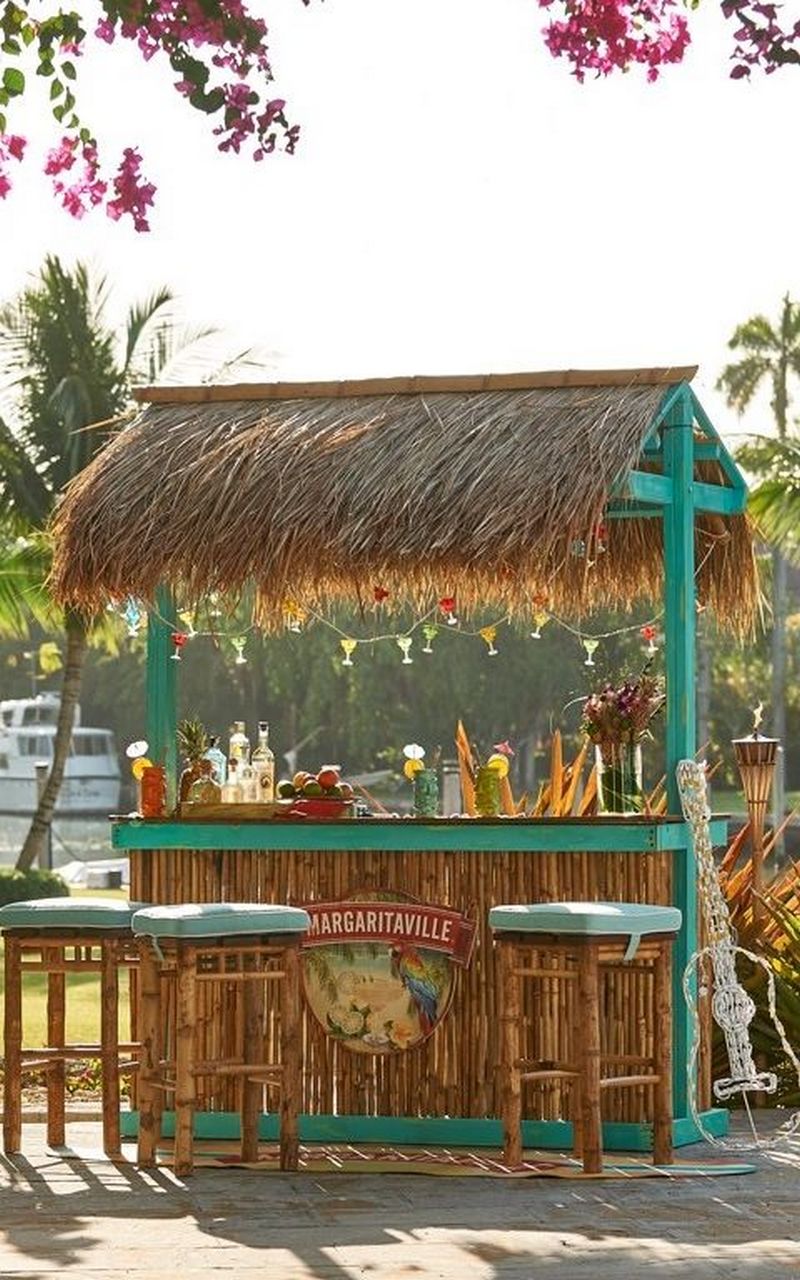


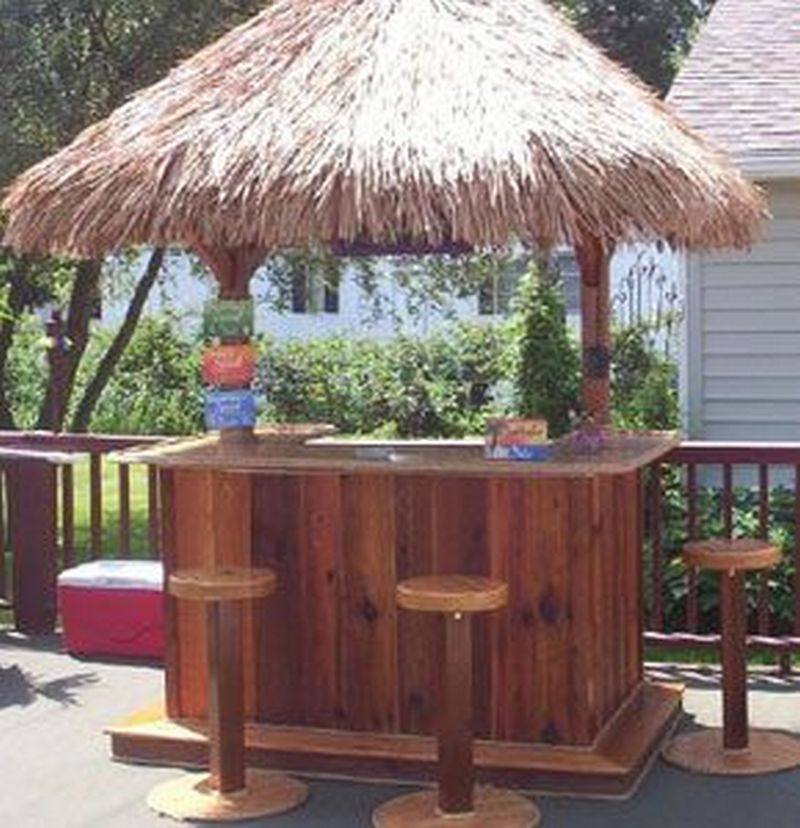
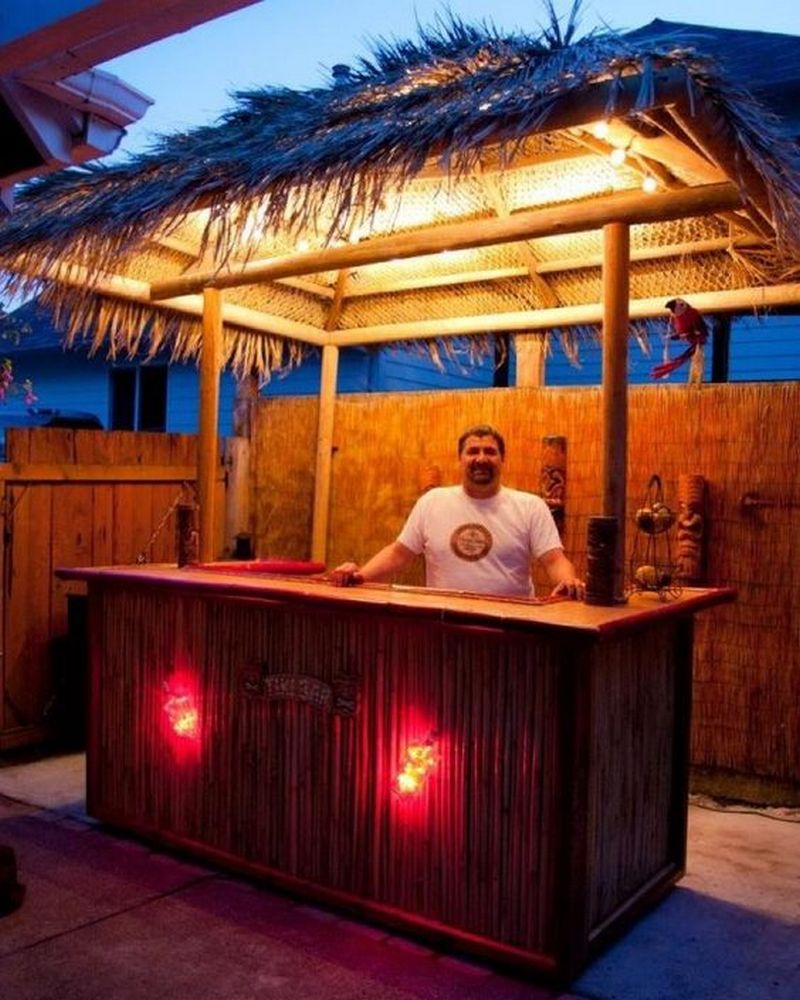
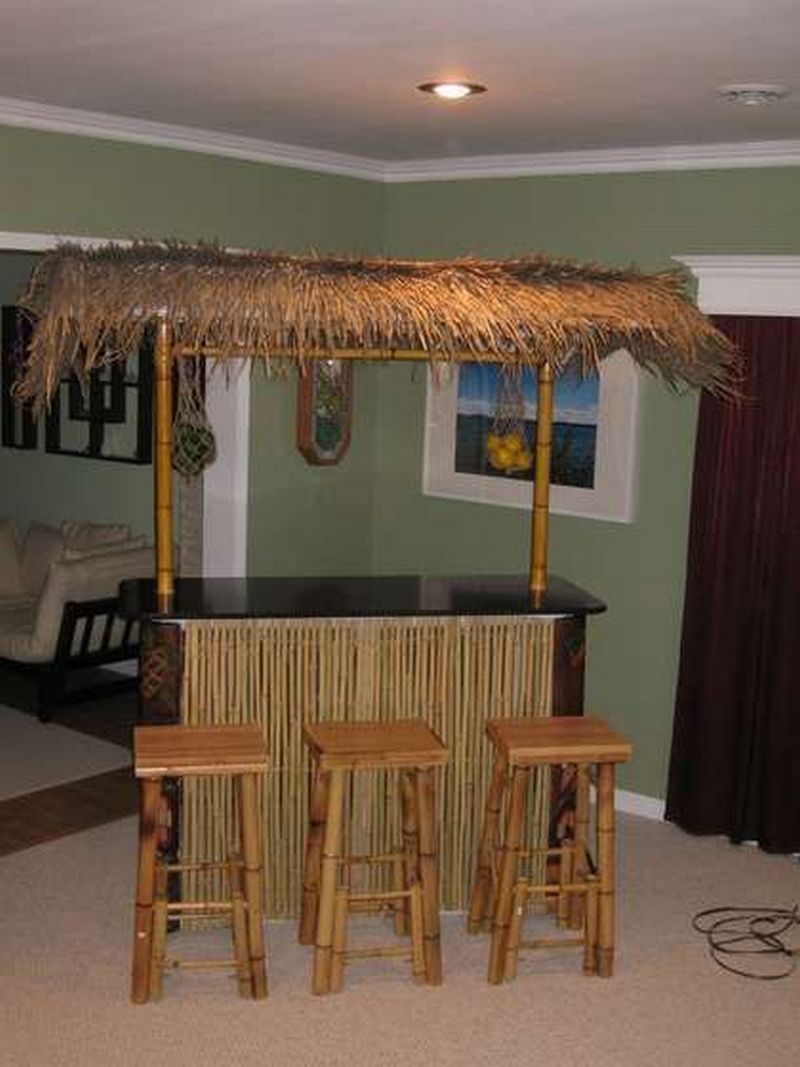
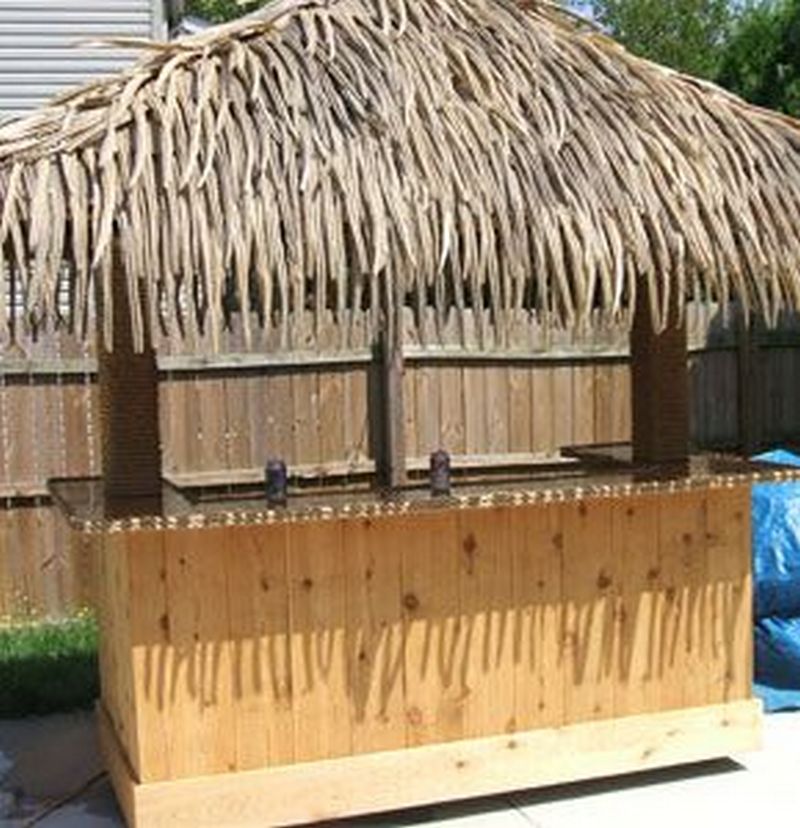

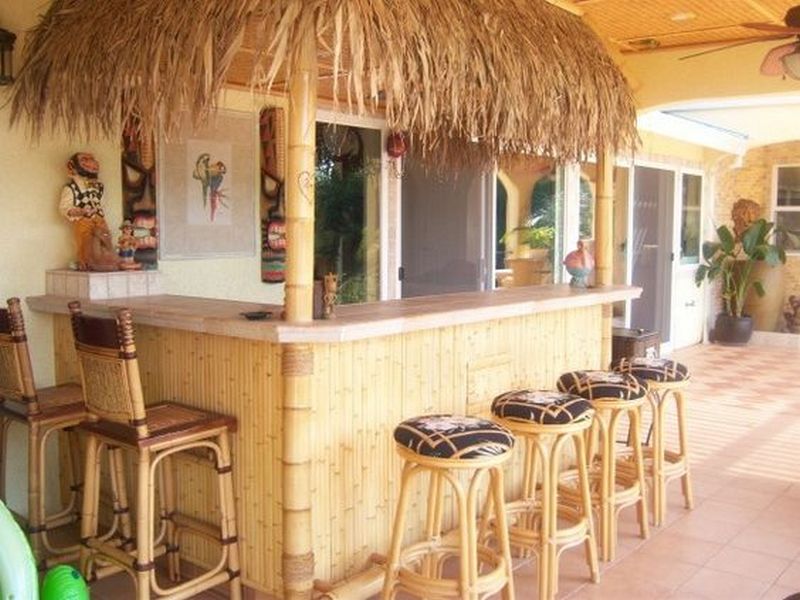
Ahoy, fellow adventurers of the island oasis! Are you ready to embark on a journey to transform your mundane backyard into a tropical paradise? Brace yourselves, because we’re about to dive into the ultimate escapade: building your very own backyard tiki bar! With just a handful of materials and a sprinkle of creativity, you’ll be sipping piña coladas under the stars in no time. So, grab your hammer and let’s get tiki-fied!
Step 1: Planning Your Escape
Before we unleash our inner craftsmen, let’s chart our course. Take a stroll through your backyard and select the perfect spot for your tiki haven. Consider factors like space, accessibility, and the most picturesque views. Once you’ve marked your territory, it’s time to gather your materials and dive into the adventure!
Step 2: Hoist the Jolly Roger – Construction Begins
Arrr, matey! It’s time to bring your vision to life. Start by constructing the frame of your backyard tiki bar using the 4×4 posts and pine 2x4s. Secure them together with L brackets to ensure a sturdy foundation.
Next, attach the plywood sheets to the frame to create the bar’s surface. Trim any excess to achieve the perfect fit, and don’t forget to leave space for a cozy seating area.
Once the structure is in place, it’s time to add the finishing touches. Cover the exterior with bamboo sheets for that authentic island vibe, and use the 1×2 poplar boards to trim the edges for a polished look.
Step 3: Embrace Your Inner Tiki God – Decorating Time
Ahoy, adventurers! The hard part is done, but the fun is just beginning. Now it’s time to unleash your creativity and transform your backyard tiki bar into a tropical oasis.
Adorn the bar with thatch roofing to create a shady retreat from the sun’s rays. Add some bamboo accents, tiki torches, and twinkling string lights to set the mood for a night of island enchantment.
Don’t forget to stock your bar with all the essentials: tropical drinks, fresh fruit garnishes, and plenty of ice to keep the party going all night long.
Step 4: Raise Your Coconut Goblet – Cheers to Success!
Congratulations, intrepid adventurers! You’ve conquered the high seas of DIY and emerged victorious with your very own backyard tiki bar. Now, gather your crew, raise your coconut goblets high, and toast to the tropical paradise you’ve created.
So, what are you waiting for? Grab your grass skirt, dust off your ukulele, and let the island vibes wash over you. Your backyard tiki bar awaits – let the adventure begin!
Would you love to have your tiki bar in your backyard? You can easily achieve this by following the detailed tutorial in the link below! By following a few simple steps, you can have a beautiful and enjoyable tiki bar that will be the perfect place to relax and entertain guests.
The Advantages of DIY Backyard Tiki Bar DIY Project!
Welcome to the oasis of your dreams, where every sip is a slice of paradise and relaxation knows no bounds. If you’ve ever dreamed of having your own slice of tropical heaven right in your backyard, then buckle up because we’re about to unveil the undeniable advantages of your very own DIY backyard tiki bar in just 4 effortless steps!
Escape to Tranquility
Picture this: after a long day of conquering the corporate jungle or wrangling the little ones, wouldn’t it be nice to step into your own personal sanctuary? With your DIY backyard tiki bar, tranquility is just a few steps away. Say goodbye to stressful commutes and hello to instant relaxation as you slip into your own slice of paradise. No need for expensive getaways when you have a tropical retreat right in your backyard!
Party Like a Tiki Rockstar
Who says the party has to end when the sun sets? With your DIY backyard tiki bar, the fun never stops! Whether you’re hosting a laid-back luau or an epic island-themed bash, your tiki bar is the ultimate party destination. Mix up some mai tais, fire up the grill, and let the good times roll. With a fully stocked bar and plenty of island vibes, you’ll be the envy of all your friends and neighbors!
Unleash Your Inner DIY Jedi
Forget spending a fortune on overpriced patio furniture and cookie-cutter decor. With your DIY backyard tiki bar, you’re the master of your own destiny! Get ready to unleash your inner DIY Jedi as you embark on a creative adventure like no other.
From crafting the perfect thatch roof to customizing your bar stools with vibrant island colors, the possibilities are endless. Who needs a fancy designer when you have a little imagination and a lot of tiki spirit?
Elevate Your Outdoor Living
Gone are the days of boring backyard BBQs and uninspired outdoor gatherings. With your DIY backyard tiki bar, outdoor living reaches new heights of awesomeness!
Whether you’re enjoying a leisurely breakfast in the sunshine or hosting a moonlit cocktail hour under the stars, your bakcyard tiki bar transforms your outdoor space into a vibrant oasis of relaxation and entertainment. So grab a seat, kick back, and let the island vibes wash over you – paradise is just a piña colada away!
There you have it, fellow adventurers – the undeniable advantages of your DIY backyard tiki bar in 4 effortless steps! So what are you waiting for? Dust off your tool belt, break out the bamboo, and get ready to turn your backyard into the ultimate island getaway. Sip, relax, repeat – paradise is closer than you think!
5 Fabulous Backyard Tiki Bar DIY Designs for Ultimate Island Vibes!
Welcome to the ultimate guide to backyard tiki bar DIY designs – where every corner is a slice of paradise and every cocktail comes with a side of island vibes!
Whether you’re dreaming of a cozy hideaway or a sprawling party paradise, we’ve got you covered with 5 fabulous designs guaranteed to elevate your outdoor space to new heights of tiki-tastic awesomeness. So grab your grass skirt and get ready to turn your backyard into the ultimate island getaway!
1. The Classic Cabana
Kick back and relax in style with the classic cabana backyard tiki bar DIY design. Featuring a thatch roof, bamboo accents, and a spacious bar area, this design is perfect for those who love to entertain. Add some comfy bar stools, twinkling string lights, and a few tropical plants for a touch of island charm. Whether you’re hosting a laid-back luau or sipping cocktails with friends, the classic cabana has got you covered in style.
2. The Tropical Tiki Hut
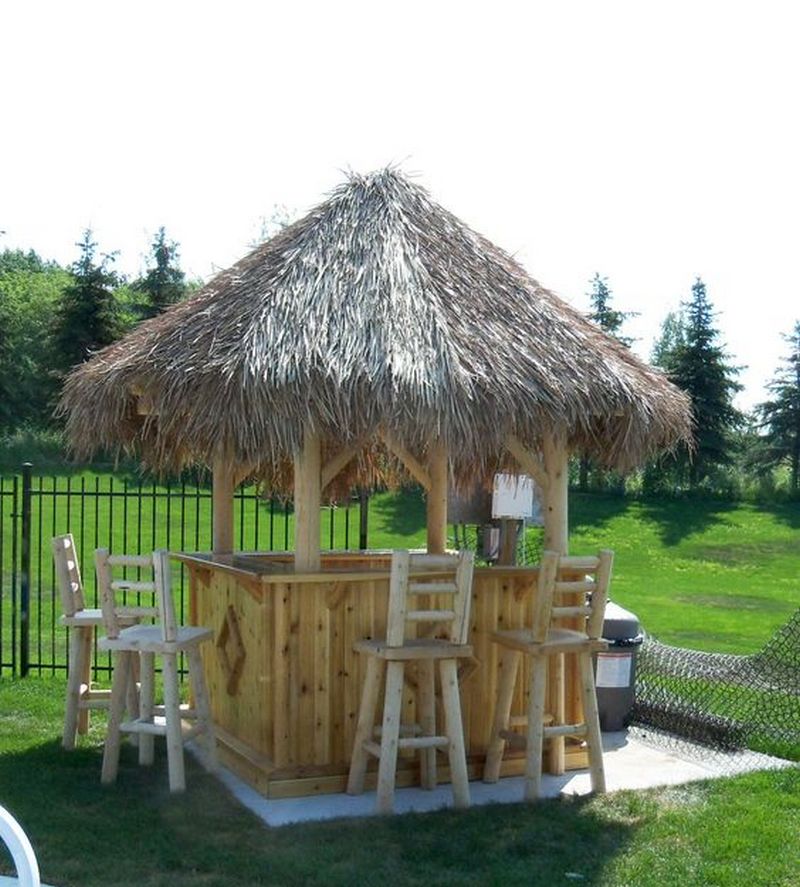
Escape to the tropics with the tropical tiki hut bar design. Inspired by traditional island architecture, this design features a peaked roof, bamboo walls, and plenty of rustic charm. Complete the look with a palm-thatched bar top, tiki torches, and colorful beach umbrellas for a touch of seaside chic. With its relaxed vibe and authentic island feel, the tropical tiki hut is sure to be a hit with guests of all ages.
3. The Poolside Paradise
Make a splash with the poolside paradise backyard tiki bar DIY design. Nestled next to your sparkling pool, this design is perfect for those who love to soak up the sun while sipping on a refreshing cocktail. With a built-in bar counter, underwater seating, and tropical landscaping, this design seamlessly blends indoor and outdoor living for the ultimate resort-style experience. So grab your floaties and dive into the poolside paradise – the water’s fine!
4. The Beachfront Bliss
Bring the beach to your backyard with the beachfront bliss tiki bar DIY design. Featuring sandy floors, driftwood accents, and panoramic ocean views, this design is perfect for those who crave the sound of crashing waves and salty sea breezes.
Add some surfboards, beach chairs, and a few seashell accents for a touch of coastal charm. Whether you’re sipping cocktails by the sea or watching the sunset from your hammock, the beachfront bliss tiki bar is your ticket to tropical paradise.
5. The Urban Oasis
Escape the hustle and bustle of city life with the urban oasis tiki bar design. Tucked away in a cozy corner of your backyard, this design offers a tranquil retreat from the daily grind. With a lush greenery, bamboo fencing, and a bubbling fountain, this design creates a serene atmosphere where you can unwind and recharge.
Add some comfy lounge chairs, soft cushions, and a few flickering candles for a touch of urban elegance. Whether you’re enjoying a quiet moment alone or entertaining friends, the urban oasis tiki bar is your sanctuary in the heart of the city.
There you have it, fellow island adventurers – 5 fabulous backyard tiki bar designs guaranteed to transport you to the ultimate tropical paradise. So pick your favorite, grab a cocktail, and get ready to turn your backyard into the ultimate island getaway. Cheers to tiki-tastic adventures!
Thanks to diynetwork for sharing strategies on how to build a DIY backyard tiki bar.
So what are you waiting for? Get started today and enjoy your backyard tiki bar in no time!
The Wrap Up
Your backyard transformation from mundane to magnificent, from ordinary to extraordinary, is a testament to your creativity, vision, and a touch of island-inspired magic. In just four effortless steps, you’ve turned an ordinary outdoor space into a vibrant oasis bursting with relaxation, entertainment, and endless island vibes.
From embracing the tiki spirit to building your very own tiki hideaway, from setting the scene with carefully curated ambiance to indulging in delicious island delights, each step of your journey was infused with passion, dedication, and a sense of adventure. You’ve embraced the laid-back charm of the tropics and brought it to life in your own backyard, creating a space where every moment feels like a vacation.
But your DIY backyard tiki bar is more than just a gathering place for friends and family—it’s a symbol of possibility, of turning dreams into reality, and of seizing the opportunity to create something truly special. It’s a reminder that with a little imagination and a lot of determination, anything is possible.
So as you raise a glass to toast your tiki-tastic achievement, take a moment to bask in the glory of what you’ve accomplished. Your backyard oasis is not just a destination—it’s a journey, and one that promises endless moments of joy, laughter, and relaxation for years to come. Cheers to you, dear friend, and to the endless possibilities that await in your own personal slice of paradise!
Frequently Asked Questions
- How do I attach the back posts to a tiki bar DIY structure?
- Attaching the back posts to a tiki bar is vital for stability and a polished look. Begin by positioning the bar frame upright, aligning taller two-by-two posts with angled ends towards the front for a classic tiki bar DIY design. Secure the posts with 3-inch screws through the top and bottom boards, reinforcing with extra screws or clamps for added stability where needed.
- What are the best practices for staining a tiki bar?
- Staining a tiki bar enhances its look and protects the wood when done correctly. Start by choosing a stain suited to the wood type, ensuring the surface is clean and smooth before applying evenly with a brush or cloth. Follow the stain’s timing instructions, wipe off excess promptly, and troubleshoot sticky spots with mineral spirits for a flawless and safe finish.
- How can I customize a tiki bar DIY project using different types of wood?
- Customizing a tiki bar with various wood types creates a unique and inviting atmosphere. Combine species like cedar, pine, and redwood for a rustic charm, using patterns such as alternating planks or checkerboards for a cohesive design. Enhance the look with contrasting stains, bamboo accents, and balanced placement to ensure a harmonious, tropical aesthetic.
- How can I create a canvas roof for a tiki bar using leftover materials?
- Repurposing leftover materials to make a canvas roof adds style and functionality to your tiki bar. Measure and cut the canvas slightly larger than the roof for an overhang, then position it evenly before securing the edges with a staple gun for a taut fit. Enhance durability by applying weatherproof spray, ensuring your canopy withstands outdoor elements while looking polished.
- How should I sand my tiki bar for a smooth finish?
- Sanding your tiki bar ensures a smooth, professional finish and prepares the surface for stains or sealants. Focus on corners, edges, and the bar top surface, using a sanding sponge with varying grits for best results. Apply even pressure and clean regularly to achieve a polished, splinter-free look.
- How do I install a lighting hook on a tiki bar?
- Installing a lighting hook on your tiki bar adds charm and functionality. Start by choosing the ideal spot, pre-drilling a hole, and securely twisting in the hook. Use an additional hook to guide the light’s cord neatly, then hang your fixture for even illumination and a polished look.
- How can I ensure precise cuts when building a wooden structure?
- Precise cuts are essential for a successful wooden structure. Use tools like a circular saw with a speed square for accuracy, and measure carefully to ensure each piece matches exact dimensions. Consistently check your work after each cut to maintain uniformity and fit, ensuring a sturdy final build.
- What are some tips for marking nail placements in woodworking?
- Precise nail placement is essential for a polished woodworking finish. Plan your layout in advance, marking nail points with a pencil and measuring consistently from edges, adjusting for board size as needed. Practicing on scrap wood helps ensure clean, aligned placements for a professional look.
- What are some additional projects for enhancing a backyard space?
- Enhance your backyard with simple, creative projects that combine style and functionality. Build a cozy lounge space with a DIY nesting chair, add ambiance with solar-powered string lights, and install a mobile bar cart for effortless entertaining. These ideas will transform your outdoor space into a beautiful and inviting retreat.


