Last Updated on June 3, 2024 by teamobn
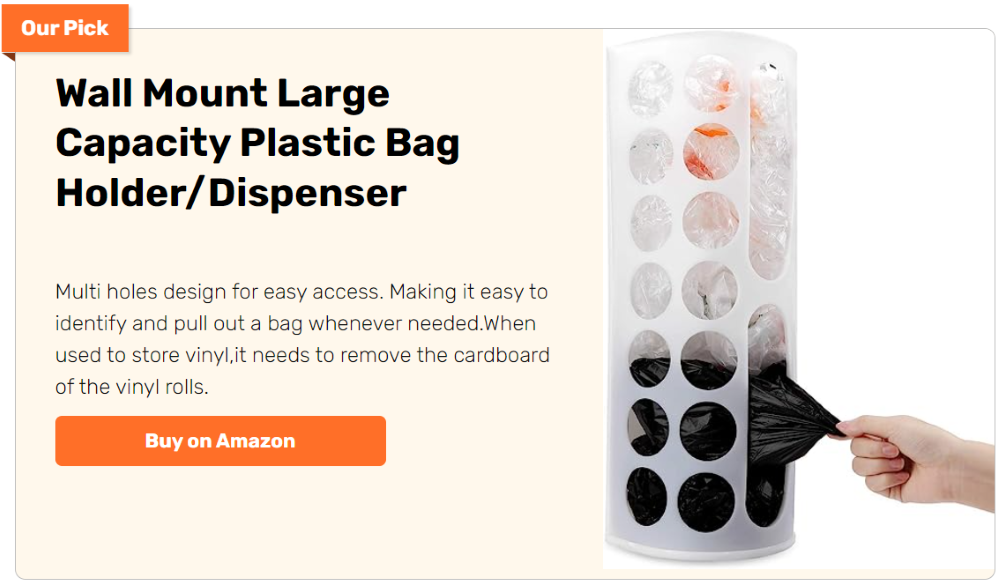
Plastic bags are common in most homes, hence a dispenser for them is also necessary. Keeping your plastic bags arranged and accessible is made easy with plastic bag dispensers. Made usually of metal or plastic, they can be hung on a wall or set on a countertop. Sizes of plastic bag dispensers range from five to fifty plastic bags.
Eco-friendliness is a matter of little things. Reusing rather than discarding plastic bags is one little way you can contribute to the environment. This little deed might stop pollution and lessen the quantity of trash ending up in landfills. Besides, it’s a terrific approach to save money because you won’t have to constantly acquire new bags. Thus, remember to carry along a few reusable bags the next time you go shopping and contribute to environmental protection.
Sorting these plastic bags, though, can be difficult. Some carefully fold them into little pieces, although it can take a long time.Some pack them inside used tissue boxes, but the little area doesn’t hold much.
Well, here’s a clever way to organize your plastic bags. It’s very easy to make and it doesn’t take up much space. Whether you mount it on your kitchen wall or wherever it’s guaranteed to keep things organized. Read on and learn how to make a plastic bag dispenser.
One of the best things about do-it-yourself projects is that you may customise them to your liking. Paint the PVC pipe, for instance, to coordinate with your house’s decor. This is a terrific approach to personalise the décor of your house. It’s also a joyful approach to express your self and get creative. You are absolutely free to go crazy with the hues. All things considered, you have a reasonably priced and useful completed product.
This plastic bag dispenser requires few supplies to create. The project is simple and quick, requiring little of your time. A little time and a few supplies will get you a useful dispenser for your plastic bags.
Contents
Making a Plastic Bag Dispenser
Materials
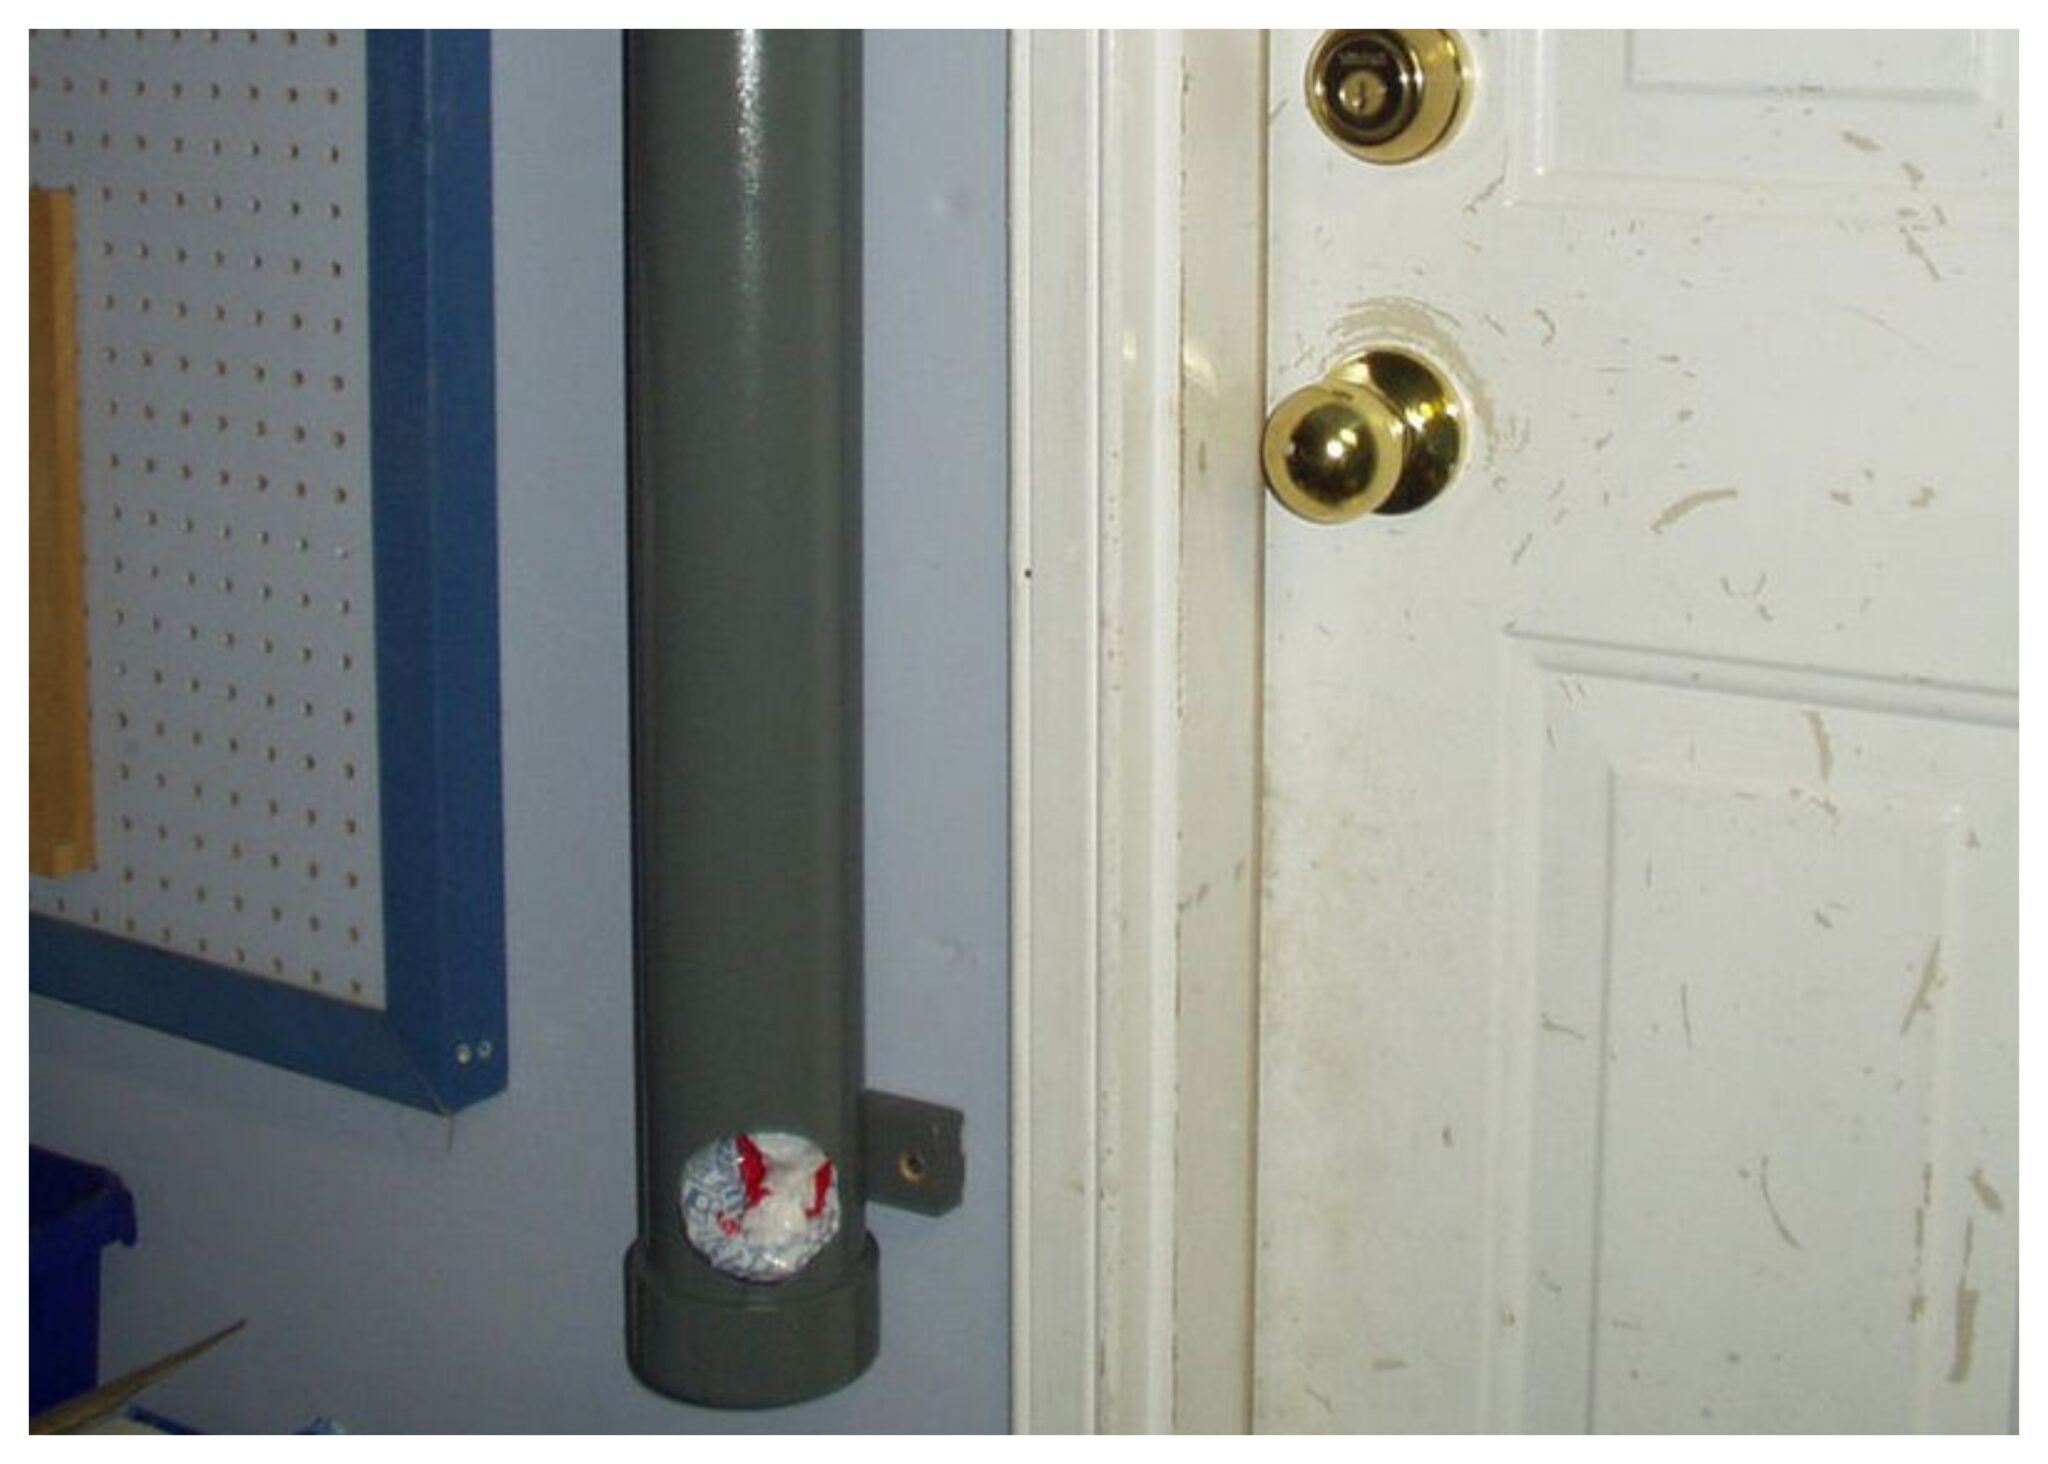
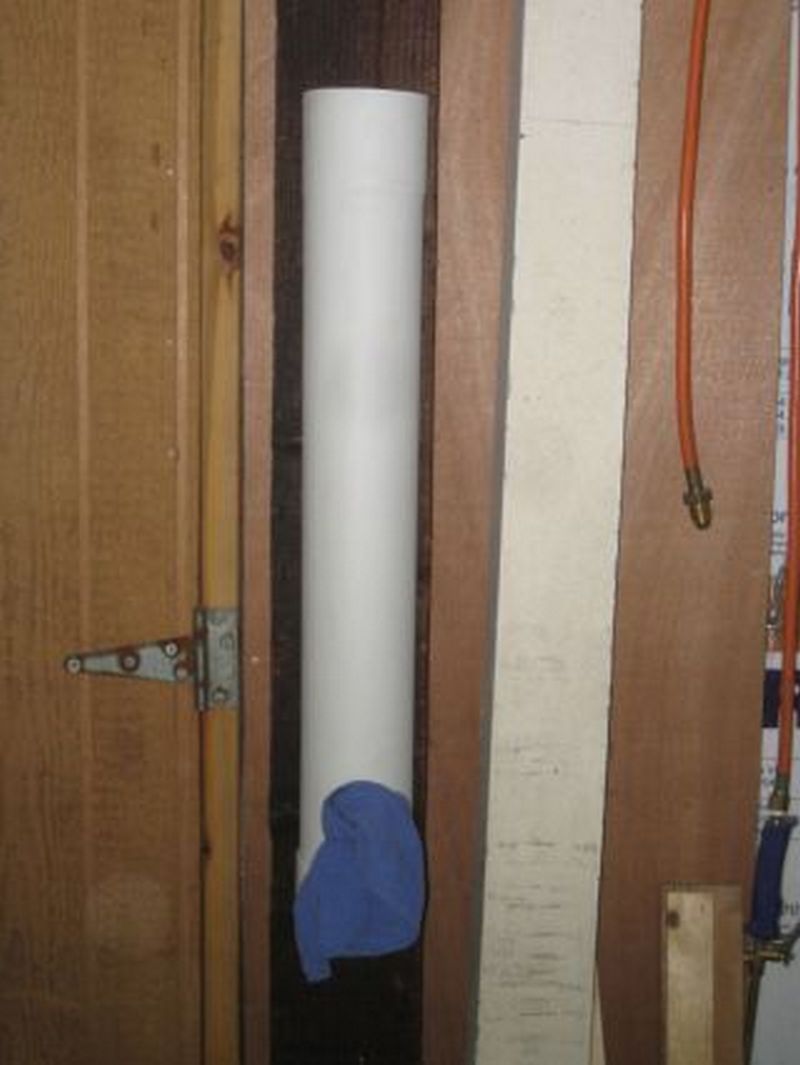
- 24″ piece of 3″ ABS Pipe
- An end cap
- A few scraps of wood for mounting
- Glue
- Spray paint
- Screws
- ABS Cement
Tools
- Cordless Drill
- 3″ hole saw
Steps
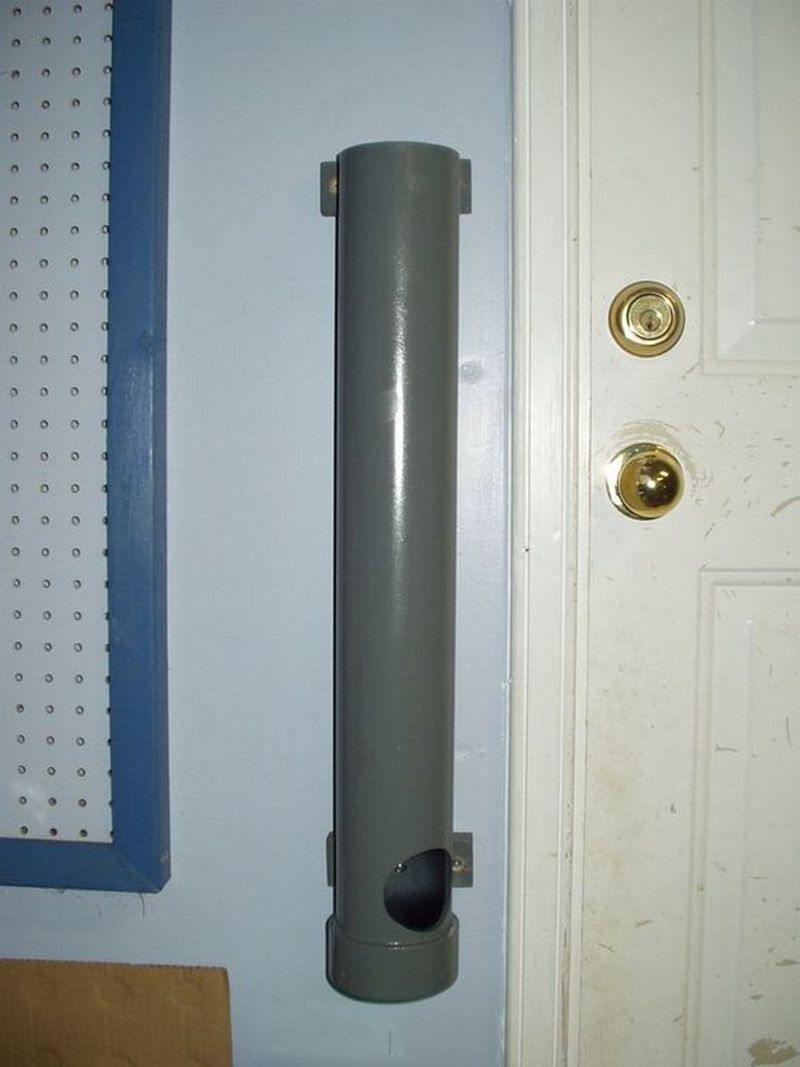
Step 1: Prepare the ABS Pipe
- Clean the ABS pipe with a damp cloth to remove any dust or debris to ensure the paint and cement adhere well.
- Apply ABS cement around the rim of one end of the ABS pipe.
- Attach the end cap to the cemented end of the pipe. Press firmly to ensure a secure fit.
- Allow the cement to dry according to the manufacturer’s instructions, typically a few hours.
Step 2: Paint the ABS Pipe and Wood Mounts
- In a well-ventilated area, lay down newspapers or a drop cloth to protect the surface.
- Spray the ABS pipe and wood scraps with your chosen color of spray paint. Apply a thin coat to avoid drips.
- Let the first coat dry, then apply a second coat if necessary for even coverage.
- Optional: Apply a primer before painting if you want a more durable finish.
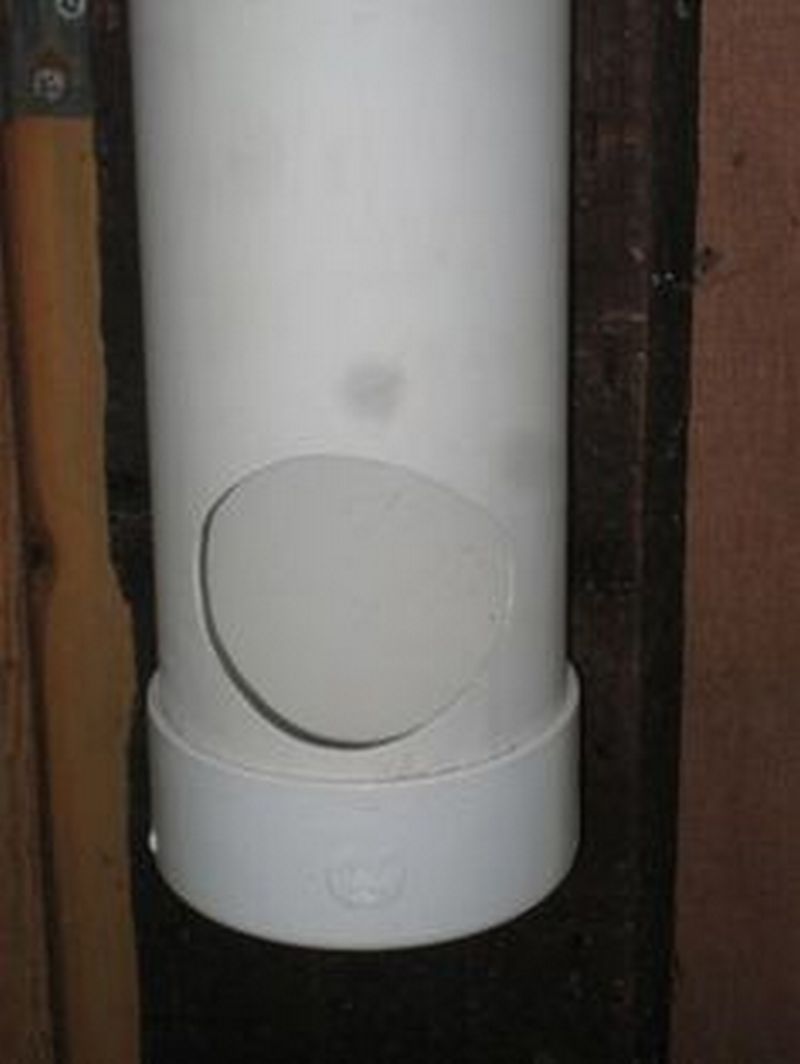
Step 3: Create the Dispensing Hole
- Once the paint is dry, secure the ABS pipe to prevent it from moving.
- Using the 3″ hole saw attached to your cordless drill, carefully drill a hole approximately 6″ from the top of the pipe. This will be the dispensing hole.
- Remove any rough edges around the hole with sandpaper or a file. This step is crucial to prevent the plastic bags from tearing.
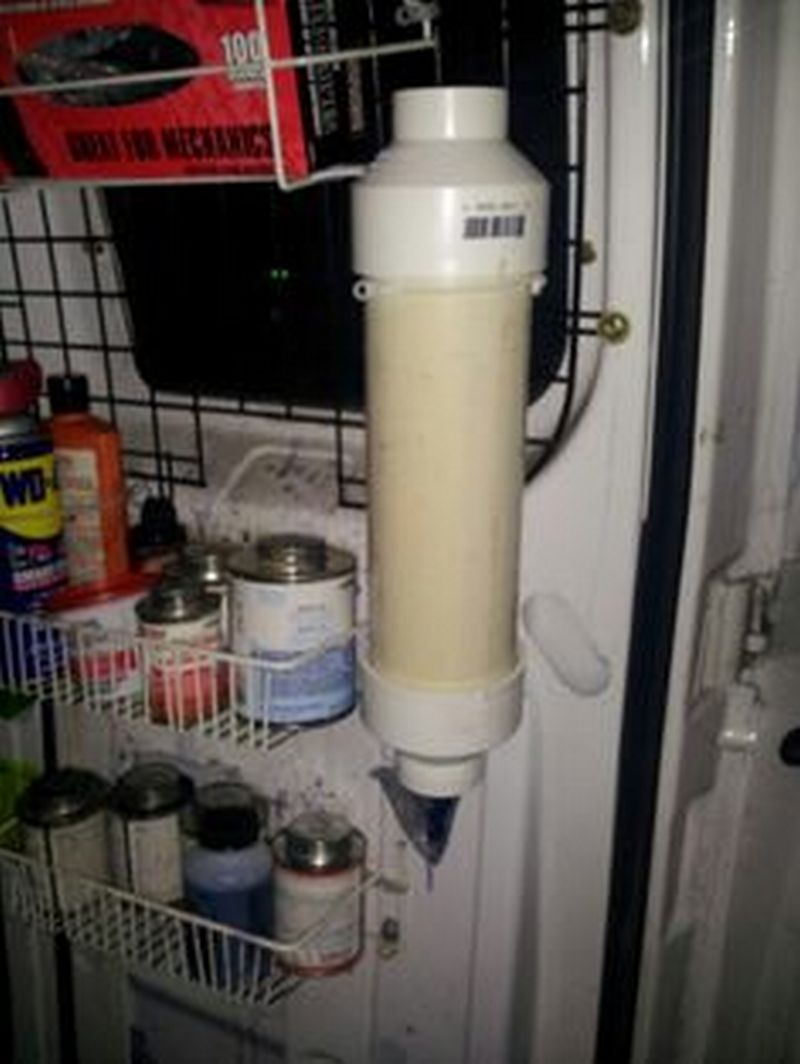
Step 4: Prepare the Mounting Blocks
- If not already painted, paint the wood scraps to match or complement the ABS pipe.
- Once the paint is dry, use glue to attach the mounting blocks to the back of the ABS pipe along the length that will contact the wall. Allow the glue to set.
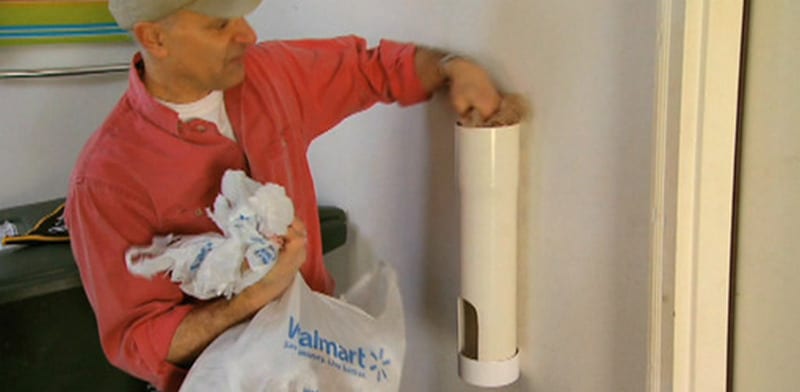
Step 5: Mount the Dispenser to the Wall
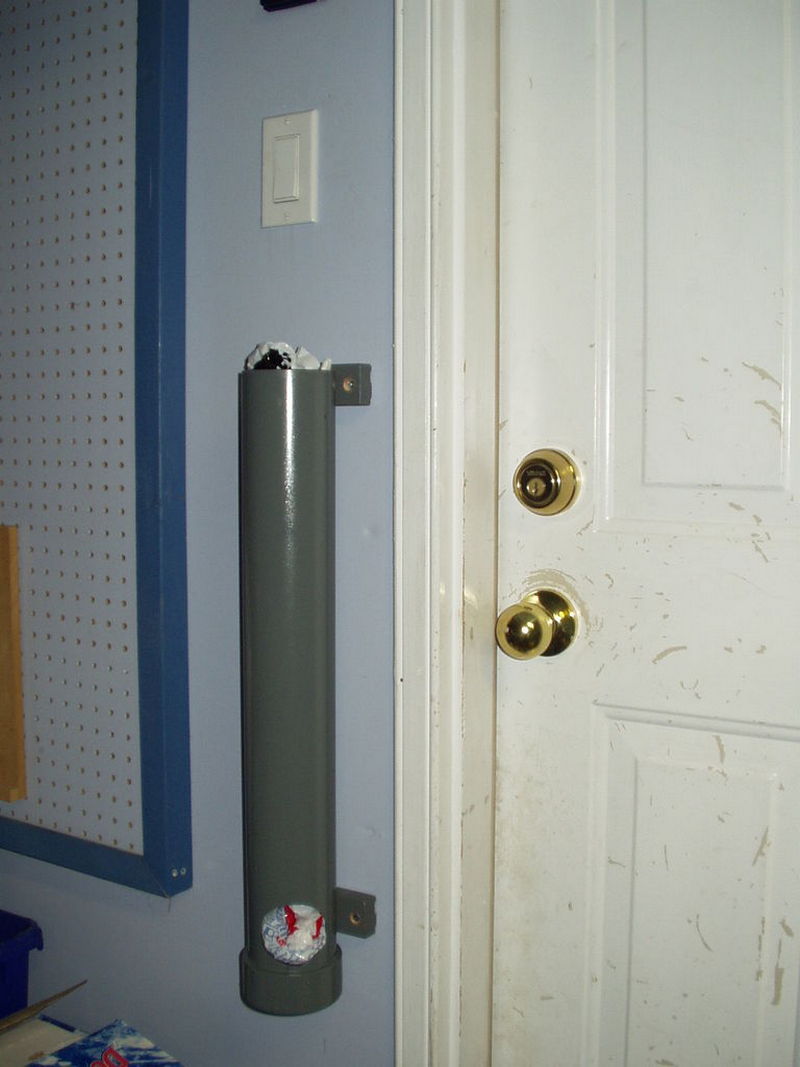
- Choose a convenient location for your plastic bag dispenser, such as the inside of a pantry door or under a kitchen cabinet.
- Using the cordless drill, screw the mounting blocks (with the ABS pipe attached) to the wall. Ensure the dispenser is mounted securely.
Step 6: Load the Dispenser
- Place your plastic bags into the top of the dispenser, pushing them down toward the hole. Pull the first bag slightly through the hole to start the dispensing.
Click on any image to start the lightbox display. Use your Esc key to close the lightbox.

Thanks to gt_man002 for this great project. You can get step-by-step instructions here…
Customizing Your Plastic Bag Dispenser
Turning a basic plastic bag dispenser into a unique home feature is both fun and rewarding. Here’s how you can inject some personality into your plastic bag dispenser and make it a standout piece in your home.
Pick Your Palette
First things first: color. What vibe are you going for? Choose a color that not only pops or blends in depending on your room but also feels right to you. If you want your plastic bag dispenser to endure the hustle and bustle of the kitchen, slap on a layer of primer first. This will keep it looking fresh and chip-free for longer.
Get Creative with Patterns
Want to jazz it up a bit? Grab some stencils and spray on some patterns. Whether it’s chevrons, polka dots, or a leafy pattern, this can turn your plastic bag dispenser into a conversation starter. If you’re confident with a brush, you could even paint a mini mural on it. For a quicker fix, stickers or decorative tape can add instant character.
Experiment with Textures
Textures can dramatically alter the look of your plastic bag dispenser. Try wrapping it in twine for a rustic touch or adhering a piece of your favorite fabric for a soft, textured effect. If you’re into a modern industrial look, a faux metal finish might be up your alley.
Light It Up
Adding a small, battery-operated light inside your plastic bag dispenser isn’t just practical; it also creates an ambient glow that can warm up any space. This little touch is especially handy when you need to grab a bag during those late-night cooking sessions.
Add Useful Features
Think about how you can make your plastic bag dispenser work harder. Mounting a tiny shelf on top for sundries or adding hooks to the side for hanging aprons or oven mitts can double its functionality. Suddenly, it’s not just storing bags—it’s a pivotal part of your kitchen organization.
Incorporate Mixed Media
Mixing different materials can give your plastic bag dispenser a unique flair. Consider adding metal accents, such as copper or brass strips, around the top or bottom for a chic look. Alternatively, using glass or ceramic tiles can create a mosaic pattern that’s both eye-catching and sturdy.
Apply Chalkboard Paint
For those who love to keep notes or enjoy a touch of whimsy, coating your dispenser with chalkboard paint allows you to write grocery lists, reminders, or fun messages directly on it. This interactive element not only makes your dispenser functional but also constantly changeable based on your needs or mood.
Vintage Transfers
For a vintage vibe, consider applying rub-on transfers or decals that have an old-fashioned or retro aesthetic. Choose from floral patterns, vintage labels, or classic typography to add a nostalgic feel to your dispenser.
Use Natural Elements
Bringing nature into your design can add a calming effect. Attach small stone tiles, seashells, or even pieces of driftwood to the outside of the dispenser. These elements can bring texture and a natural palette to your design, making it blend beautifully with minimalist or coastal-themed decor.
Personalize with Monograms
Adding a monogram or your initials can personalize your plastic bag dispenser in a subtle yet stylish way. Use stencils and paint or adhesive letters to add your initials. This can be particularly effective if you’re making dispensers as gifts.
Embellish with Hardware
Adding stylish knobs or pulls that match your kitchen hardware can elevate the look of your dispenser. These can serve as decorative elements or functional handles to help pull bags out more easily.
Theme It Up
Tailor your plastic bag dispenser to a specific theme such as nautical, floral, or geometric shapes which can be reflected in your choice of decorations and colors. This works great if you’re aiming to maintain a consistent theme throughout your kitchen or pantry.
Seal and Protect
Once your decorating is complete, make sure to seal your artwork, especially if you’ve used materials like paper or fabric. A clear acrylic sealer can protect your designs from wear and tear and make cleaning easier without damaging the surface.
By taking these steps, your plastic bag dispenser will morph from a mere storage item into a charming and practical feature of your home. It’s all about making it truly yours.
Conclusion
A fulfilling activity that improves your home’s decor and utility is making your own plastic bag dispenser. It becomes a statement of your creativity and taste rather than merely a practical object when you add special decorations and personal touches. Once finished, take in the ease and beauty it brings to your area knowing it was made by you.