Last Updated on July 2, 2023 by teamobn

We started by covering the edges of the doors, cutting the pieces so that they were 3/4″ wider than they needed to be. This extra width worked to hide the cut edges of the 3/4″ thick pallet boards that were used to cover the front faces of the doors of our rustic cooler project.
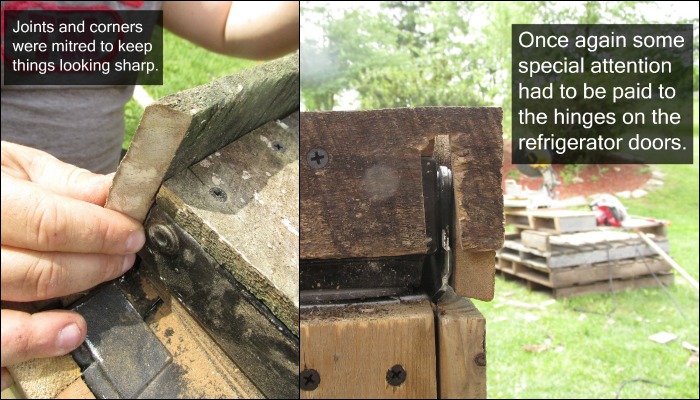
Lastly once the front faces and edges were covered, trim boards were added along the edges of the doors to give everything a finished appearance.
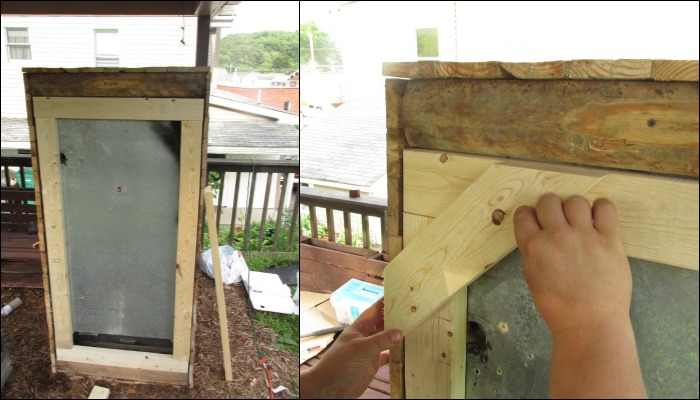
One of the most important considerations when building this rustic cooler was a way to make it portable so that it could be taken to different parties or events as needed.

On that end, there is an under-structure made of 2″ X 4″s that supports the weight of the rustic cooler and also provides mounting points for casters.

One of the bigger challenges of this project ended up being waterproofing. Believe it or not, refrigerators are not built to be waterproof when laid horizontally, there are holes for wiring, holes for attaching ice makers, and apparently, just some holes for no other reason than to make the process of waterproofing a refrigerator just a little bit harder.

Nevertheless, with a little time and a lot of caulking we were able to seal everything up nice and tight. The smaller holes were easily sealed with a dab or two of caulking, the larger holes required a combination of PVC plugs and caulking, and the largest hole ended up being used to create a really handy drain so that the rustic cooler can be emptied of melted ice and water by the twist of a handle.
Once everything was sealed and the caulking was given sufficient time to cure, the cooler was filled with water to check for leaks, any leaks found were fixed with more caulking and once everything was watertight the cooler was almost ready for use.

With all the major work done, the last step of the project is to give the cooler a little character and charm. Heavy-duty handles were added to both the cooler bay lids to make them easier to open.

Rope catches were added to keep the lids from opening too far, and a chalkboard was added to the front to let people know what would be available inside the cooler.
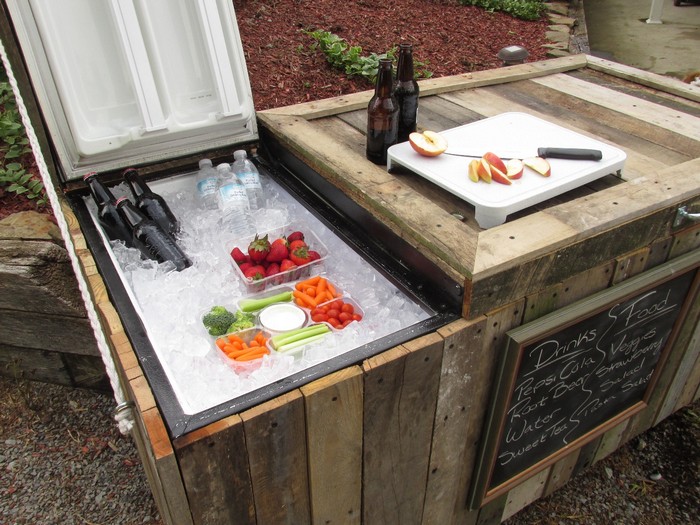
This was a really fun project to work on. And it has already proven to be a useful addition to our summer evening cookouts and other parties. Not to mention that it is also a great conversation piece, and really catches people off guard when they open the cooler to find what used to be a refrigerator.
Thanks to Matt2 Silver for this great project!

