Last Updated on September 26, 2023 by teamobn
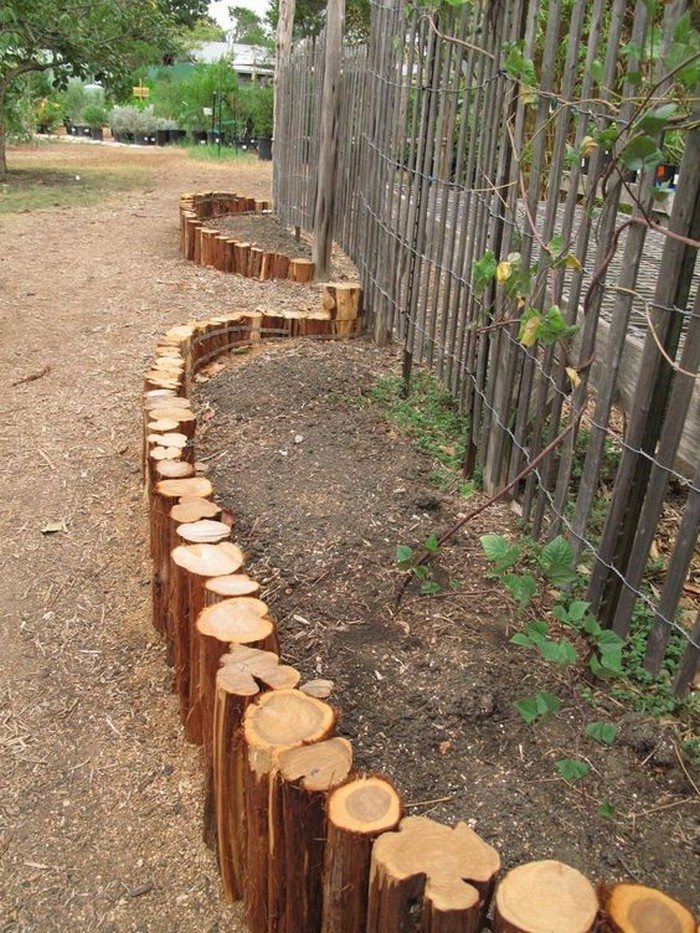
Here’s a practical way of making a natural-looking raised garden bed. The owner needed a place to grow vegetables but didn’t want to spend money on expensive raised garden bed kits. He saw the opportunity while clearing the garden. Instead of dumping or burning fallen branches and logs, he decided to turn them into a raised garden bed.

This unique raised garden bed has all the benefits of a more traditional one and it is made from natural materials. The great part about this one is that even when not planted out, it still provides a nice feature in the garden.
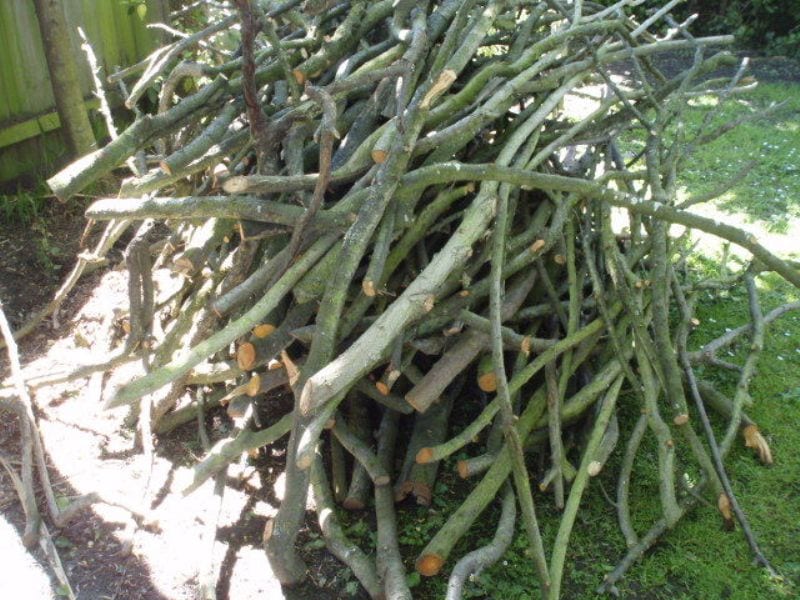
We’re gathering fallen branches and logs for this raised garden! How about you?
Click on any image to start the lightbox display. Use your Esc key to close the lightbox.


Materials:
- Small branches
- Logs
- 2″x4″ Timber
Hardware:
- String
- Screws
Tools:
- Power Drill/Driver
- Hammer
- Shovel
- Trowel
- Handsaw
Steps:
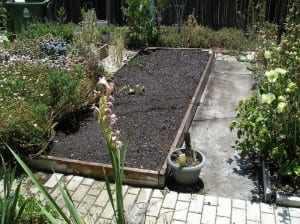
The first steps obviously involve a certain amount of design and this will depend on your site, required garden size, and other variables that you consider important for your raised garden. The major variable that I can guide you on will be the height of the raised garden. I have made this raised garden about waist height, so about 1m high.

This is primarily so one can bend over and reach plants toward the rear of the raised garden. You can make yours any height, however, the post hole depth that you will need to dig should be at least the height of the garden. Essentially we are trying to create a retaining wall so be very careful with your design – you don’t want to harm anyone from a collapsing raised garden!
Also before you start, ensure you have enough branches. I ended up using more than I could have imagined so give your trees a good trimming! Also if you are building next to a fence (as I have done) ensure that you place a polythene sheet between the fence and the soil to avoid rotting of the fence.
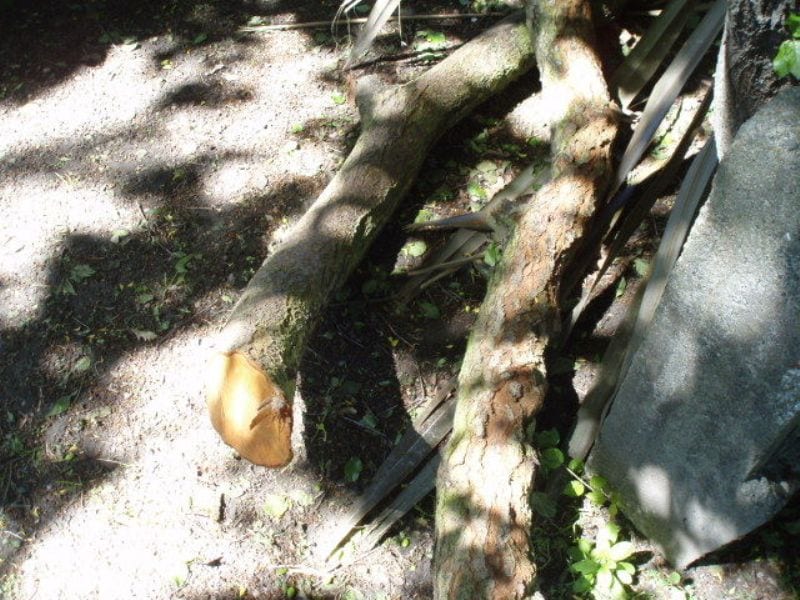
Bigger branches, measuring 100-150mm in diameter serves as posts.
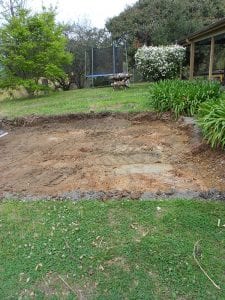
Your post holes will need to be a certain distance apart and on any single face of the garden there should be at least 3 posts – 2 corner posts and 1 middle post. The distance between posts will ultimately depend on the length of timber you have, however I would not recommend going over 2m otherwise the timber may bow under the force of the soil.
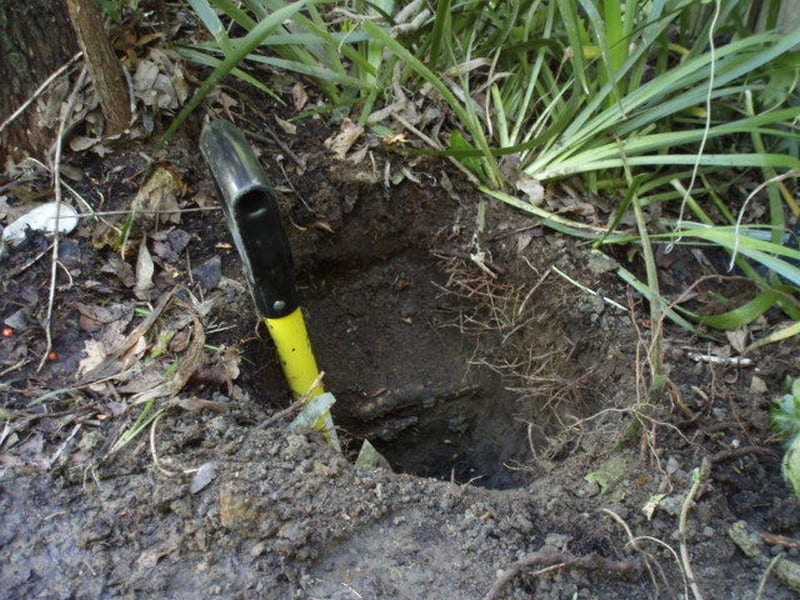
Based on the design that you choose for yourself, dig deep holes at least the height of your garden. You will also need to choose decently thick branches for the posts. I used the biggest I had, which was about 100-150mm in diameter.
These posts should be reasonably straight with minimal notches and the length should be at least twice the height of the garden (plus some) – 1/2 will be underground, 1/2 above ground, and a little leftover to trim flush with the timber beams.
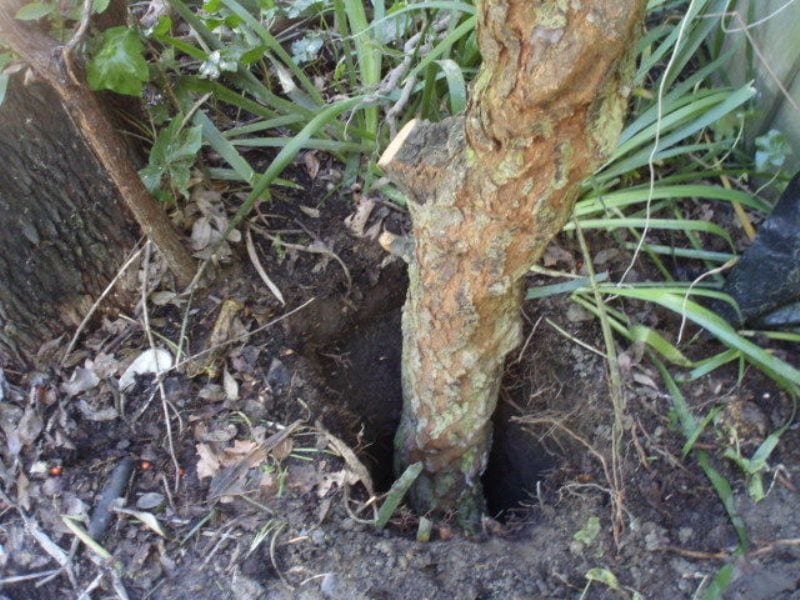
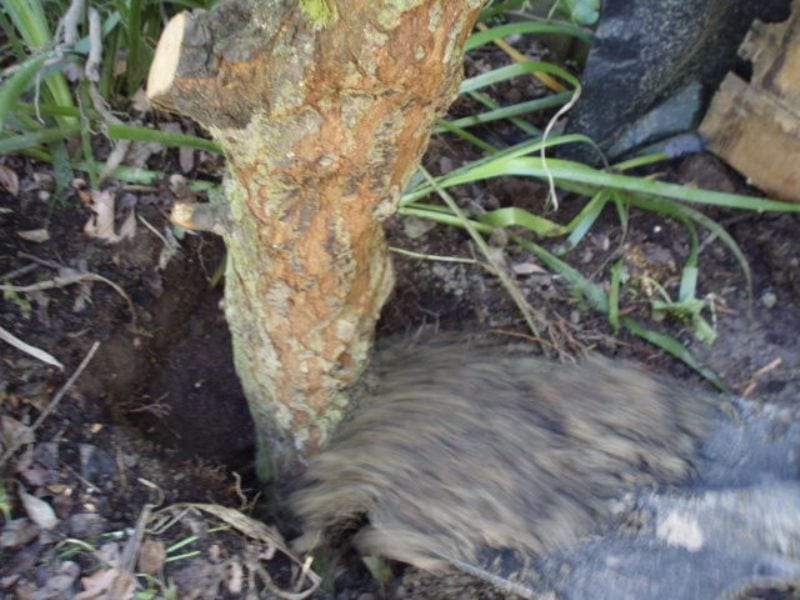
Once the holes are dug, place the post vertically into the hole (you may want to use a level, however, this may not matter too much as all-natural materials are not perfectly straight). Following this, fill about 3 spades of soil into the hole around the post and then hammer the soil with a piece of flat-ended timber.
This will make the post sit firm on the ground. If the soil is wet this may be a problem, so perhaps wait until drier weather.
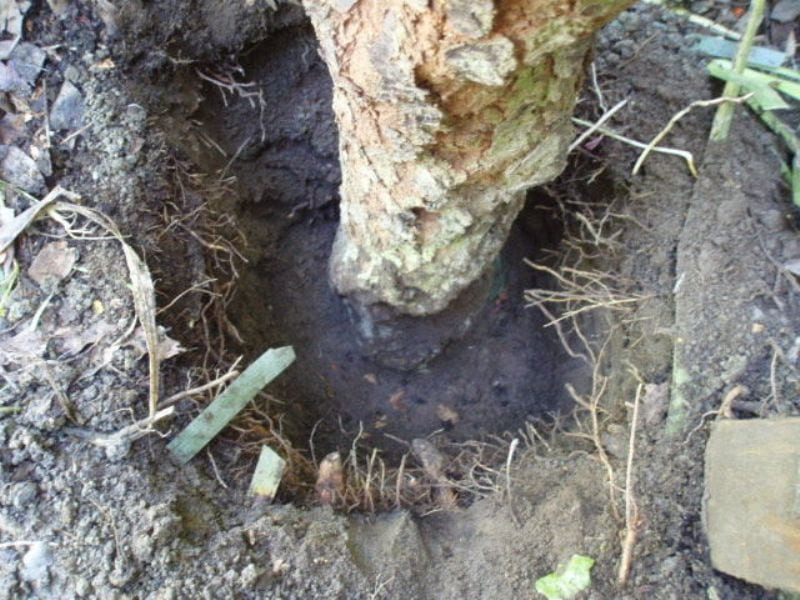
Continue until the level of the hammered soil is about 200mm from the surrounding ground level.
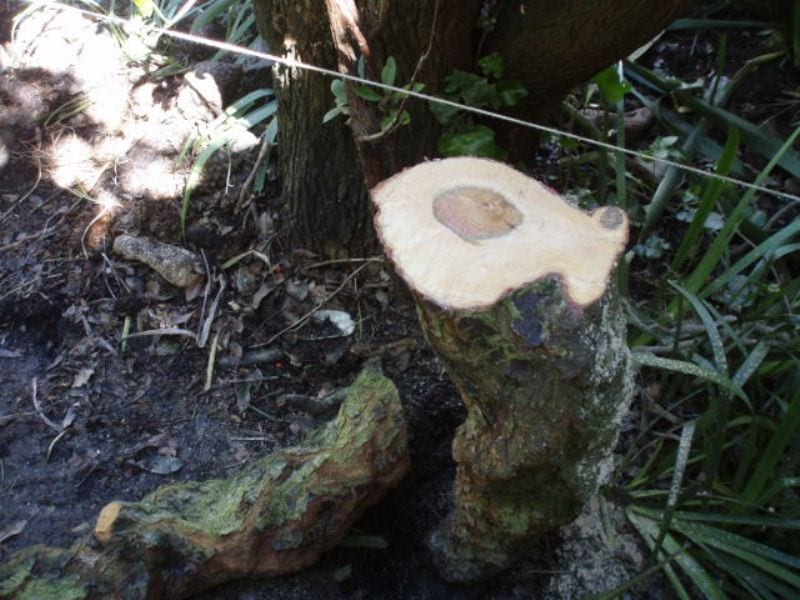
Once the posts are dug in, you will need to set the height of the raised garden. Use a string line to get an appropriate height and to get the garden level. The garden should be easy to reach over, so generally, anything less than 1m should be good. Once this level is set, cut all of the posts to this string-level height.

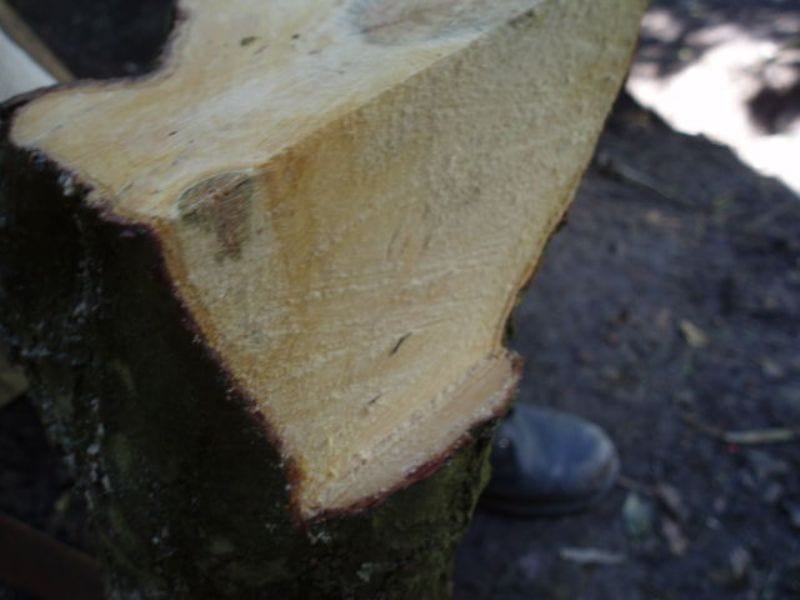
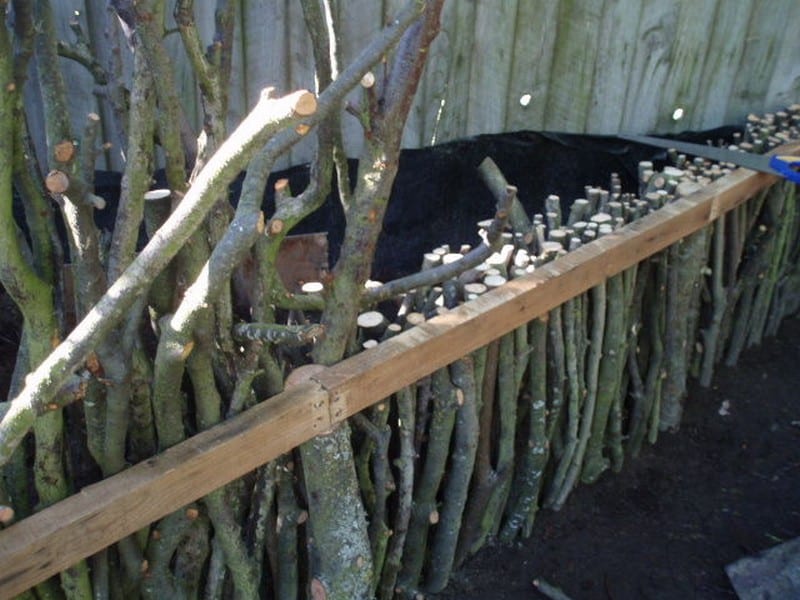
The next step will be to notch each post so that the beams will be able to sit on something. Using the level line, calculate how deep the notch will be. This will usually be the size of the timber beams you are using.
In this example I have used a 100 x 50mm timber section, therefore cutting down 100mm and into the post 50mm from the front of the post. Cut out with a saw as level as possible. Sit the beams on the notches and prepare to fix the posts.
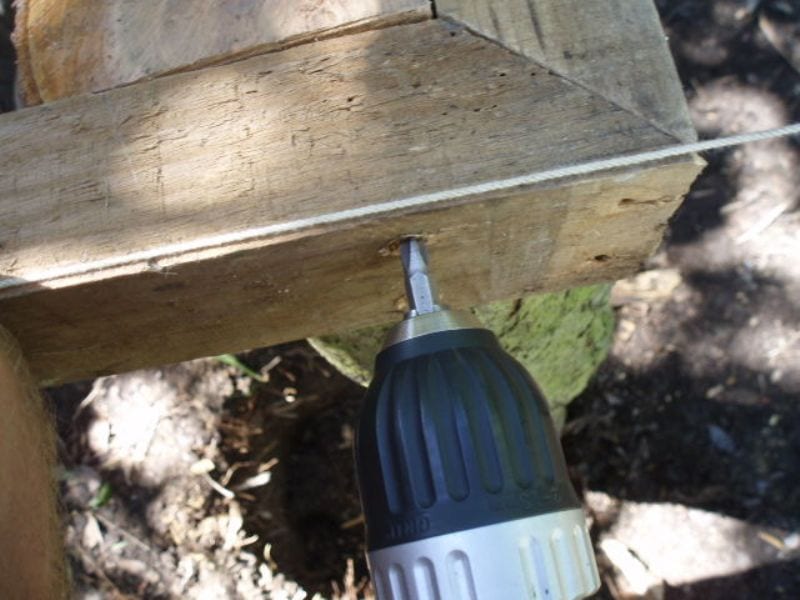
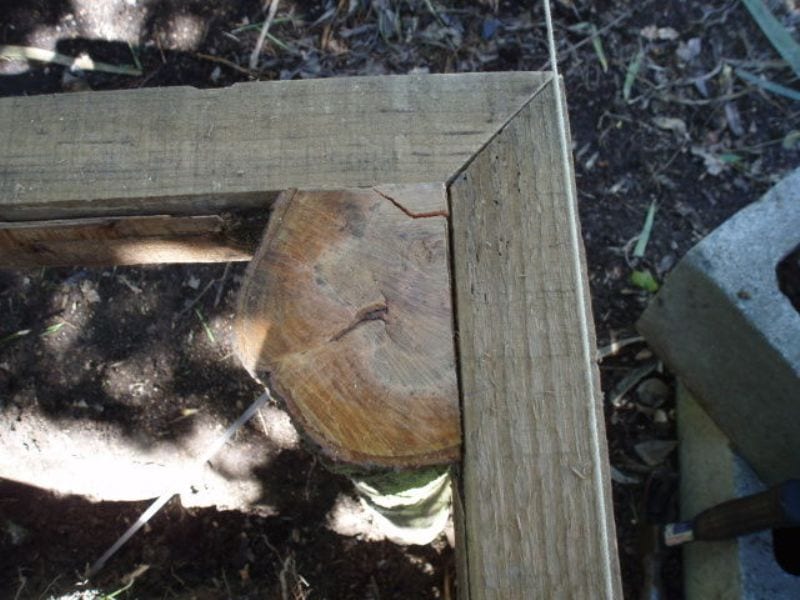
With the beams in place, drill holes and screw beams to the posts. Ensure that the screw is long enough to go through both. Countersink holes if you like. If you have any corners, these may want to be mitered, however, these sorts of decisions are up to you.
With the posts and beams placed, now it is time for the most difficult part. Placing the branches is a trial-and-error process and is quite time-consuming. However, for ease of completing this, I do have a few tips.
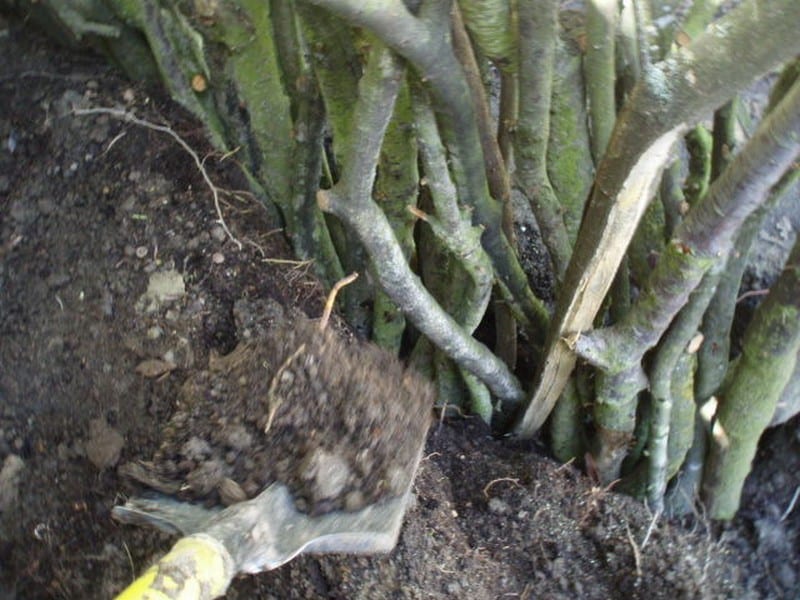
Firstly dig a trench between the posts about 200mm deep and 200mm wide, this will allow the branches to be placed into the earth in order to spread the force between the beams and the ground, meaning the wall will not fall over when soil is loaded behind it.
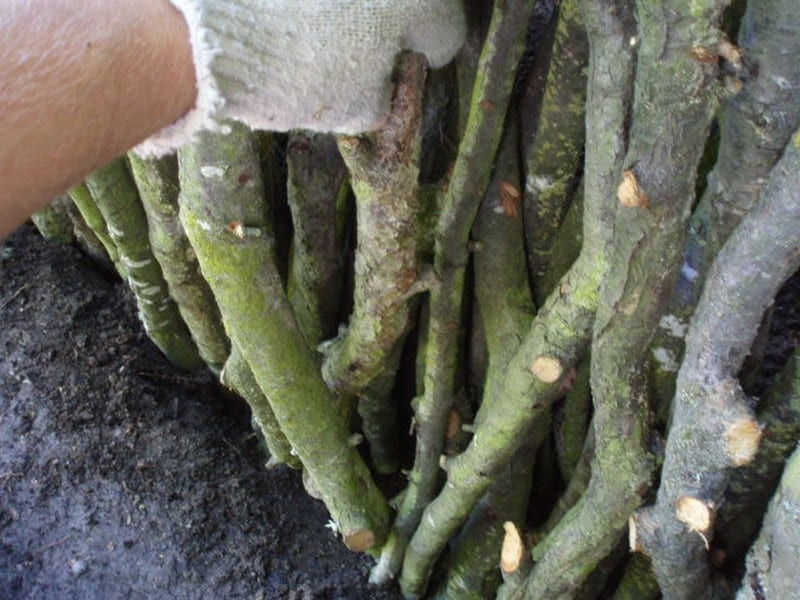
Select only branches that are between 10 and 50mm in diameter and that will span from the bottom of the trench to the top of the beam. Start placing the branches alongside each other, attempting to eliminate or minimize gaps, place branches about 3 deep at this stage.
Once the branches have been placed between 2 posts, fill in behind the branches with soil and stamp down with your foot. This will ensure that the branches stay roughly in the same place.
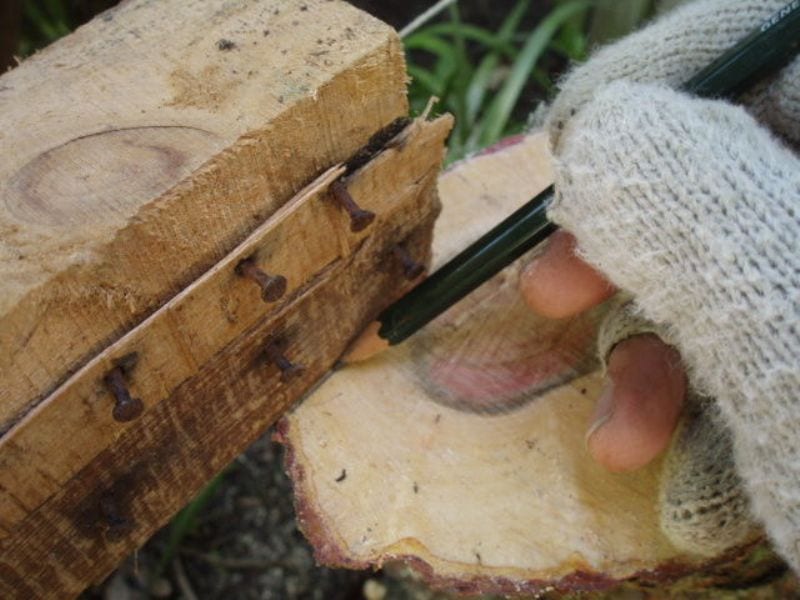
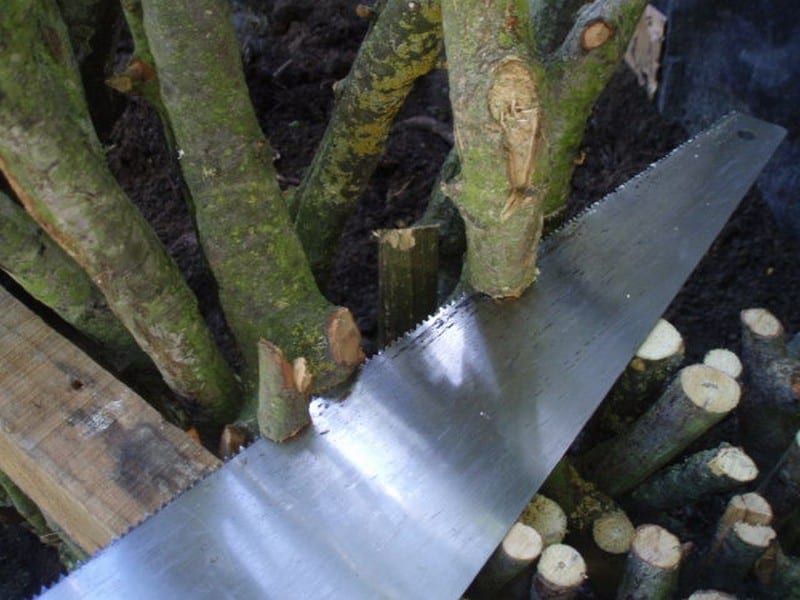
Following the first run with the branches and once they are reasonably firm in their positions, start to trim the branches flush with the top of the timber beams. After a few cuts, you will find that some branches are wobbly. If this is the case, you will need to keep squashing in appropriately sized branches until this wobbling ceases.
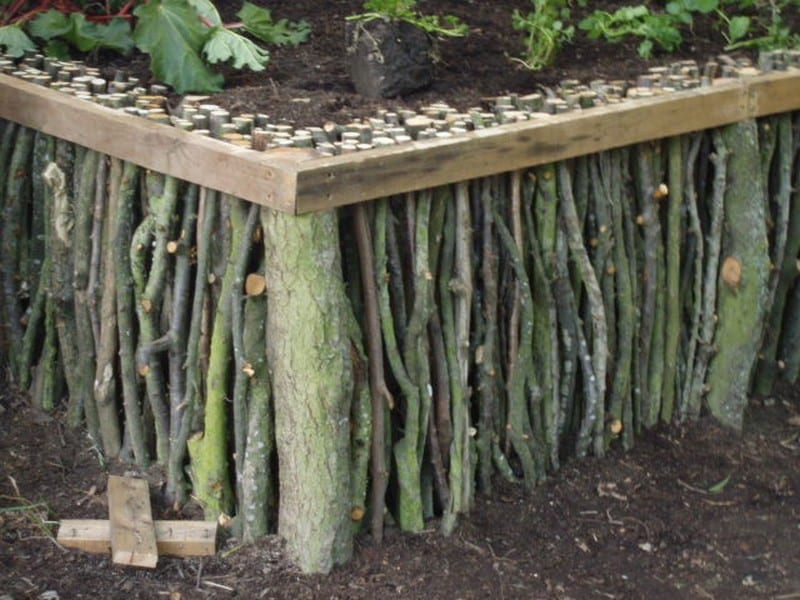
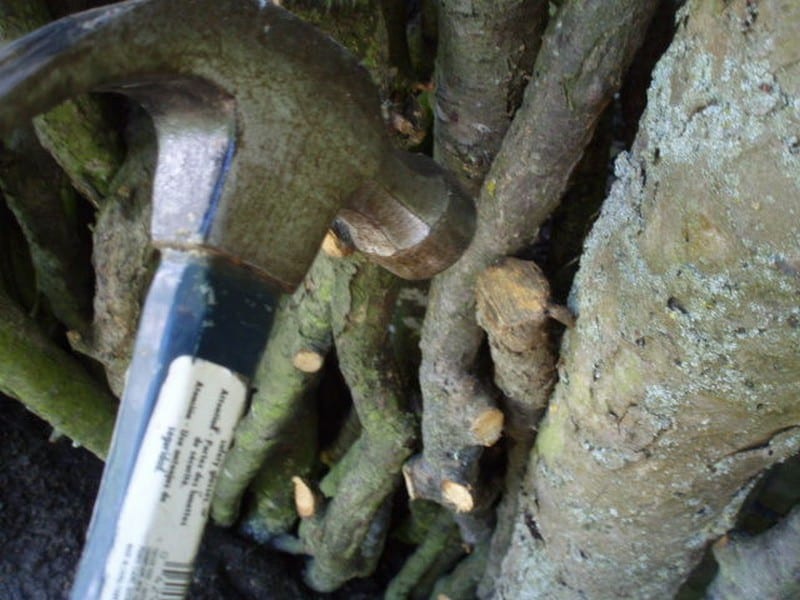
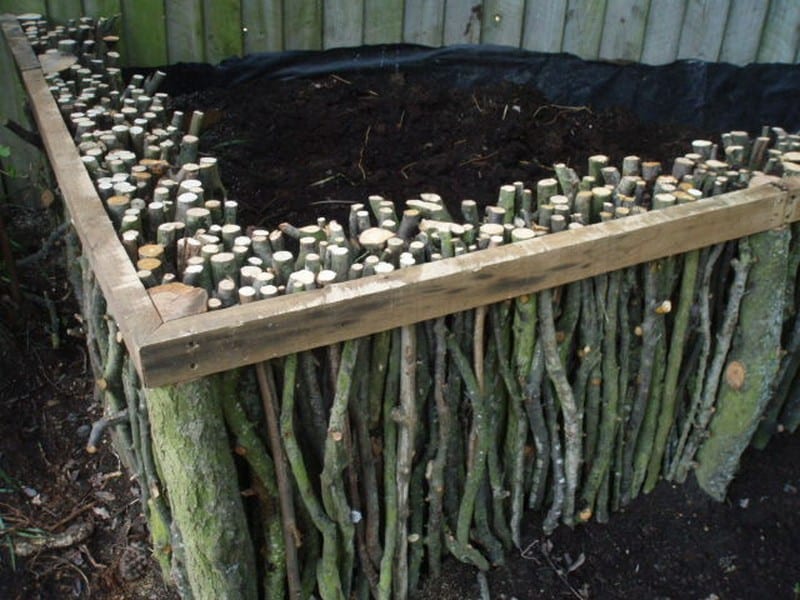
After a while, you will notice that the wall is so dense that no gaps are apparent when looking through the front of the wall. If it is difficult to add new branches, use a hammer to smack the branches into position. Basically, if all of the branches are firm, you will have no structural problems in the future.
By the time all of the branches are cut and each branch does not wobble, the wall should be about 4-5 rows deep – enough to hold soil back from falling through the front.
Once all of the branches have been placed, fill with soil and other green matter as necessary.
Fill in the front of the trench so that the soil is level with the surrounding ground level. Plant with plants!
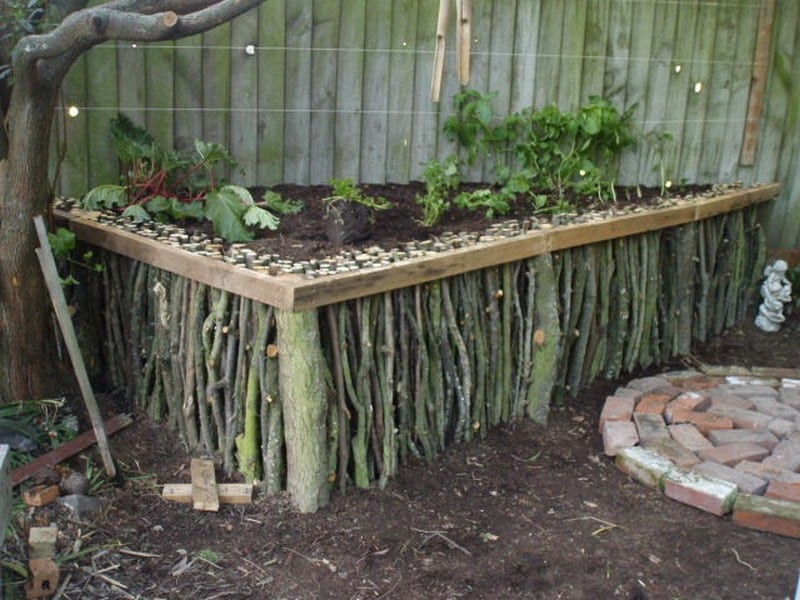
Isn’t this a wonderful garden bed idea? An inexpensive but most probably free project that could blend in well with most gardens. Do you have a pile of tree branches lying in your area? Why not rearrange them to make a raised garden like this?