Plastic barrels may be functional, but they aren’t particularly attractive. By recycling them into plastic barrel planters, you can keep them out of landfills and make something unique for your outdoor area.
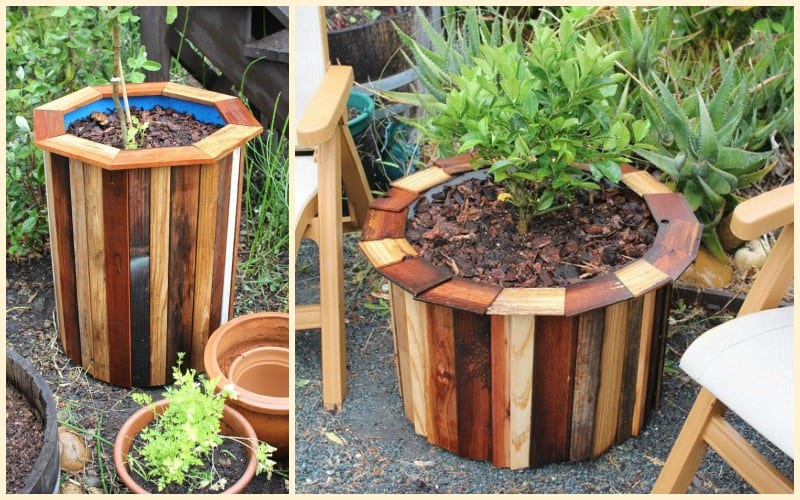
In this plastic barrel planter project, the owner wanted simple, inexpensive, and great-looking planters. To achieve this he made planters from second-hand 55-gallon food-safe plastic barrels. Then. to add some pizazz, he used some scrap wood from previous projects to dress up the barrels!
All in all, the project didn’t cost much. The barrels were $10 apiece on craigslist, and the wood is free. Although this project is relatively cheap, it’s difficult to ignore the amazing results.
We’re on the lookout for food-safe plastic barrels and scrap wood to recycle. How about you?
Click on any image to start the lightbox display. Use your Esc key to close the lightbox.
Contents
Crafting a Plastic Barrel Planter
Materials
- Plastic Barrel
- 1/8″ – 1/4″ Wood Planks
- Brad Nails
- Mesh Screen
- 1” Thick Scrap Wood – risers
Tools
- Jig Saw
- Cordless Drill
- Mitre Saw
- Brad Nailer
- Hammer
Instructions
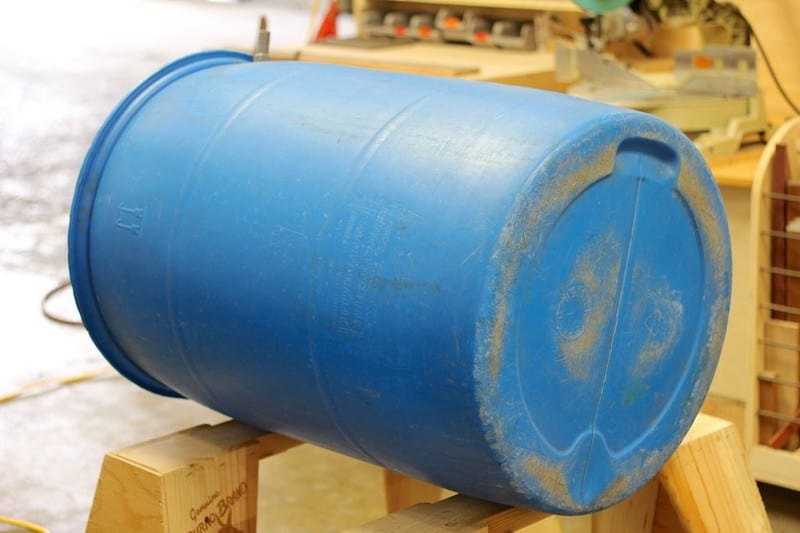
I was able to find cheap and clean used barrels all over craigslist. I paid $10/barrel and bought two of them, one blue and one white.
Using a jig saw with a fine tooth blade, cut the top off of one of the plastic barrels. To mark an even cut line all the way around the plastic barrel planter I simply held a marker in place at the height I wanted to cut at and spun the barrel around keeping the marker stationary – voila.
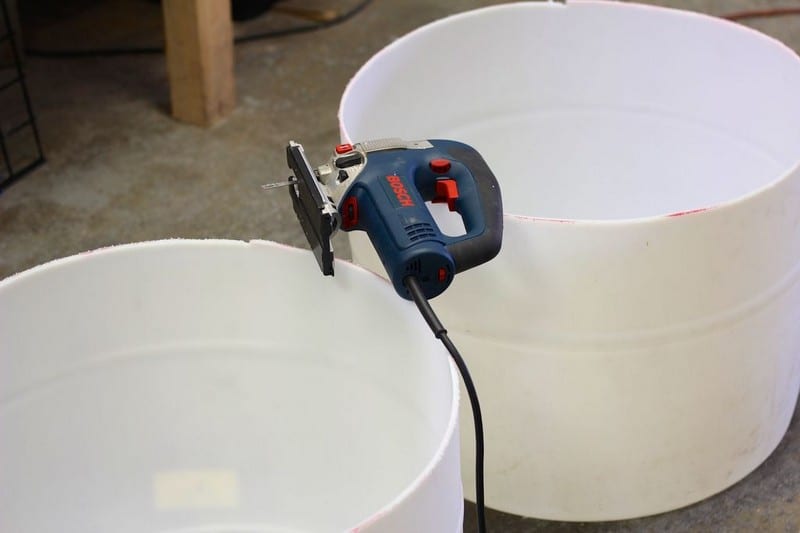
To make two smaller plastic barrel planters instead of just one huge one, cut the barrel in half and DON’T cut the top of the barrel off, since that will now become the bottom.
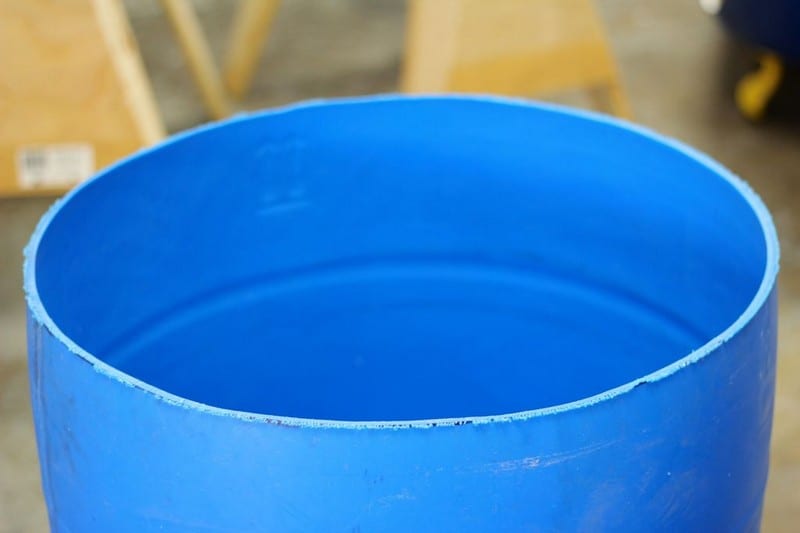
Deburr the lip of the plastic barrel planter you just exposed from your cut with a de-burring tool. This step is completely unnecessary, but just something nice to throw in if you have the tool and the time.

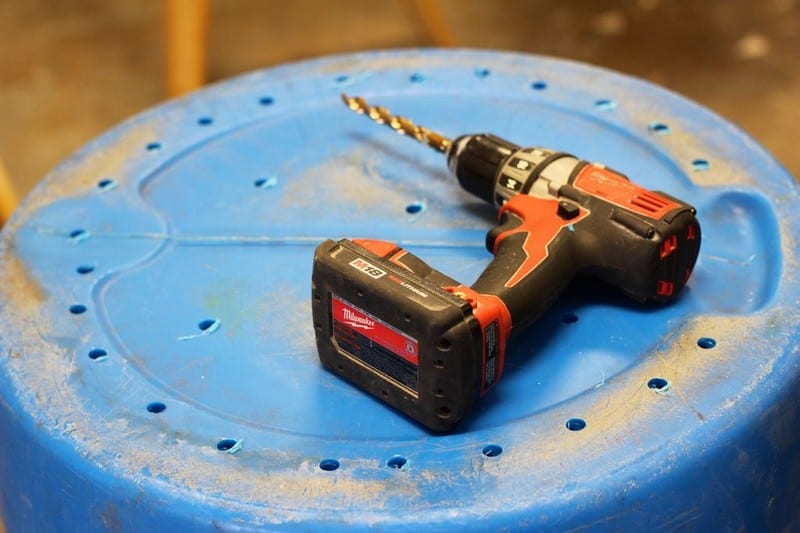
Using a decent-sized drill bit (3/8″ or larger), drill many holes through the bottom of the plastic barrel planter to promote good drainage. Container gardens need to drain well in order to provide healthy environments for the plants that grow inside them.
I wanted to raise the really big barrel off of the ground just a little bit so it would be easier to move around and position in my backyard.

I did this by creating two simple skids out of 2×4’s and attaching them to the bottom of the full-size barrel with drywall screws and fender washers so they wouldn’t rip out.
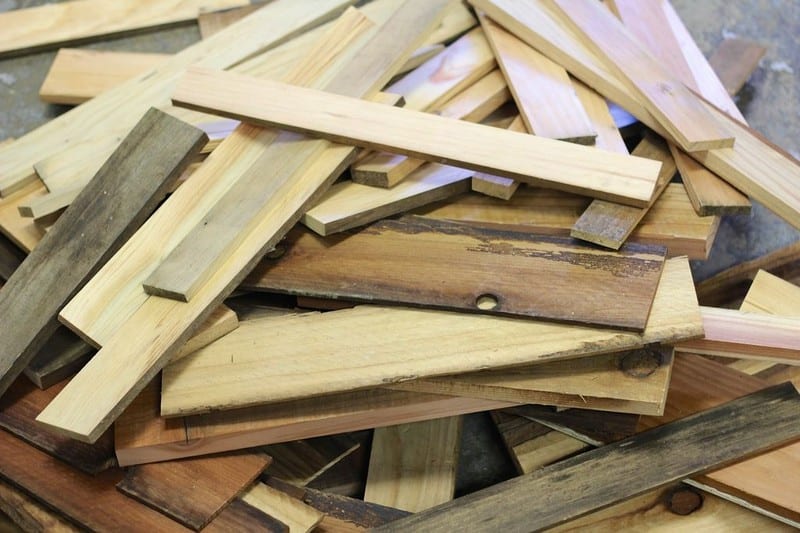
The next order of business for my plastic barrel planter was to get to work on revitalizing some old wooden redwood slats (good for the outdoors) that I salvaged from my garage. I had some other scrap wood lying around in the shop as well so I used that too.
I first ran all the boards through the planer to clean them up a bit, then ripped them to varying widths on the table saw. Next, I cut them all to length using a stop-block on the miter saw.
The plane, rip, chop and repeat until you’ve got a sizable pile of scrap wood to adorn your plastic barrel planters.
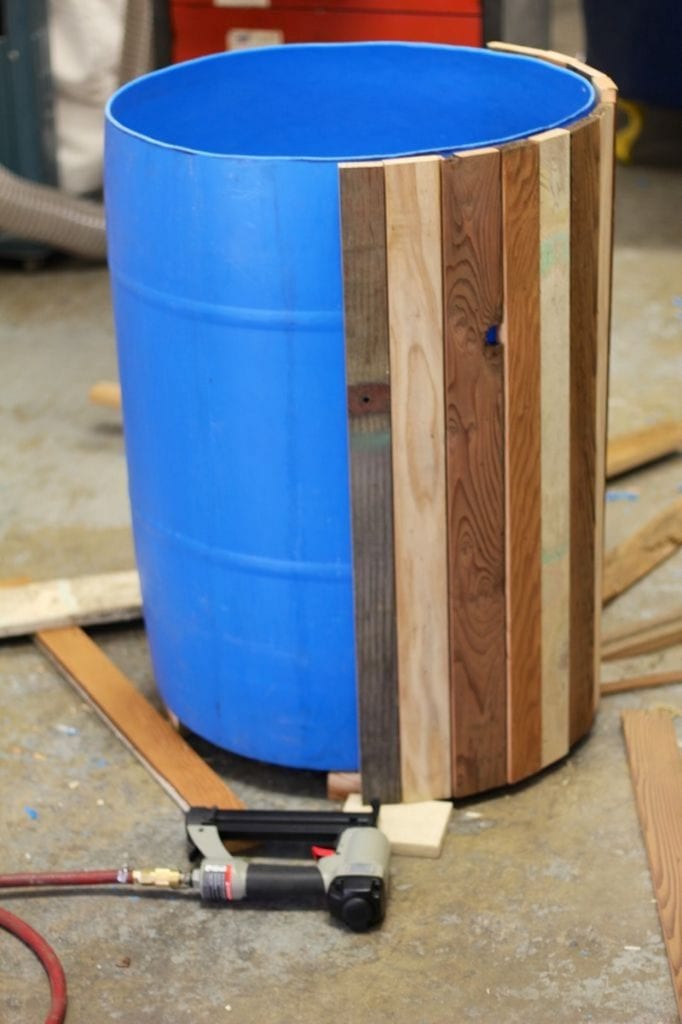
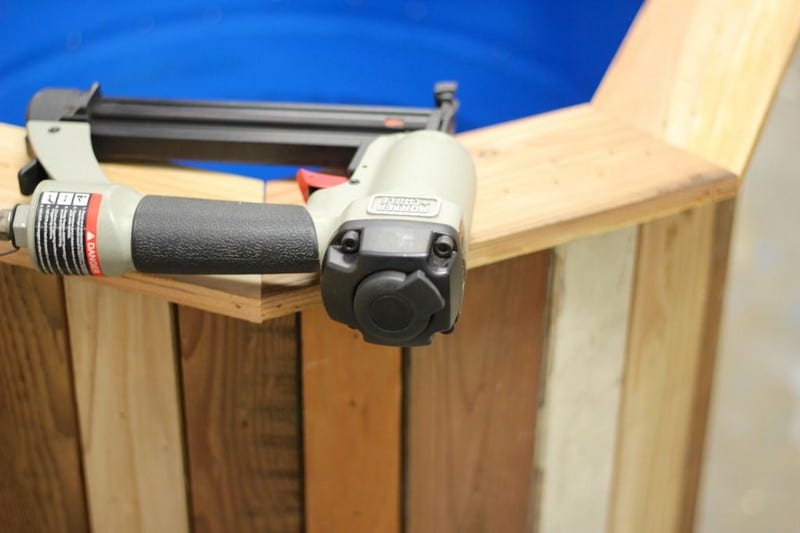
Grab an air-powered brad nailer and start shooting the place up!
This was the most fun part of the build process by far. Taking random boards of contrasting colours, begin to cover the plastic barrel in wooden slats abutting them next to each other as closely as possible so no blue-barrel shows through.
I used a block on the bottom of the plastic barrel planter to align the wooden slats so that everything would be even on the top.

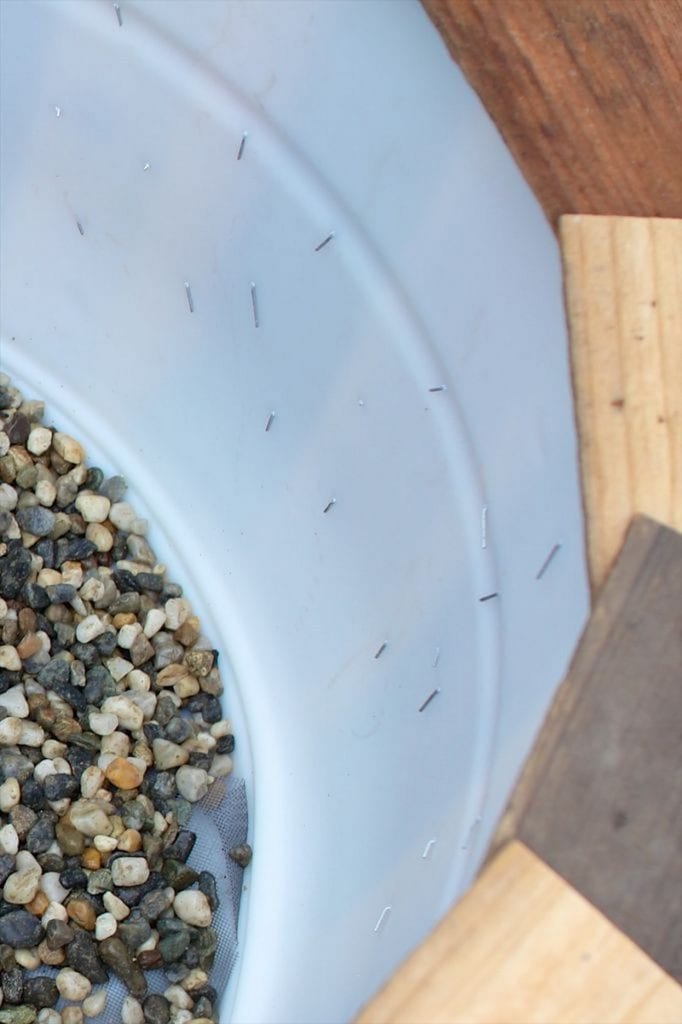
Continue working your way around the plastic barrel planter until it’s completely covered. Use sufficiently long brads so that you’ve got 1/2″ or so of nail sticking out on the inside of the barrel once you shoot your nail through the wood slats.

Take a hammer and use it to bend down the exposed end of the brad on the inside of the barrel. This will lock the boards into place so the nails can’t wiggle out, as well as protect your hands during potting from all the sharp nails now on the inside of your planter.
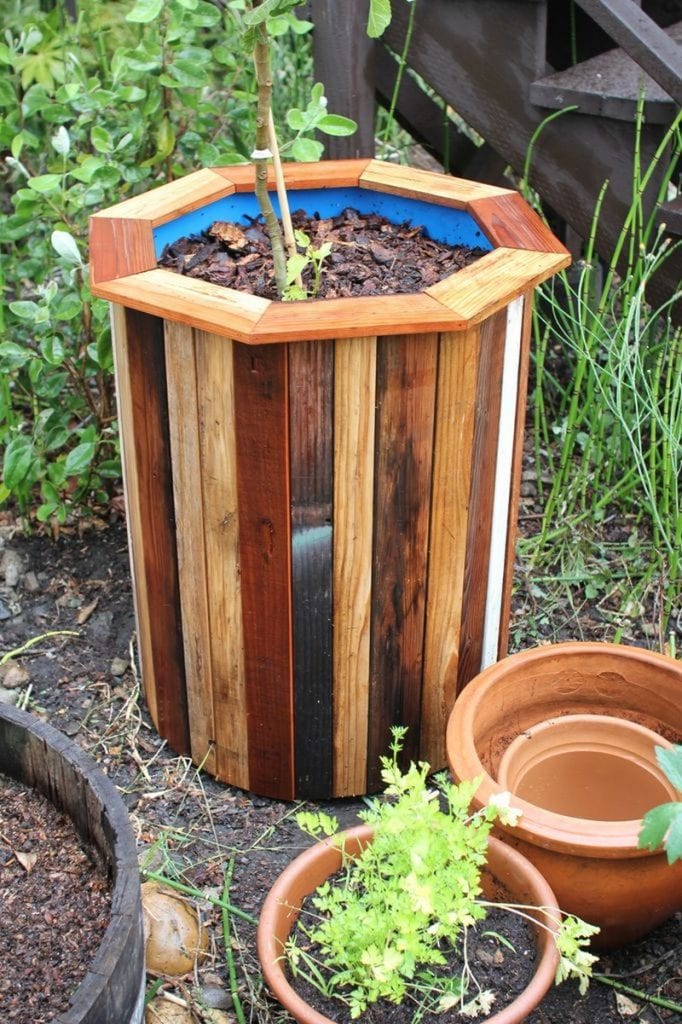
For the rim/top: Cut the edges of 8 short sections of scrap wood to 22.5 degrees so that they could form an octagon around the top of the full-height barrel. It took a little bit of experimentation to get a perfect fit, but starting with the piece a little long and then chopping them all to the same length bit by bit, I was able to create a perfectly fitting octagon that matched my barrel.

The octagon topper was held together with brads and glue, while the sunburst pattern on the shorter barrels is simply nailed into place with the brad gun.
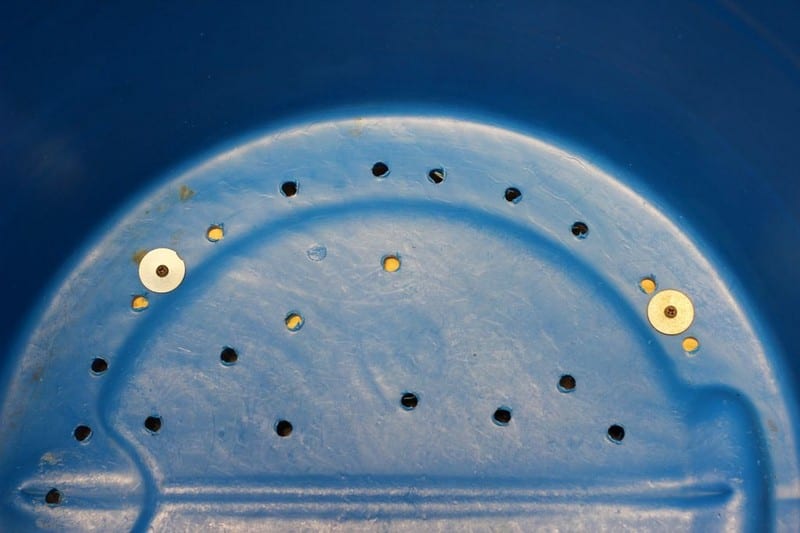
The bottom of one of my planters was originally a barrel top, and thus, it had two holes for pouring out liquids. Since these holes were just a bit too big and would let dirt out the bottom, I used some old window-screen material to cover the holes.

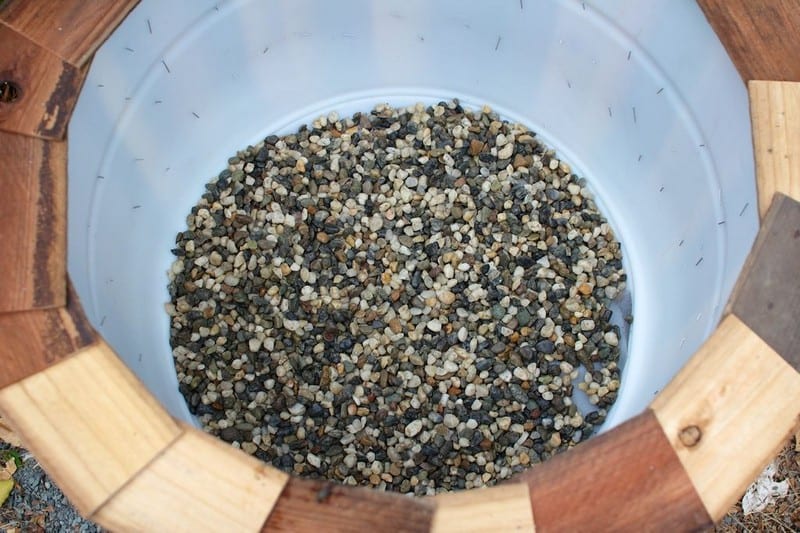
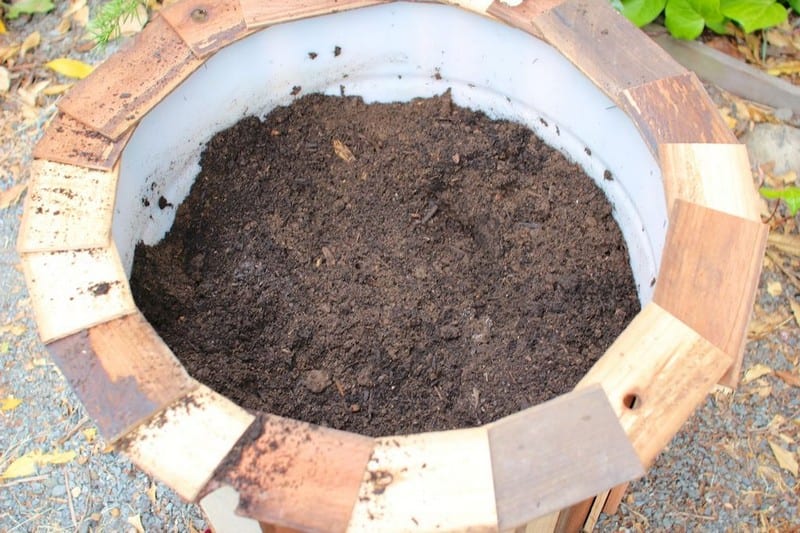
Above-ground planters need good drainage, so I put some small pebbles at the bottom of each of the planters. About an inch or so of gravel will do fine.

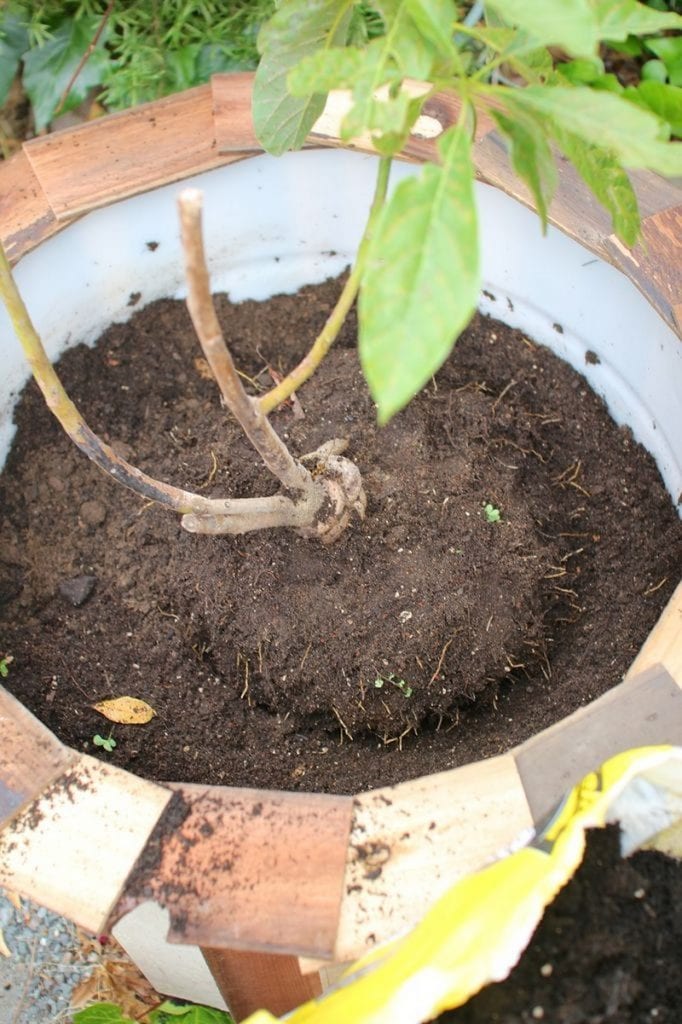
Fill the planters with a soil mixture that’s optimized for container gardening. In this case, something with a decent compost percentage and good drainage.

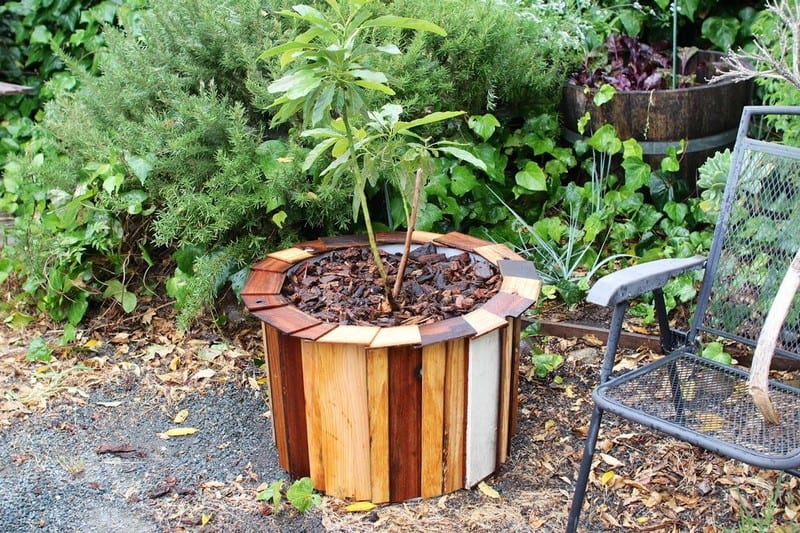
Plant your plants/fruit trees/vegetables into the pot.

On top of the plant goes more soil to cover the roots, and a topper layer of wood chunks or mulch so that the California sun doesn’t bake all the water right out of the container as soon as I water them.
Most of the slats that I used were some very old redwood shingles, so I wasn’t too worried about rot outside and water damage. That being said, hitting the planter with a coat of water-based exterior polyurethane or varnish will increase the lifespan of these planters tremendously, and if you’re in a particularly wet climate, would definitely be a good idea. I’ll probably give them a coat later this season just for safety.
Place the planters and the project’s done.

This is indeed a very clever planter project to make. It allows you to have a beautiful wooden planter for your plants or vegetables without worrying about rotting or your wood coating affecting your plants with its chemicals. Plastic barrels do save a great purpose here. Just make sure it wasn’t used for shipping chemicals before! 😉
Thanks to noahw for this great project.
Pest Control and Disease Prevention in Plastic Barrel Planters
Plastic barrel planters offer a sustainable and visually appealing way to garden. However, like all garden containers, they can be susceptible to pests and diseases that threaten the health and growth of your plants. Effective pest control and disease prevention strategies are essential to ensure your plants thrive in their unique environment. Here’s how to protect your garden in a plastic barrel planter.
Choose Disease-Resistant Varieties
Starting with disease-resistant plant varieties is one of the simplest ways to avoid trouble. These plants have been bred to resist common diseases, giving them a better chance at thriving in a plastic barrel planter. When selecting seeds or young plants, look for varieties labeled as resistant to the diseases common in your area.
Ensure Proper Drainage
Good drainage is crucial in preventing root rot and other water-related diseases in plastic barrel planters. While drilling holes in the bottom of the barrel is a good start, consider adding a layer of gravel or broken pottery at the bottom to enhance drainage. This setup prevents water from pooling at the roots, which is a common cause of plant disease.
Practice Crop Rotation
Even in small-scale garden setups like plastic barrel planters, rotating your crops can prevent the buildup of pests and diseases. Avoid planting the same type of plant in the same barrel year after year. Instead, rotate different plants through different barrels to disrupt the life cycles of pests and reduce disease transmission.
Monitor and Manage Pests Early
Regular monitoring of your plants in plastic barrel planters can help you catch pest infestations early, when they’re easier to manage. Keep an eye out for signs of damage and identify pests quickly. Use physical barriers, such as nets or row covers, to protect plants from common pests. If pests are detected, consider using organic pesticides or natural predators to control their population.
Keep Your Planter Clean
Remove dead leaves, spent flowers, and any fallen debris from your plastic barrel planter regularly. These can harbor pests and diseases, providing them with a place to live and reproduce. At the end of the growing season, clean your barrel thoroughly to remove any lingering disease spores or insects. A solution of water and a small amount of bleach can disinfect the planter without harming future plantings.
Water Wisely
Overwatering can contribute to the development of fungal diseases in plastic barrel planters. Water your plants in the morning so that the foliage has time to dry during the day. This reduces the humidity around your plants, making it less inviting for fungal pathogens. Using a soaker hose or drip irrigation can also help keep the foliage dry and prevent the spread of diseases.
Encourage Beneficial Insects
Beneficial insects play a crucial role in controlling pest populations. Encourage these natural allies by planting flowers or herbs that attract them to your plastic barrel planter garden. Companion planting can also deter pests and attract beneficial insects, creating a healthier environment for your plants.
By implementing these strategies, you can enjoy a vibrant and healthy garden in your plastic barrel planters, free from the worry of pests and diseases. Regular care, monitoring, and preventative measures will ensure that your plastic barrel planter remains a productive and beautiful part of your outdoor space.
Conclusion
Creating a plastic barrel planter is a rewarding project that combines sustainability with creativity. It offers an affordable and effective solution for gardening, adding a rustic charm to any outdoor space. Through this DIY project, you can transform a simple plastic barrel into a beautiful and functional planter, enhancing the beauty and productivity of your garden.