Last Updated on October 17, 2022 by teamobn
By guest blogger, Steve Mason
I woke up one Saturday morning with no plans for the day. I thought about what I could do with my day off and decided that I would take some time for myself.
Whilst drinking my morning coffee and going through Facebook, I saw a picture of a man making his daughter a fairy house from a log with a chainsaw. I thought that would be perfect for my daughter’s 8th birthday present.
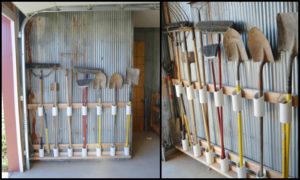
I jumped on gumtree.com and found hollow logs for sale not far from home. I went out almost immediately, picked three beautiful logs for my fairy house project and then spent the next two days cleaning one of them up with the Dremel.

I had an idea that I wanted a window and a door for my fairy house project, so I used a drill with a hole cutter bit to randomly cut shapes. I also used a few different-sized drill bits to randomly make holes, knowing that light would only really escape from these gaps.

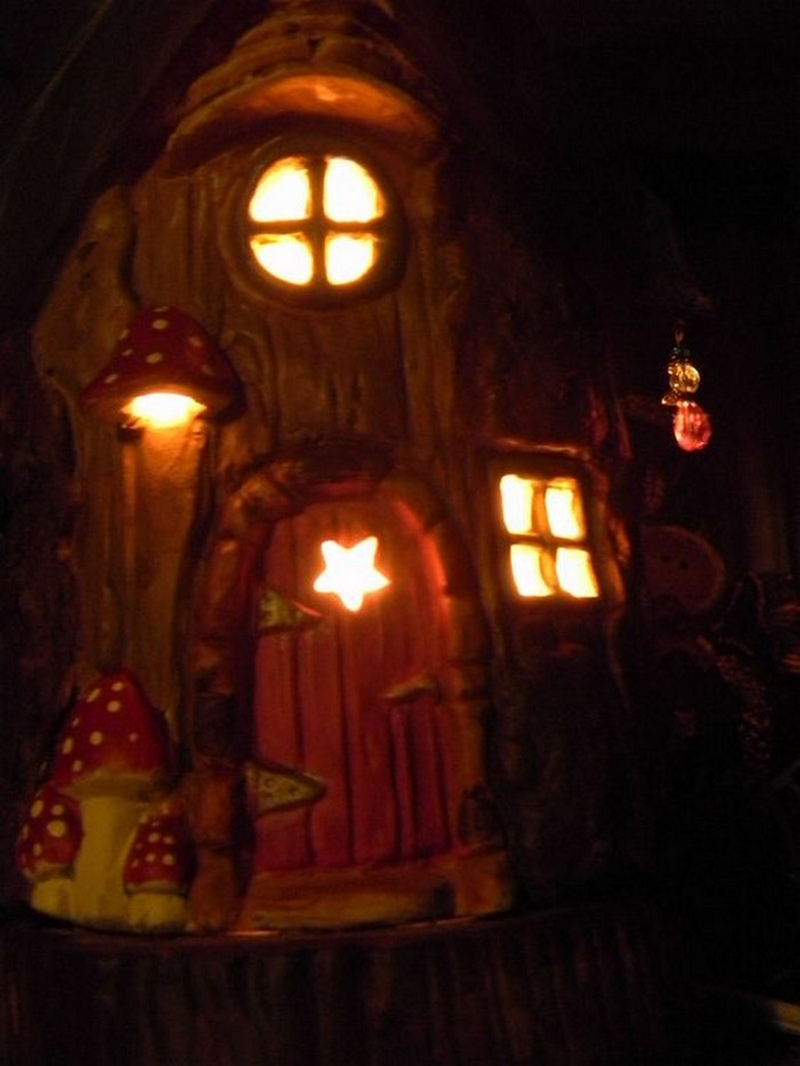
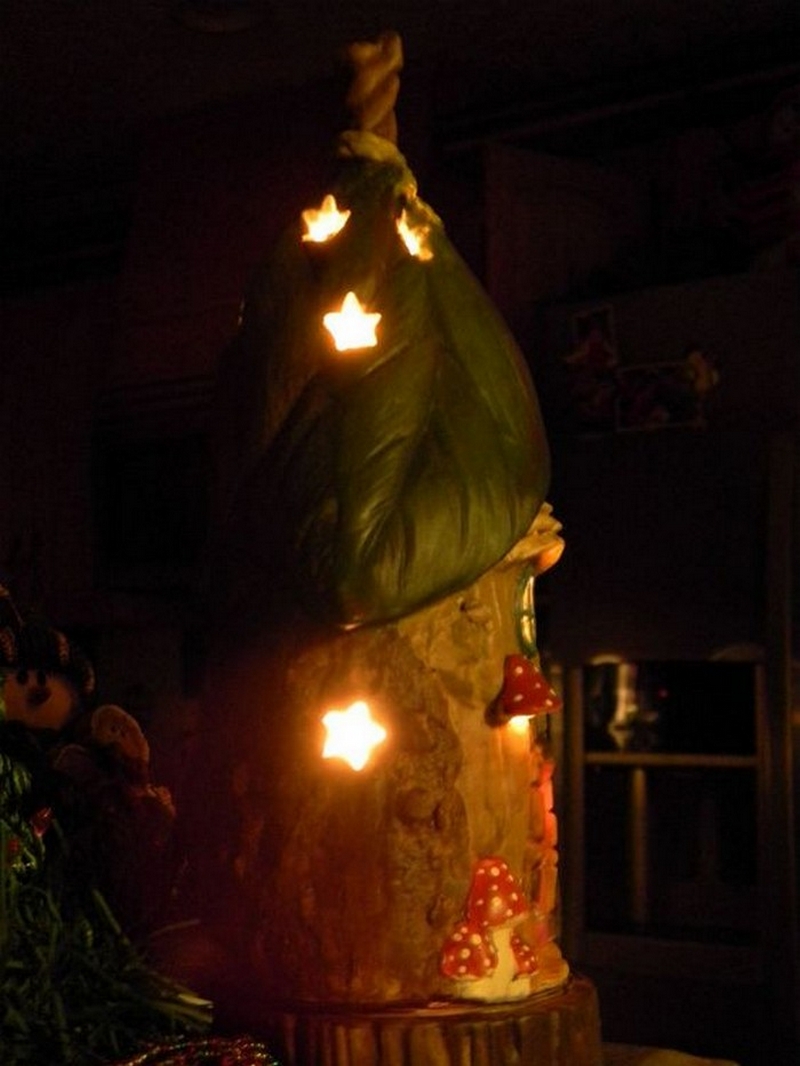
It was now time to test with some light inside the fairy house to begin dreaming of what may be and get some inspiration…
Click on any image to start the lightbox display. Use your Esc key to close the lightbox.![]()

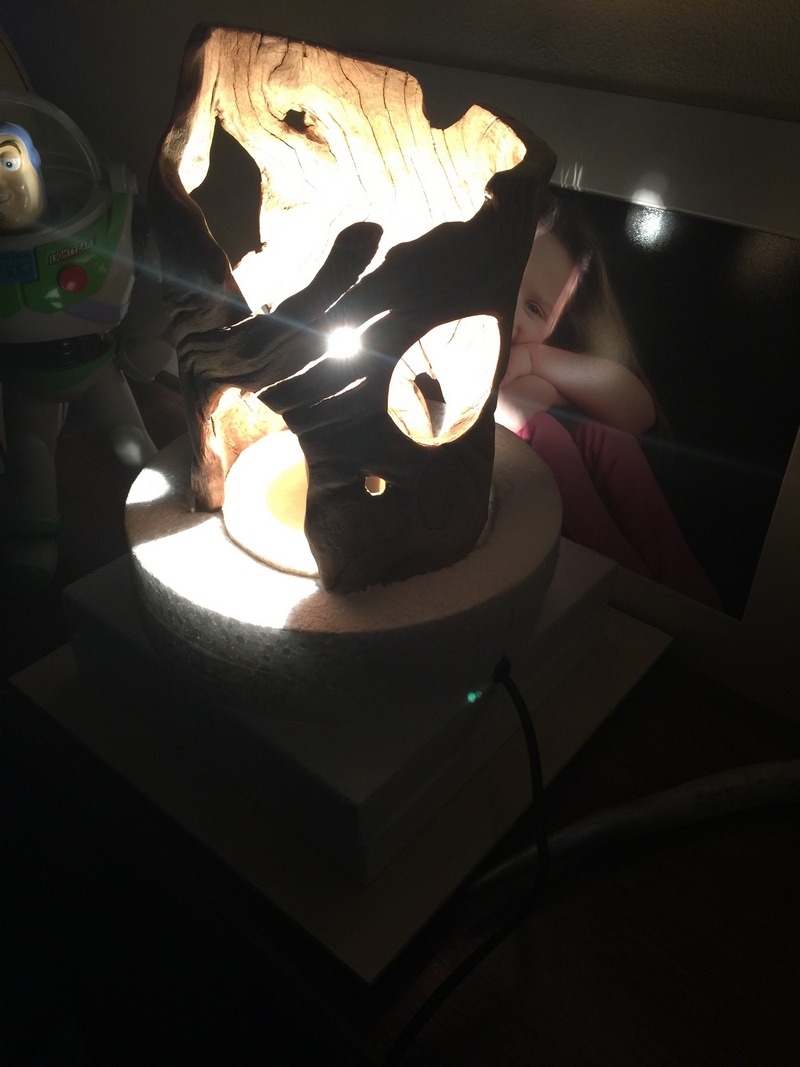
I mounted the fairy house on polystyrene shapes from the spotlight which I glued together and cut out space for the underneath mechanics of the lamp baton. I cut a piece of plywood to secure the lamp holder in place and glued it to the polystyrene. I then carefully sculpted out a recess for the timber to comfortably sit inside of it and not wobble or move.

I drilled a hole through the polystyrene at the side for the chord to poke out.
It was time to switch it on to get inspiration!
Now that the ‘skeleton’ of my overall fairy house sculpture was formed, it was time to focus on the landscape…

I knew I wanted stairs up a hill to the front door of the fairy house, so I set about carving the polystyrene into a rough shape and then plastering it over the top. Placing the stones in formation was incredibly difficult but I eventually got them in place and lightly plastered them to stay.
My daughter is fascinated by some of the crystals and stones I’ve collected over the years so I thought I’d incorporate them into this special sculpture for her.
Next was to make the full-size landscape base of the fairy house. I wanted the stairs to lead down a path to a pond so I made sure I left a ‘well’ shaped hole. I also had the idea to put in a real bonsai tree so I left a circle-shaped hole for a pot to go into.
After plastering the shape, I used airdry clay to clean the rough plastering up and give me a more defined shape of the fairy house to work with.

I plastered in the stones for the path. Once the airdry clay was dry, it was time to start decorating the fairy house. I started by painting dirt and rock-coloured browns and blacks….

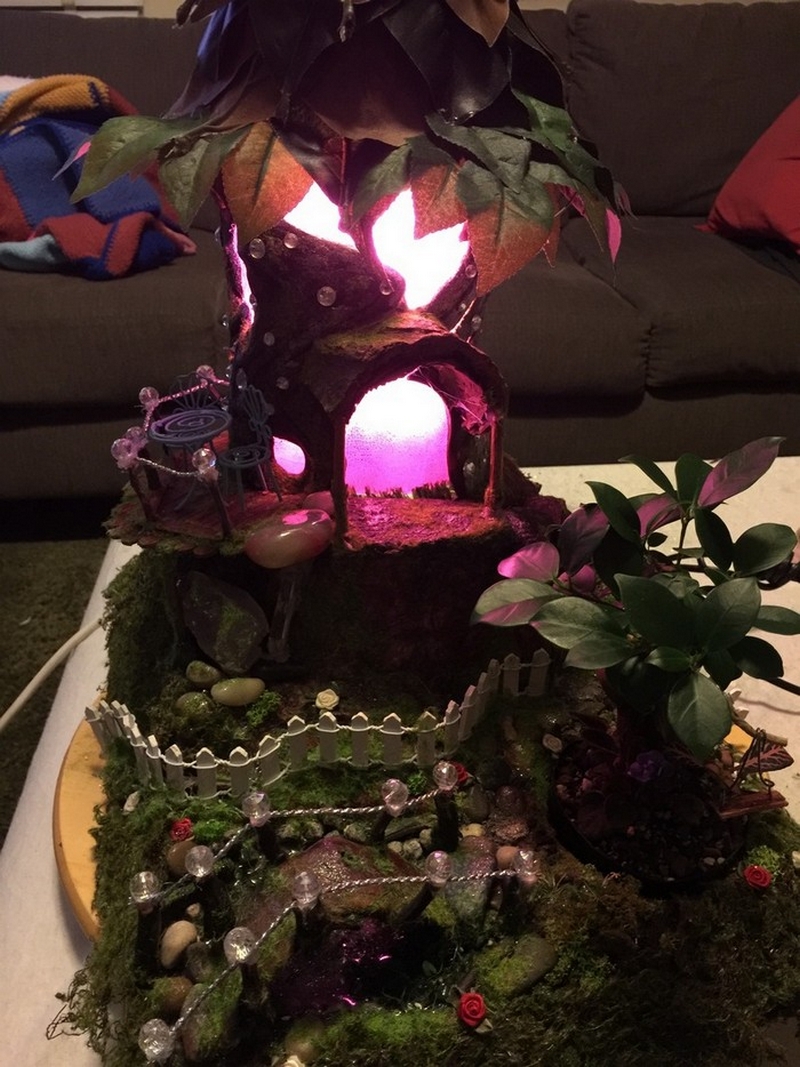
With the oiled wood, the fairy house was starting to look good. I went and bought supplies from a train hobby shop. I got moss, small lilies and clear resin to start the pond…

I used less catalyst so it would go off slowly. This allowed me to stir in a blue tint and the ever-important fairy dust (ground-up aluminium). When it started going hard I balanced the lilies on top. I used little sticks as ‘logs’ and painted them with resin so they looked wet.
Once it had set, I was able to use the moss matting I had bought online. I cut it to shape and glued on onto plaster.

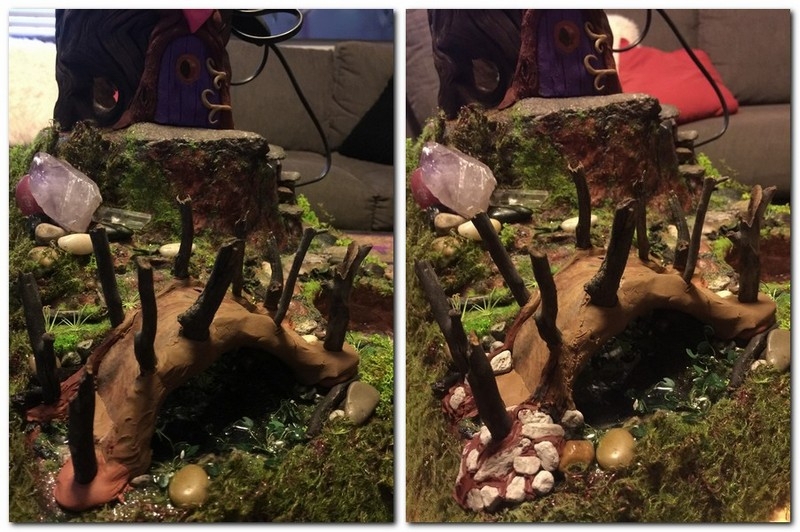
I also glued in bigger pieces of moss I had bought from Spotlight for variation. Next, I knew I wanted a bridge over the pond so I saved a nice round piece of timber that I had chopped off the bottom of the log to make it flat.
I polished it up and glued it in place and then super glued sticks along each side. I started to glue stones around it for steps.
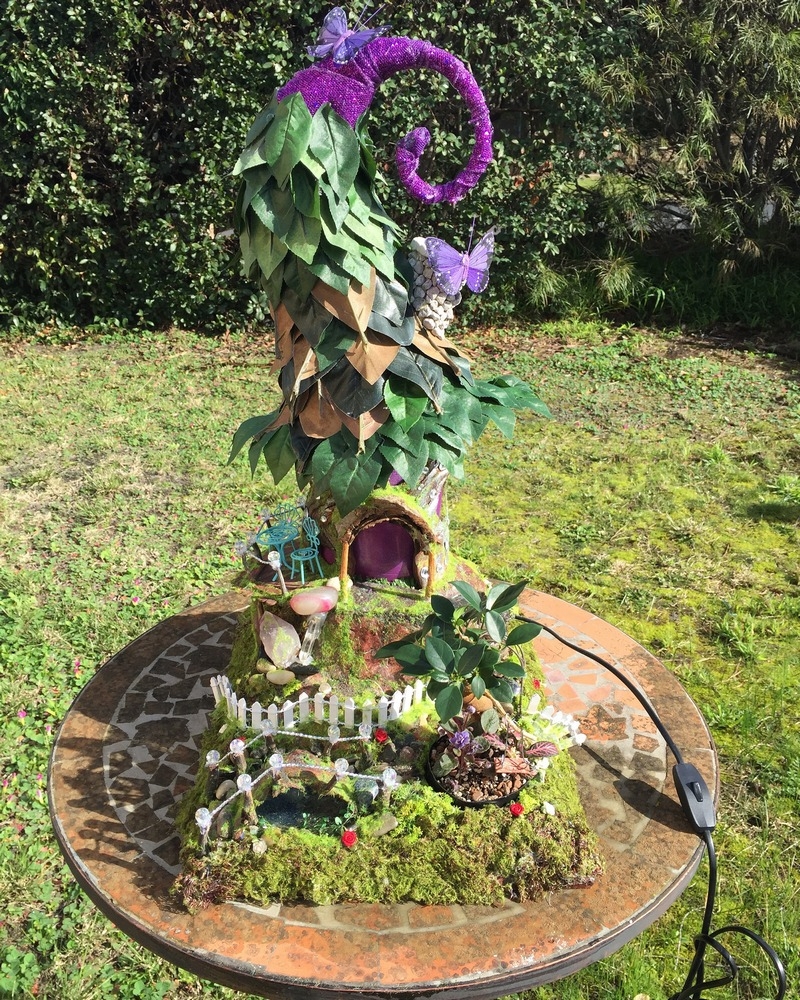
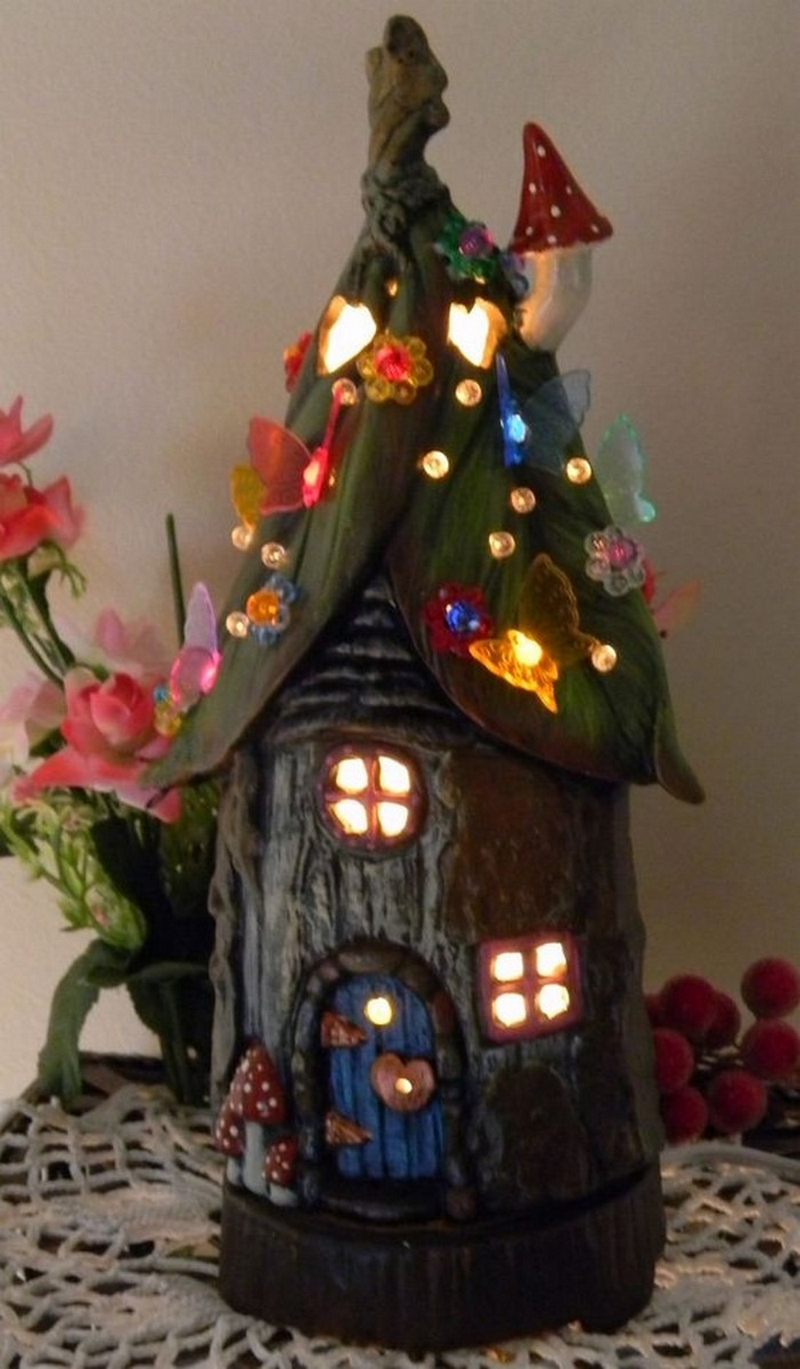
The next step was to start sorting out the roof of the fairy house/lampshade.

I got some clear plastic and cut it to shape, rolling it around. I then got a toilet roll and glued stones to it for a chimney. I secured the to the plastic. I bought fake branches with leaves from Spotlight and cut the leaves off and cut them in half. I hot glued them onto the plastic and around the chimney. I also got some Sculpey and crafted the top of the chimney from that and glued it in place.
Next, my daughter had previously mentioned fairy houses had circles on top of their roof. Not knowing what she meant, I set about making a circular shape for her using wire. I bought a ring from Spotlight and attached 8 (I think) long bits of wire. I shaped them and then spent time making cross-sections and sticking them together for stability. I hot glued it to the existing form, ready to paper maché.