Last Updated on June 13, 2024 by teamobn
Looking for a unique and stylish way to light up your home? Mason jar lamps are a great option! These charming lamps are made from upcycled Mason jars, and they add a touch of rustic charm to any room.
Mason jar lamps are easy to make, and you can find all the supplies you need at your local craft store. Here’s a lamp you can easily alter to set the ambience of your room! It’s also a seriously easy DIY project!
If you’re looking for a way to add a little bit of extra flair to your home décor, why not try making your own lamp? It’s a fun project that anyone can do, and it’s a great way to customize the look and feel of your space. Plus, it’s a great way to save money on lighting costs.
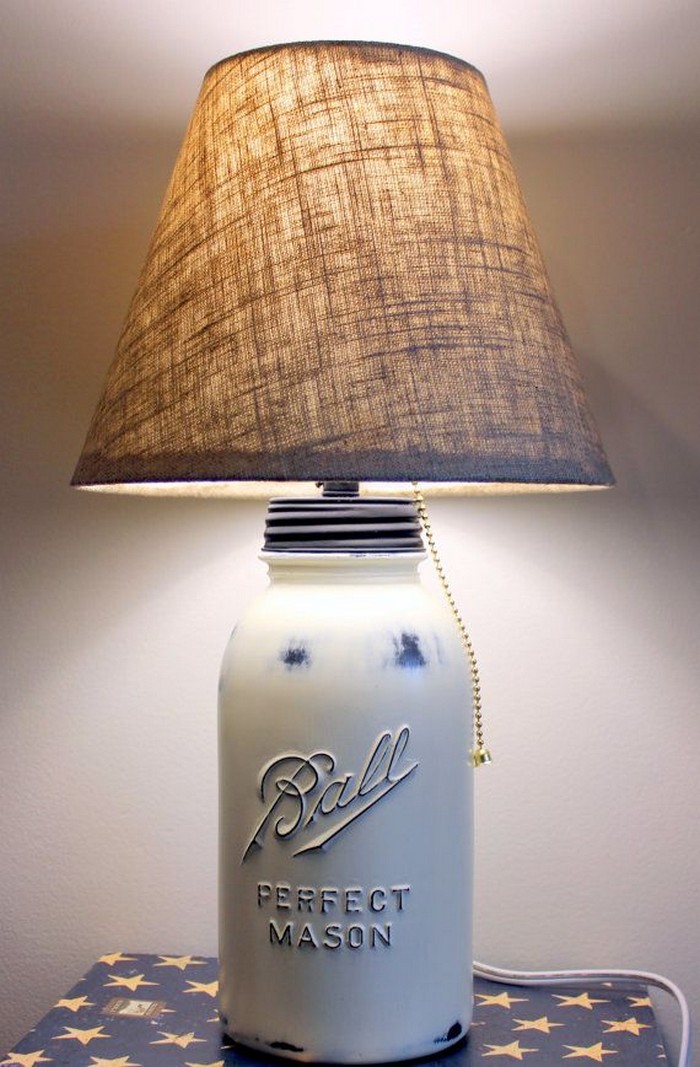
The mason jar lamp is perfect for those who want to keep it simple. The mason jars are easily replaceable, so if you want a slight change to suit your mood, no problem! Plus, the lamp is easy to assemble and looks great in any room. Perfect for a bedroom, living room, or office, this lamp brings a touch of warmth and style.
You can use it as a bedside table lamp, a study table lamp (just use a clear mason jar), or as decorative lighting on a shelf or anywhere in your home. Its simplicity indeed makes it suitable for almost any lighting purpose!
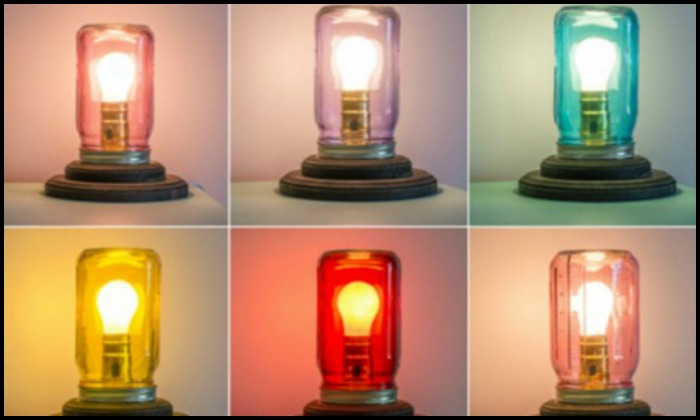
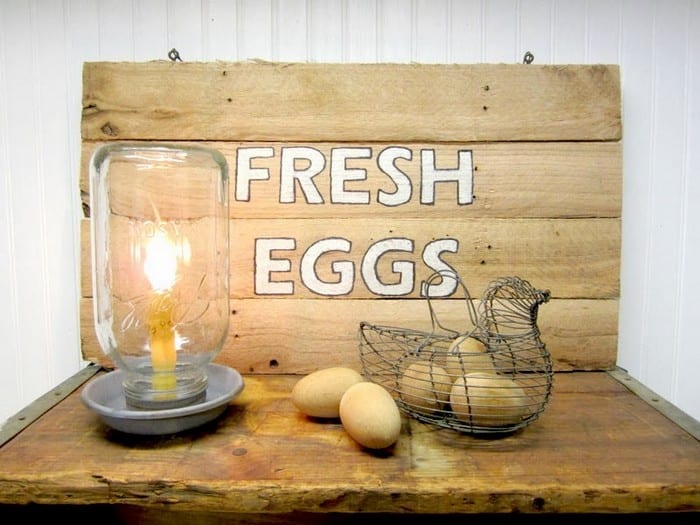
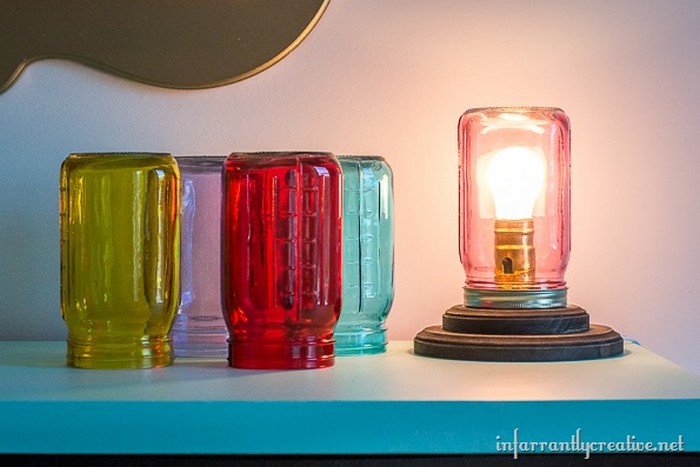
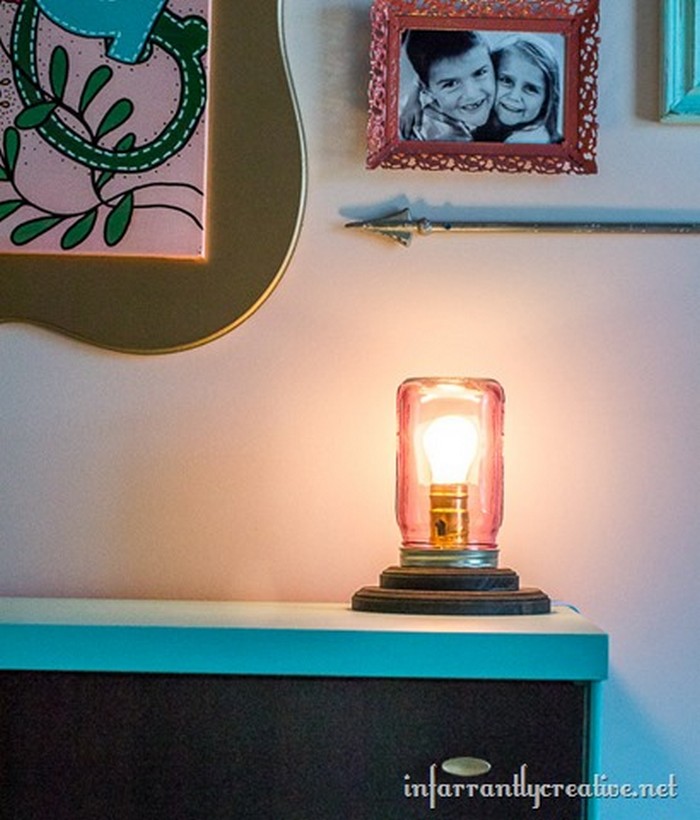
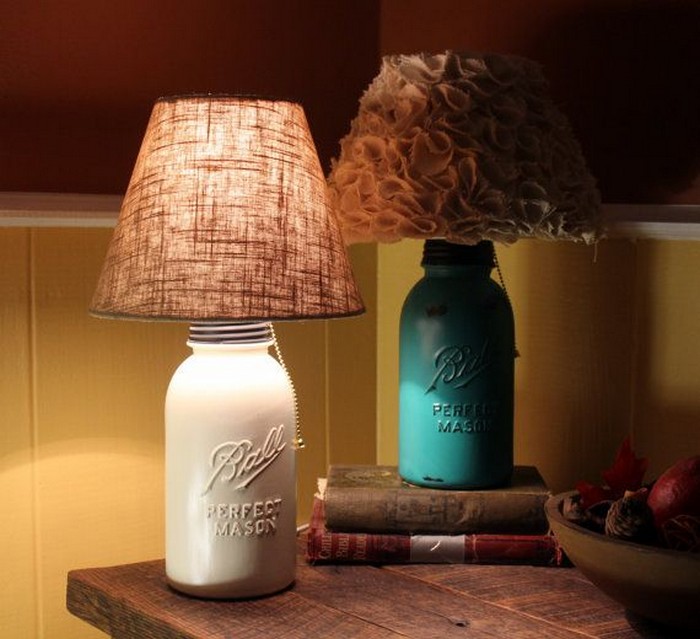
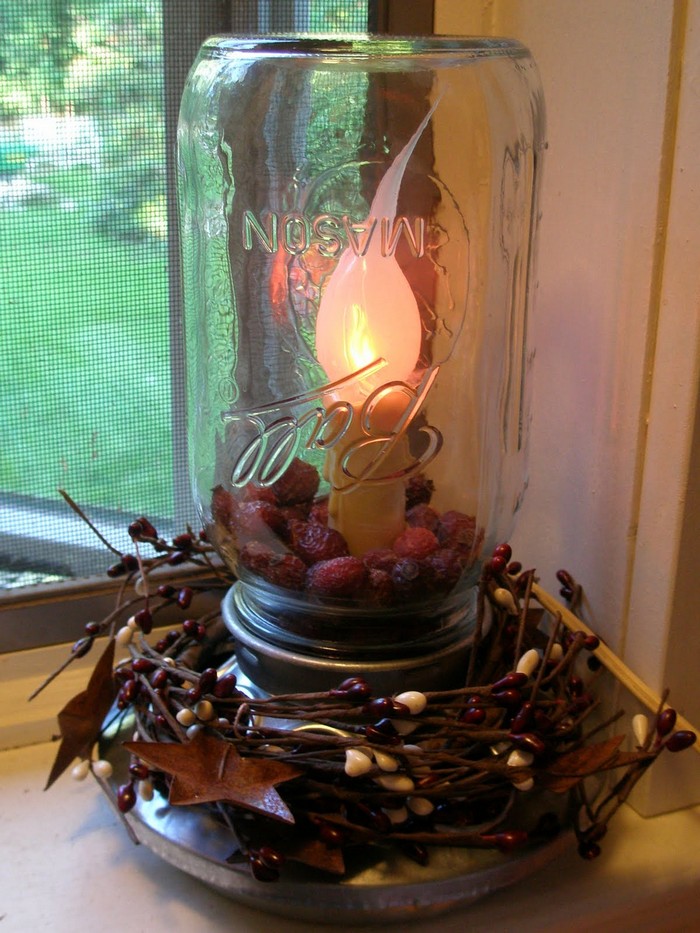
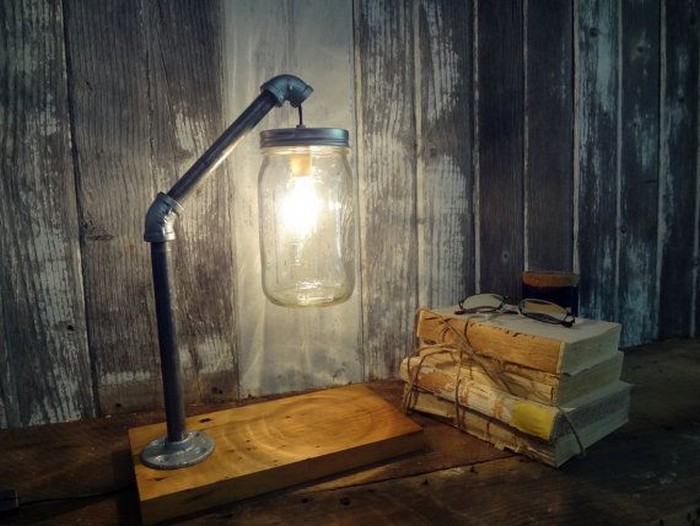
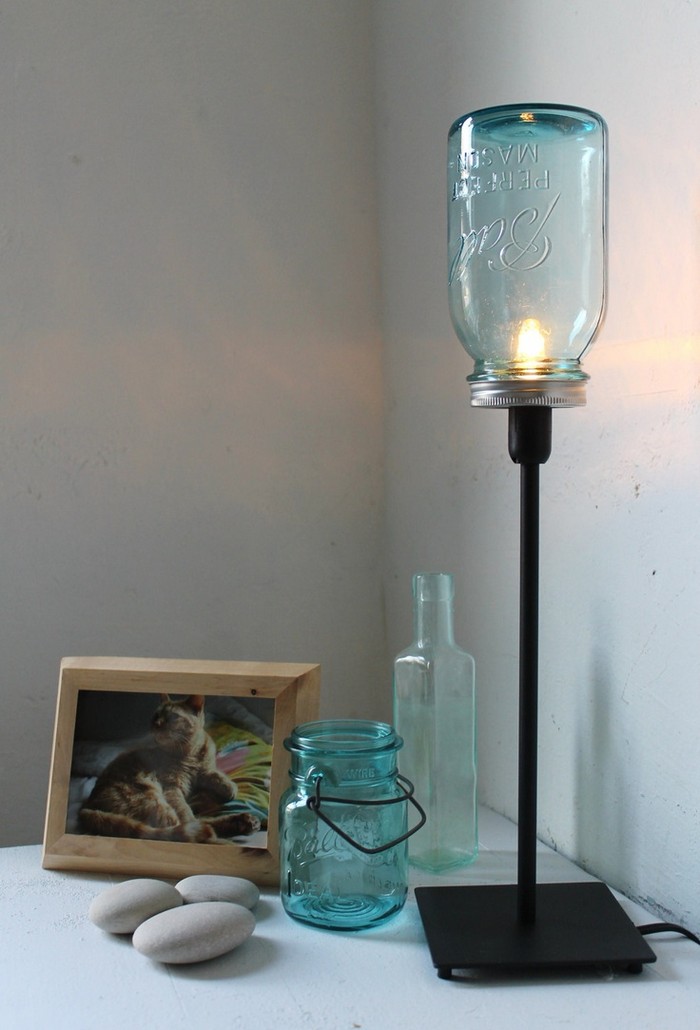
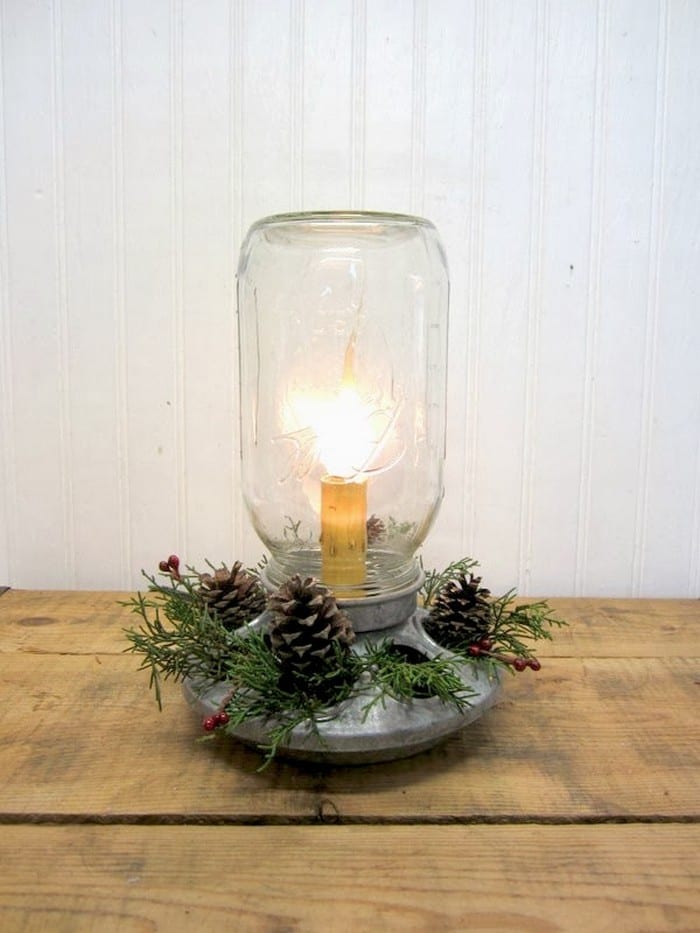
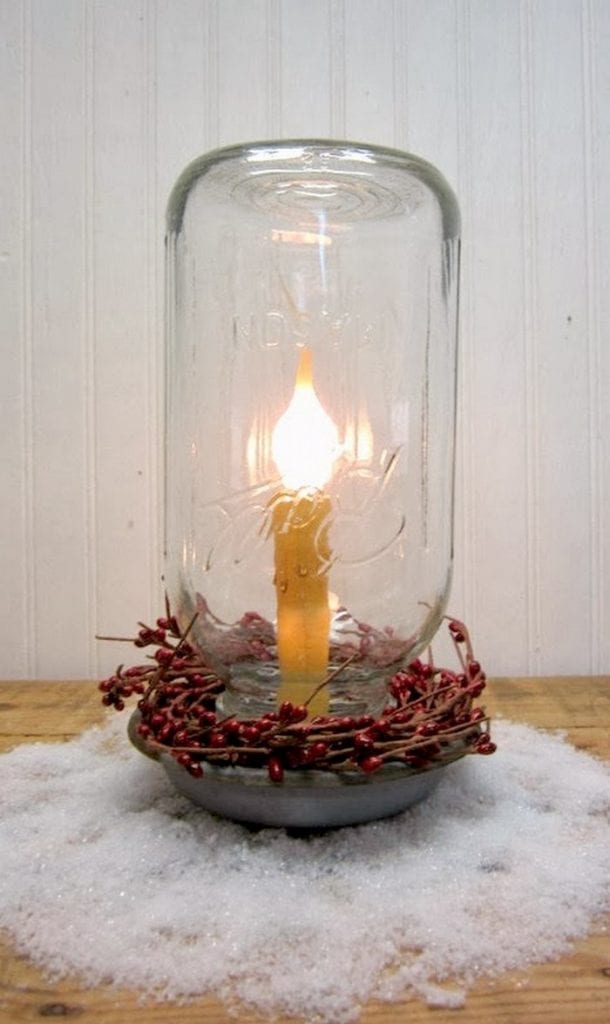
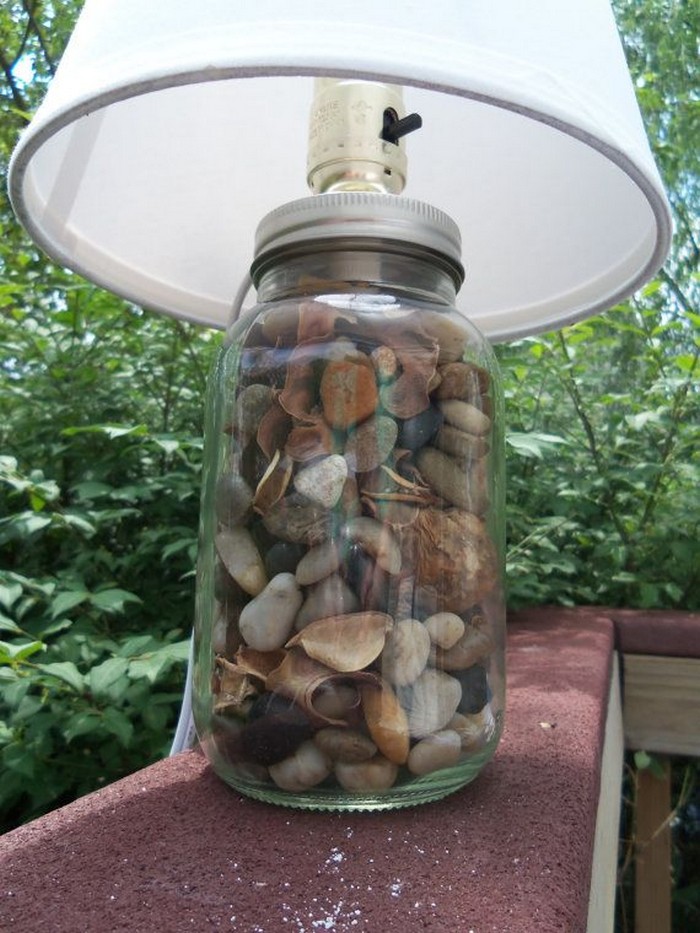
Our gallery below showcases some great examples of how you can repurpose mason jars into new stylish DIY lamp pieces for your home. For more inspiration, be sure to check out the tutorial by Infarrantly Creative. With their easy-to-follow instructions, you’ll be able to transform Mason jars into chic, modern DIY lamps for your home.
Contents
Crafting a Mason Jar Lamp
Click on any image to start the lightbox display. Use your Esc key to close the lightbox.![]()
Materials
- Bottle Lamp Kit
- Lamp Cord Switch
- Mason Jars with Lids
- 25-watt small light bulb
- Threaded Nipple
- Wood Stain (optional)
Tools
- Drill with 1/2” bit
- Wood Clamps
- Dremel Tool
Instructions
Step 1: Clean Your Mason Jar
- First, make sure your mason jar is spotless. Wash it with some soapy water, rinse it well, and dry it off. You want a clean surface to start with.
Step 2: Staining the Lid (Optional)
- If you’re going for a vintage look, you might want to stain the lid of your jar. Just brush on some wood stain and let it dry. It’s easy and adds a custom touch.
Step 3: Drilling the Lid
- Clamp down your lid securely—it’s drilling time. Carefully drill a hole right in the center with your 1/2” drill bit. This is for the lamp parts to fit through.
Step 4: Smooth the Edges
- Grab your Dremel tool and gently sand around the edges of the hole you just drilled. You don’t want any sharp edges that could damage your lamp cord.
Step 5: Putting the Lamp Kit Together
- Now, take the threaded nipple from your lamp kit and thread it through the hole in the lid. Secure it from underneath with the nuts that came with the kit.
Step 6: Wiring It Up
- Time to tackle the wiring. Thread your lamp cord through the nipple and hook it up to the socket as per the kit’s instructions. Make sure everything’s nice and tight.
Step 7: Adding the Bulb
- Screw in your 25-watt bulb into the socket. Be sure the bulb isn’t touching the glass to avoid any heat issues.
Step 8: Closing It Up
- Almost there! Screw the lid back onto the jar. Make sure it’s tight so nothing wobbles.
Step 9: Light It Up
- Plug in your new lamp and flip the switch. Does it light up? If yes, you’ve nailed it!
Step 10: Make It Yours
- This is where you can get creative. Decorate the outside of the jar however you like. Maybe wrap it in a pretty ribbon or paint it—make it uniquely yours.

Would you want to have your own jar lamp project too? If so, click on the link below!
You can get more step-by-step instructions here…
Different Styles and Customizations
Creating a mason jar lamp is not just about adding light to your space; it’s about adding personality! Here’s a look at different styles and customizations you can try to make each mason jar lamp uniquely yours. Whether you’re a fan of sleek modern designs or rustic charm, there’s a style for everyone.
Vintage Charm
Old-School Glow: For that warm, vintage feel, tint your mason jar with translucent glass paint to simulate the look of aged glass. Add an Edison bulb for its classic filament design, and you’ve got a lamp that feels like it’s from another era.
Modern Twist
Sleek and Chic: To give your mason jar lamp a modern upgrade, opt for a clear jar and pair it with a silver or chrome-finished lid. Use a frosted bulb or even a color-changing LED bulb to keep the look fresh and contemporary.
Coastal Vibes
Beachy Keen: For a lamp that reminds you of the sea, fill the bottom of your mason jar with sand, small shells, or beach glass. A blue or turquoise tinted jar complements this style perfectly, creating a soothing oceanic effect.
Bohemian Flair
Eclectic and Colorful: Wrap the outside of your mason jar with vibrant yarn or string in intricate patterns. Incorporating beads or small pendants can add to the bohemian vibe, making your mason jar lamp a bright, eye-catching piece in your room.
Rustic Farmhouse
Country-Inspired: Stain the lid with a dark wood stain and wrap the jar with burlap or twine. A few sprigs of dried lavender or a cinnamon stick tied to the twine can enhance the rustic feel and add a subtle fragrance to your room.
Minimalist Design
Simply Elegant: Keep things minimal with a plain, clear mason jar and a simple white or black lid. A single, bare bulb creates a clean, uncluttered look that complements any minimalist decor.
Personal Touch
Custom Creations: Use glass etching techniques to personalize your mason jar lamp with your initials, a special date, or a simple graphic. This customization makes your lamp truly one-of-a-kind and is a great conversation starter.
By exploring these different styles and customizations, you can transform a simple mason jar lamp into a statement piece that reflects your personal taste and enhances your home’s ambiance.
Safety Tips and Best Practices
Safety is key when crafting your own mason jar lamp, ensuring not just a beautiful addition to your home but a safe one. Here are essential safety tips and best practices to follow when assembling and using your mason jar lamp. These guidelines will help you avoid common pitfalls and ensure your DIY project is both successful and secure.
Handle Glass with Care
- Avoid Breakage: Mason jars are made of glass, which can break if dropped or knocked. Always work on a stable surface, handle your mason jar lamp gently, and store it in a safe place where it won’t easily get knocked over.
Electrical Safety
- Wiring and Connections: When installing the lamp kit in your mason jar lamp, ensure all electrical connections are tight and secure to prevent any loose connections that could lead to short circuits or electrical fires.
- Insulate Exposed Wires: Use electrical tape to cover any exposed wires or connections in your mason jar lamp to prevent electrical shocks or fires.
Proper Drilling Techniques
- Prevent Cracks: When drilling the lid or the jar itself, ensure you use a properly sized drill bit and apply gentle pressure. This will help prevent the glass from cracking, which is crucial for the integrity of your mason jar lamp.
Heat Management
- Monitor Bulb Heat: Do not use bulbs that exceed the recommended wattage for your lamp kit. High-wattage bulbs can produce excessive heat, which could crack the glass of your mason jar lamp or pose a fire hazard.
- Ensure Adequate Ventilation: Make sure your mason jar lamp has sufficient ventilation, especially if you’re using a higher-wattage bulb. Small holes in the lid or using a partially open lid can help dissipate heat.
Regular Maintenance
- Check for Damage: Periodically inspect your mason jar lamp for any signs of wear or damage, especially the electrical components. Replace any worn out or malfunctioning parts immediately.
- Cleaning Tips: When cleaning your mason jar lamp, unplug it first and avoid using water or liquids near the electrical components. A soft, dry cloth is usually sufficient for removing dust.
Following these safety tips and best practices will ensure that your mason jar lamp is not only an attractive piece of decor but also a safe and lasting one. Enjoy the glow of your DIY creation with peace of mind, knowing you’ve taken the right steps to ensure its safety and durability.
Conclusion
A creative and satisfying hobby, making a mason jar lamp gives any space a distinctively stylish touch. Anybody may make a unique light fixture that brightens up their environment with the correct materials and a little assembling care. Never compromise safety, and relish the process of creating your own mason jar light.