Last Updated on October 14, 2022 by teamobn
Guest post by OBN Member, DIY-er, Con Trelos
If any of you remember, I built a bridge and water feature in my front garden a few years ago, which was featured on the Owner Builder Network. This time, I’m tackling the backyard. I’m excited to add another beautiful and functional element to my home, and I’m sure my family and friends will enjoy it for years to come.
Keep an eye out for my backyard physiotherapy project – it’s sure to be helpful for anyone dealing with pain or mobility issues.
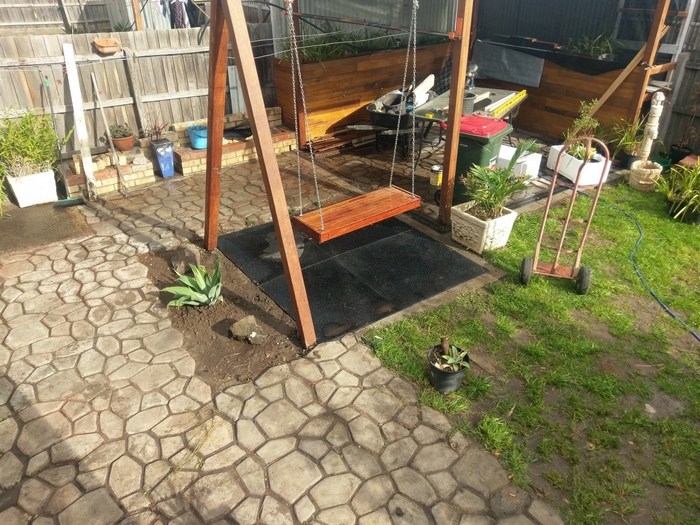
Click on any image to start the lightbox display. Use your Esc key to close the lightbox. ![]()
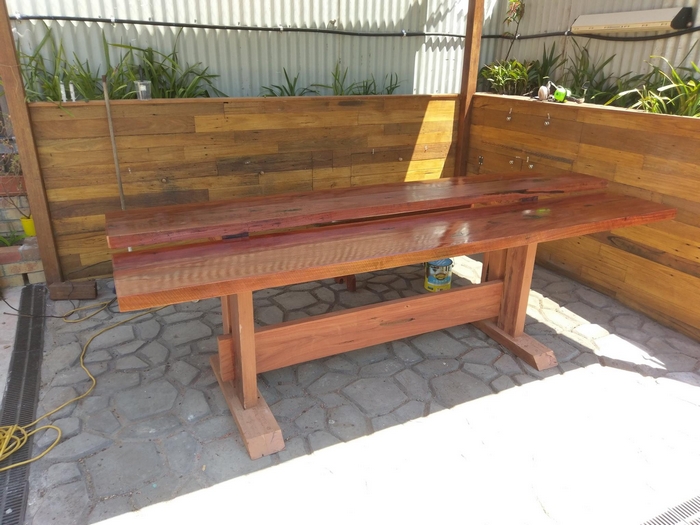

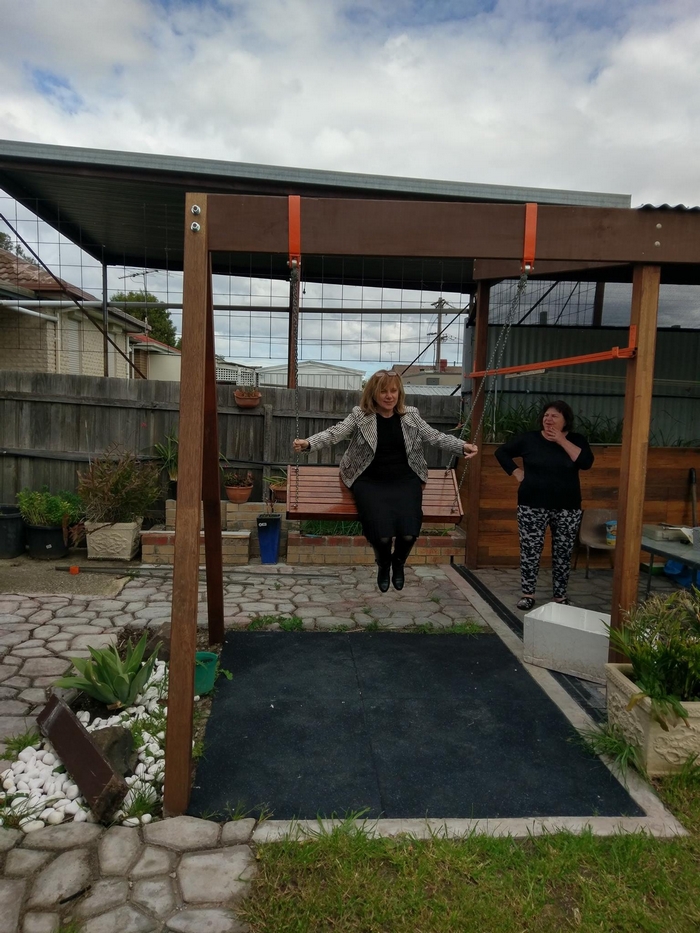
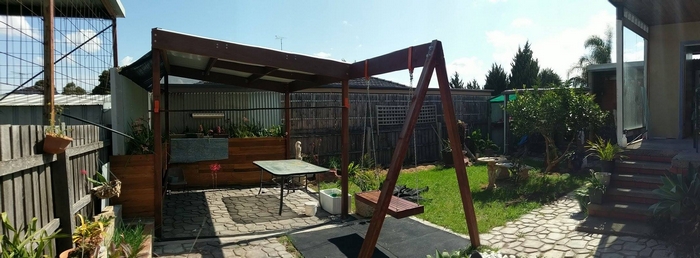


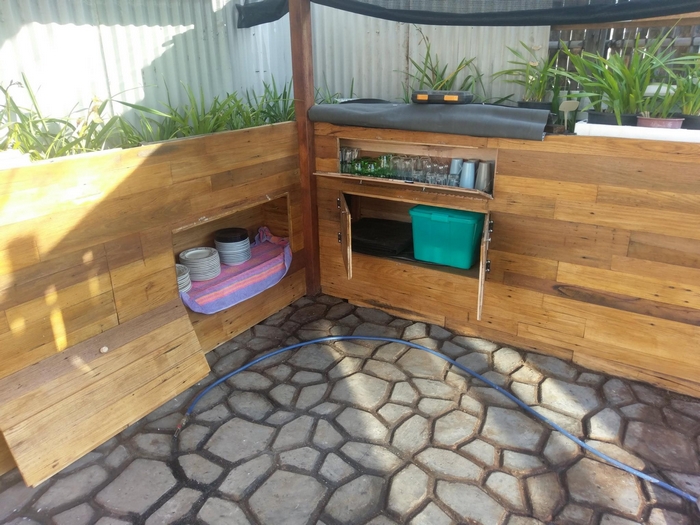
I started this project whilst still unable to do more than a couple of hours of work a day and if you know my story, you’ll understand why spending more hours working on this backyard physiotherapy project is a challenge in itself.
Depending on what I was doing (eg: digging post holes) for my backyard physiotherapy project, it sometimes took a couple of days for my body to recover before getting back out there again. So I started off with a plan to try and do at least an hour’s worth of work a day, just to keep the body moving.
This entire backyard physiotherapy project only cost me $2000.
I already had some of the materials I needed at home. Lucky for me, there’s been a lot of construction work in my area, so various builders were happy for me to take whatever was left over from their building sites. They were going to throw it out anyway so my taking it saved them from the hassle of disposal.
The only materials I needed to buy were the posts, beams and roof sheeting for the gazebo, sand & cement for the paths, water drainage around the gazebo area, topsoil, retractable clothesline, and a few other odd bits and pieces needed along the way.
You’d be surprised at the things you’d need towards the end of the backyard physiotherapy project job, things that were disposed of along the way. I didn’t throw anything away until the job was completely finished.
So, as always, start off this backyard physiotherapy project with a run-down backyard.

Weeds as far as the eye can see. This timber was taken from a building site nearby. I’m not sure what they were used for, but the builder was more than happy for me to take these. It’s treated pine so it wasn’t very strong on its own. I laminated 3 of these together to create a single beam. It was only going to be used for roofing over the BBQ area, so it was perfect for what I had in mind.

Step 1 Clean up time
Finally, some moving room. Still looks like a mess, but we’ll soon fix that.
The dirty area used to have an above-ground swimming pool, but that was sold off and the area was never really used properly. At one stage it was used as a veggie patch, but it still didn’t get used properly.

You can see where the pool used to be. And in typical euro fashion, the rest of the yard was concreted (yuck). I have always hated ugly concrete everywhere.
I never understood that mentality. Life/God/Nature spends millions and millions of years creating beautiful, natural earth, and we end up tearing it down to lay concrete everywhere. And then spend a fortune on holidays that let us commune with nature. It makes no sense.
So…… adios concrete.
Most of it was broken with a great big sledgehammer. I could have rented a jackhammer, instead, I used the sledgehammer as part of my physiotherapy.
The weight of the hammer, the concrete and the swinging motion did me some good. Hurt like hell after an hour, but like they say: “No Pain, No Gain”.
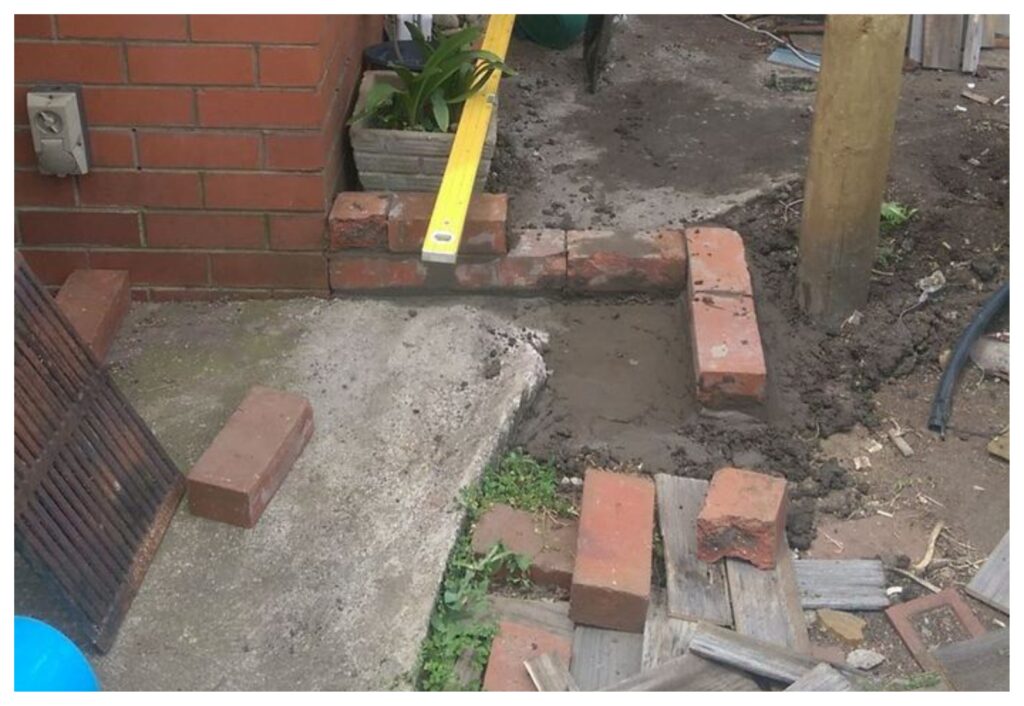
This little pathway was the only way between the front and the backyard.
Everything you see in this physiotherapy project was carried through this little passageway either by trolley or by hand.

I had this little storage room behind the garage which was never really finished properly. That ugly blue board wasn’t very appealing, so I called my cousin who builds colour bond fencing to bring me a torn-down hardwood fence. It would save him the tip fees and I get free wood.
It was a win-win for both of us. I saved all the Redgum posts (to be used at a later stage of the physiotherapy project) and used the pailing to dress the storage room. Now it made it look like an old cabin in a forest.

Step 2 Merbau decking
Most of it was being thrown out on another building site and I only needed to buy 5 pieces to finish it off. As you can see, the railing from the first photo was also used as framing for the deck.
Because this stuff was hardwood, I only needed to laminate 2 of these together to create a single beam. I just put more posts (the old Redgum posts from the fence) on each railing…. so 30 people can do the Zorba dance on this deck and it will hold up nicely. 🙂

Step 3 BBQ Area
Now, it’s time to lay down some foundation for the BBQ. I used some old rusted zinc roof sheets (found on another building site) and stood them up against the back fence. These gave the area a really nice rustic feel.


The BBQ area is being built. While gas BBQ’s are nice and easy to use, there is something to be said about wood and coal fire that enhances the flavour or anything you decide to cook on it. So I bought an actual BBQ and built this area around it. Storage for firewood under it, a sink for rinsing out platters and plates (or to throw ice and drinks into)…
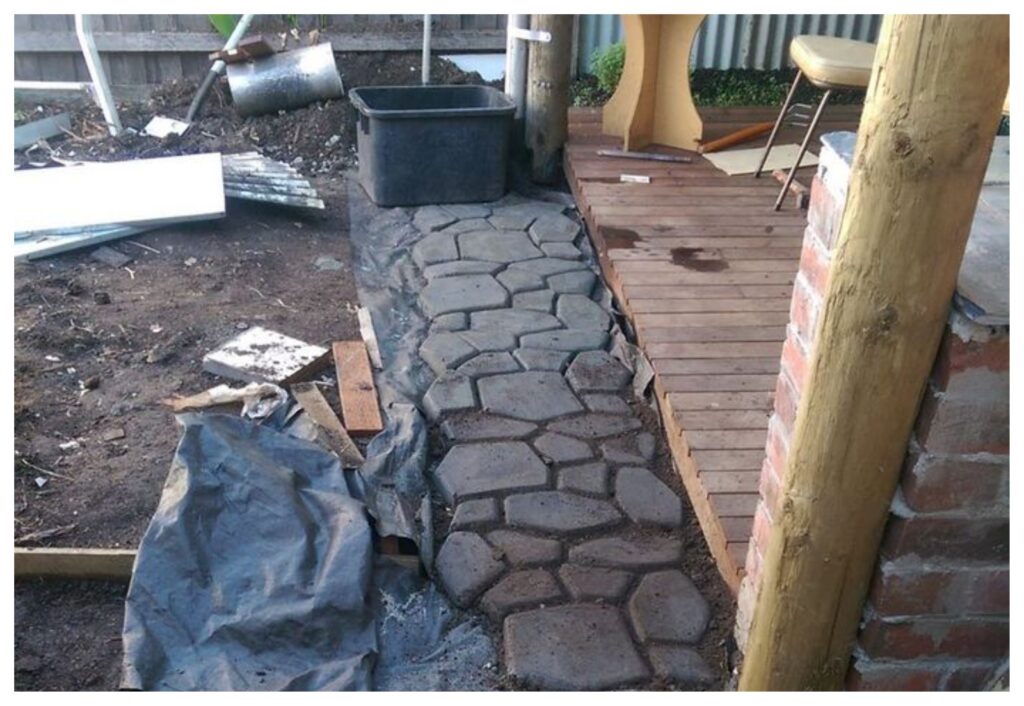
Step 4 Cobbled Stone Path
I’ve been following the Owner Builder network for a while now and saw this cobbled stone path maker that I thought was really just amazing.
Unfortunately, I couldn’t find a design that I liked that was available in Australia. I fished around on the internet and found a design that I liked in the USA. I mixed the concrete in a wheelbarrow and added the black concrete colour powder to the mix.
Mixing all that concrete wreaked havoc on my back. It took me a full day to make 4 stencils and then took a day for recovery. What you see in this photo took me a day and a half of work. But I was too dumb to quit…. so onwards I pushed.
Continued Page 2…

