Quick test. Black stones with white sand through it all…. not a bad look at all.

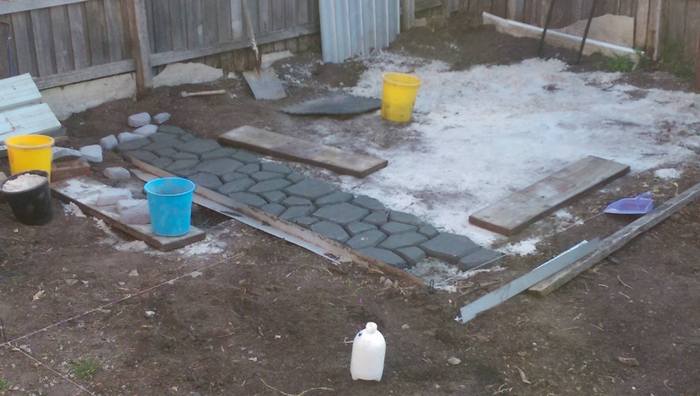
I made a few extra pieces with whatever concrete was left in the wheelbarrow after a day’s work and ended up using these on the corners and ends where a full stencil wouldn’t fit.

4 Stencils… and another day has gone.
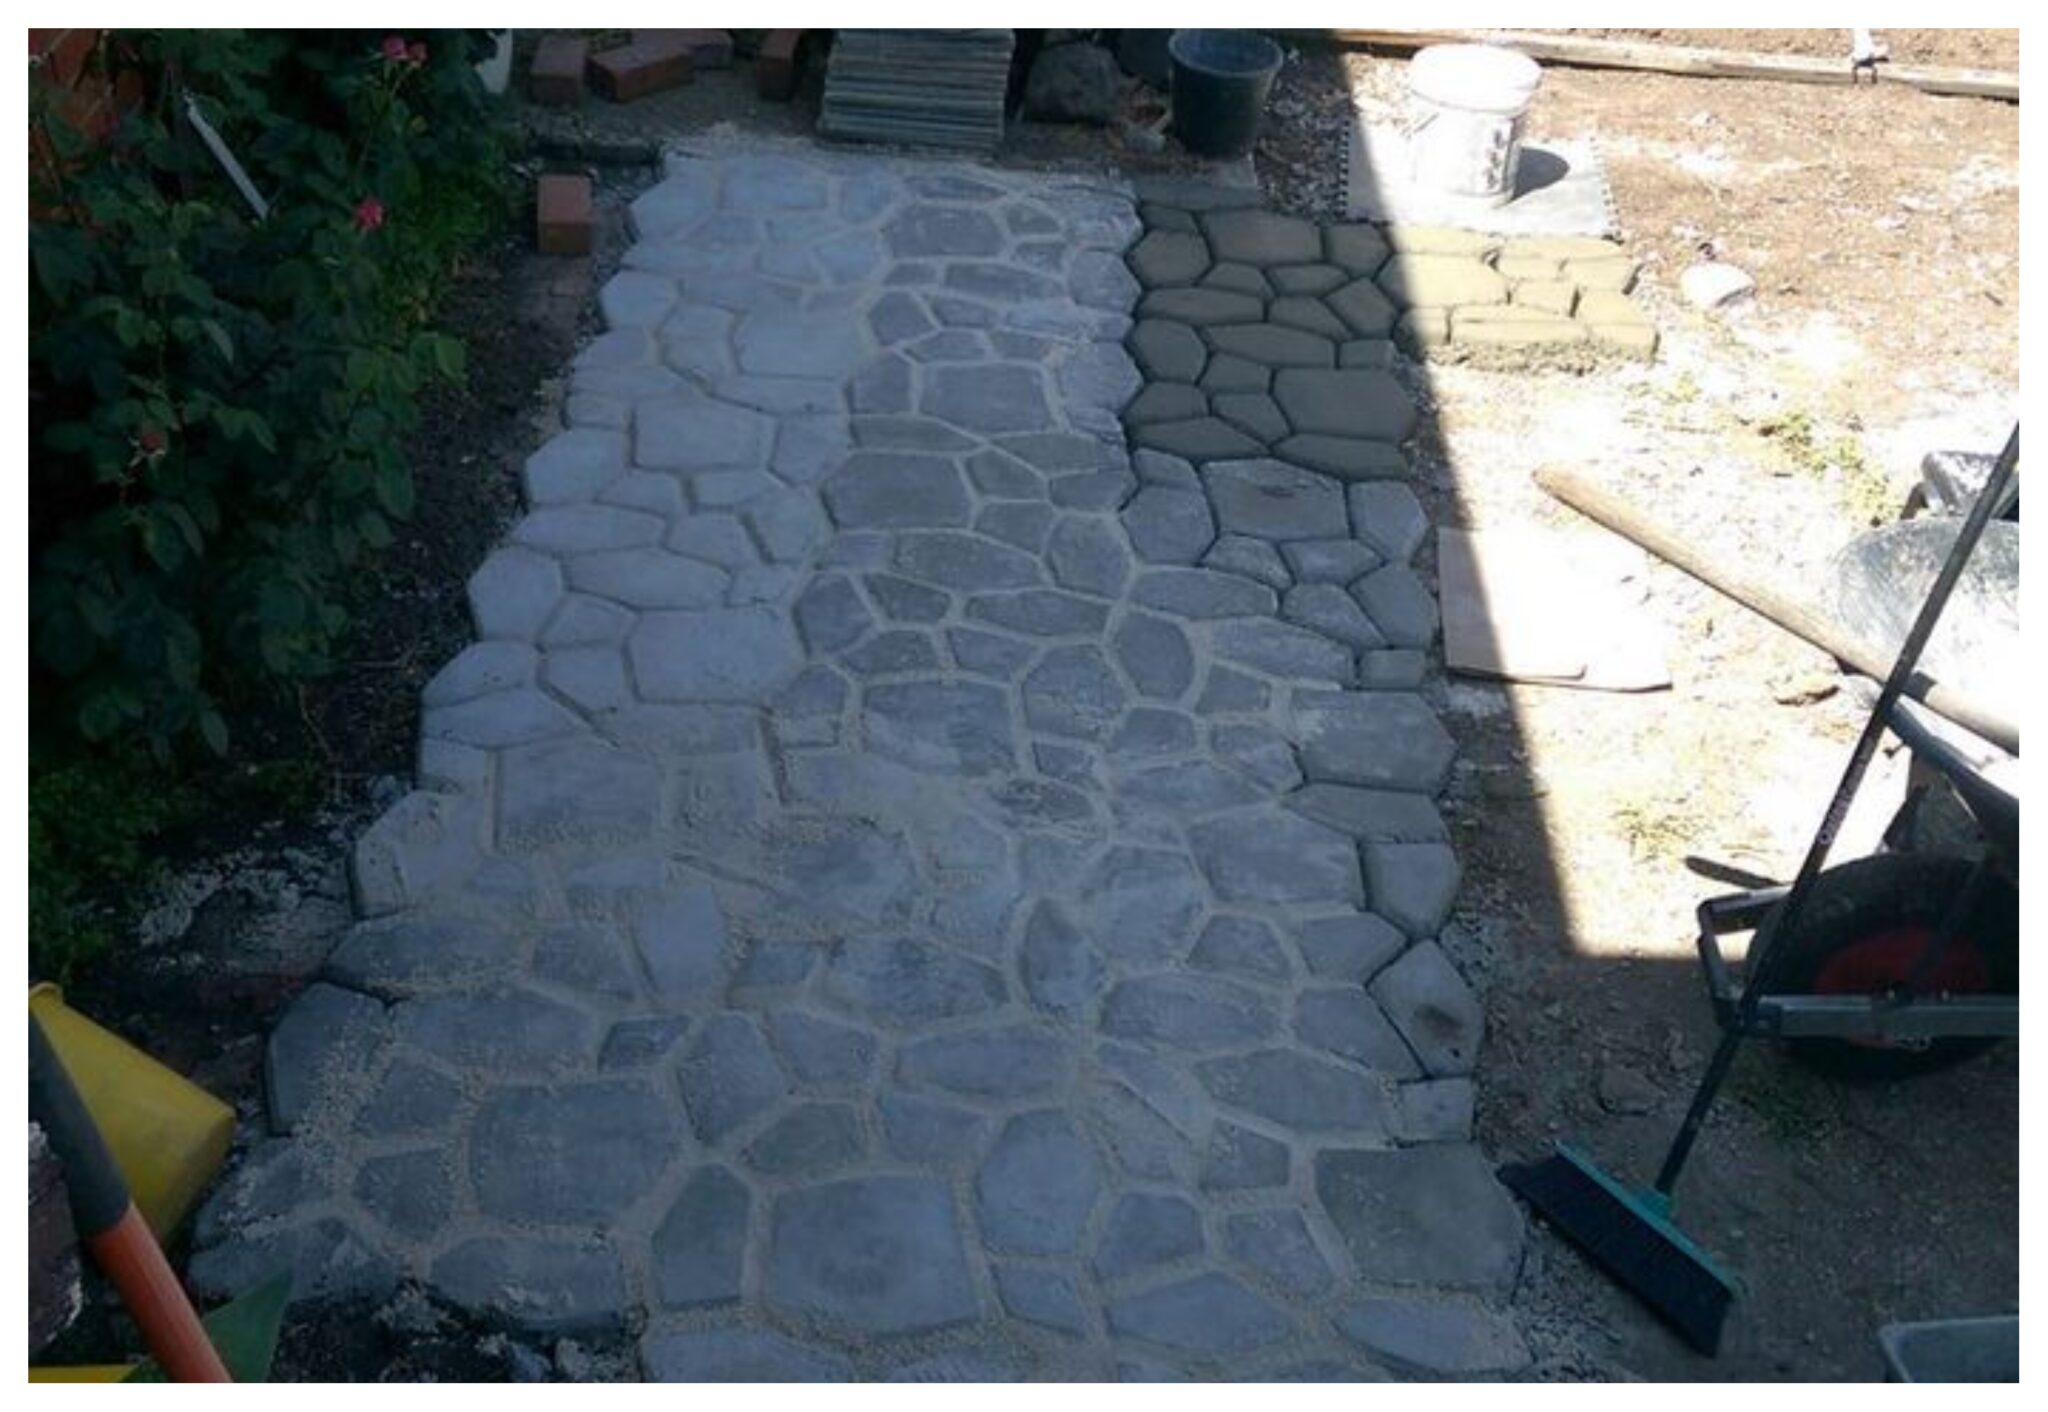
More path-making for my backyard physiotherapy project. It’s starting to take shape now.

Step 5 Gazebo
Now on to the floor of the gazebo. I decided to make the gazebo first and then have the rest of the path come up to the gazebo area. That way, at first glance it would seem like it was all one path, but would subtly stand out as two separate areas (which you’ll end up seeing at the end). You can also see where the spare pieces would eventually come to be used.
Put some water drainage around the outside so that the rain can fall into it and escape rather than sit in the yard and just flood.
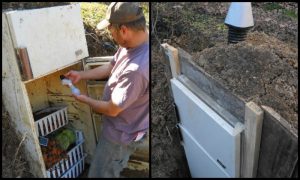
All that concrete mixing was eventually destroying my back. It was doing more harm than good so we came up with a different idea. I went out to Bunnings and bought a paint mixer to fit on an electric drill. Sand, Cement & Water in that black tub and used the drill to mix it. I used a paint mixer rather than a glue/concrete mixer because of the design of these things. The concrete mixer had more of a spiral which added too much strain on the drill whereas the paint mixer worked perfectly.
I would end up going through 3 paint mixers by the time I finished. But at $12.50 each, the savings on my back and on the electric drill was well worth it.

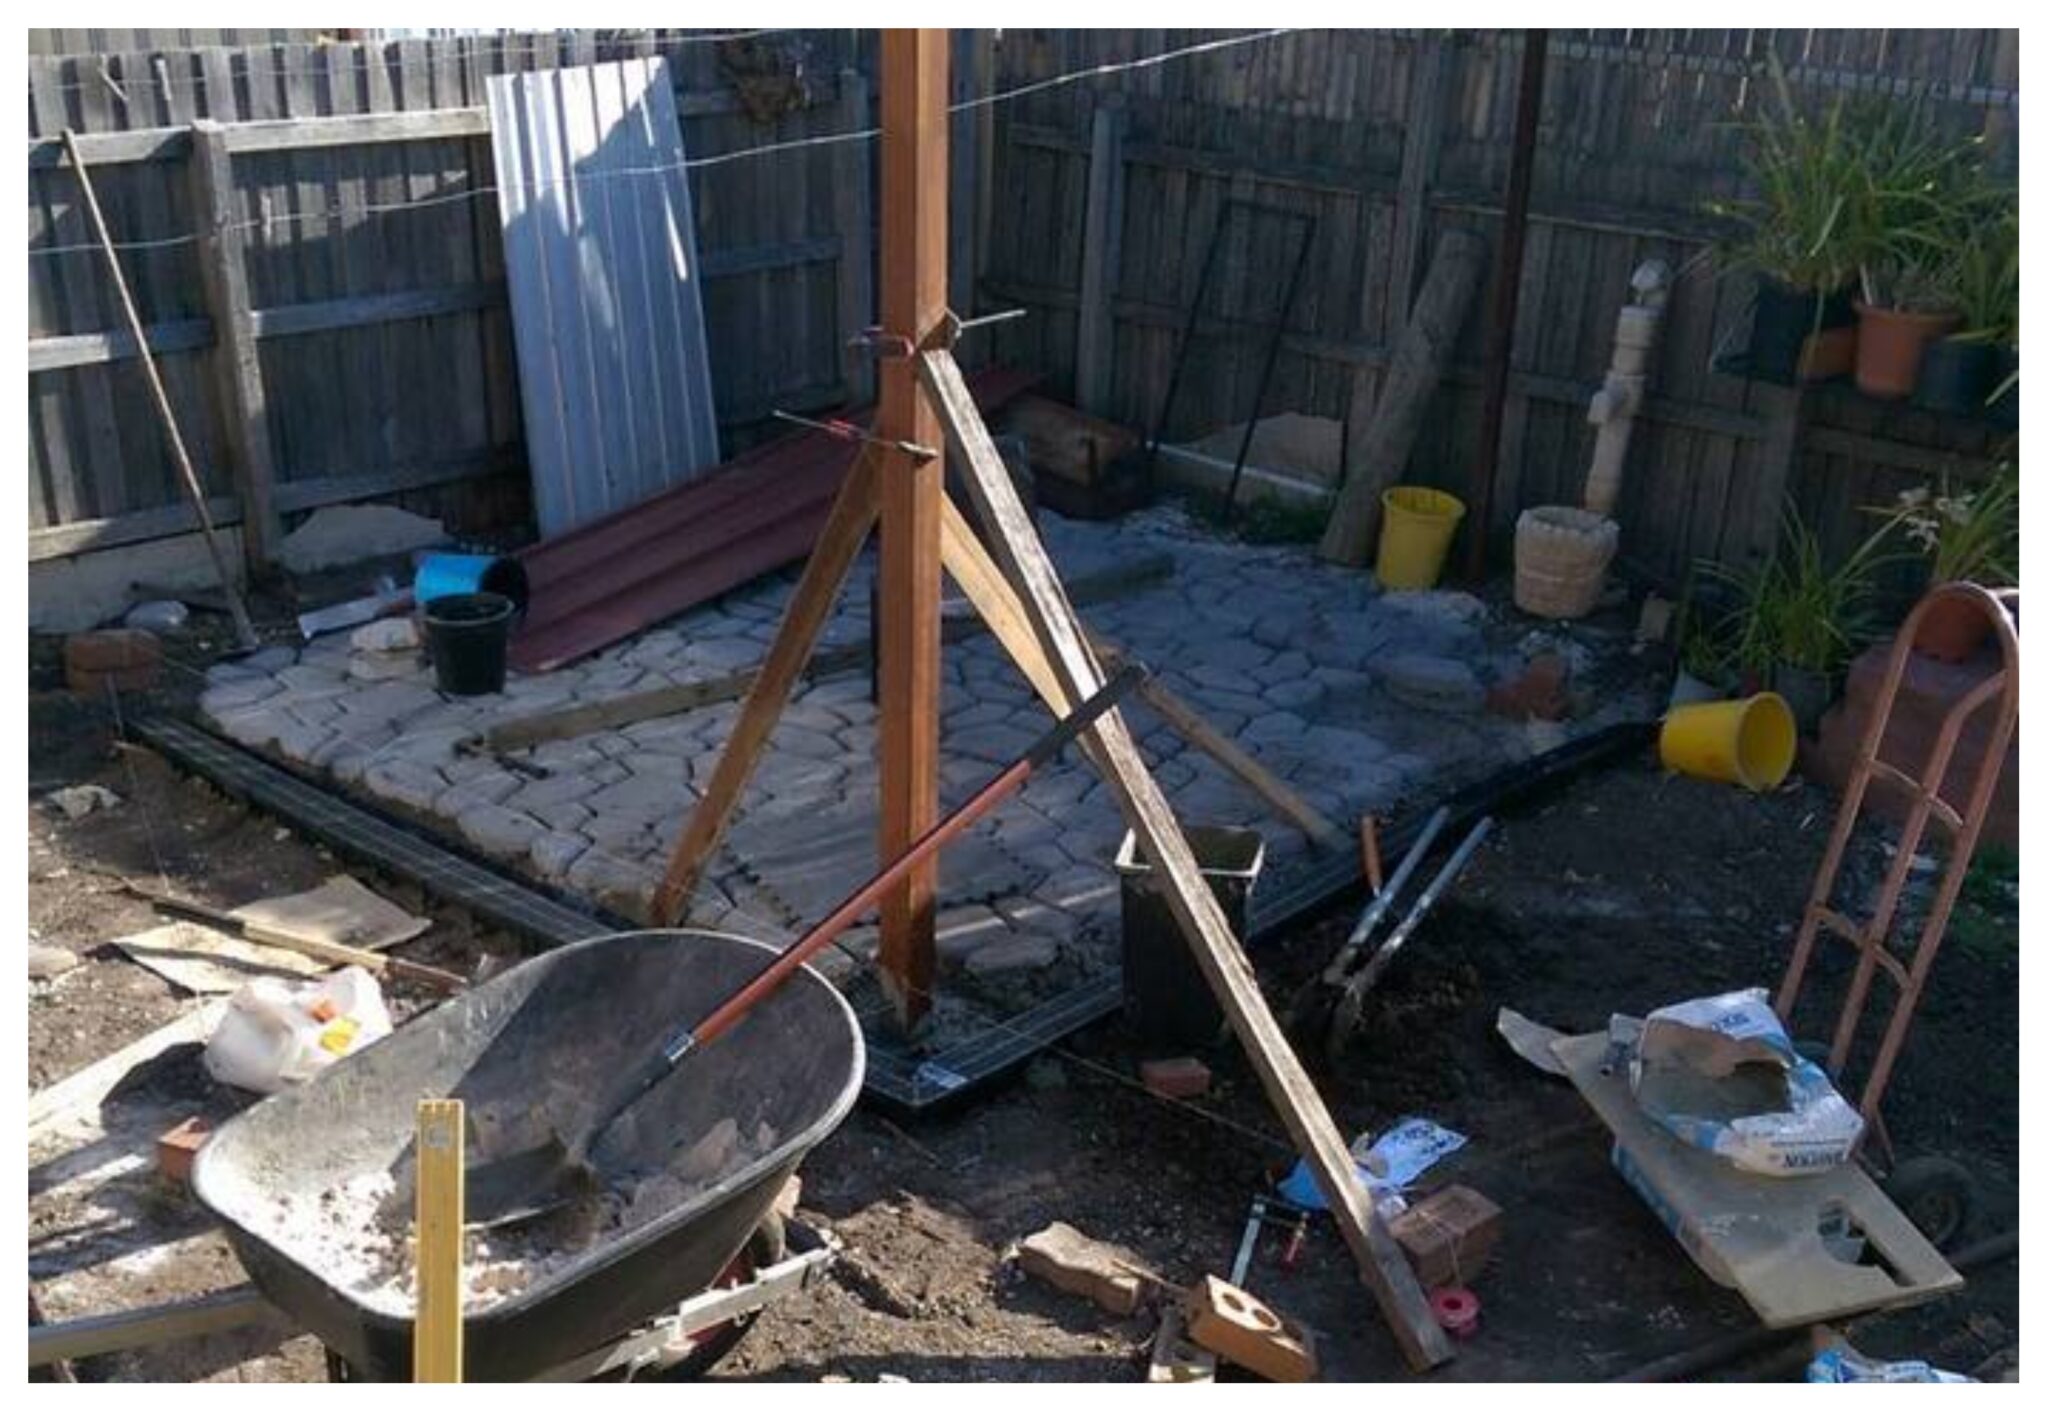
Post time. 1 day, 2 post holes. This ground was torture to dig up.
Good old clay that had to be dug out by pick. Not very fun, but a necessity.

Finally, I got to put the beams up. At this point, you might be wondering why is there a post in the middle of nowhere. Just wait for it..wait for it…

All beams are up. As you can see, I’ve been collecting bits and pieces from building sites around my area. Top and bottom cover sheets from a roofing that were scratched and couldn’t be used on the job were thrown out by builders. Their trash, my treasure. The whole theme of the backyard physiotherapy project was a forest cabin / rustic look, so these were perfect.

Step 6 Topsoil time
I didn’t want to go for Buffalo grass because I’m not a fan of those runners. I went for seeds instead. It’s a little more work involved but it does give a nicer feel.
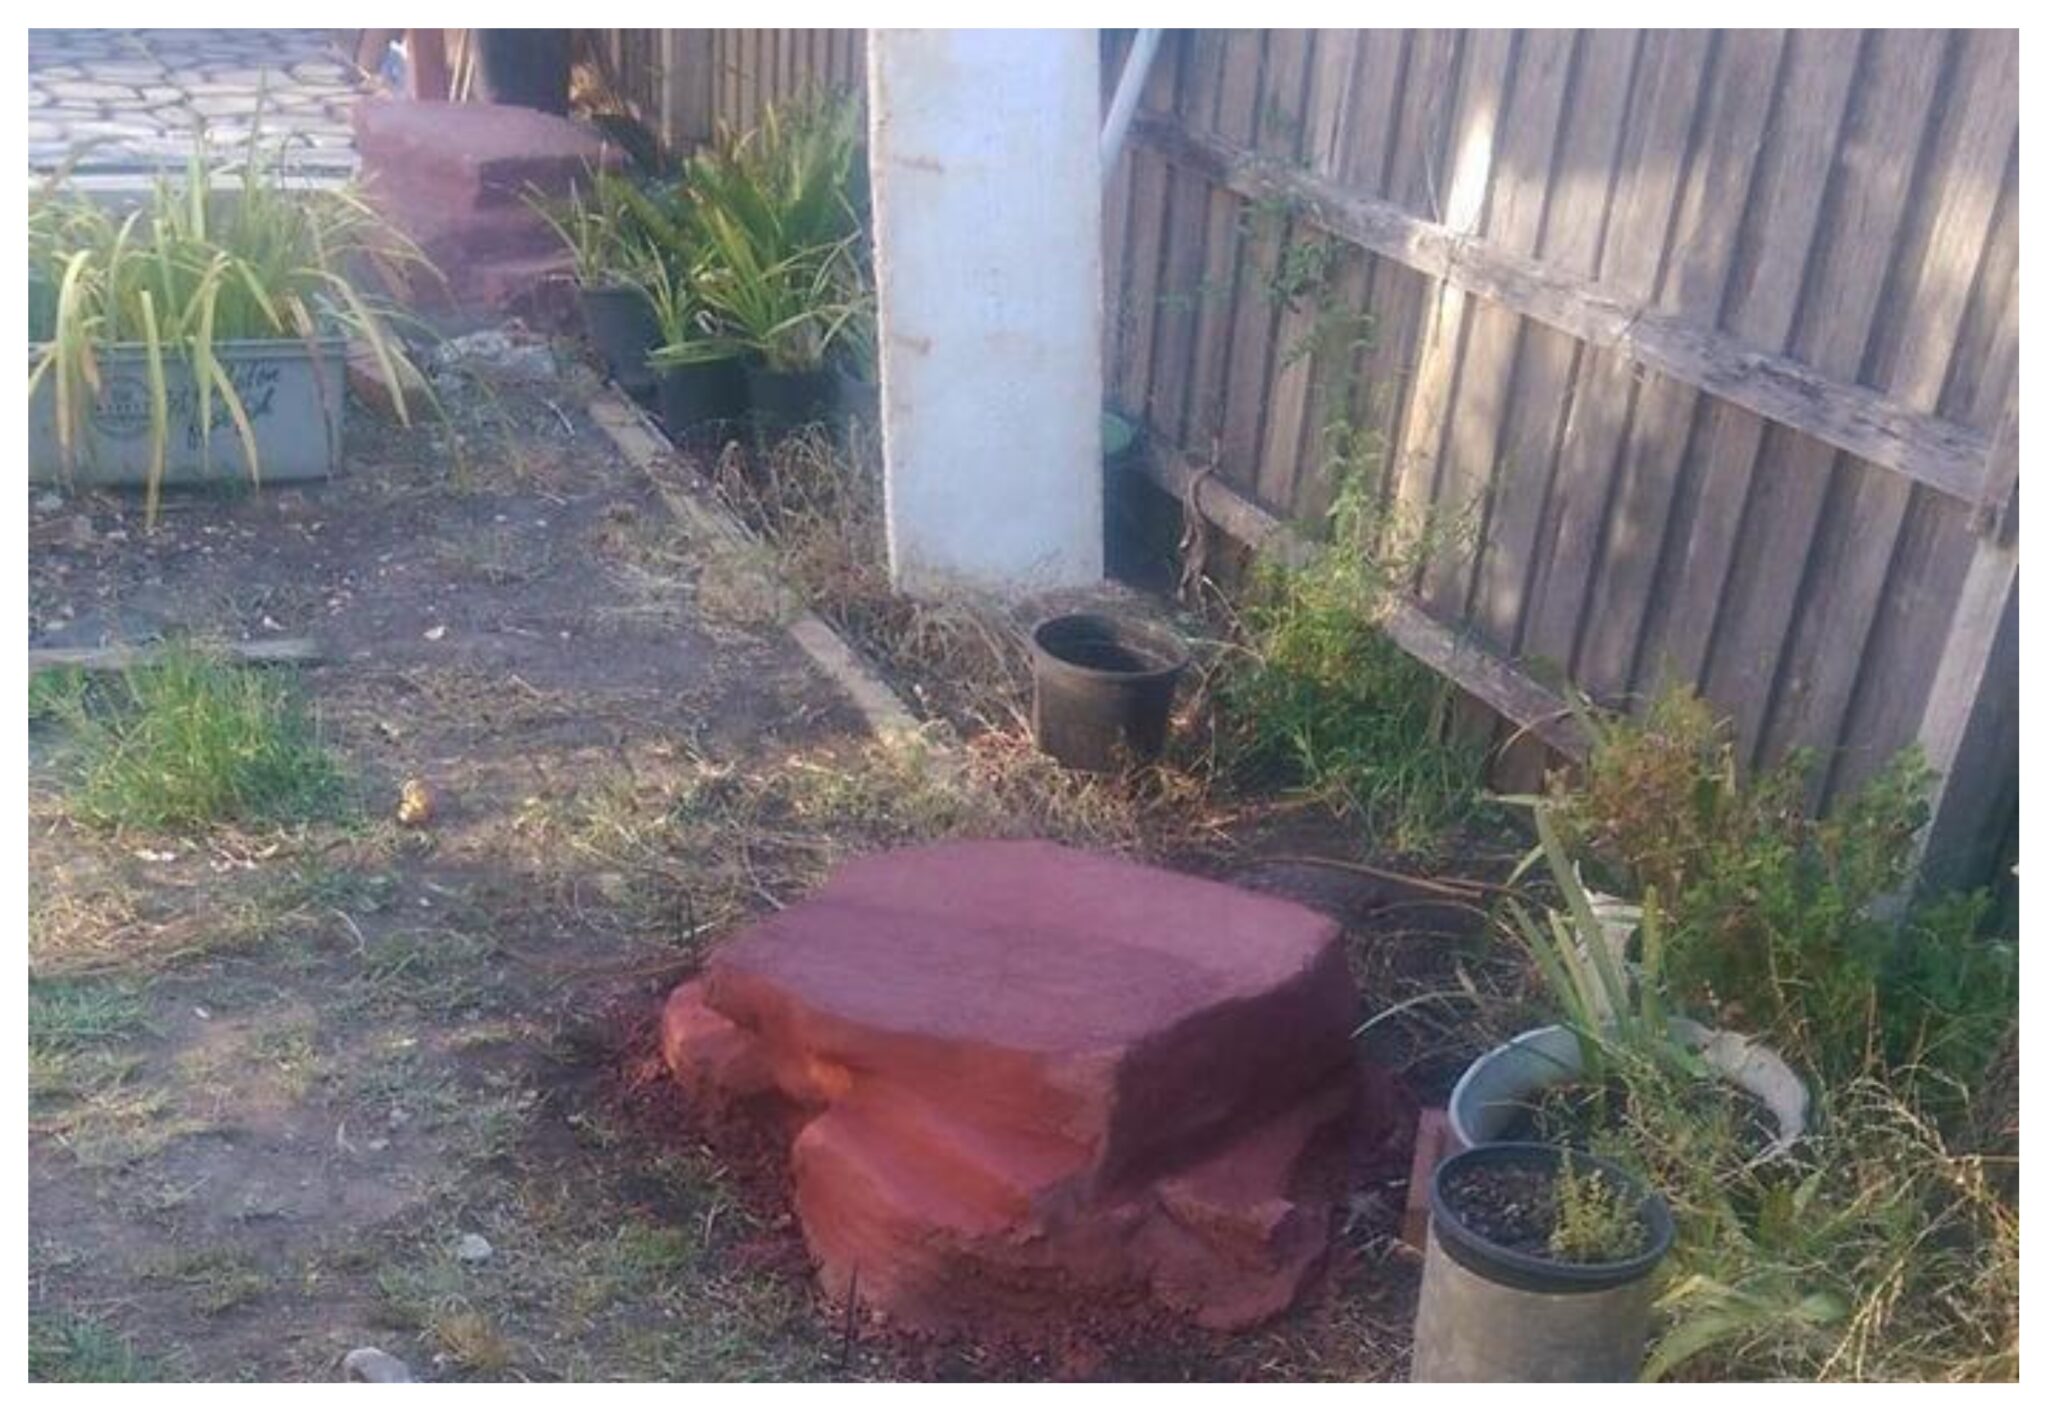
Remember all that concrete at the beginning? I decided to put some of it to good use and made these feature rocks with Oxide Colouring. Just mix some colour with the water before you mix the water with your concrete.
It took a lot of trial and error before getting the right colour. That red is a mixture of about 5 parts Red, 1 part Black, and 2 parts Yellow.
There may have been some tinkering along the way, so don’t ask me for the exact mixture. I mixed the colour in a single glass of water and only made a small concrete mix. Using rubber gloves, I slapped and spread the coloured concrete over the old one till it was evenly spread.
Then I used a paintbrush to texture it. Once it was dry, I used a concrete sealer over the top for it, to keep its colour during the winter rains.
Continued Page 3…