Last Updated on June 29, 2023 by teamobn
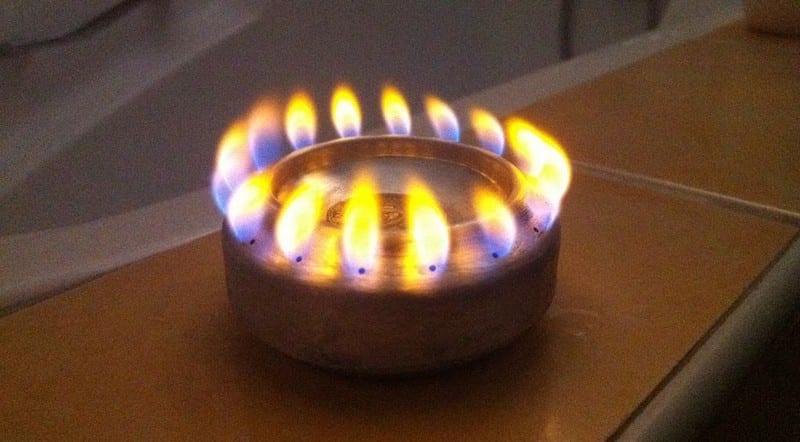
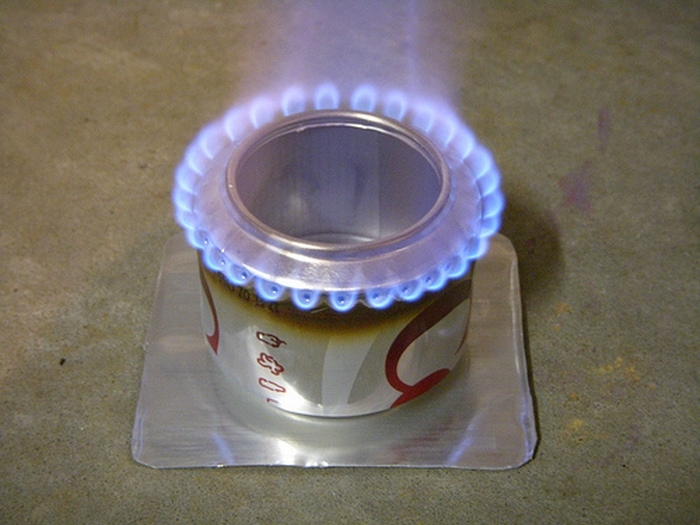
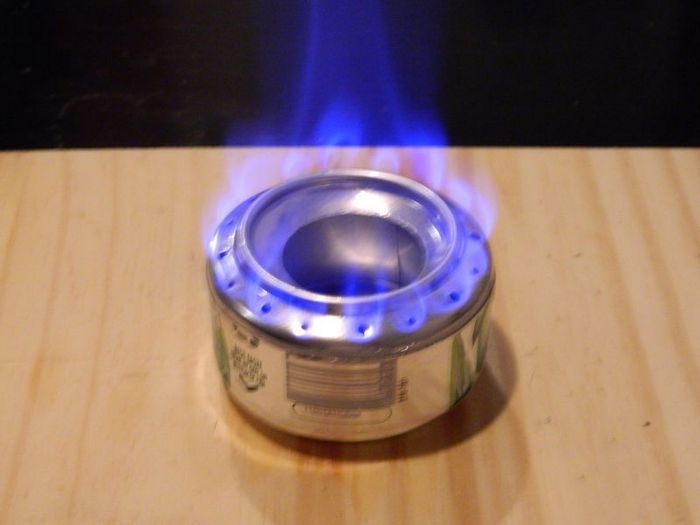
A DIY pop can alcohol stove is just another example of ingenuity! This is so small and easy to put in your backpack that you need never be without that hot meal or drink again! This makes it perfect for your next camping trip!
With this product, you’ll be able to enjoy a hot meal or drink no matter where you are – perfect for those times when you want to camp in a remote location.
The components are simple. The only thing you might not already have is a heat-proof metal glue. If you have heat-proof metallic tape, you can use that for this alcohol stove project instead.
Click on any image to start the lightbox display. Use your Esc key to close the lightbox. ![]()
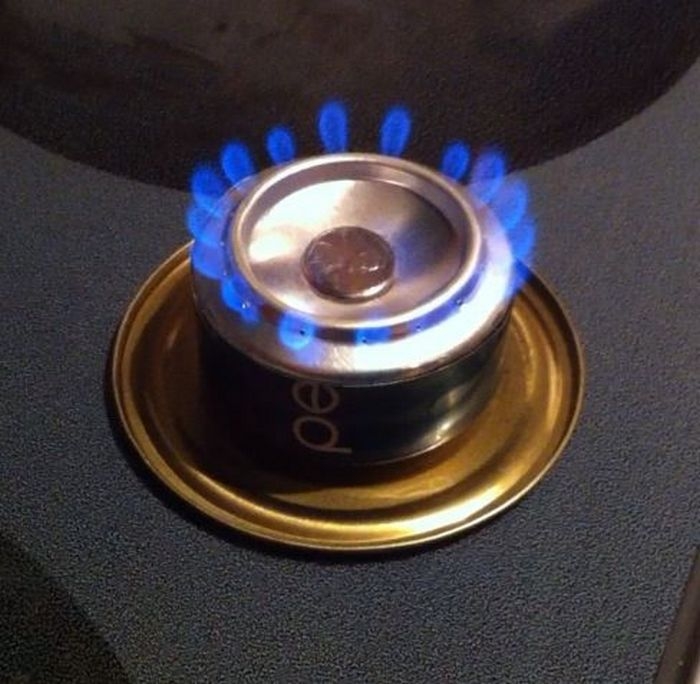
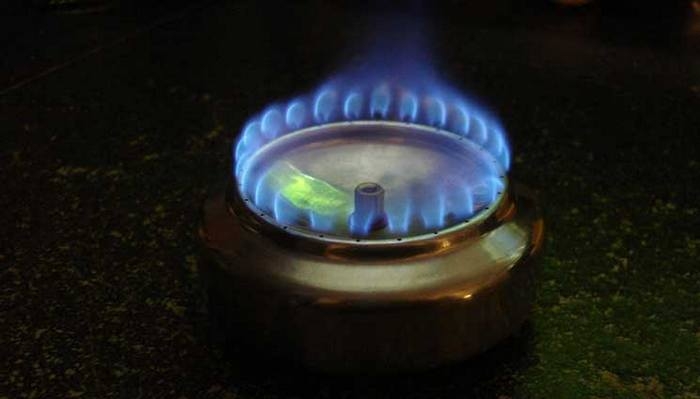

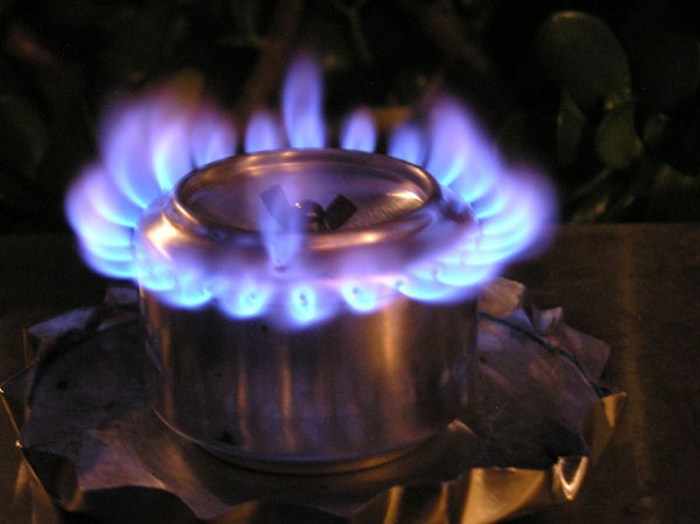
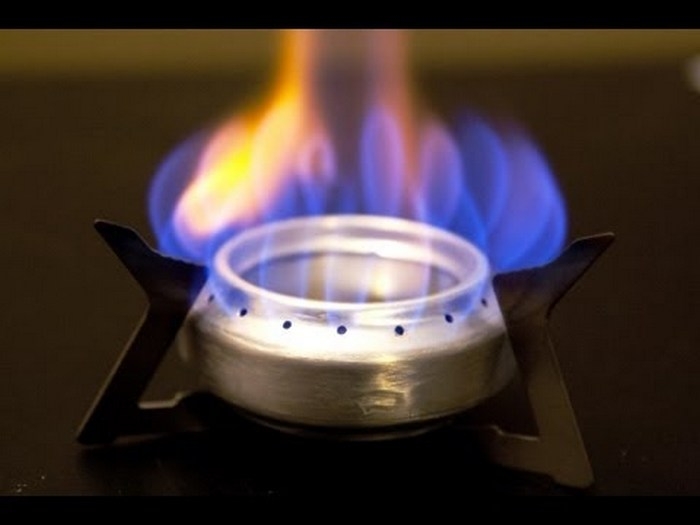
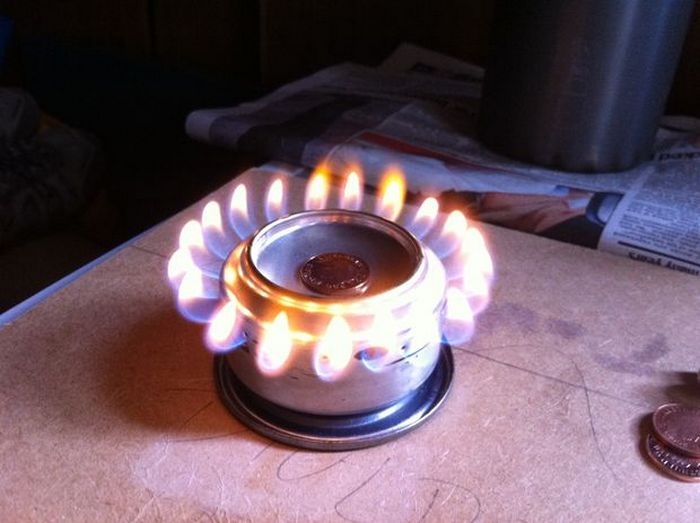


You’ll need these materials:
- Soda Can
- Ethyl Alcohol
- Heat-proof Metal Glue
- Pen/Marker
- Sand Paper
- Rag
- Coin
And these tools:
- Scissors
- Pliers
- Awl (or any tool to puncture small holes)
How to make a DIY pop can alcohol stove?
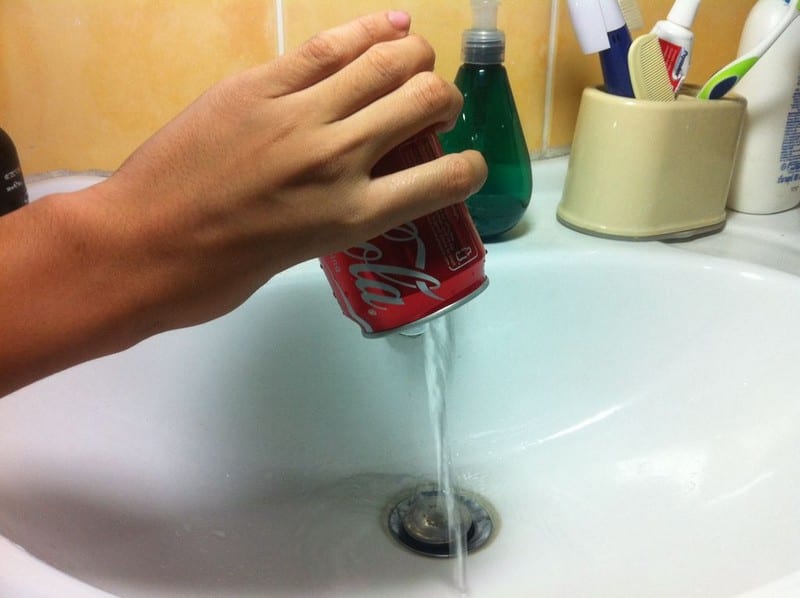
Be sure to clean the whole can by rinsing it with water. You wouldn’t want impurities to mix with your alcohol while using your alcohol stove. Mixing impurities with alcohol will degrade the stove’s performance.

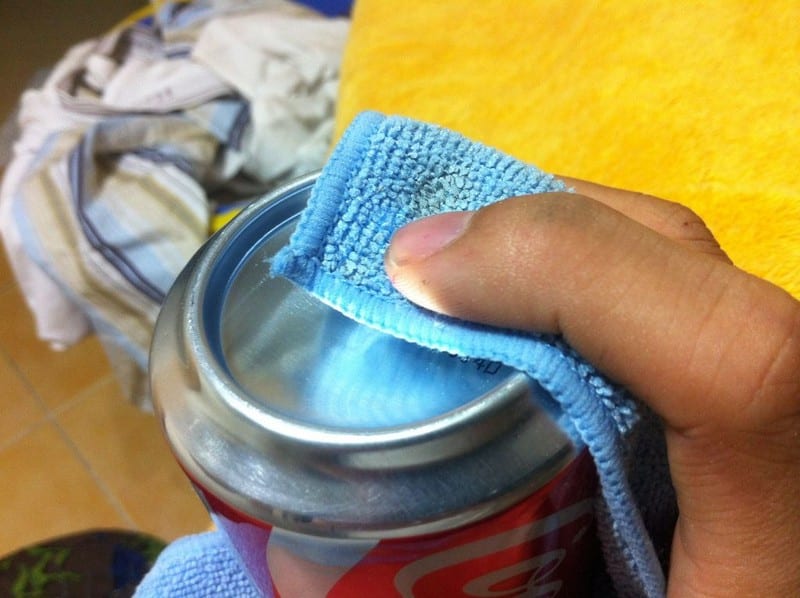
After rinsing it with water dry it with a piece of cloth.
Use a marker to mark it, try to use a flat base like an eraser as a guide to your marker, and rotate the can in a circular motion until you complete the markings.

First, puncture a small hole in its upper part.
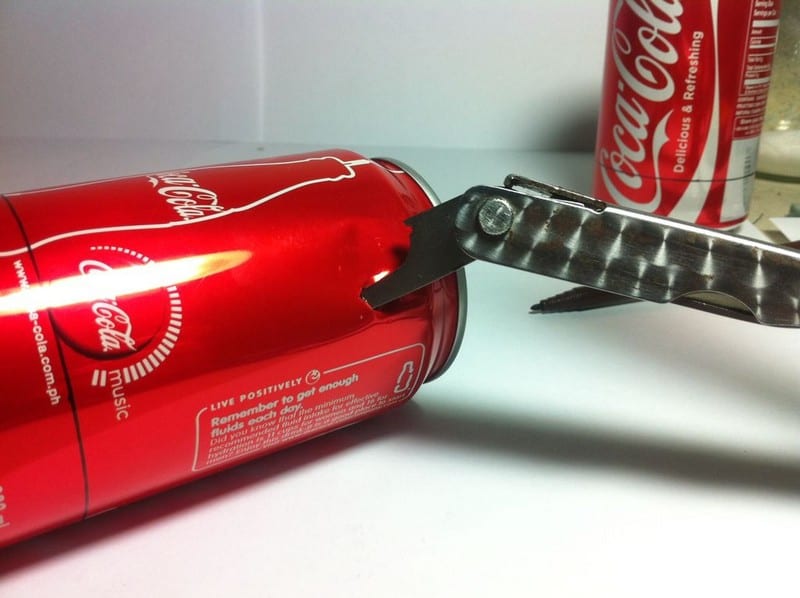
Then use your sharp scissors to cut your desired measurements.
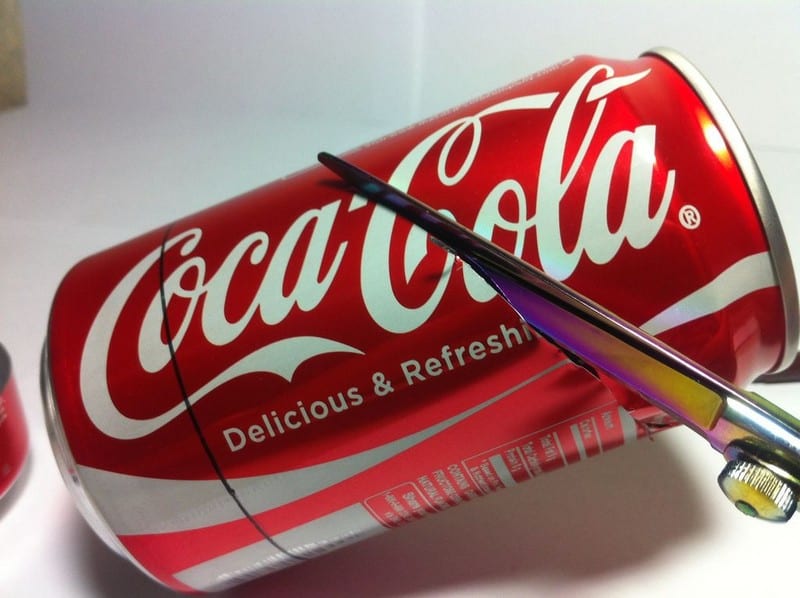
Remember to start cutting from the top to the bottom and the other part must be shorter than the other one (as shown in the last picture).

After cutting both of the cans, sand them until the label wears off. Be sure to sand the labels, because if you don’t sand them, the label will somehow melt and turn black thus ruining your alcohol stove’s appearance.
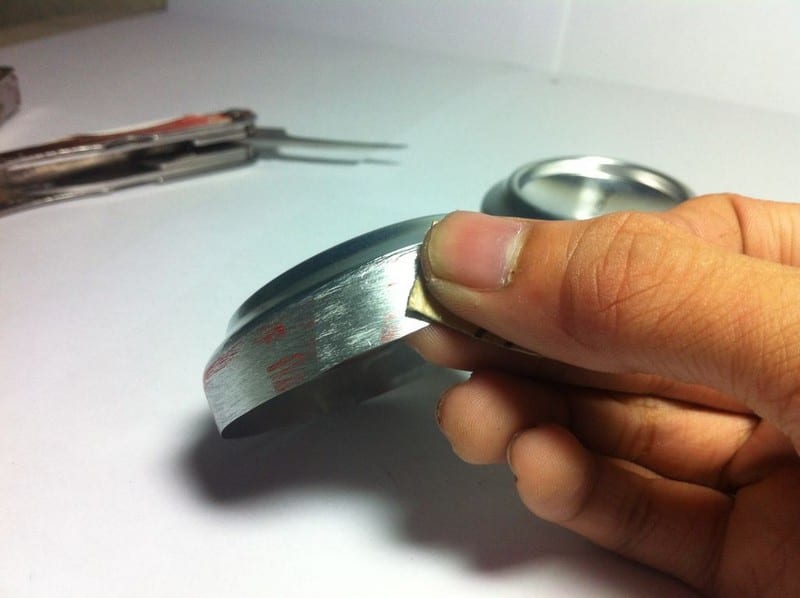
This is now the tricky part, sticking both cans together is the most painstaking task you will encounter in making the alcohol stove. I advise you to bend the shorter can’s edges so it would be easier to insert the it into the long can. This part is more tedious but it is very important so I suggest that you do this part in the slowest and carefulest possible way.

Insert the short can into the long can. Use your Dremel tool for grinding the sharp edges left by the can.

Try to apply super glue into the small gaps left. Be sure to seal it or else flames might exit an unsuspected area. Keeping the stove as airtight as possible is a “must”. Let the glue sip in the gaps. Notice that the super glued area should be the bottom part, Shorter one should be facing downwards and the longer one should face upwards. Flip the can after gluing it. Don’t forget to let it dry for about an hour.
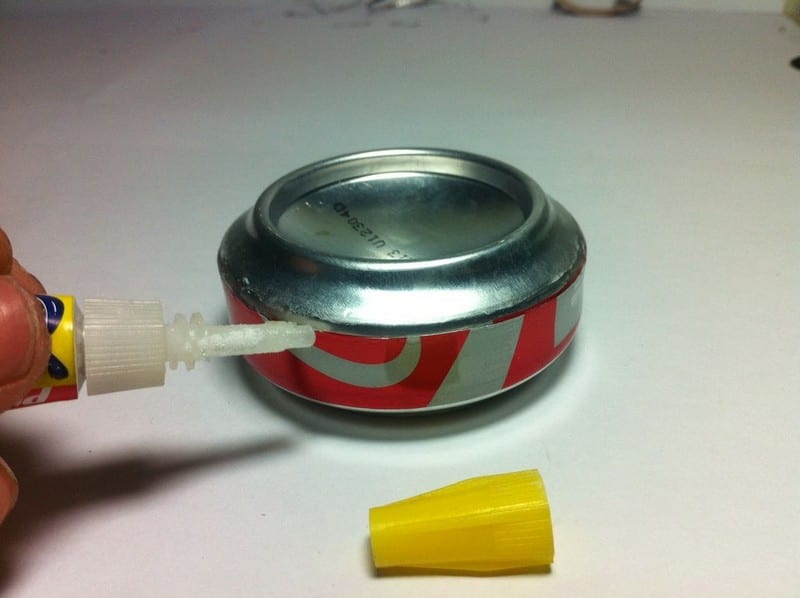
Drill your holes using a Dremel tool or just simply use a sharp object to puncture the can. Please do not make your holes too big or too small. Don’t forget to use a tape measure to guide your holes. Do not make your holes too big or too small. Use a drill bit that is used for PCB making.

Sand every last ink on the printed label, ink from the label usually burns and then turns into a black substance. You wouldn’t want to mess up your stove’s appearance.
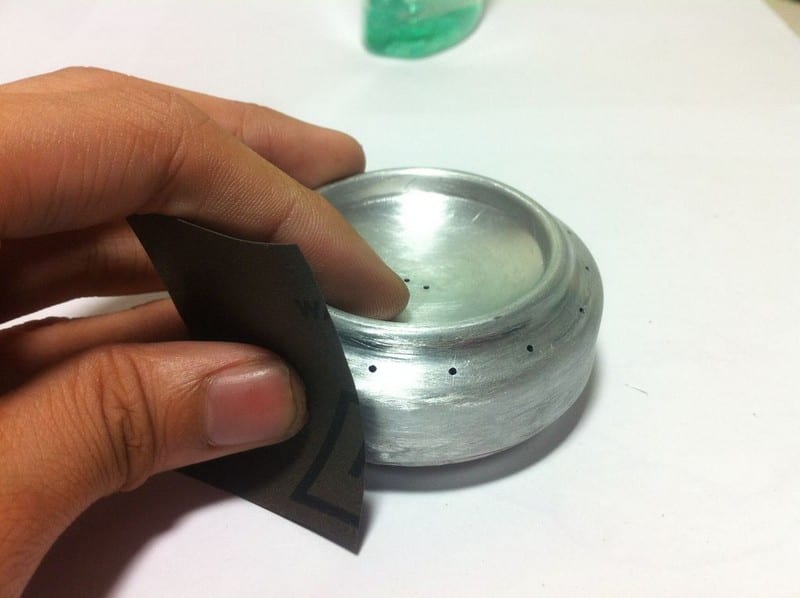
These are the steps for using the stove:
Pour alcohol into the stove’s fuel inlet.
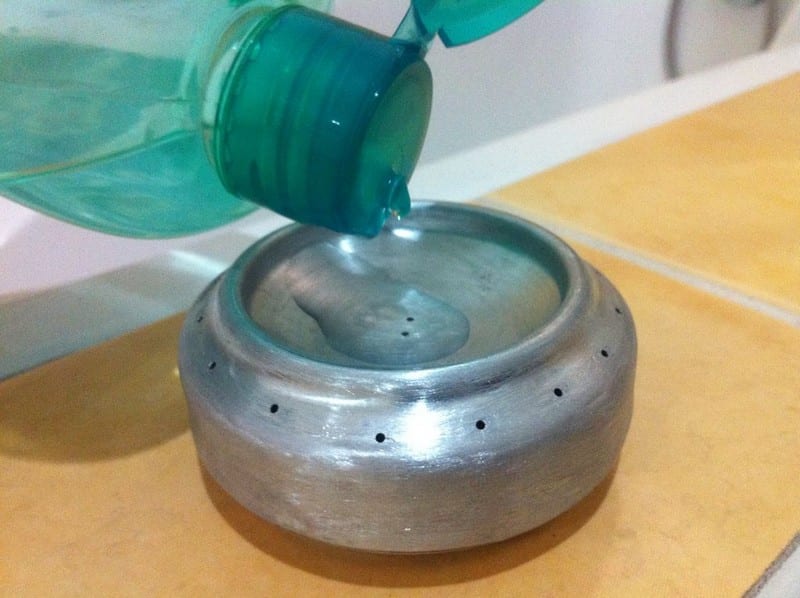
Cover the inlet with a coin or magnet.
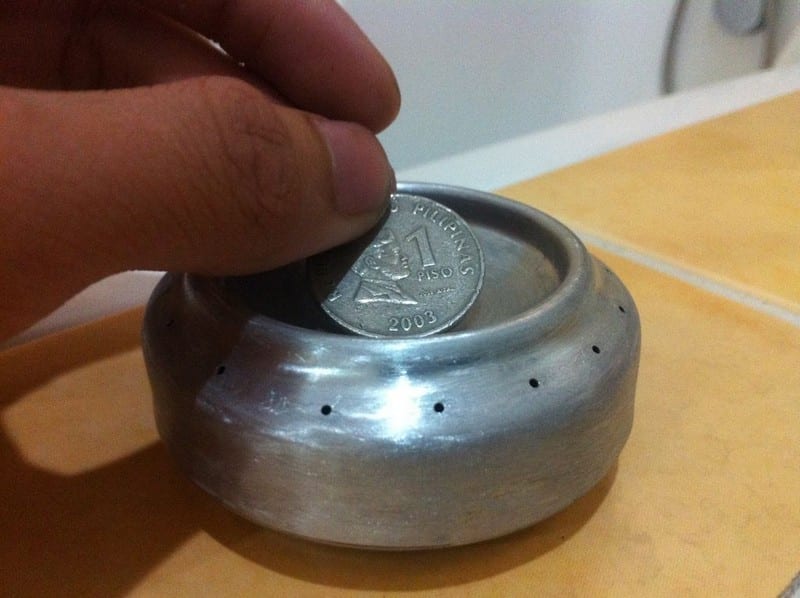
Pour alcohol “around” the stove.

Set the alcohol around the stove on fire.
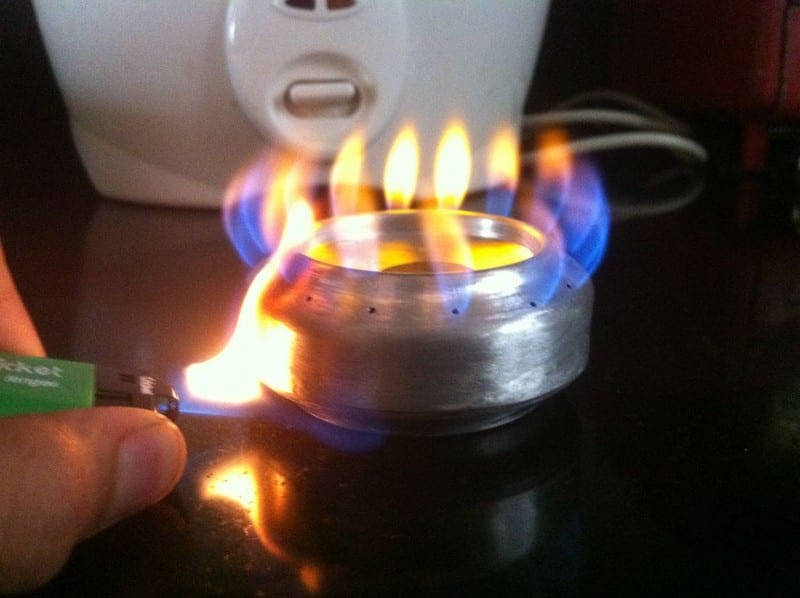
Wait until the jets works, you will hear a boiling sound.
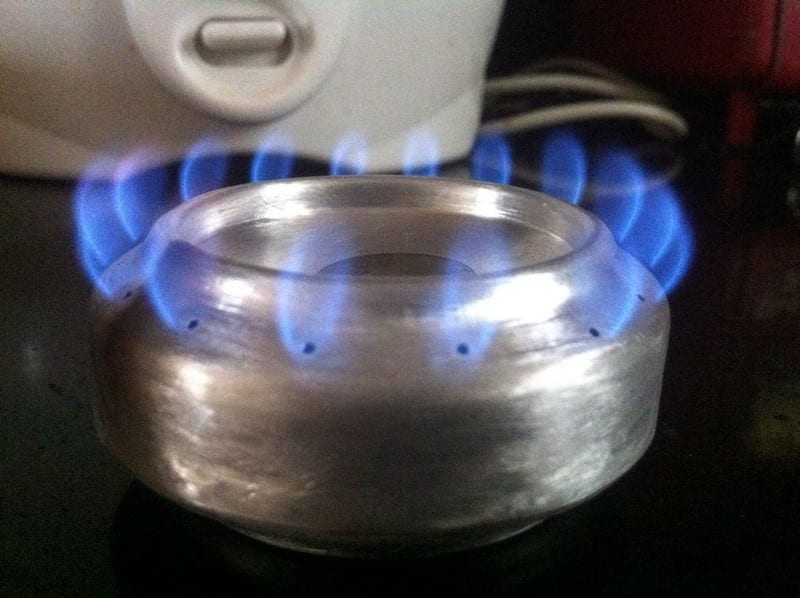
You’re done! Have fun modifying it :))))
If you want a small stove for camping or cooking or even as an emergency stove when you’re without power or gas, this could be the solution. You might want to think twice about throwing that soda can you just finished.
Thanks to ASCAS for this great project.

