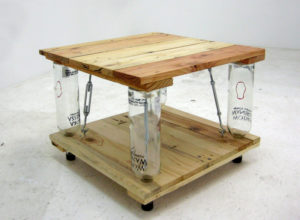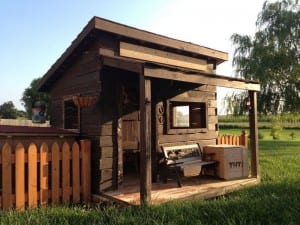
Who could have predicted the wildly popular success of pallets in the field of home décor? The humble wooden shipping leftovers have become ubiquitous, popping up as kitchen panels, furniture, and even outdoor structures.
Once seen as cheap and cheerful substitutes for more expensive materials, pallets are now being used by savvy homeowners and interior designers as a way to add a touch of rustic charm to any space. Whether you’re looking for a new coffee table or a unique way to add shelving to your kitchen, there’s a pallet solution out there for you.
With their popularity showing no signs of waning, it’s safe to say that pallets are here to stay. People use them for all kinds of DIY projects inside the home, on the porch, and in the yard.
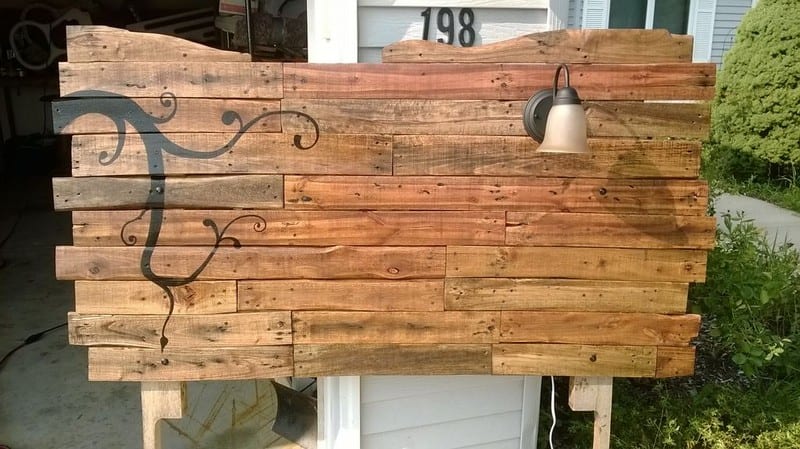
Here’s another great creation made from recycled pallets. Also, another proof that one doesn’t have to be a professional to create something impressive for the home!
This headboard was made by an amateur DIYer who is just beginning to learn woodwork. His strategy – to go for beautiful yet inexpensive reclaimed wood – is clever! With some sanding and staining, this headboard can look great in any bedroom.
Click on any image to start the lightbox display. Use your Esc key to close the lightbox.![]()


Read on to see how he built his DIY pallet headboard. 🙂
Materials:
- 2 Wooden Pallets
- Wood stain
- Polyurethane
- Screws
- 4″ Bolts
- Black Latex Paint (optional)
- Light Fixture (optional)
- Black Spray Paint (optional)
Tools:
- Circular Saw
- Reciprocating Saw (optional)
- Drill
- Sander
Check out the steps of building a pallet headboard
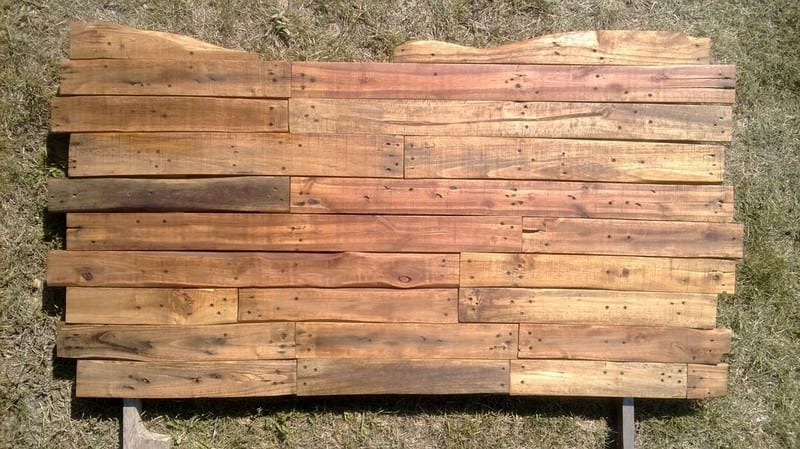
After disassembling the pallets (by hand at first, until I bought a reciprocating saw which made it much easier) I laid the wood out to get a general idea of how much space I could cover. For my bed, it had to start two feet off the ground and be about 4′ by 3′.
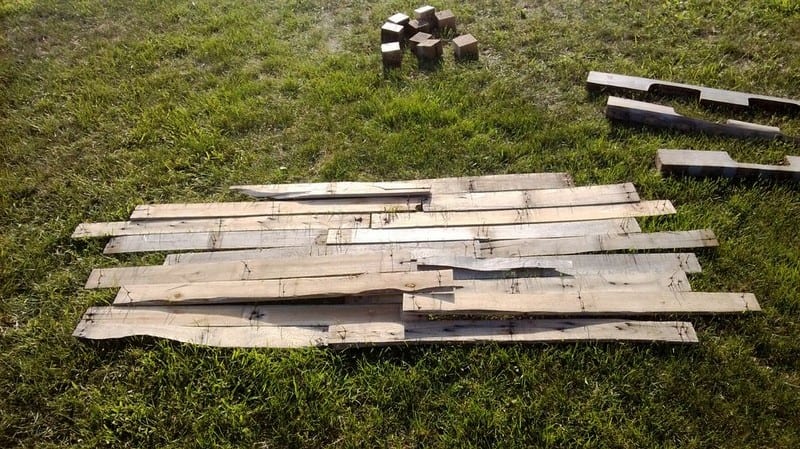
After sketching out the shape on paper and figuring out the dimensions it was time to cut the wood and sand it.


Once the wood was cut and smooth I began to assemble it into it’s final shape. I have limited space and had to construct it in my driveway which meant I had to move the wood when not working on it. To remember where each piece went I numbered them with pencil on the back.
I thought about how to attach all the wood and decided to use four boards cut just under the height of the headboard to screw to the back. This worked well and ended up being pretty sturdy too.

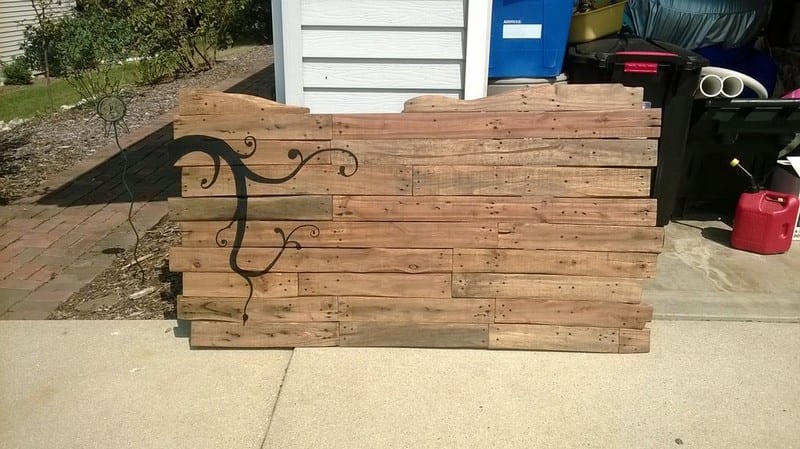
Now that it is all put together I applied the stain (Miniwax Golden Oak), sketched and painted the design (with black latex paint) and applied two coats of Miniwax Gloss Polyurethane (sanding in between the first and second coat of gloss).


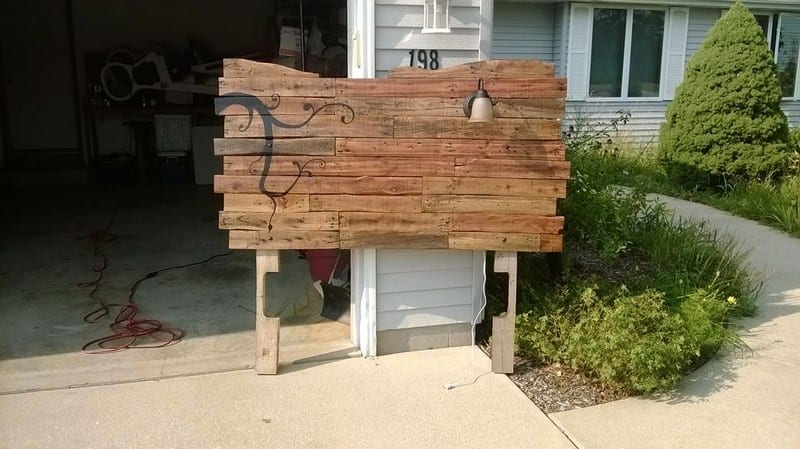
I thought it would be cool to have a reading light for the headboard so I purchased a light fixture. After salvaging an inline switch and cord from an old Halloween decoration, I wired it to the lamp fixture.(Note: the neutral wire in the cord is the one with a slight ridge to it).

I wasn’t exactly sure how to attach the legs but after walking around the nuts and bolts aisle long enough I found some heavy duty 4″ bolts with rounded heads. After spray painting the heads black (to match the nails, design, and fixture), I drilled two holes per each leg (matching them to holes drilled in the headboard) and bolted it together.

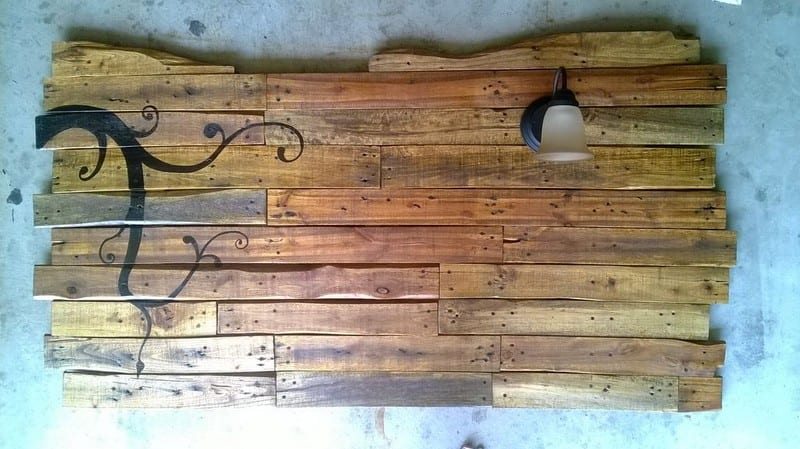
I’m pretty happy with the end result, especially since I learned as I went.
Thanks to AmateurHours for this great project.