Last Updated on June 18, 2024 by teamobn
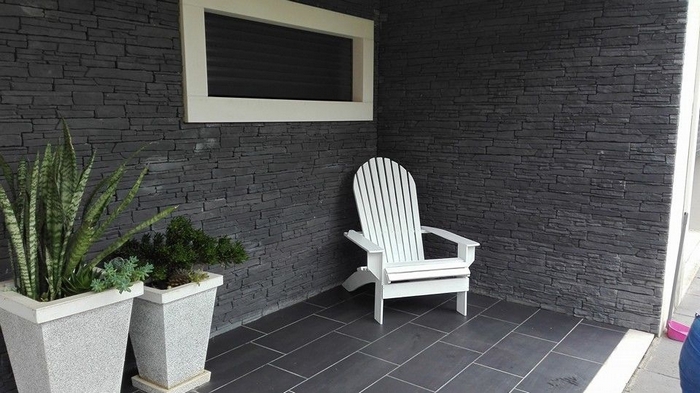
It’s nice to end the day by spending quality time in your outdoor living space. But for you to fully enjoy the experience you need a comfortable and stylish chair. The best option is an Adirondack chair.
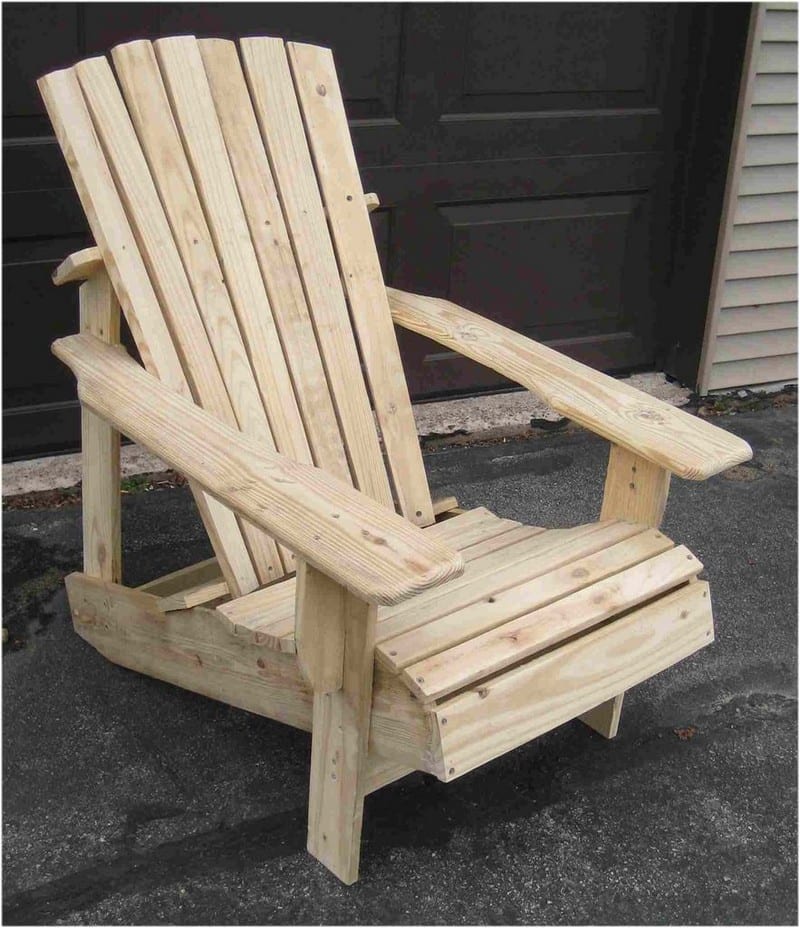
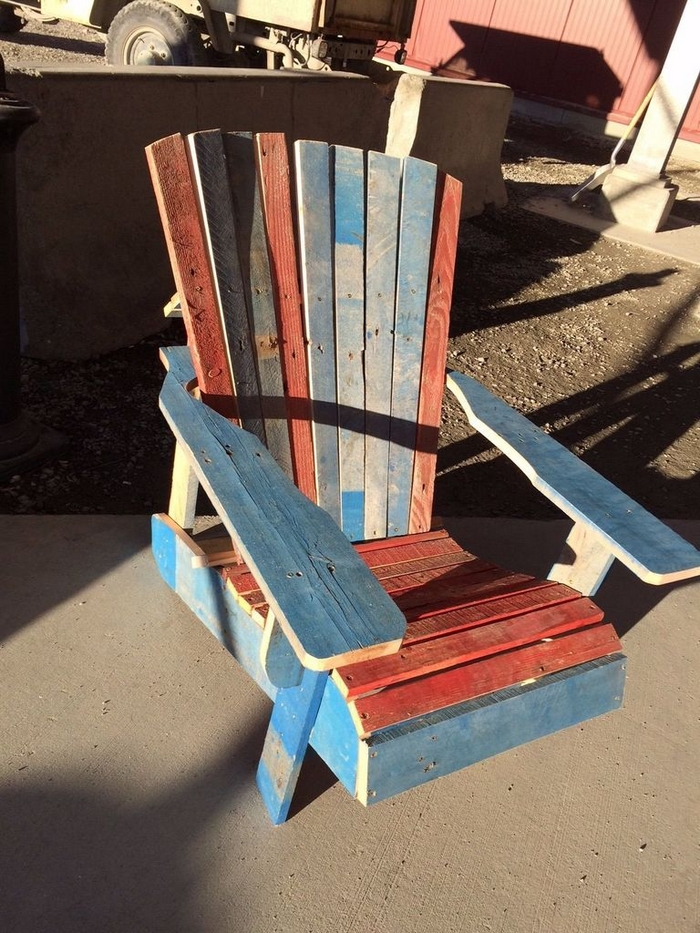
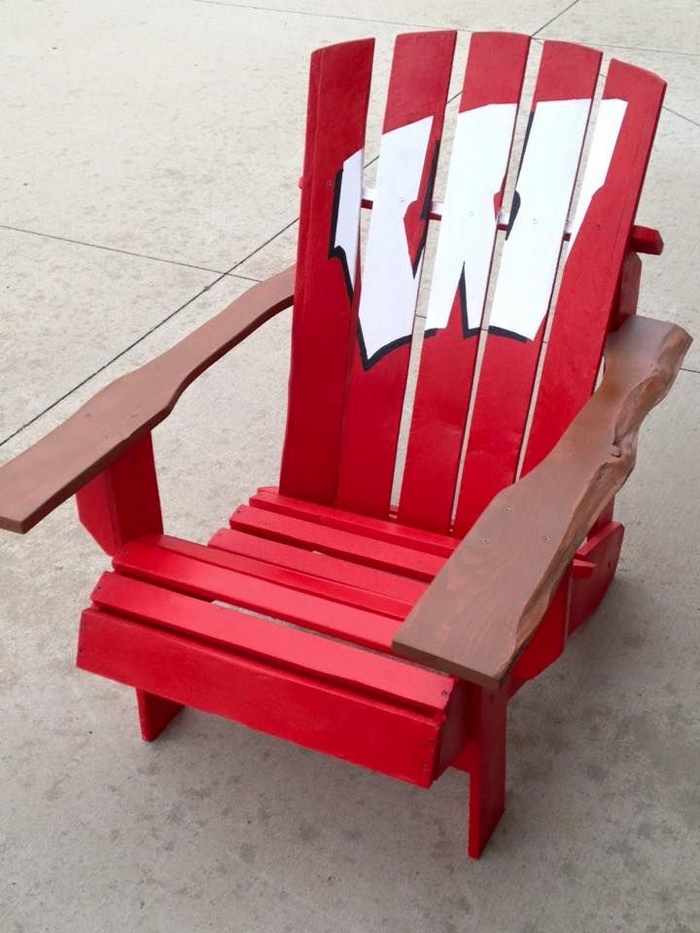
An Adirondack chair is an outdoor lounging chair with an angled seat, a straight, angled back, and wide armrests. The front legs are straight. The back legs slant at an angle, supporting the angled seat.
This comfortable and stylish chair is a must for every homeowner who knows the value of furniture that seamlessly combines function, class, and style!
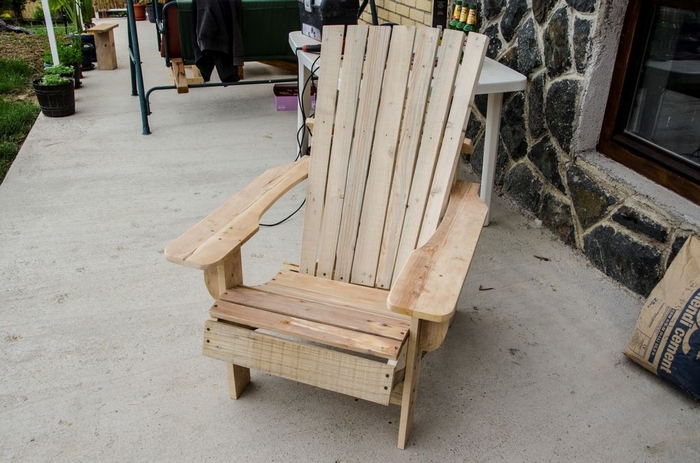
Made from recycled pallets, this Adirondack chair will give you a comfortable place to relax and unwind in your outdoor area without breaking the bank.
You can build a couple of these chairs for your friends and relatives when they come to visit. Not only do you get great seating for your outdoor area, but you also learn new skills, and help lessen the garbage in our environment.
How many of these do you need?
Click on any image to start the lightbox display. Use your Esc key to close the lightbox. You can also view the images as a slideshow if you prefer 😎
Building an Adirondack Chair
Materials
- 3-4 good Pallets
- Wood Putty
- Screws
- Bolts, Nuts, Washers
- Wood Glue
- String
Tools
- Hammer
- Crowbar
- Drill
- Small Bit – for pilot holes, size depends on the screws you use
- 3/8″ Spade/Forstner Bit – for countersinks
- Circular Saw
- Reciprocating Saw
- Power Drills Screw Driver
- Router (optional)
- Sander
Instructions
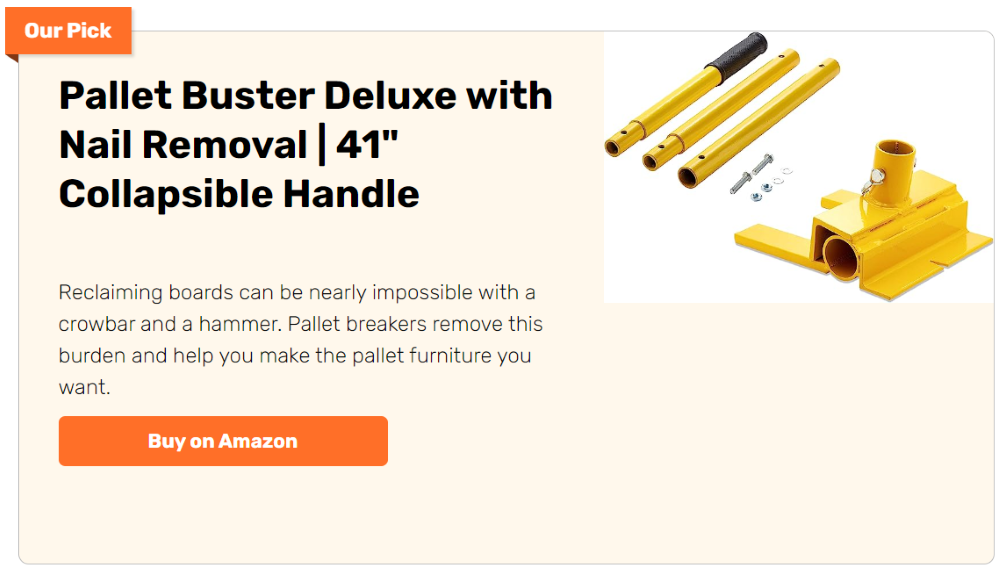
Pallets aren’t easy to take apart for your Adirondack chair. They’re also usually not made of very good lumber. If you use them for projects, you’re going to spend A LOT of time dismantling them and you’re not going to get much from a single pallet.

Working with power tools is dangerous, doubly so when working with pallets. There are hidden nails, knots, warped boards, etc. Use proper safety equipment, especially eye protection. Don’t use a power tool unless you’re familiar with it.

I start by cutting off the outside stringers (the 2×4’s) with a skill saw for my Adirondack chair. Watch out for nails! Draw a straight line on each side as a guide to cut off the outside stringers. A chalk line works well. You’ll want to set your depth at a fraction more than the 3/4 inch board. After you cut along each outside stringer (not the middle!), flip the pallet over and do the same on the other side.
Pallets are usually made of lumber that got rejected for other uses. It’s hard, often warped, has old broken nails embedded in it, and generally is just a pain to work with. Be careful. Wear goggles. Repetitive work breeds carelessness.

Some other methods to build this Adirondack chair: Cut the nails with a Sawzall. Use a pneumatic chisel. Use a catspaw to dig the nails out (for certain pallets, this is easy. For some, it’s darn near impossible.) Use a hammer to knock the stinger off if it’s stubborn.

You’ll be left with a bunch of 1X4’s and 1X6’s attached to the 2×4 in the centre. By rocking the 1×4’s and the 1×6’s back and forth, you can get the board off without destroying it. There will still be quite a few ruined boards. Good for the wood stove.
Pull or remove any nails left on the board and stack them to the side. You may also want to grade your boards, based on knots, warping, bark, etc. This will help later when you try to decide what to use for what job.

I usually get about (6) good 1x4s and (3) good 1x6s per pallet. I also get a (3) 4′ lengths of 2×4.

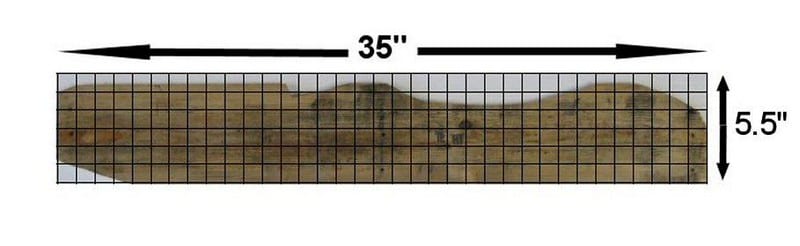
Using a 35″ 1×6, draw a grid of one-inch blocks like the picture below. Keep in mind that the lumber is only 5.5″ wide. you’ll end up with a course of 1/2″ blocks at the top. Using the blocks, one at a time, draw the pattern. You’ll need two and you can use the first to trace out the second.
REMEMBER! If one side of the board is better than the other, cut accordingly. In other words, the stringers should be mirror (opposite) copies. Pallet wood usually has both a smooth and a rough side.

Using a 21.5″ 1×4, draw a grid of one-inch blocks like the picture below. Keep in mind that the lumber is only 3.5″ wide. you’ll end up with a course of 1/2″ blocks at the top. Using the blocks, one at a time, draw the pattern.

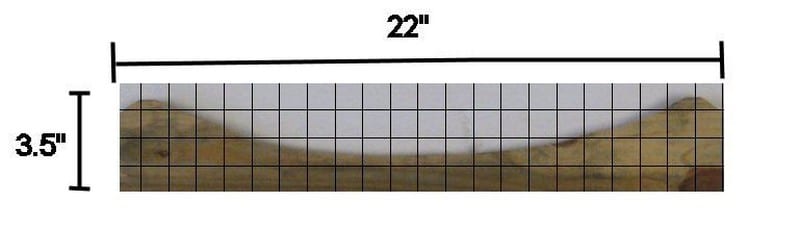
Using a 22″ 1×4, draw a grid of one-inch blocks like the picture below. Keep in mind that the lumber is only 3.5″ wide. you’ll end up with a course of 1/2″ blocks at the top. Using the blocks, one at a time, draw the pattern. Cut out (2) armrest brackets. Use the measurements below.

Continued Page 2…