Last Updated on June 18, 2024 by teamobn
Don’t forget the glue. Make sure that the back support is evenly spaced (about 21″) from both the top of the front leg and the bottom. I’ve seen similar designs that incorporate a carriage bolt, washer, and a nut here, instead of two screws. A stronger way to go!

Place your finished seat stringer/front leg/backrest support flat on your workspace. Use it to line up the opposite assembly. Remember, these should be a mirror image (opposite). Mark board locations, drill, countersink, glue, and screw.
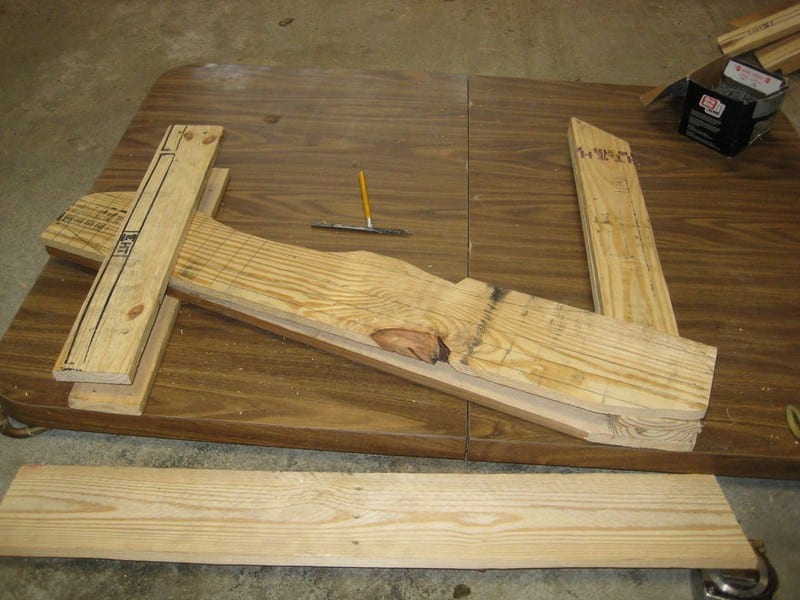
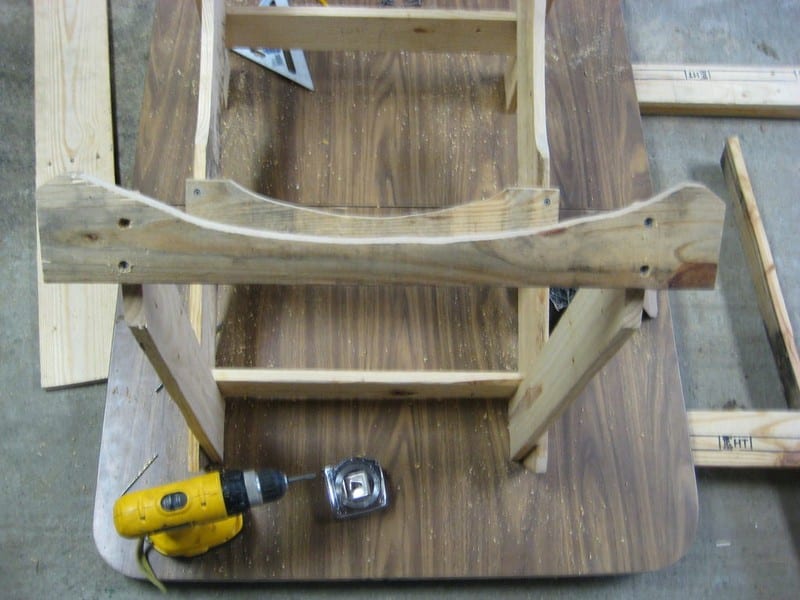
Take your (1) 18.5″ x 3.5″ rear crosspiece and attach it to the seat stringer/rear back support as shown in the photo.

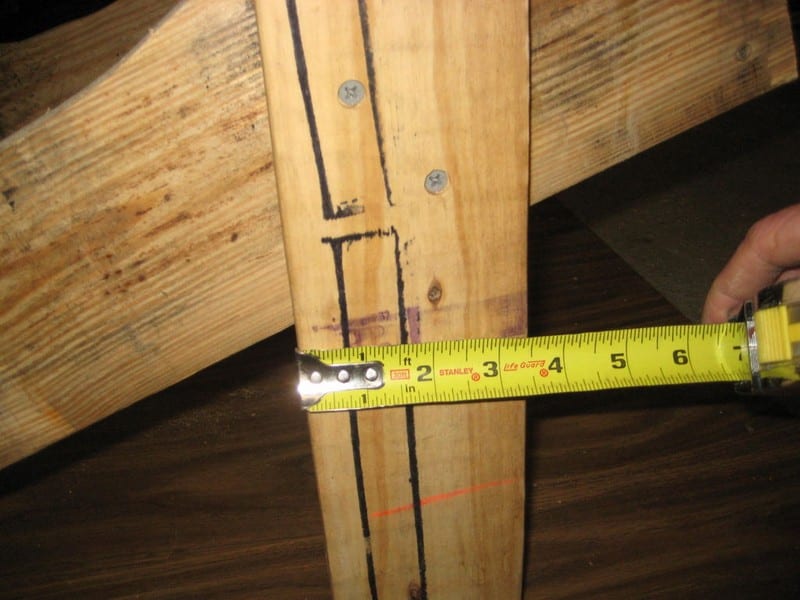
Measure one inch from the top of the seat stringer so you’ll know where to attach it on the other side. Don’t forget to drill, countersink, and glue. You may want to mark and trace where you want your screw holes.

Mark and measure your other front leg, seat stringer, and back support to attach the rear crosspiece. Try to connect it in precisely the same spot as you did on the other side. Did I mention not to forget the glue?
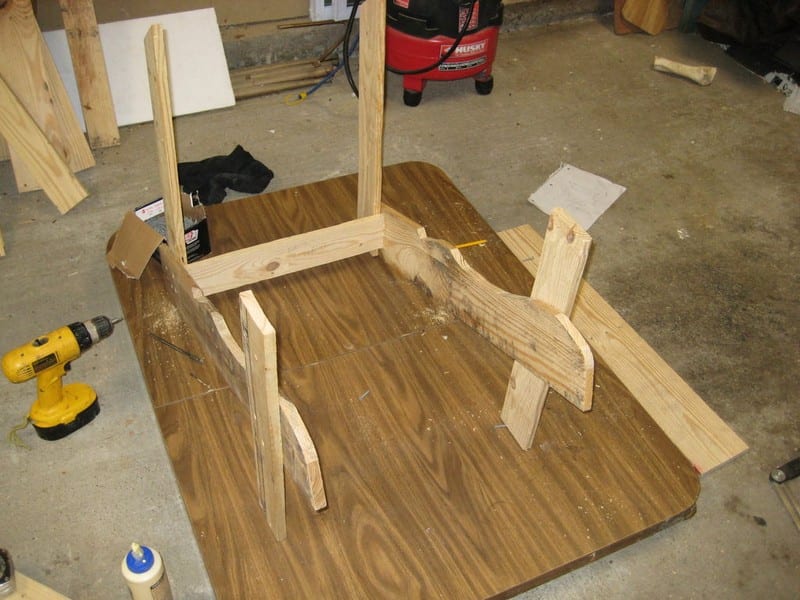
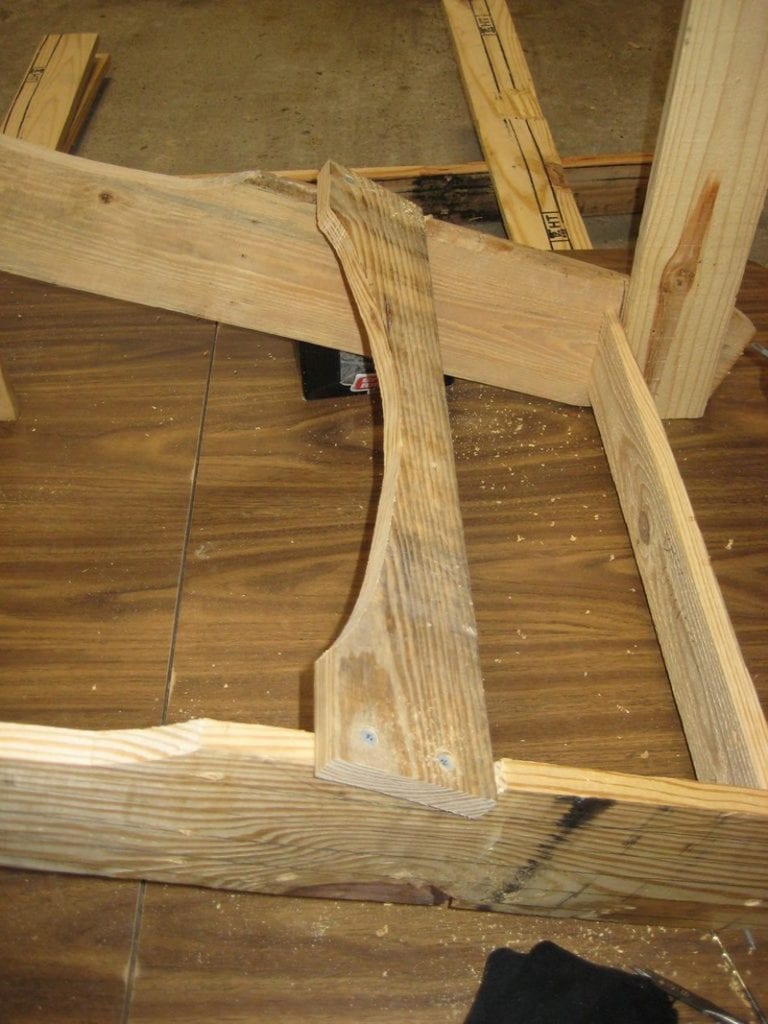
Connecting the front crosspiece is easier than the rear one. Mark and measure the center of each front leg beneath the seat stringer. Hold the crosspiece up so it touches the seat stringer and attaches to the front leg with glue and screws.
You cut two backrest rails earlier. One is square the other is rounded. The bottom backrest rail is squarish.
Take the bottom backrest rail and lay it into the two grooves cut into the seat stringers for your Adirondack chair. Drill pilot holes, countersink, then glue into position. Use (4) 1-inch wood screws.

Take the rounded, top backrest rail and mark it 2.5″ from either side. The distance from each of your sides should be 18.5″. Drill and countersink two holes on each side at your marks. Position the backrest rail over the rear back supports and attach it with glue and screws.
You may have to squeeze the rear back supports of your Adirondack chair gently together to get them plumb.
Measure and mark the centerline of the top of the Adirondack chair’s front leg. Drill pilot holes, countersink and attack the armrest brackets. Make sure the top edge of the bracket is level with the top edge of the front leg. Repeat on the other side.

Glue and screw on the front seat slat. Drill pilot holes and countersink.

Find and mark the center of the top and bottom back rails of your Adirondack chair. Drill and countersink a hole on the bottom of the slat, then attach to the bottom back rail. Line up the top slat/rail, drill, countersink and attach.
I would not use glue on the back slats– you may want to move/adjust them later.

Attach the first and seventh back slats to the bottom back rail. You’ll want to dry-fit the two armrests before you attach the back slats so you know you’re leaving enough room to attach them. After you connect the bottom of each slat, attach the top.

Continued Page 4…