Last Updated on November 4, 2022 by teamobn
The past few weeks have been quite lonely for countless people all over the world. We are anxious, worried for the world, at times fearful. Curiously, too, we seem to have quietly entered into an age of journals.
More and more people are transcribing what they are cooking, eating, reading, thinking, and streaming.
Mental health professionals have long urged self-documentation as a healthy way to release anxiety. That explains at least one use for journals in times of crisis: mood regulation – or, as millennials might put it, venting.
Making Your Own Leather Journal
But to actually craft a journal from scratch serves a purpose all its own. Making a journal can take up at least some of our time while we wait for the restoration of some semblance of normalcy. And because of the repetitive steps, this project can serve as a stress reliever, as well.
Here is how to fashion a classic leather-bound journal using the Coptic binding stitch.
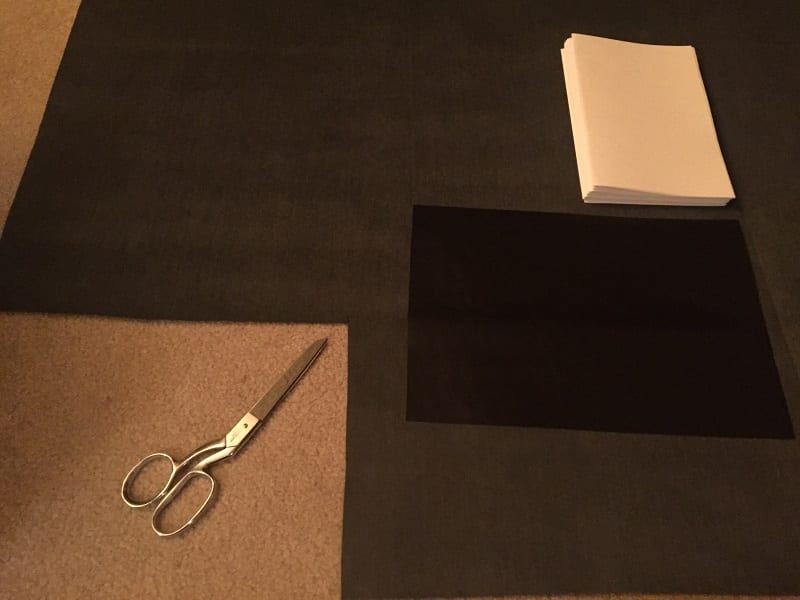
Materials
- Leather
- 80 sheets 8 ½” by 11” copy paper
- A needle
- String
- Awl
- Pencil
- White crayon
- Ruler
- Heavy books
Let’s get to it.
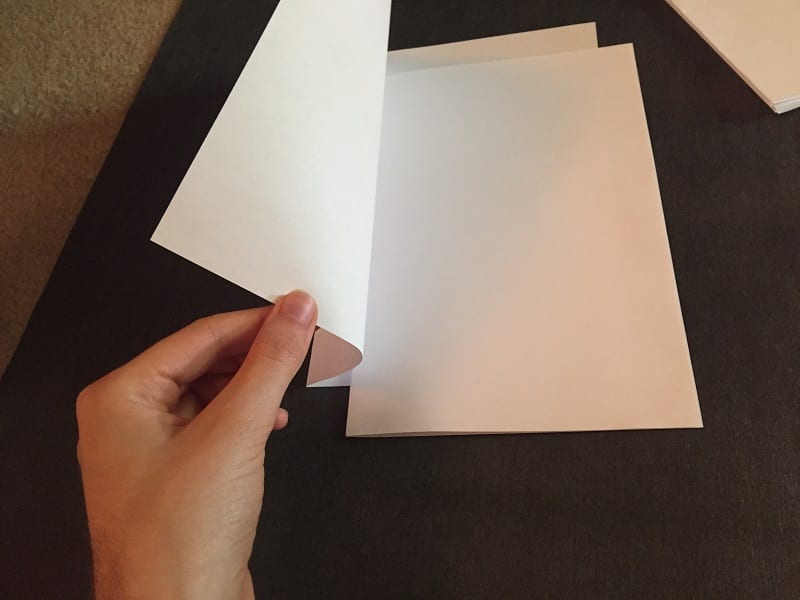
Step 1. Fold each sheet of paper once in half. In printing, these are called signatures. A signature is a sheet of paper folded one or more times to the approximate size of one page.
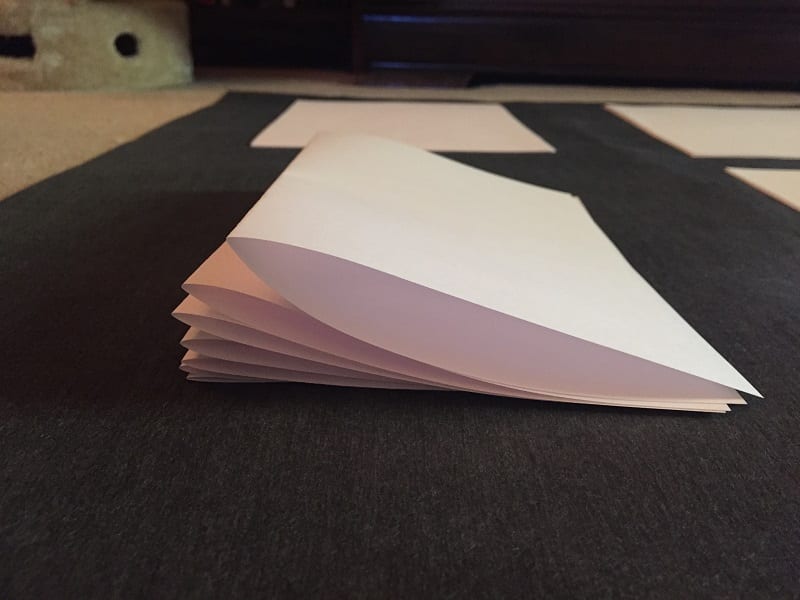
Slip one folded sheet of paper inside the fold of another folded sheet. Then make a thicker signature by slipping more folded sheets of paper, one by one, into the innermost folded sheet.
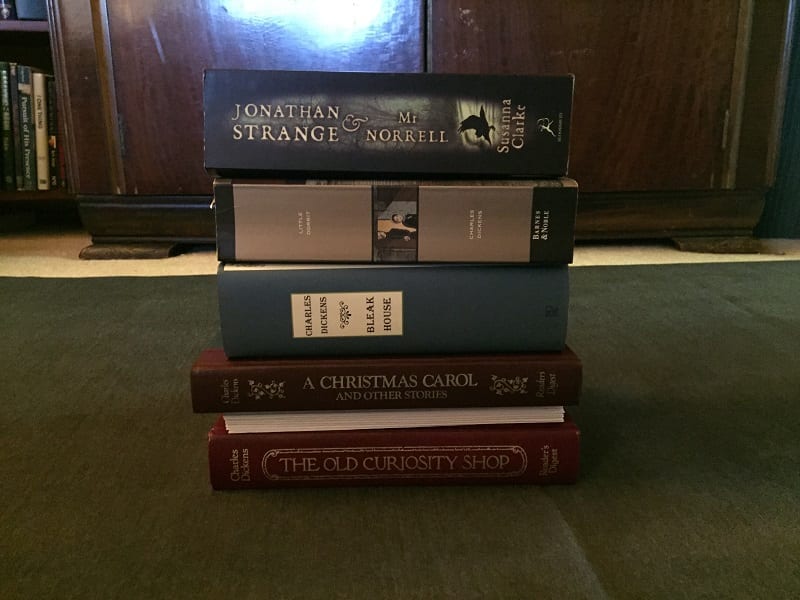
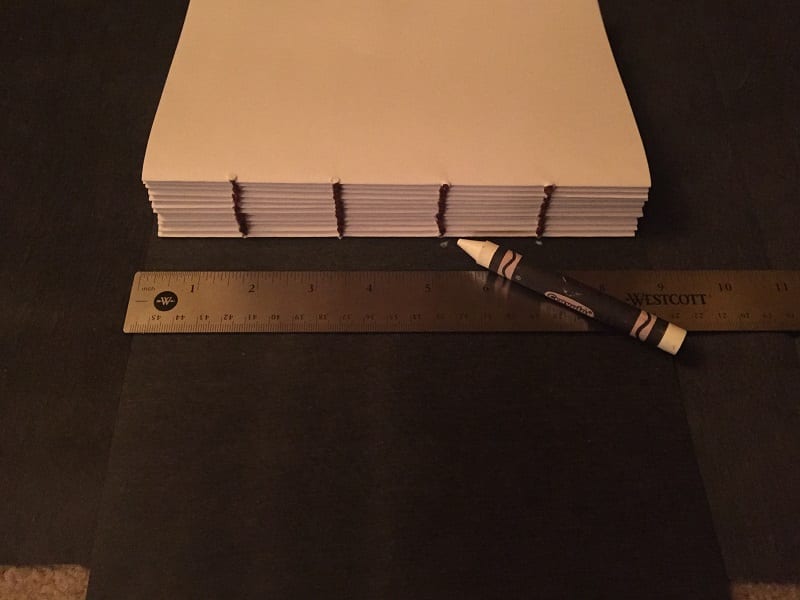
Step 2. Once done, press the stack of signatures as flat as possible with your hands. Then set the stack on top of a wide book. Settle the rest of the books on top of the signatures, pressing them flat. Leave the pile alone for about an hour to allow the weight of the books to flatten the stack further.
Step 3. Measure the leather against the stack of signatures, bringing the what will be the spine right next to that space. Turn it over to the other side on the space directly next to the section for the spine. Carefully cut it out with scissors.
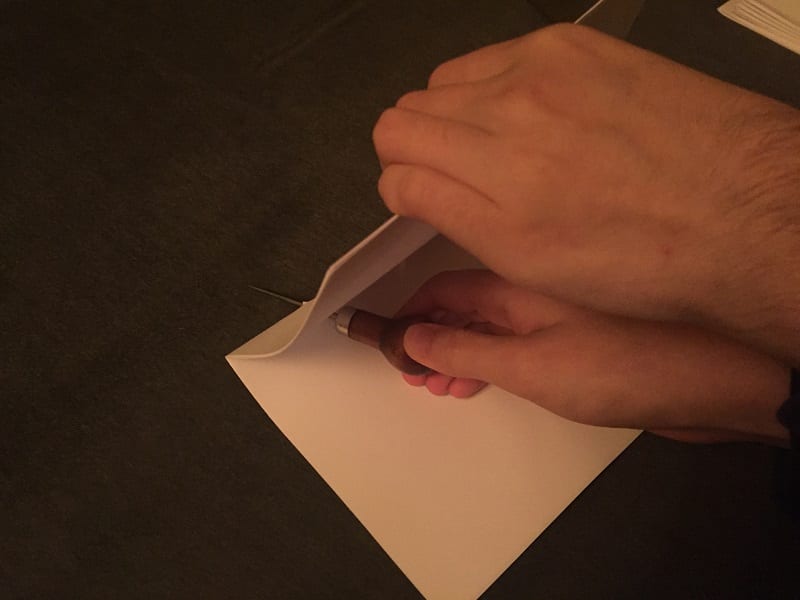
Step 4. In preparation for sewing, use a pencil and ruler to mark where the holes in the signatures will be. Make 4 holes evenly down the fold line of one sheet of paper.
Take the awl and carefully poke through the marked spots in the fold line. Put the punctured sheet inside each of the signatures and repeat the process. By the time you are done, all the signatures should have holes in the same places.
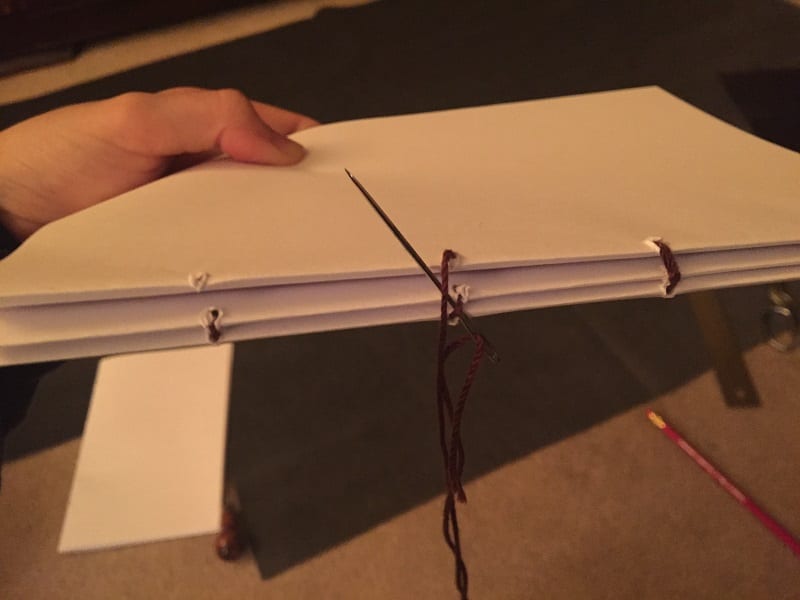
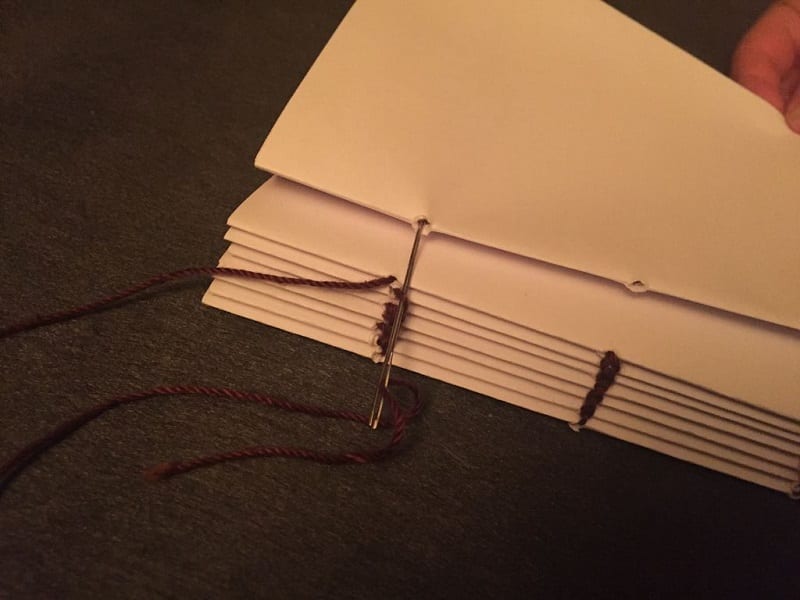
Step 5. You will be sewing the journal backwards, starting from the last one and ending with the first. The first two signatures will be sewn slightly differently than the rest.
Cut a length of string for just two signatures and then a larger amount for the rest of the signatures. From the inside of the first signature, bring the threaded needle through the bottom hole. Leave some thread hanging on the inside.
Bring the threaded needle through the outside bottom hole of the second signature into the center of it. Be sure that the string does not come out of the first hole.
Bring the needle up to and through the second hole of the second signature. Then, go back into the second hole of the first signature. Do the same with the last two holes.
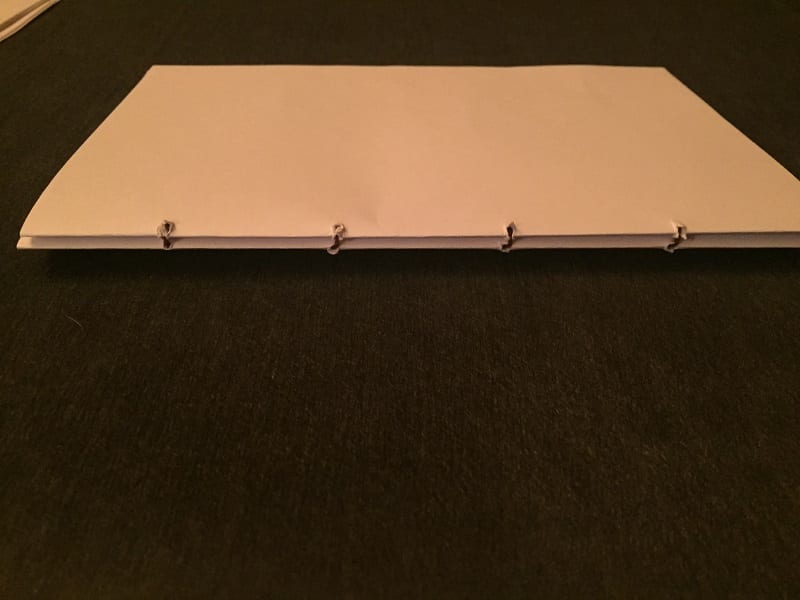
Step 6. There should be two ends of the string in the first signature: one from the bottom hole and one from the top hole. Tie them around the opening of the two middle holes and cut off the extra string.

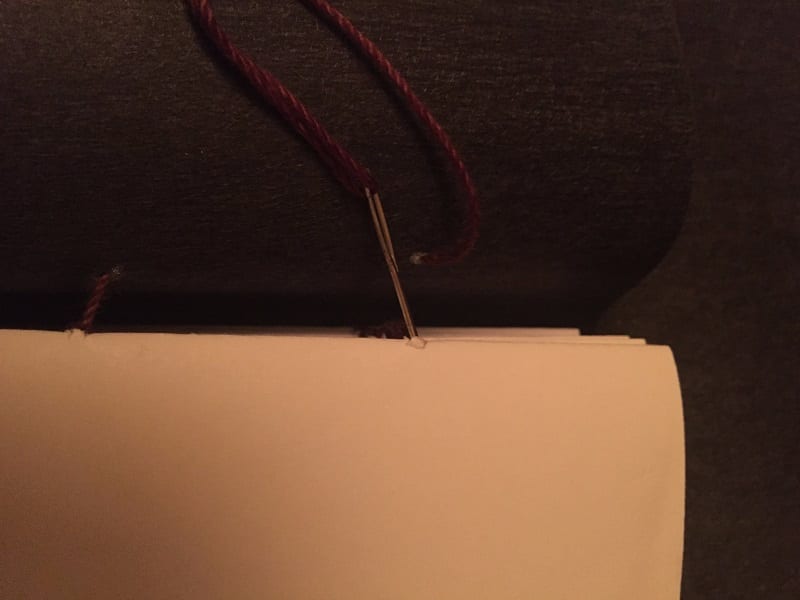
Step 7. The sewing method changes for the rest of the signatures. That is, once you’ve looped the string around the previous signature’s outside stitch, you go into the next signature instead of going back into the same hole.
If you run out of string, tie the end of the string around the opening of the inside holes in a signature. Cut more string and tie one end of it to the last stitch to keep going. Cut off any excess string once you have sewn all the signatures together.
Step 8. Place the cover-less book on the inside of the cut-out leather cover. With a ruler and white crayon, mark four holes on one side of the leather and then four holes on the other side. Poke holes with the awl.
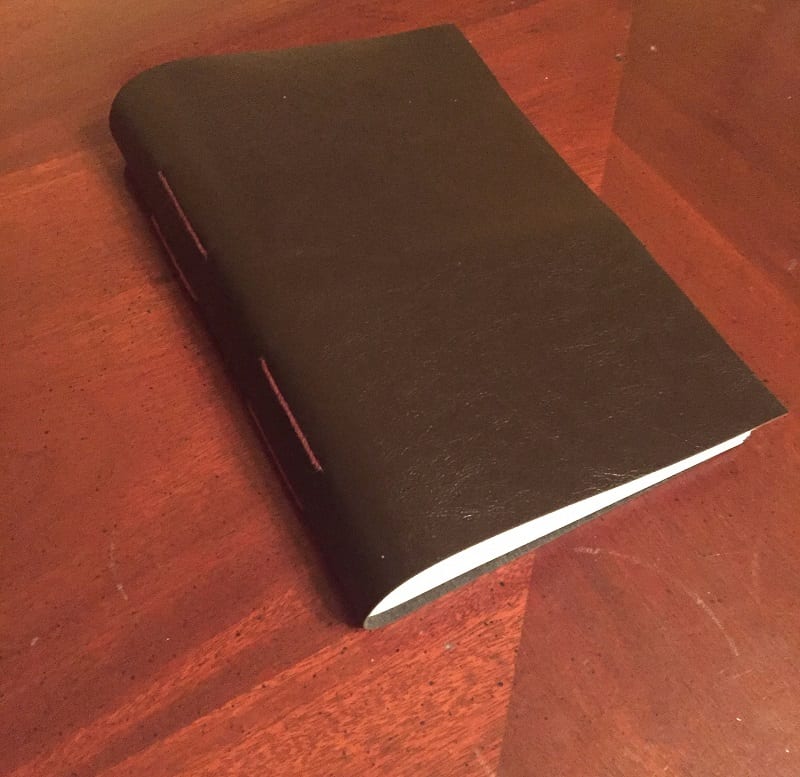
Sew into the leather through the bottom inside hole of the first signature. Then bring the threaded needle into the second hole on the same side. Move the needle into the same signature’s second hole up, and so on. When done, tie the string off and then repeat on the other side.
That’s it. You’re done.
Some of the most influential people in history kept journals. These include Charles Darwin, Marie Curie, and Ralph Waldo Emerson, among many others. Their journals have become both historical record and personal chronicle.
Even if you have no interest in any of those things, you’ll find that keeping a journal offers wonderful benefits. Beyond keeping your creative juices flowing, regular writing can clarify your thoughts, improve your self-esteem, and give you a safe release valve for stress.
So what are you waiting for? Start writing.
We would like to thank Ms. Emilyn Wood for this excellent project.