Last Updated on November 4, 2022 by teamobn
People have been wearing trinkets and ornaments on their bodies for thousands of years. The first adornments were a consequence of the hunt for food: teeth, claws, horns, and bones. Hunters believed that wearing trophies would bring them good luck during hunting expeditions.
In fact, the earliest known piece of jewellery ever found was a necklace made of fish bone.
Over time, the meaning of the ornaments evolved, becoming less magical and more symbolic of a connection and commitment. Slaves wore bracelets to signal servitude to a particular owner. Husbands and wives wore rings to symbolize their vows to each other.
A Gift for Someone Special
Today, the love symbolism extends to jewellery worn around the neck. Sweethearts will wear necklaces as an epitome of affection, attaching emotional value to necklaces they offer as gifts to each other.
That’s why a gift of even the most common necklace could mean a fortune to someone beloved.
This DIY instructional shows you how to make a simple – but special – necklace for that special someone.
Materials
- A small piece of wood (scrap wood would be perfect)
- A medium-sized safety pin or paper clip
- Some super-glue
- A jump ring (available at hobby shops)
- Leather cord
- Some sanding paper (500 grit and 1000 grit)
- A drill bit (1 to 2mm)
- A drill
- A coping saw
- Some pliers
- Soldering iron
- Dremel rotary toolkit
Creating the Necklace
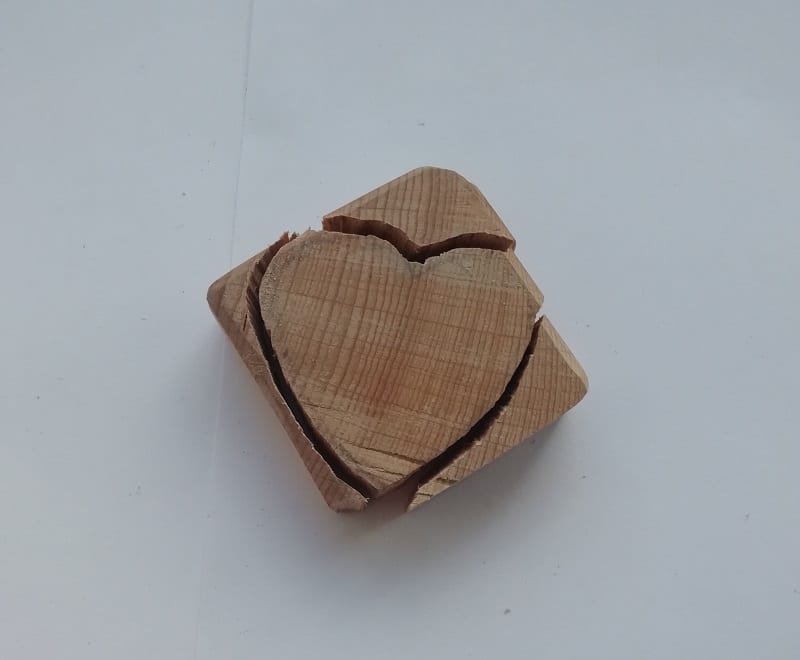
Step 1. First, shape the pendant of your DIY necklace. Using a pencil, draw a heart shape on the piece of wood. Cut around the drawing using the saw. Be sure to leave around 2 to 4 millimetres around the line you drew. You can always cut more off, so don’t worry about keeping too close to the line.
You can make the piece of wood thinner if need be. Ideally, the pendant should be 5 to 6 mm thick.
Step 2. Place a sheet of sandpaper on your workbench and sand the faces and edges of the pendant. Start with the 500-grit sandpaper before moving on to the finer 1000-grit paper.
The surface of the entire pendant should be smooth. You can use the Dremel tool with a sanding bit for faster sanding around the edges.
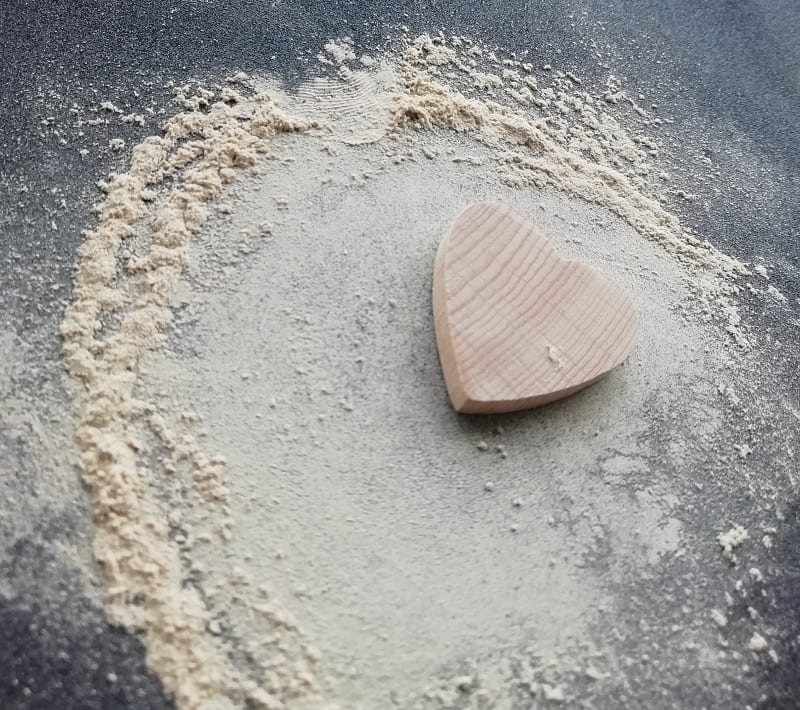
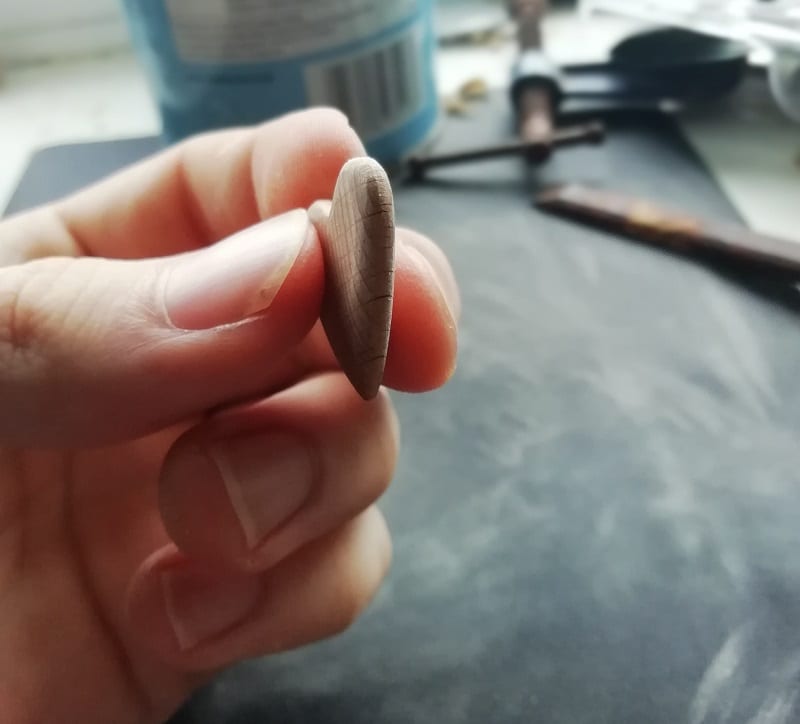
Step 3. Once you have your pendant around the right thickness and shape, you can start to add more detail. Round the edges to make the piece smooth and soft-looking.
Sand the heart at various angles to remove the hard edges. For the top of the heart, fix your heart in a vice and use a thin strip of sandpaper to get into the groove.
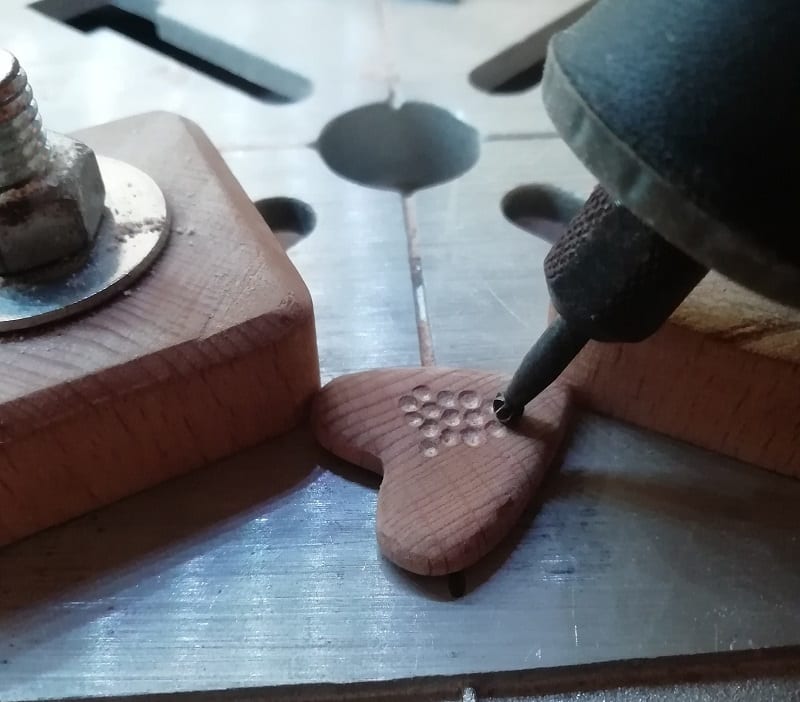
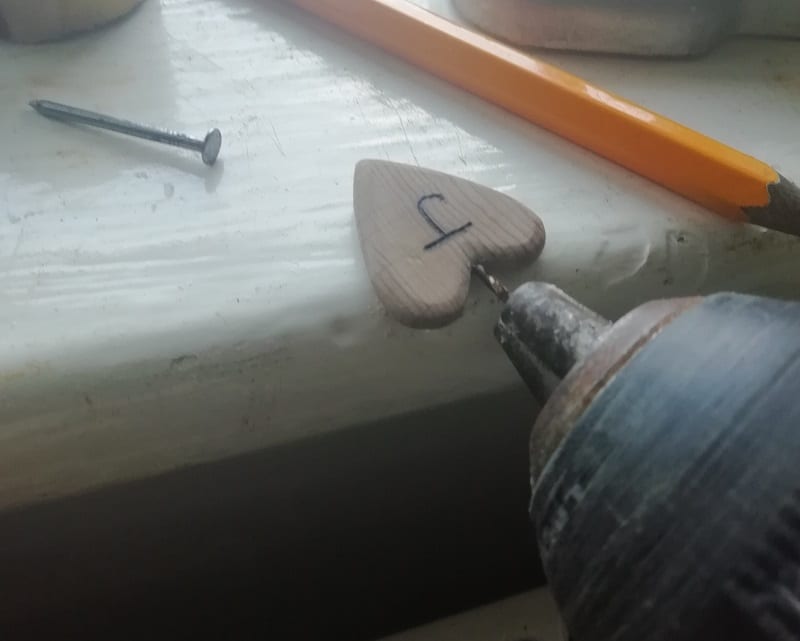
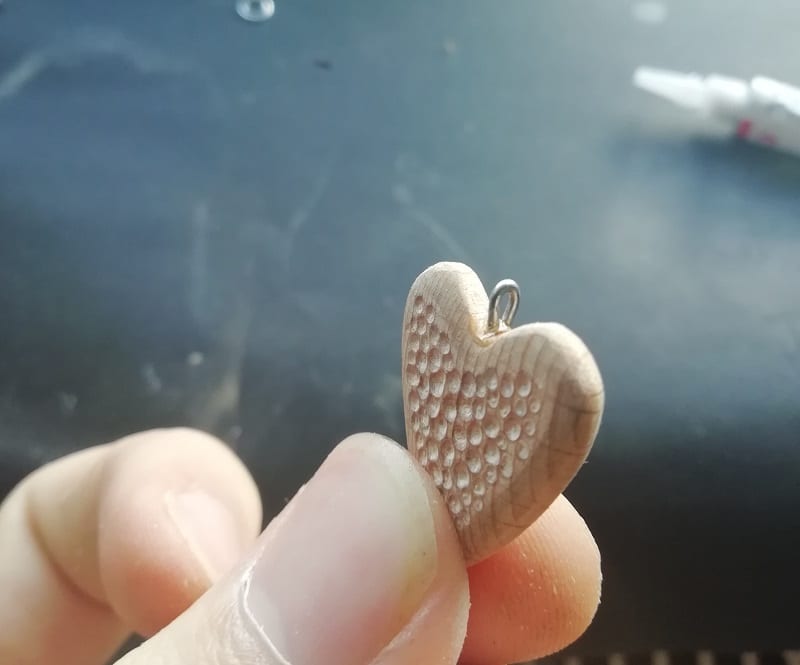
Step 4. If you want some texture on the pendant, use the high-speed carving bit of your Dremel tool to carve small dimples on one side of the pendant. For best results, use the ball-shaped head that comes with your Dremel toolkit.
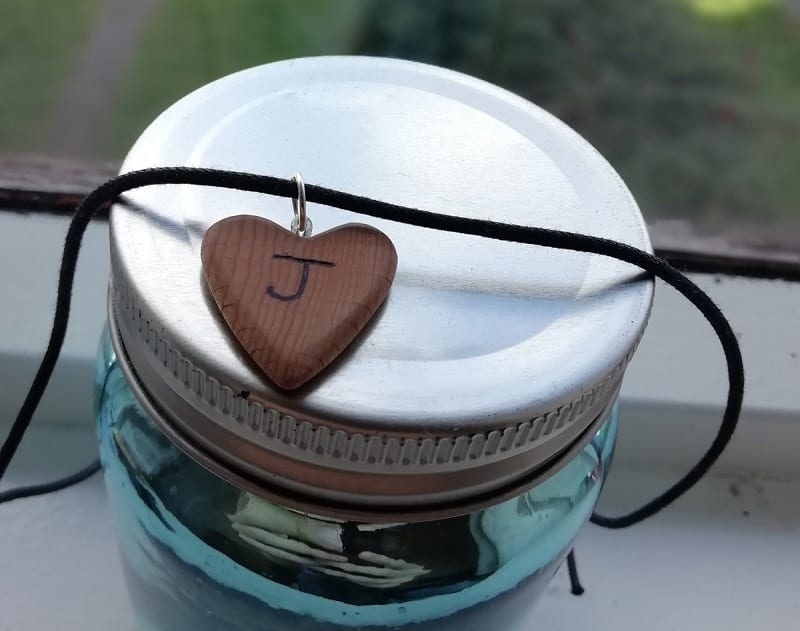
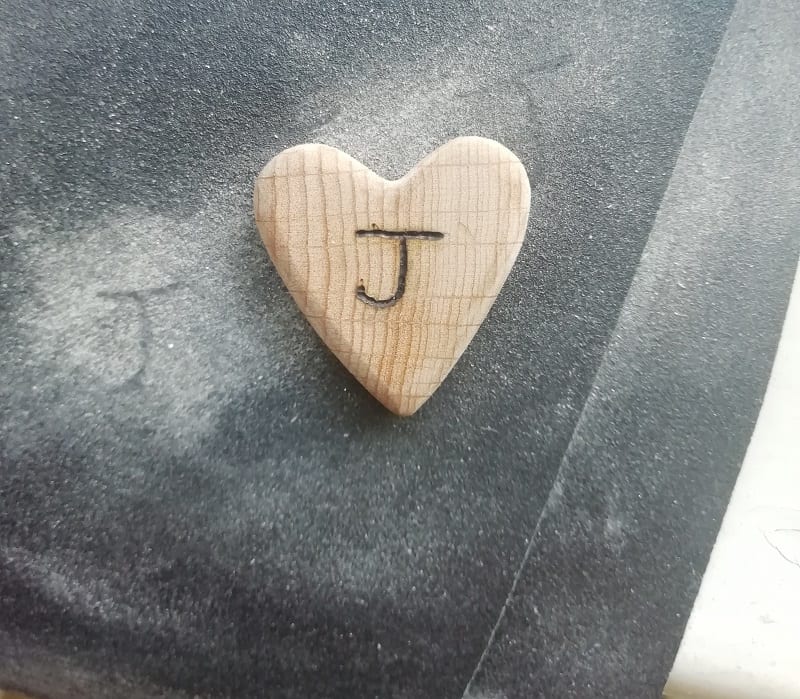
Step 5. Use the soldering iron equipped with a fine tip and no solder to scorch initials into the heart. Move the heated tip at a steady, consistent pace. Do not keep the tip in any one spot for too long. You may want to practice on scrap wood beforehand.
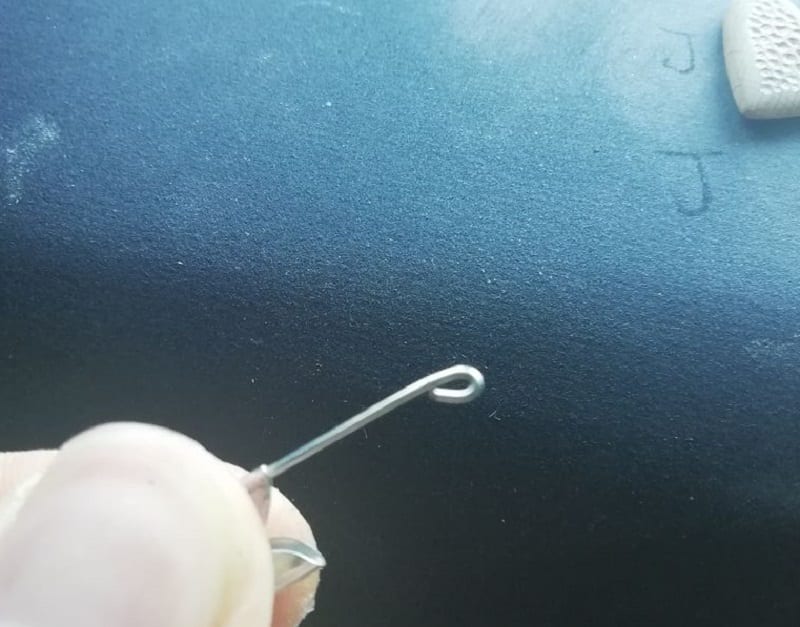
Step 6. You will need a small loop to fasten the pendant and the jump ring. Using your pliers, cut the safety pin but leave the connector attached to facilitate handling.
Once that’s done, bend one end of the pin over into a ring. Make sure the loop is big enough to accommodate the jump ring. You can then cut off the connector once you are done.
Step 7. Drill a small hole into the top of the heart using small drill bits on your Dremel tool. If your chuck is too small for the drill bit, wrap the base of the bit with a thin strip of paper until it is thick enough. Make sure it is well-secured. The tip of the bit must keep straight when the tool is switched on.
When that’s done, glue the little loop connector into the hole. Make sure you can see through the hole when looking at the heart shape. The jump ring will sit at 90° to this hole.
Step 8. Now you can attach the jump ring to the pendant. To do this, simply open the gap in the ring using two pairs of pliers. Gently pull the ends of the ring apart then loop it through the loop connector. Use the pliers to close the gap again.
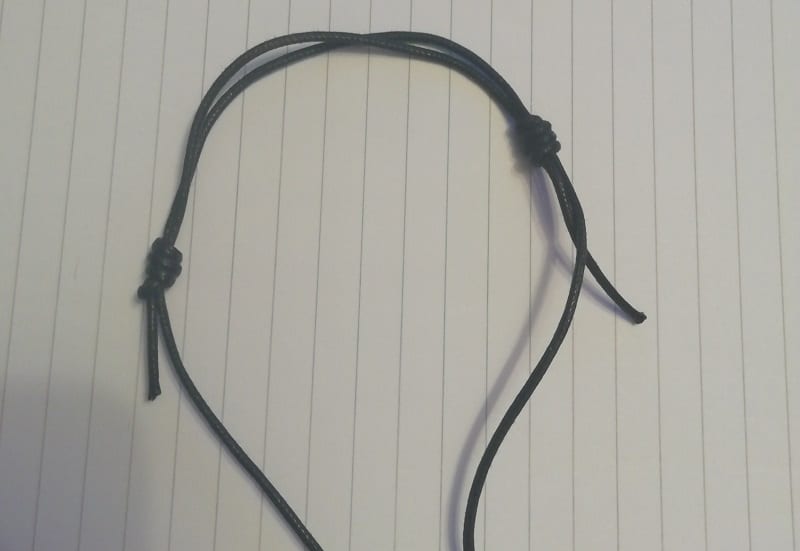
Step 9. Slip the leather cord through the jump ring. Use a sliding knot instead of a loop and hook so that necklace is adjustable.
As an extra touch, treat the wood with some oil or light coating to ensure the pendant’s longevity.
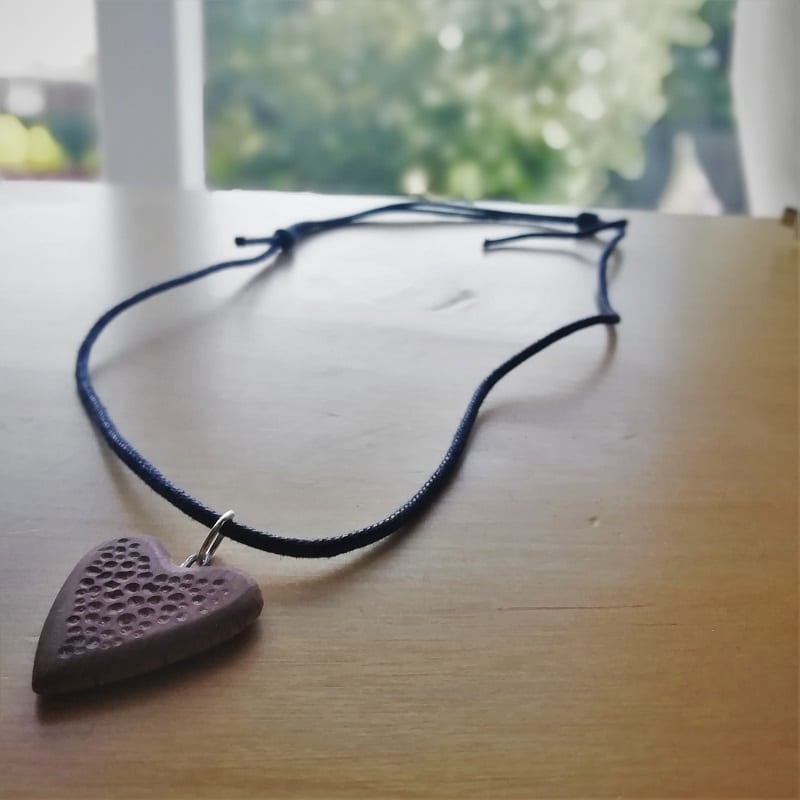
That’s it. You’re done. Following a practice and tradition that has endured millennia, you now have a gift worthy of your special someone.
We thank 2KDJW for this wonderful project.