Last Updated on November 4, 2022 by teamobn
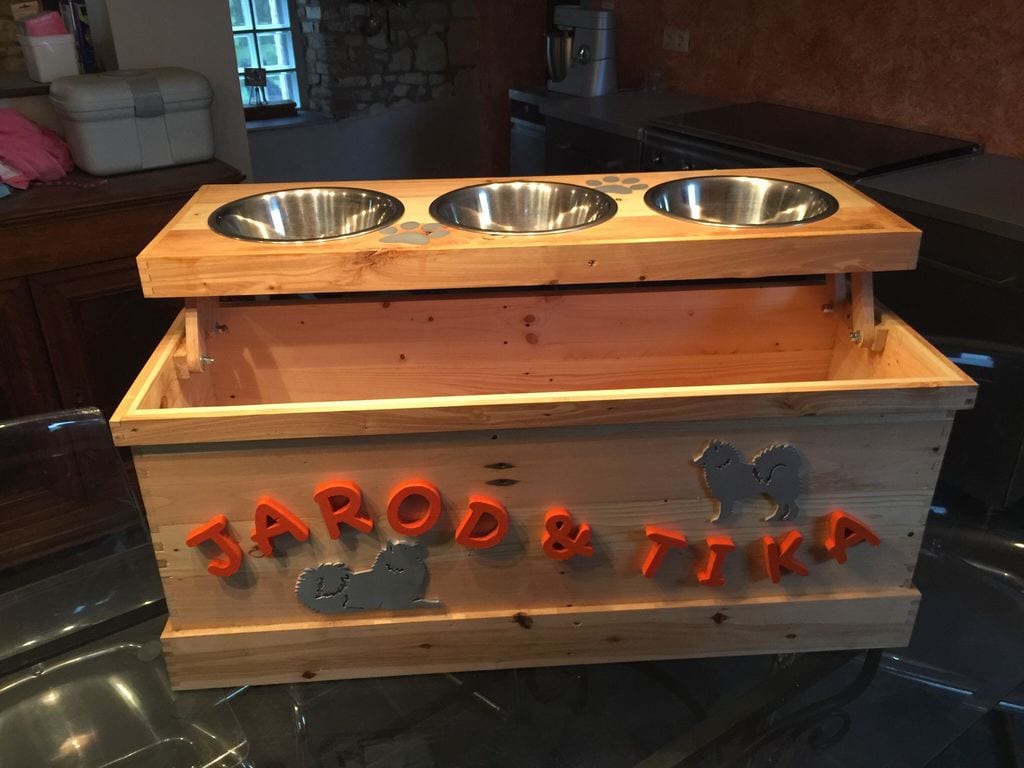
Build This No-Mess Dog Feeder with Built-In Storage!
It’s no secret that we all love our dogs, but sometimes things can get a little messy – especially when they knock over their food or water bowl! It’s strange how the kids are never around to help clean up the mess, but it’s just another one of your tasks, right?
And then there’s the question of food storage. Depending on the breed of your dog, that food can take up a lot of cupboard space. If you have a large breed dog, for example, you’ll need to make sure you have enough food storage to accommodate their larger meals. If you have multiple dogs, you’ll need to factor in even more food storage.
We’ve got the perfect solution! No dog owner will ever have to worry about their dog’s mealtime again – this DIY dog feeder with built-in storage!
This dog feeder project is beautiful and made from recycled pallets, so you don’t have to worry about spending too much on materials.
It’s a great way to show your love for your furry friend, and this dog feeder is sure to make mealtime more enjoyable for both of you. Plus, it’s a fun project to put together so you can enjoy a creative outlet while also doing something practical.
Now you don’t have to worry about messes in the kitchen or your dog getting through the cabinets and stealthily snacking on their dog food!
If you’re not a fan of the raw timber finish then you can stain or paint your dog feeder in any colour that you like. It’s all up to you! 
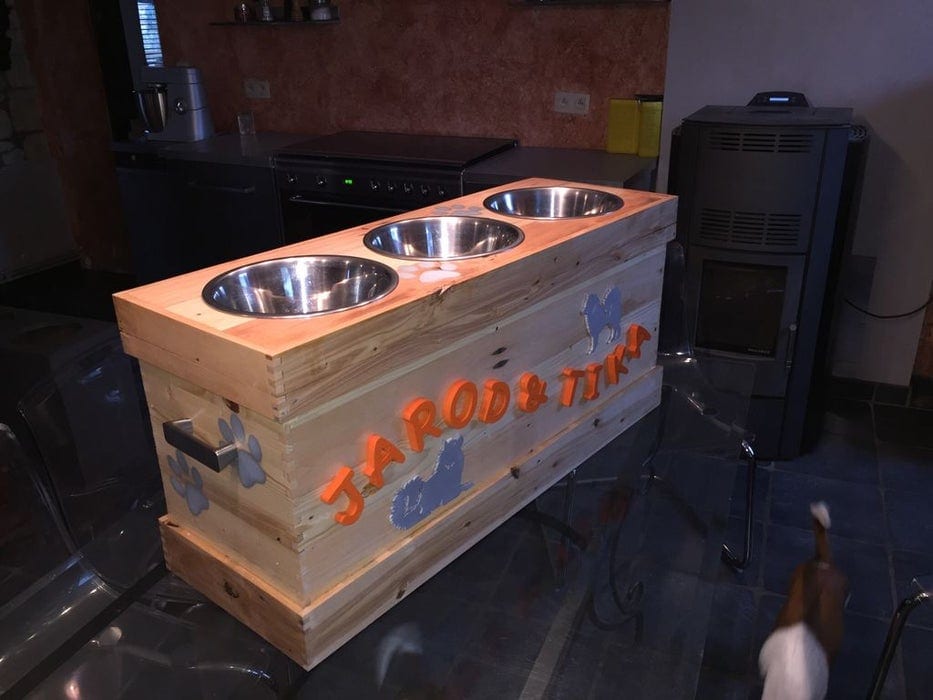
Ready to make this DIY dog feeder with a built-in storage project for your furry best friend?
You’ll need these materials…
- Recycled pallets
- Wood glue
- Paint or varnish
And these tools…
- Planer or thicknesser
- Router
- Scrollsaw
- Hand saw and hand plane
Click on any image to start the lightbox display. Use your Esc key to close the lightbox. ????



Instructions:
- Dismantle your pallets. Make sure that yours are marked as HT which means they were treated with high temperature and therefore safe for projects involving food. NEVER use pallets that have been painted red or blue, those have been treated with chemicals and aren’t safe to be used, even as heating!
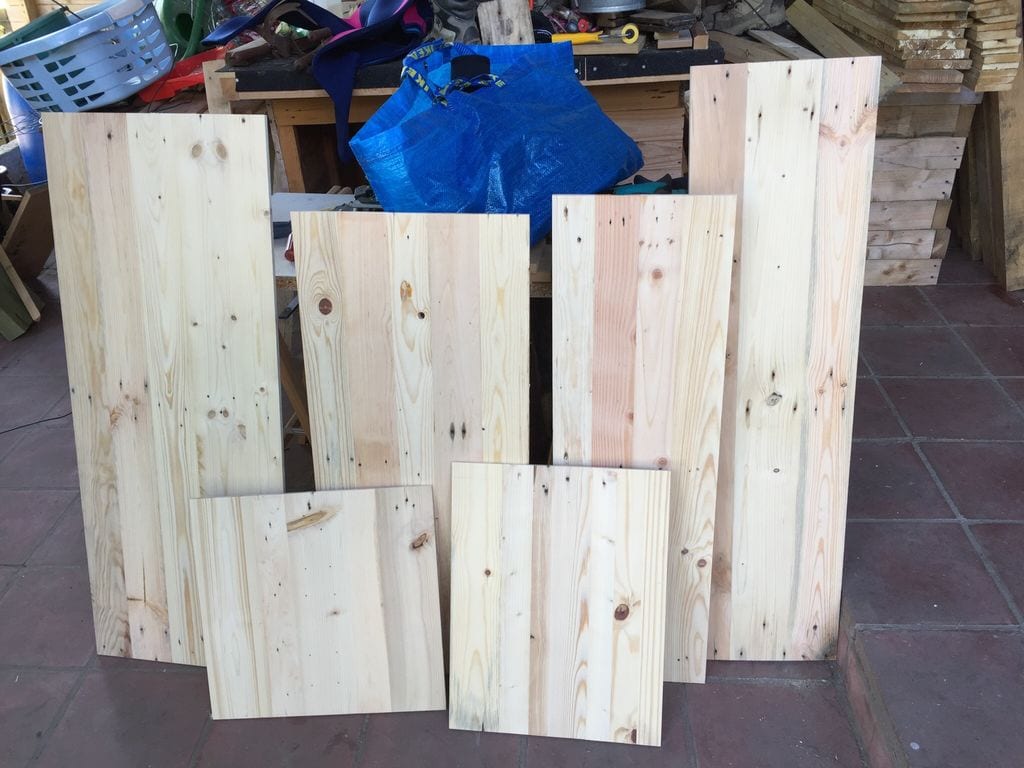
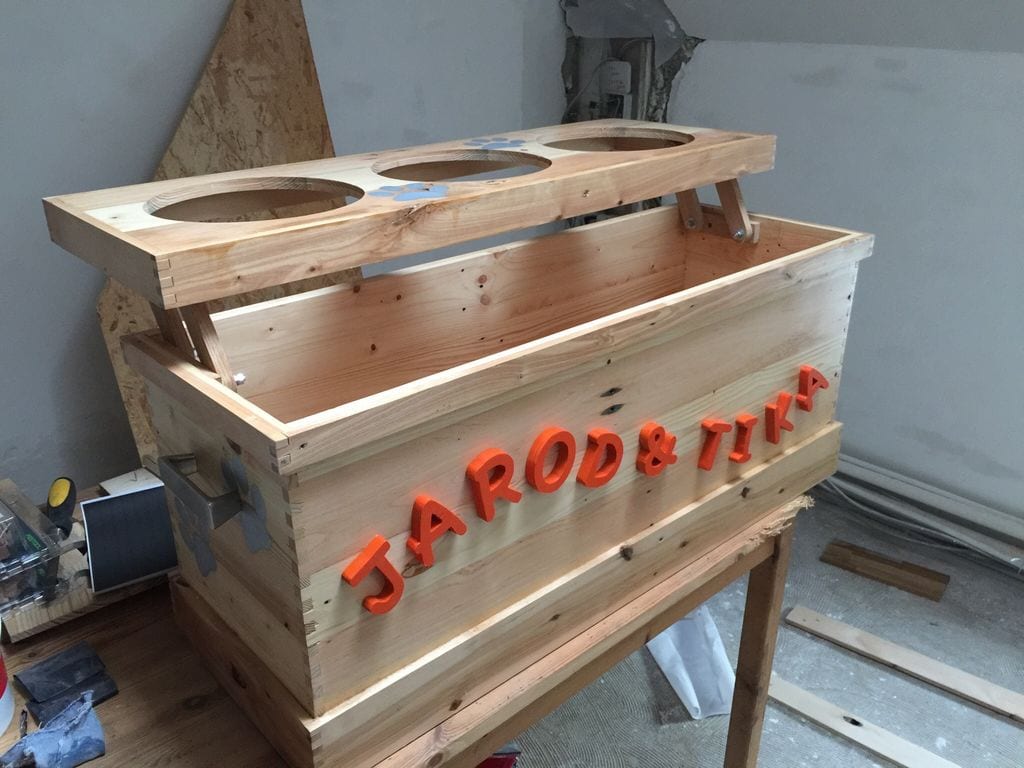
2. Plane your pallet planks. Make sure that your planks are all the same thickness and glue them together into several panels.

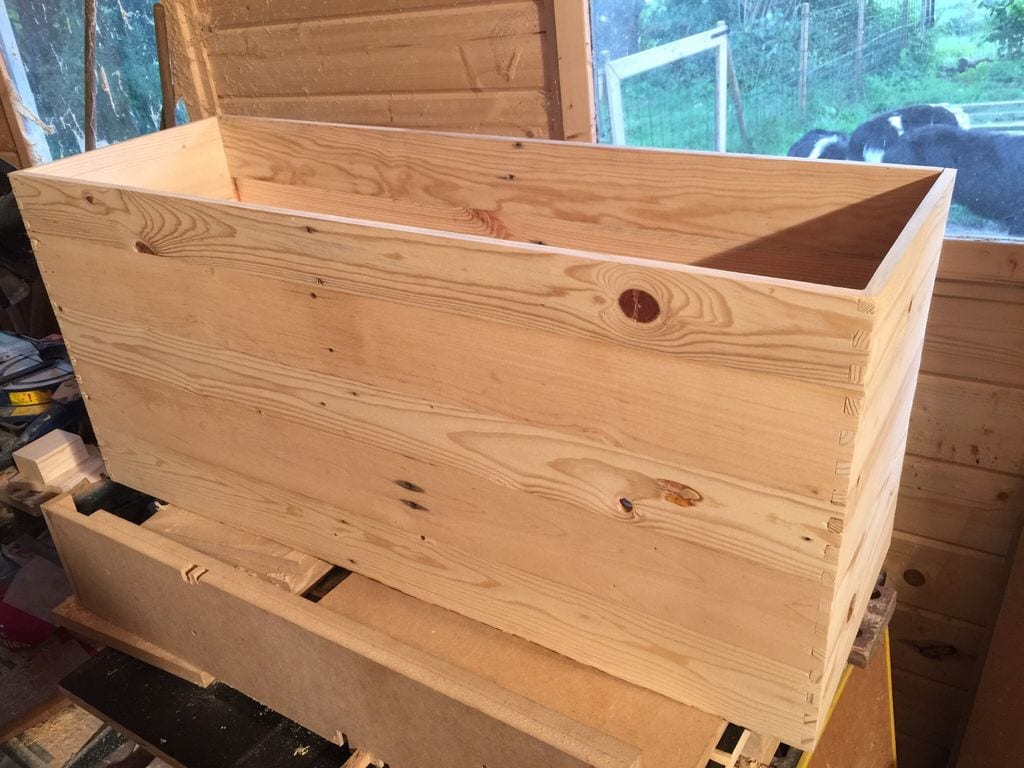
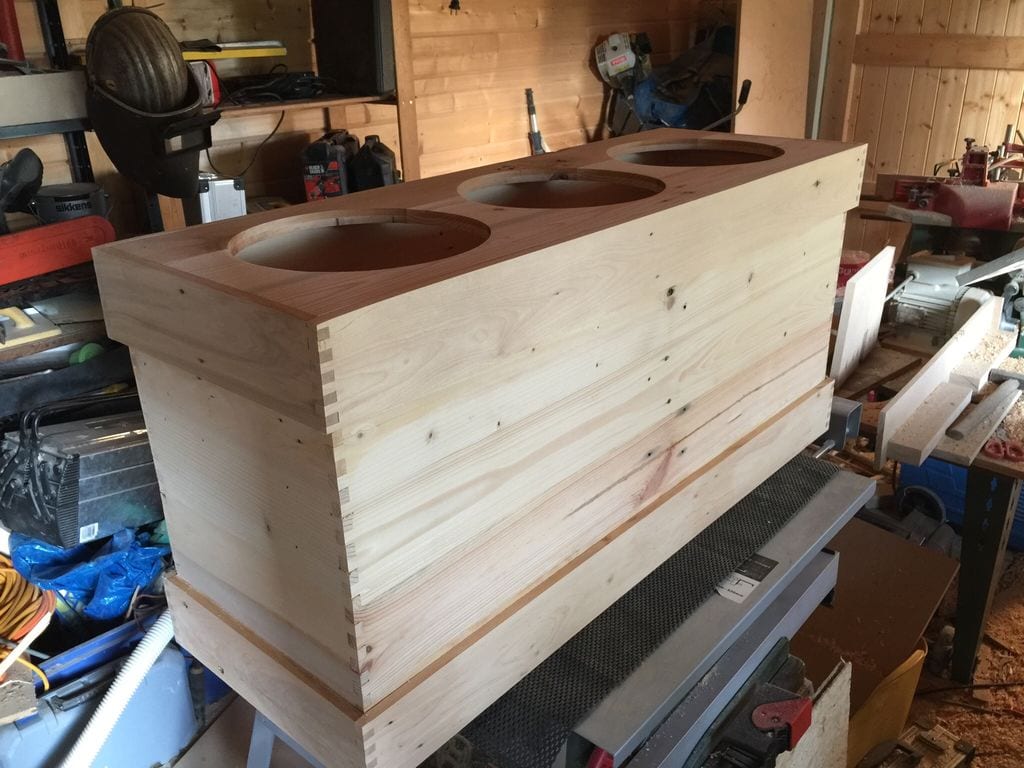
3. Cut the panels to the right size and glue them together using box joints. You can use screws but since this is a project that would be used by animals, that might pose some danger to them in the future. Box joints provide a lot of contact area for the glue, making your project sturdier.
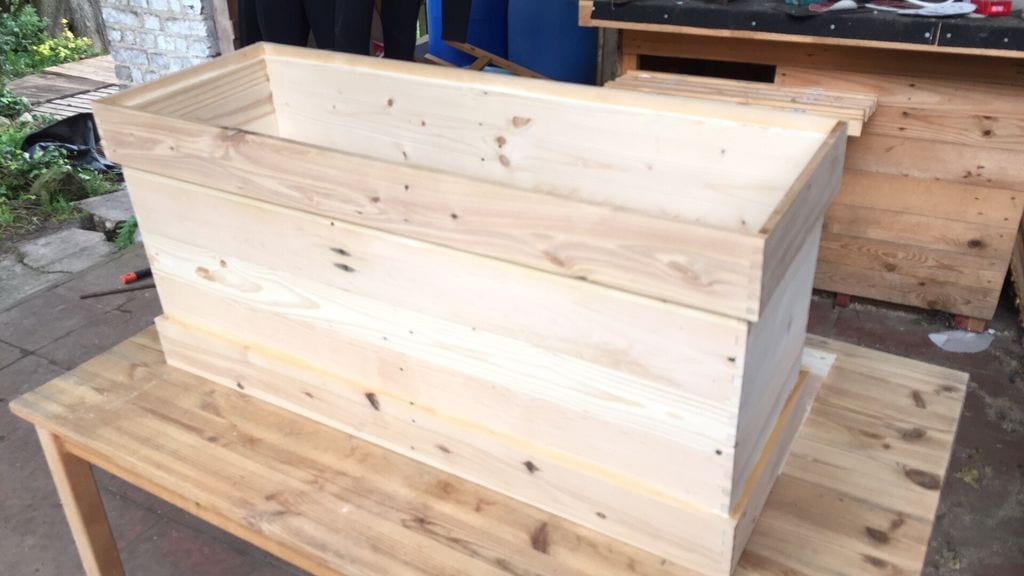
4. Glue the bottom and top. Attach a band of wood that is a bit higher than the top of your box to create a rabbet and glue them together and repeat this procedure for the bottom. Make the cover with the holes for the dog bowls using a compass and router and set them aside for now.

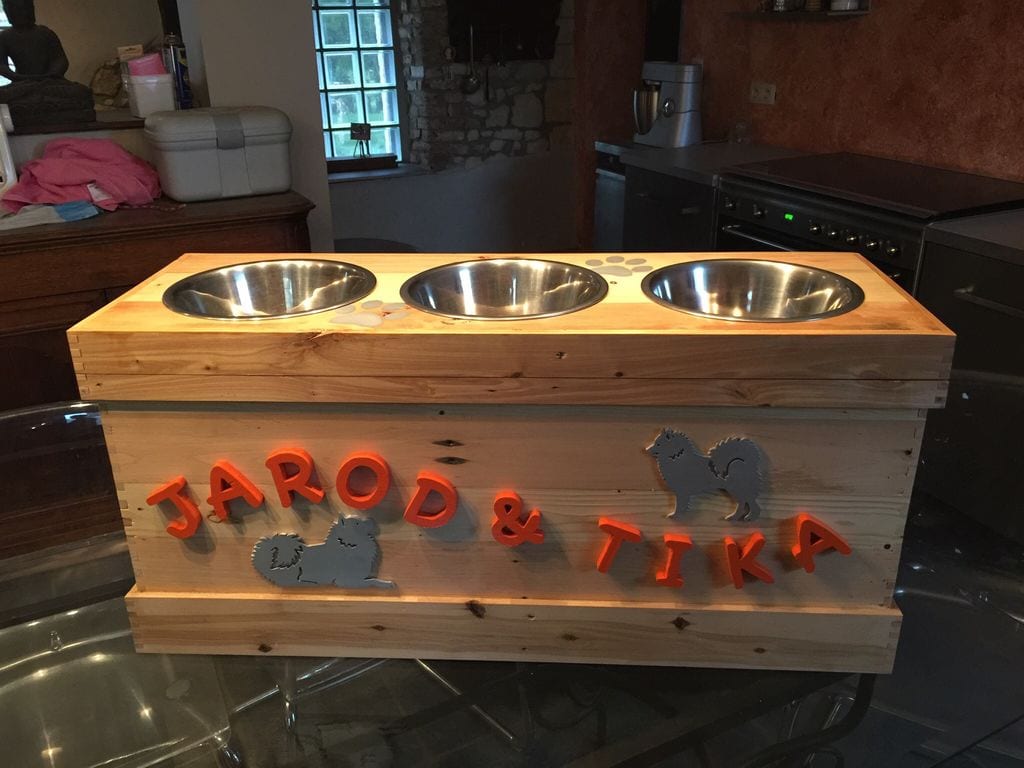
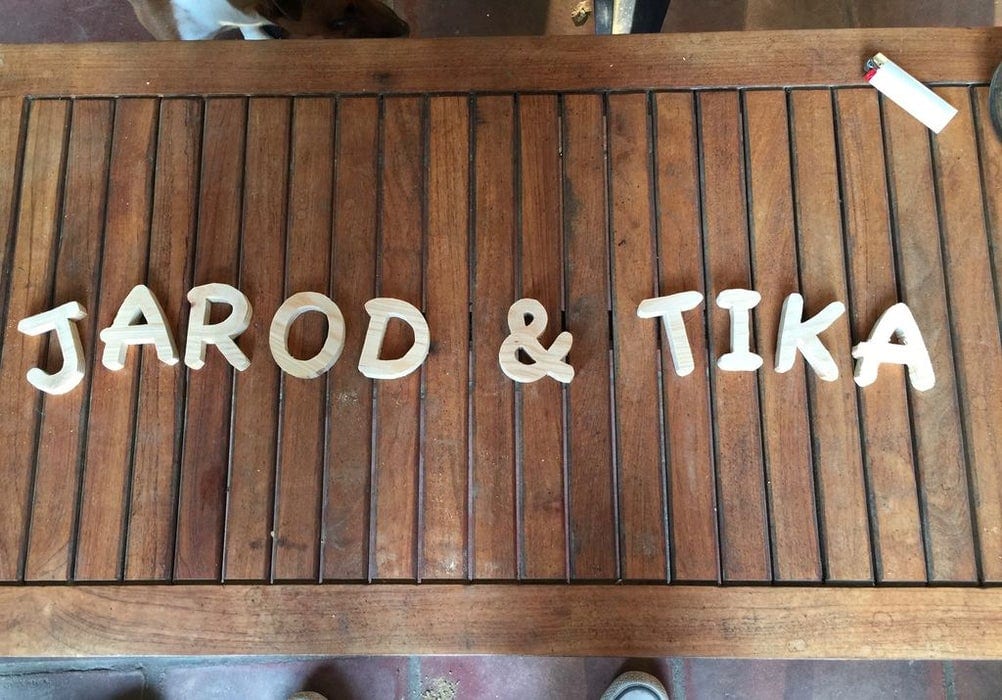
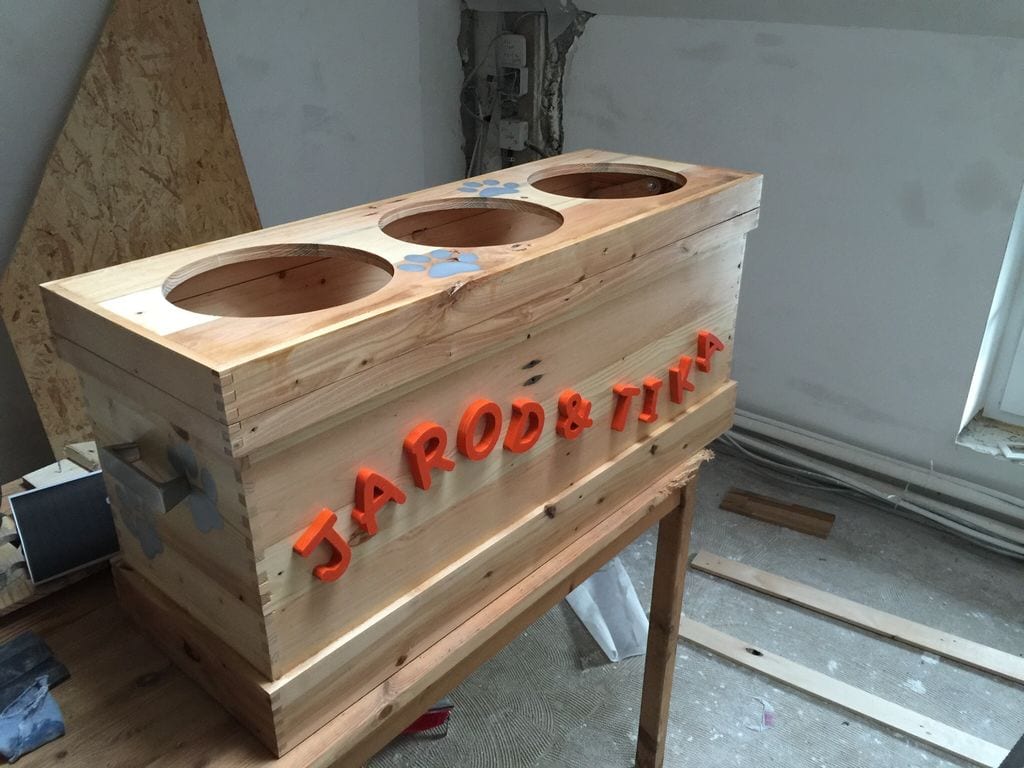
5. Make names and silhouettes using a scroll saw. If you don’t have a scroll saw, you can just paint your dogs’ names and other flairs on the dog feeder box itself.

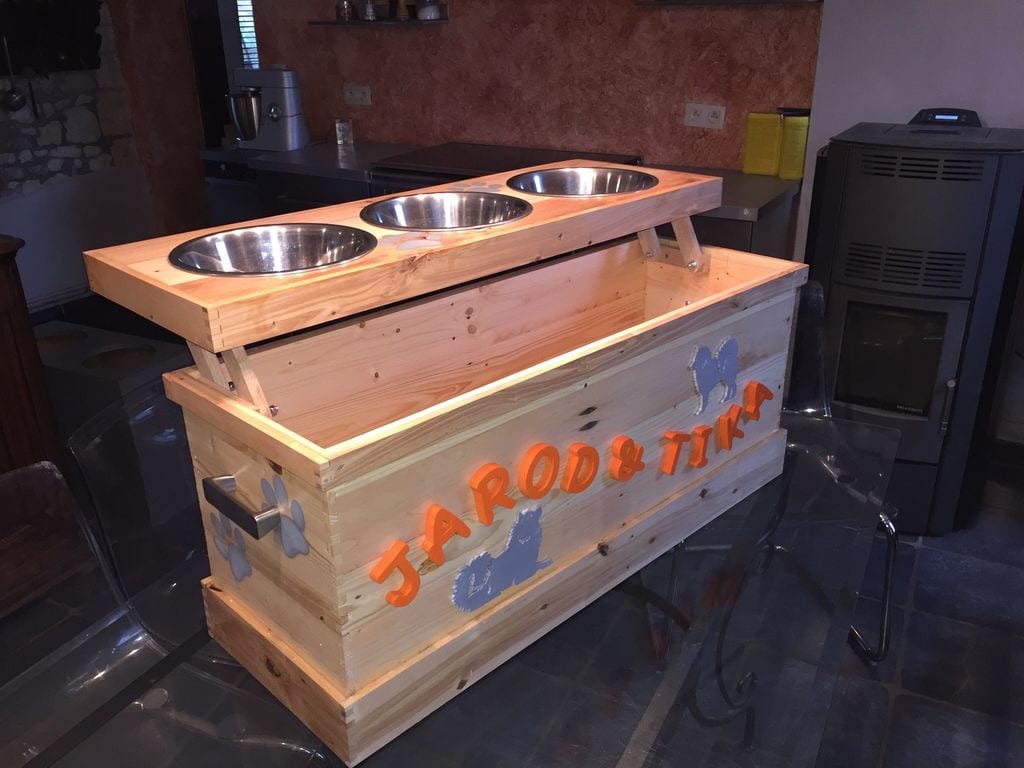
6. Make the lift. Cut 4 centimetres from the top using a hand saw and smooth out the edges with your hand plane. Using wood scraps, make the lift mechanism based on coffee table lifts.

7. Finishing. Coat the interior with 5 coats of varnish to make it suitable for food use. Attach the names and other decorations you made earlier (if painted, coat them with varnish to avoid contact with your dogs) and coat the entire box with 3 coats of varnish. And you’re done!
Thanks to Esdeebee for this wonderful project. You can follow him on his Facebook page, Archi 4 Pets for more ideas and inspiration.

