Last Updated on July 6, 2023 by teamobn
Opening tough nuts can be a real challenge. While it isn’t an everyday occurrence, it helps to be prepared at all times. Having the right tool is important. As trivial as it may sound, it pays to have a nutcracker at home. After all, you’ll never know when you’re going to need one.
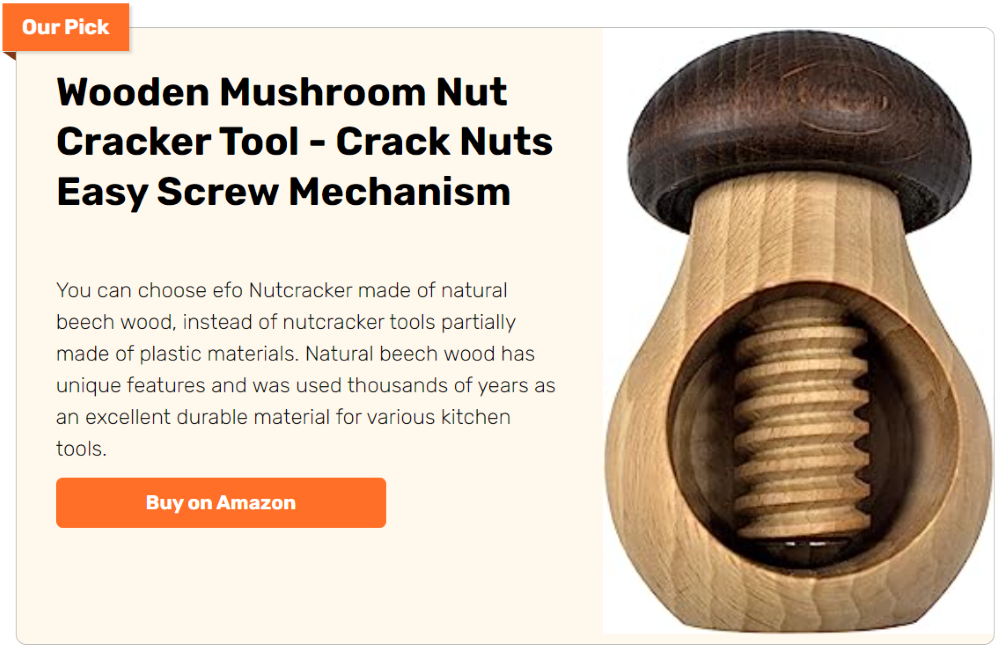
I once received a nice little nutcracker as a gift. We got to use for a few times before it broke. And because I’m such a stickler for details, I wanted to make sure we have a replacement. Instead of buying a new one that I know won’t last for long, I asked my husband to make one.
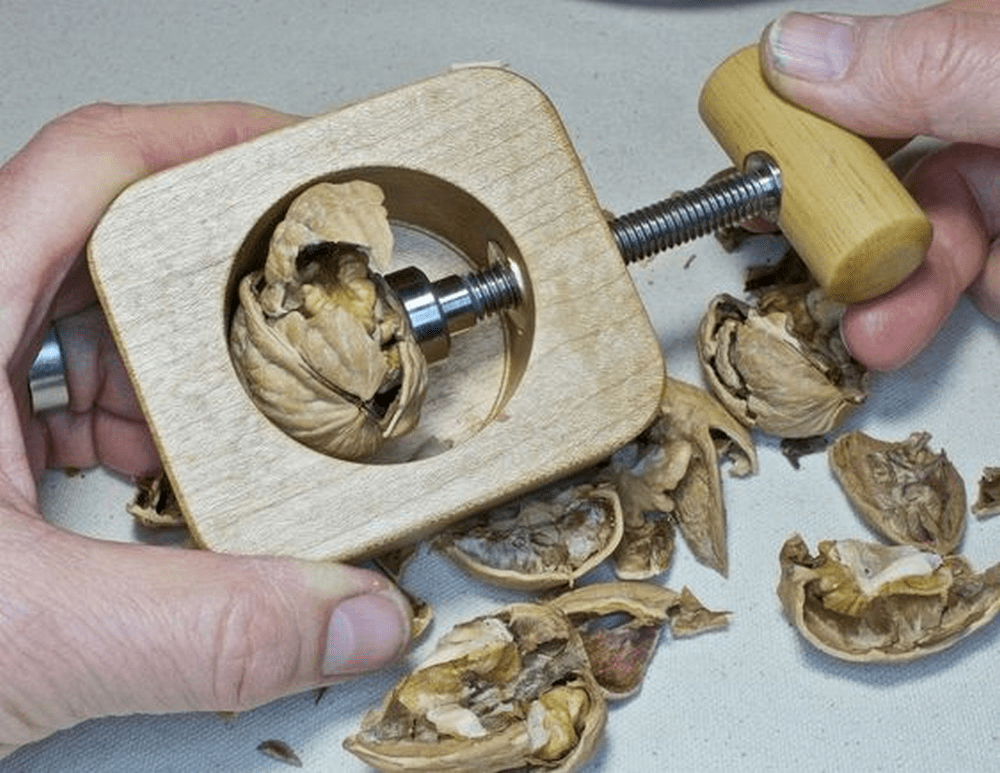
This is a small project with big benefits. I like that it’s simple and easy to make, with absolutely no heavy machinery or high-power tools involved. You can make several of these and give them away to friends and family. They’d appreciate a gift that’s not only durable but made with love, too.
What you’ll need to build a big screw nutcracker…
Click on any image to start the lightbox display. Use your Esc key to close the lightbox.
Materials:
- Chunk of wood
- big stainless steel 3/8-16 Allen head cap screws, 3″ long
- 3/4″ diameter stainless steel bar stock
- 3/4″ diameter brass rod
- Screws
- Clear epoxy
- Beeswax finish
- Loctite 609
Tools:
- Drill with drill bits
- Sander
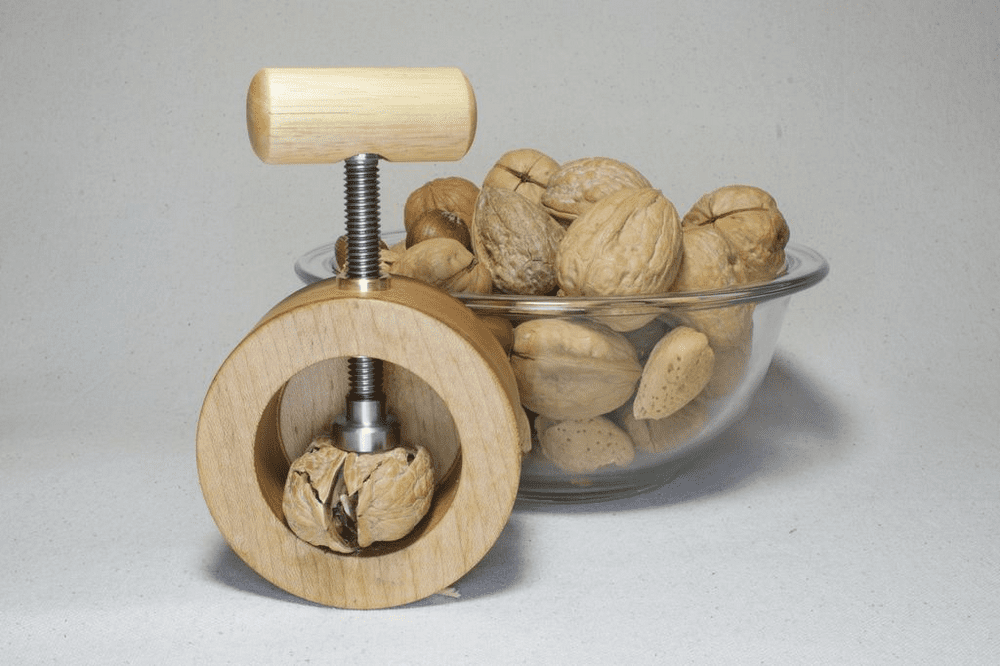
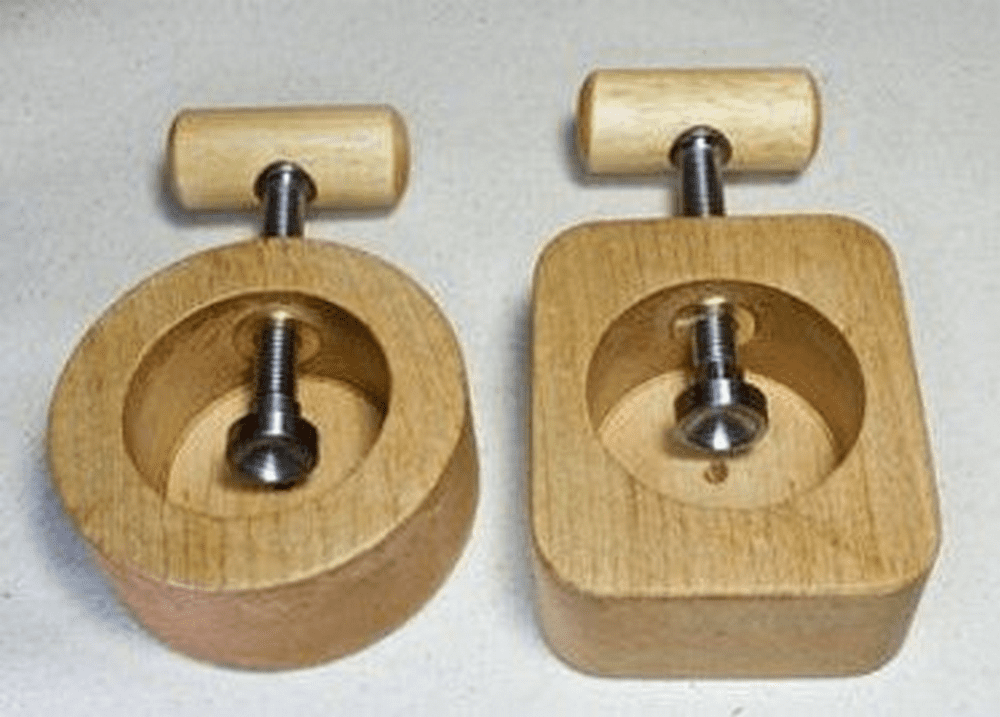
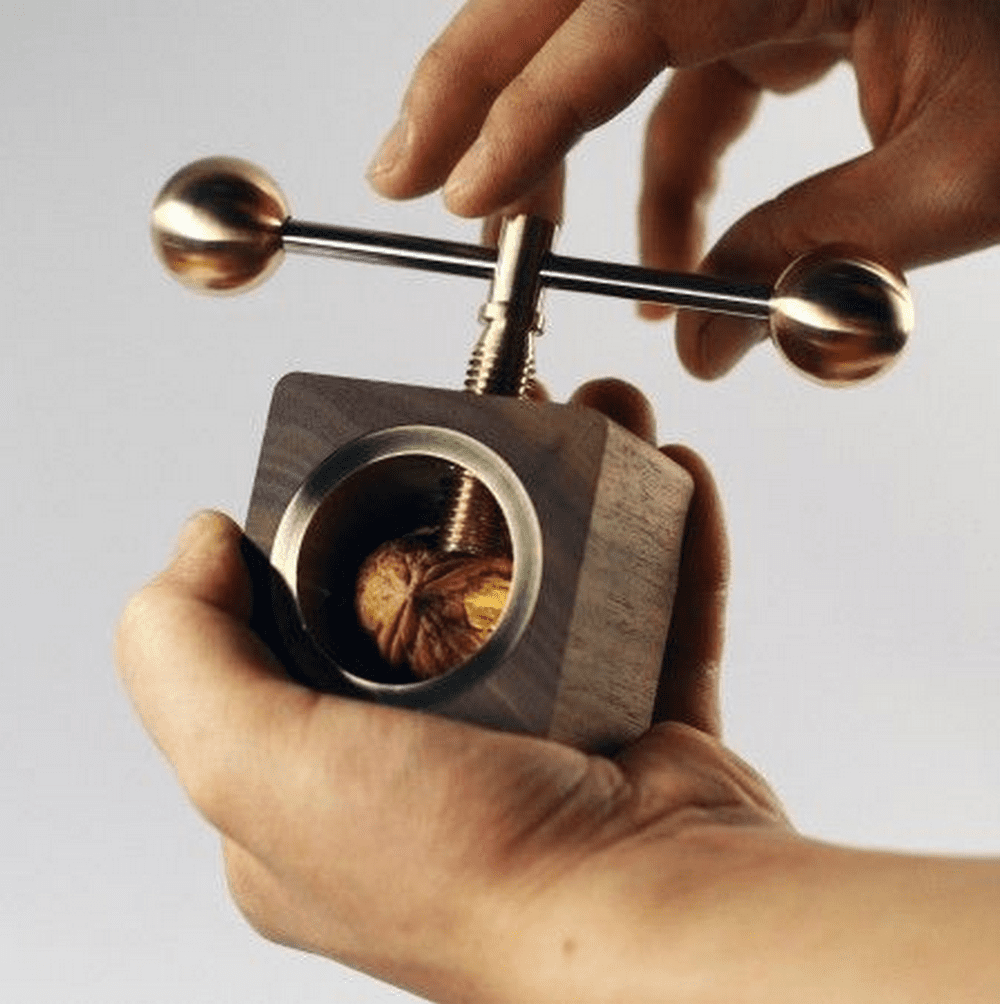
You will need a big screw and a small chunk of wood. Clear maple was rescued from the firewood supply in the author’s case. The nutcrackers shown here have big stainless steel 3/8-16 Allen head cap screws 3 inches long. The big screws make it possible to crack even the hardest of nuts with ease, and the small chunk of wood helps to protect your hands from the edges. The pressure pad for the end of the screw was made on a lathe from a 3/4-inch diameter stainless steel bar stick and a 3/4-inch diameter brass rod for the threaded bushing.
The rectangular body of the nutcracker measures about 3 1/2-inch by 3-inches by 1 1/2 inches. The nut pocket was hollowed out with a 2 1/8inch diameter Forstner bit to a depth of 1 1/4 inch. This left a 1/4-inch thick wall behind the cavity, adding the needed strength to the cracker.
The dimensions of the nutcracker were chosen so that it would be able to accommodate the most common nut sizes. The Forstner bit was used to create a clean and precise pocket for the nut, ensuring that it would fit snugly and not fall out during use.
The end of the screw was turned down to the minor thread for a short length. These particular screws have very finely finished smooth and almost polished threads, which makes for the smooth operation of the Nutcracker. The pressure pad is turned from 303 stainless steel.
The handle for cranking the screw is a 2-inch length of 1-inch diameter dowel bored to accept the head of the screw. The ends are rounded and sanded smooth for a comfortable grip. The handle is secured to the screw with a generous application of clear epoxy. This provides a sturdy and comfortable grip for turning the screw, making the job much easier.
A good finish for items used with food is a mixture of beeswax and pure mineral oil. In use, this compound is slightly warmed until very soft and almost liquid, then wiped on and rubbed in. After a time, the piece is buffed off with a soft cloth.



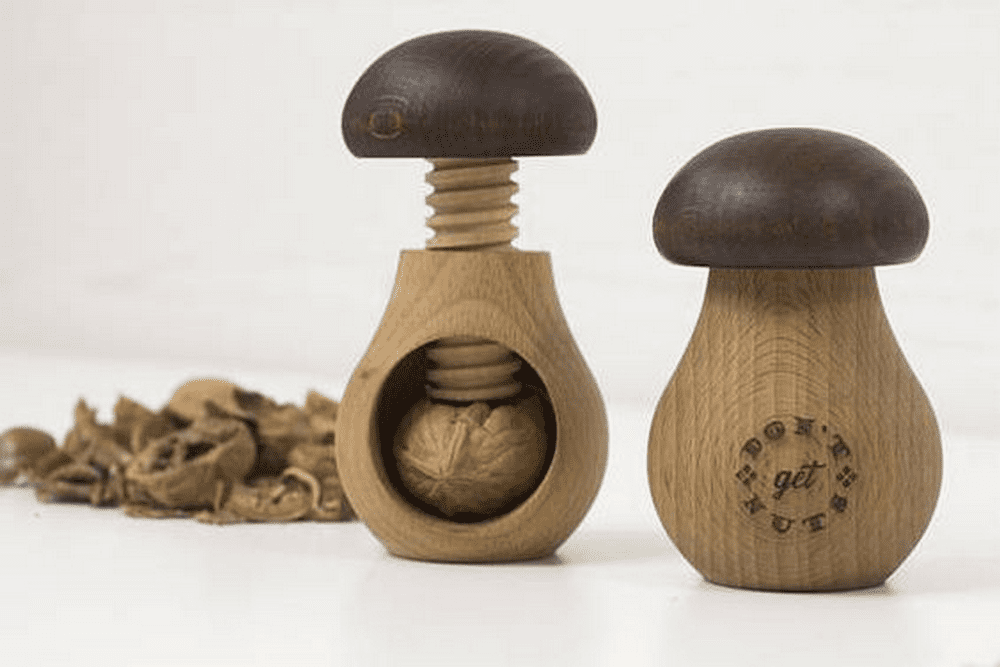
Check out the video and link below for a detailed tutorial on how to make this small but with a big impact project. Learn how to make a DIY big screw nutcracker by following these step-by-step instructions here…
Here’s a quick video…

