Last Updated on July 2, 2024 by teamobn

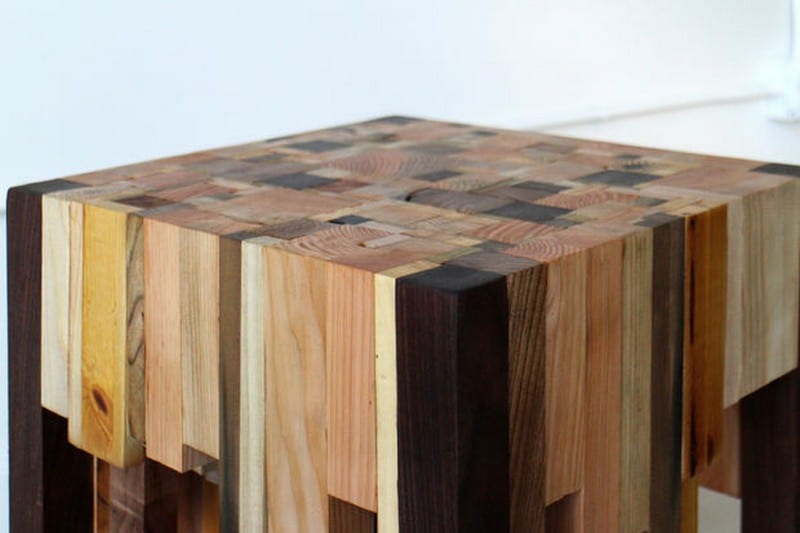
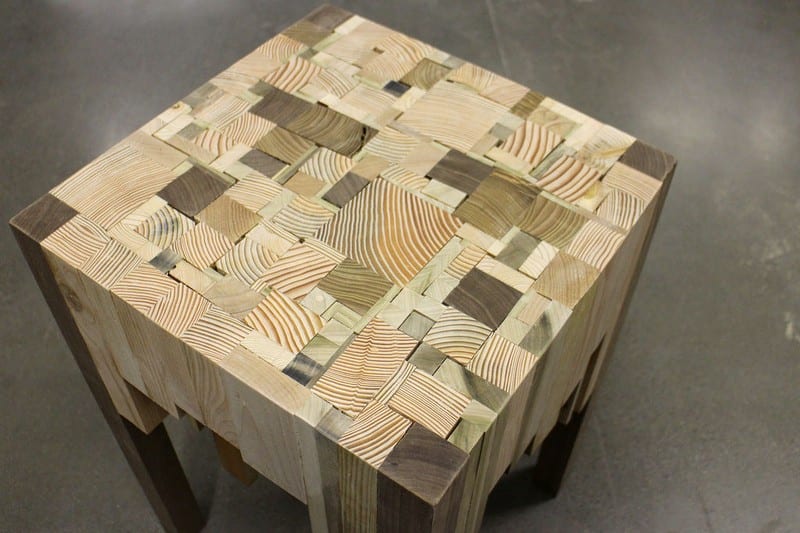
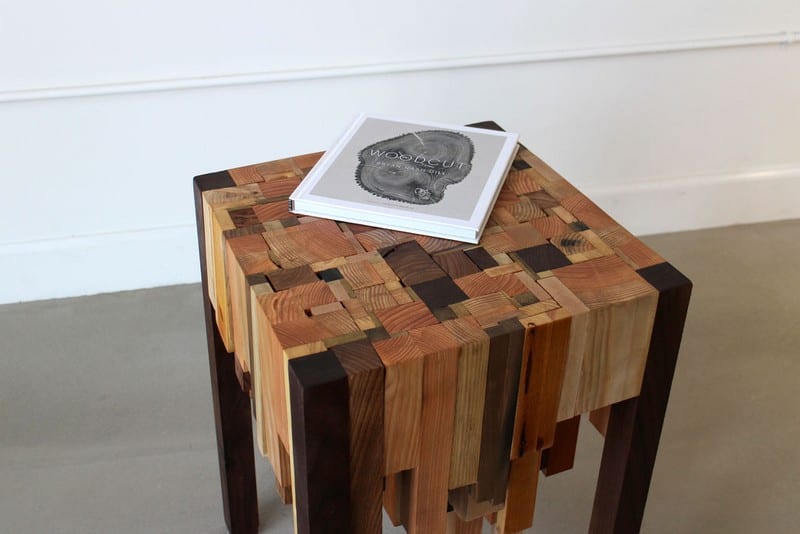
It’s amazing how something incredibly beautiful can come from things we label as trash or scrap. Take this end table as an example! It hasn’t come from a high-end furniture shop. In fact, this end table is made from bits of scrap timber that 99% of us would trash. Just think of all those offcuts you’ve binned! Heck, I’ve probably discarded enough to make a thousand tables like this 🙁
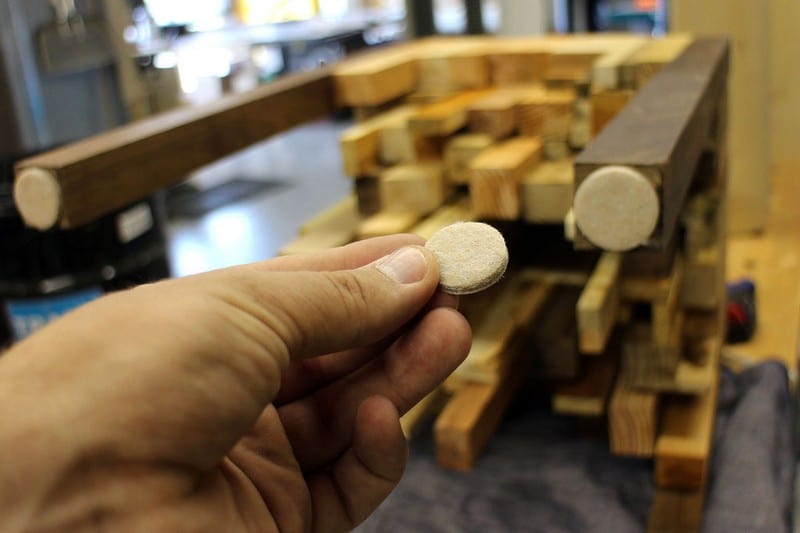
The only bought materials for this end table are the legs and the felt pads under them. Everything else is easily found in your workshop or the nearest building site!
From scrap to an expensive-looking piece of furniture! Next time you’re done with a timber project, think twice about throwing away those offcuts you thought were too small to build anything with.
If you have a mountain of leftover scrap timber, what are you waiting for? Start building your own stylish end table!
Would you love this upcycled end table idea?
Materials:
- Newspaper
- Wood Glue
- Safety Goggles
- Mask
- Gloves
- Old Cloth/Rag
- Wood Finish
- Felt Pads
Tools:
- Planer
- Table Saw
- Clamps
- Coping Saw
- Nailer Gun
- Drill
- Palm Sander with 100, 180 and 220 grit
Steps:
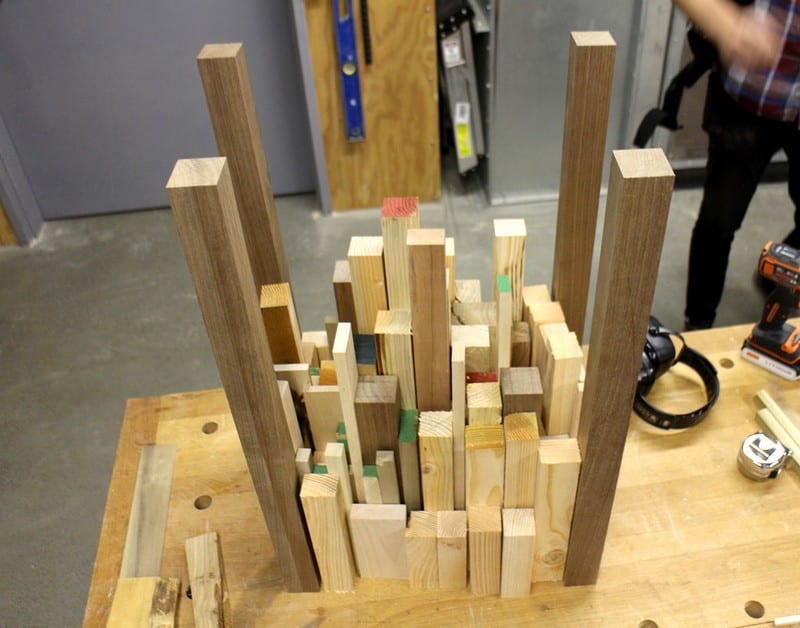
Collect scrap wood from previous projects. The more variety of wood you get, the better your end table will turn out to be.
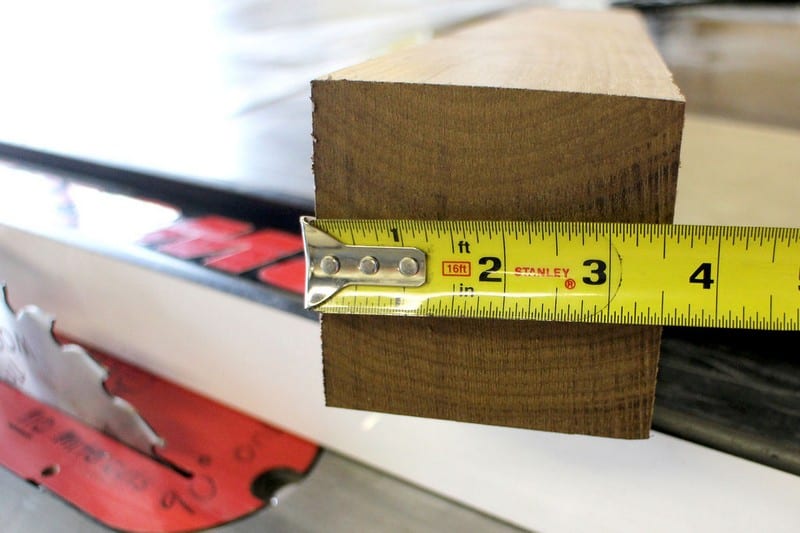
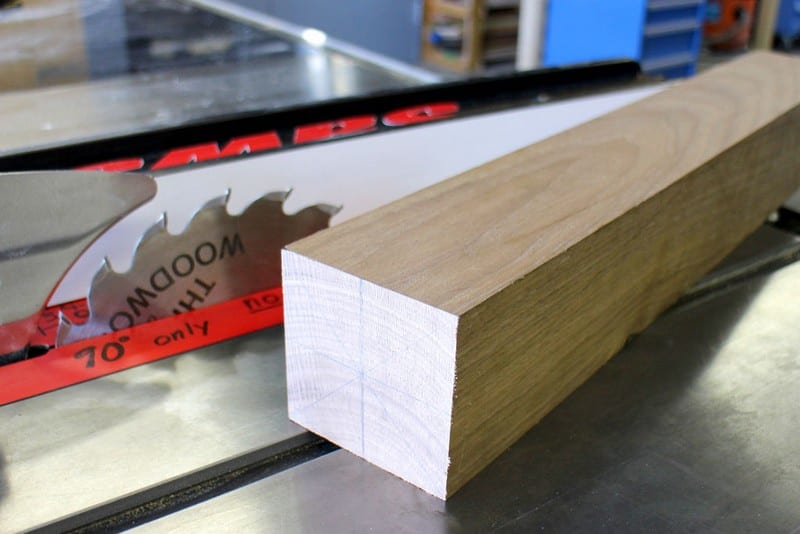
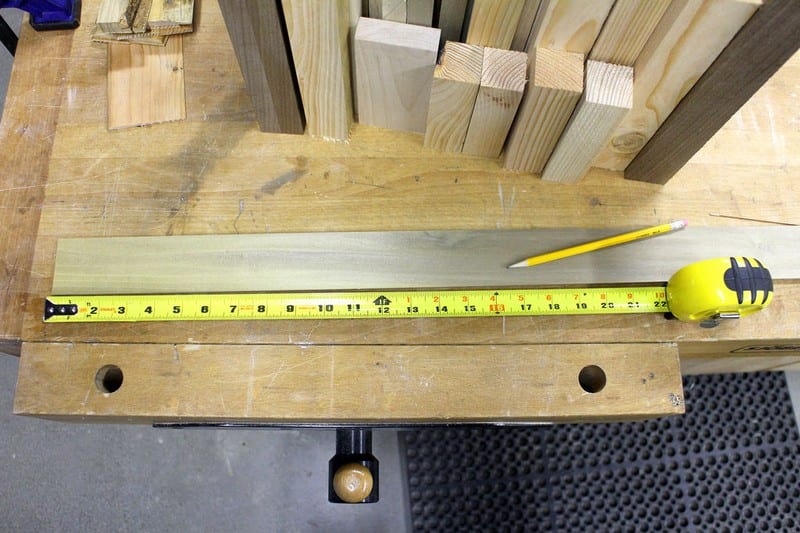
Square wood pieces using a planer, and cut to random lengths using a table saw.
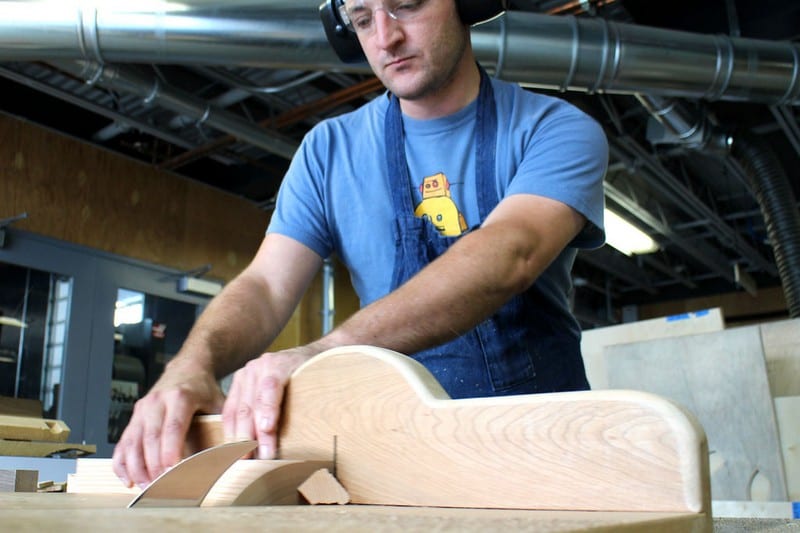
For the legs of the end table, it would be best to have it uniform, so get a nice-looking wood enough for the legs. Perhaps buying walnut wouldn’t hurt? 🙂
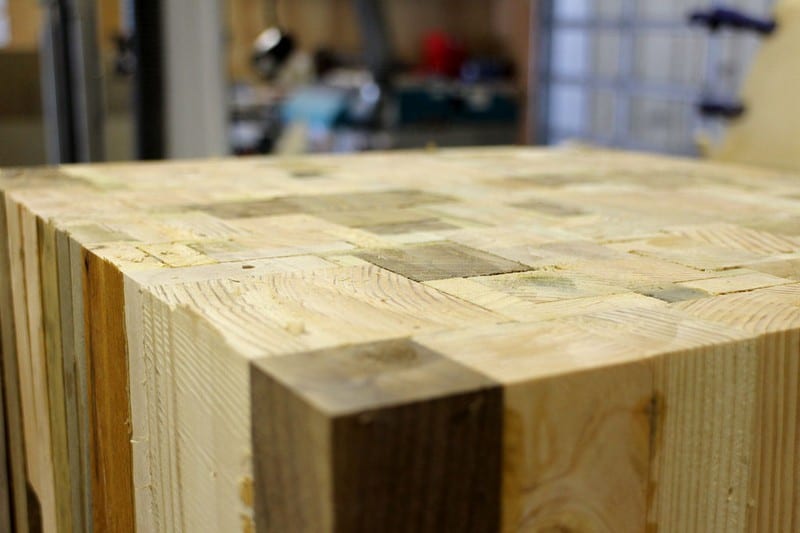
The corner legs that you see in this project came from a walnut that was divided into four equal squares.
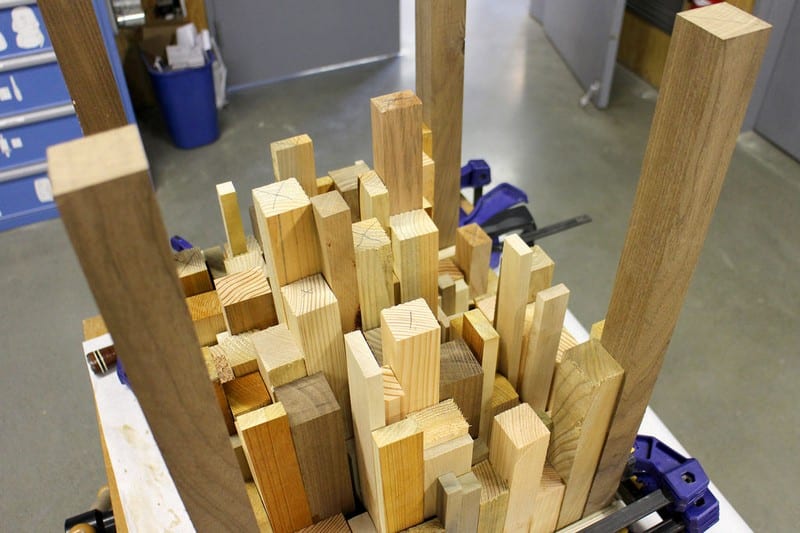
Once you have prepared all the scrap wood and corner legs, it’s time to temporarily arrange the pieces in your work area to get an idea of how your end table would look. Your table will be built upside down, for now, so make sure to have a flat, level work area. And also, cover the area with newspaper.

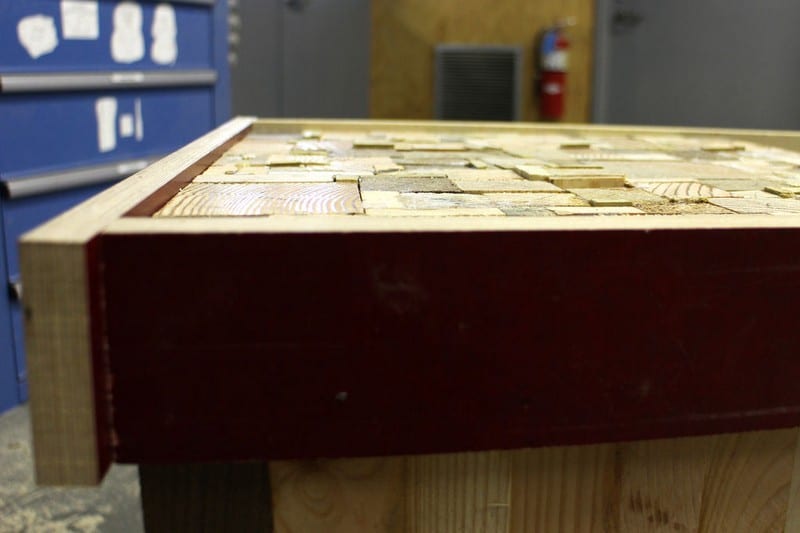
To get the gluing started, prepare a frame that measures the size of your end table. The table shown here is 16×16 inches.
Once you have your square template, clamp (not glue) the corner legs to it. And then start creating the perimeter by gluing the wood pieces to fill the gaps between the legs, using the template as a guide to keep the edge straight.

Let the glue dry before proceeding to work on the interior. Start adding pieces to the perimeter working your way inward.
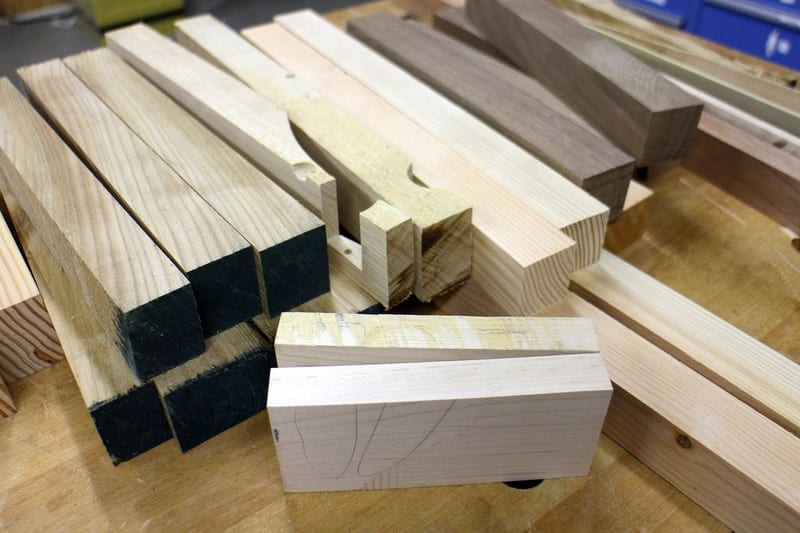
Don’t worry if there are some gaps on your table that cannot be filled with large square pieces. But do your best to keep gaps at a minimum. 🙂 Let the glue dry overnight and then flip the table to its right position. Peel off the protective paper and see which parts need to be filled with smaller wood pieces.
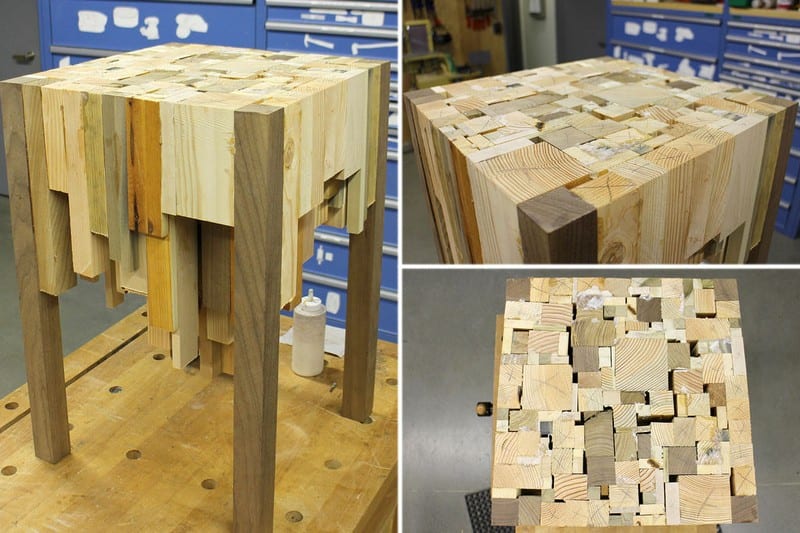
Use more scrap wood to fill in those gaps. The trick to easily inserting wood pieces at this point is to give them a slight taper with a bit of glue to act as a plug. Again, let the glue dry and then cut the plug ends using a coping saw.
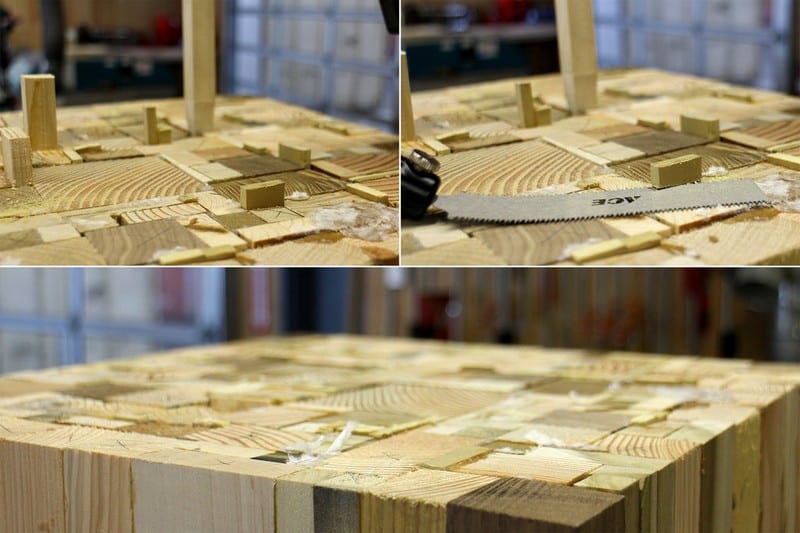
Even though we try to make the table top-level and flat by building it upside down, you would still probably end up with a rough surface that a sander cannot correct.
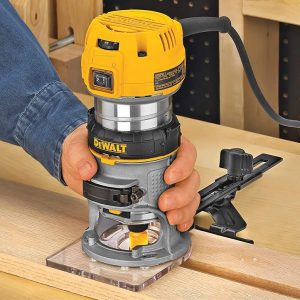
You will have to use a router to make it even.
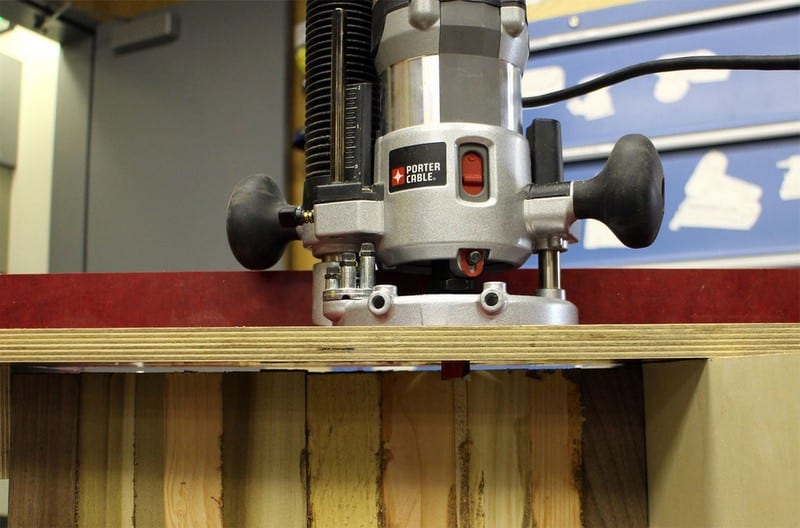
To do that, build a level edge for the router to float on. 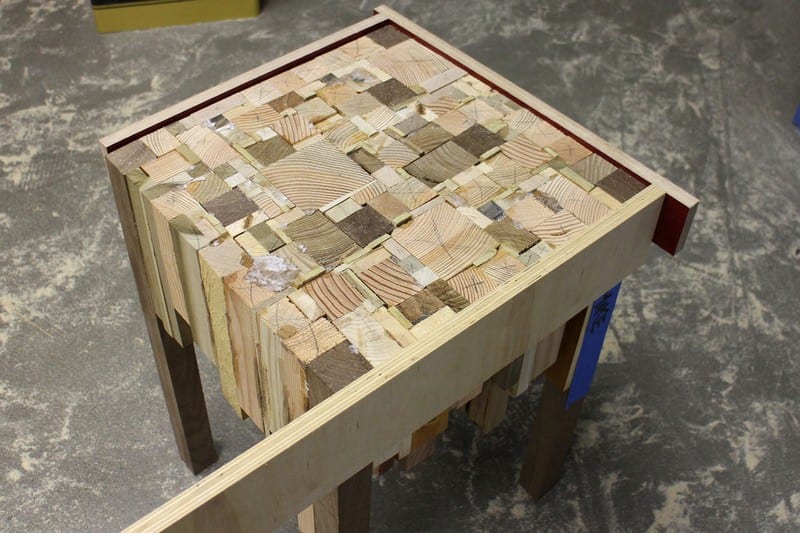
In this particular project, 24 inches was measured from the ground and then a square wooden frame was nailed to one side. It was repeated on the opposite side to create a level and parallel rails for the router to ride along.
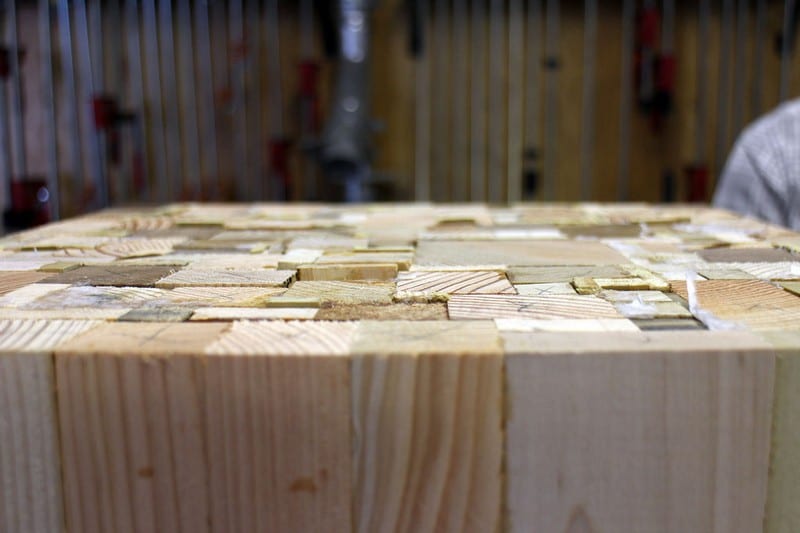
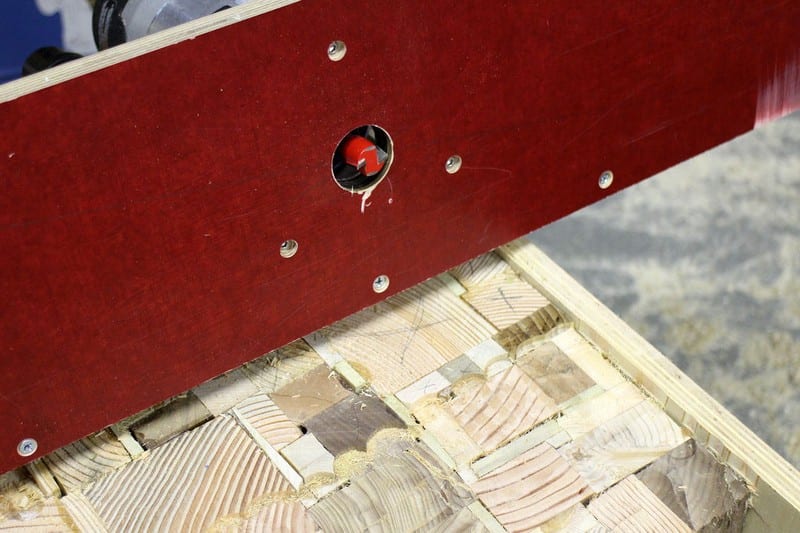
Next, you will be needing a wooden board for the router to sit on that is long enough to reach the rails/frame that you have just nailed on the table. Drill an opening for the router bit, and drill more holes for the router collar to be screwed into. Countersink the screws so that they won’t get in the way as the router moves around…
Now you have an even surface!
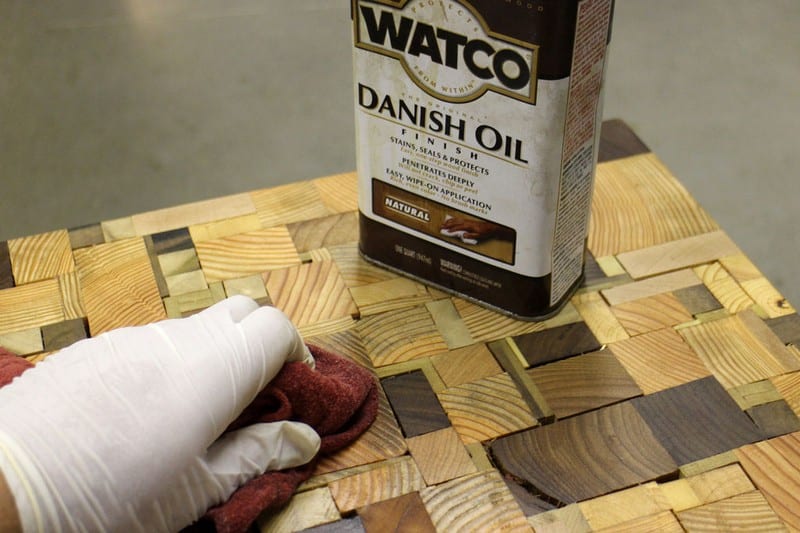
Polish it even more with the use of a sander. Be mindful of the differences between your wood pieces. Some may be hardwood and some are light and soft, which means some may sand faster than others. Use different grits if needed, and don’t forget to sand the edges down.

Finish up your table with your chosen wood stain/finish.
Use felt pads to protect your floor and for easier moving.
Now you have a very stylish table to show everyone!
Thank you mikeasaurus for this idea!