Last Updated on November 7, 2022 by teamobn
I found myself needing a couple of sawhorses, and I have a bunch of pallets… I went online and found a guide, but it was (imho) somewhat hard to follow with no pics. So I used the basic idea and built my own sawhorse guide. Enjoy!
Contents
Step 1: Tools and Materials
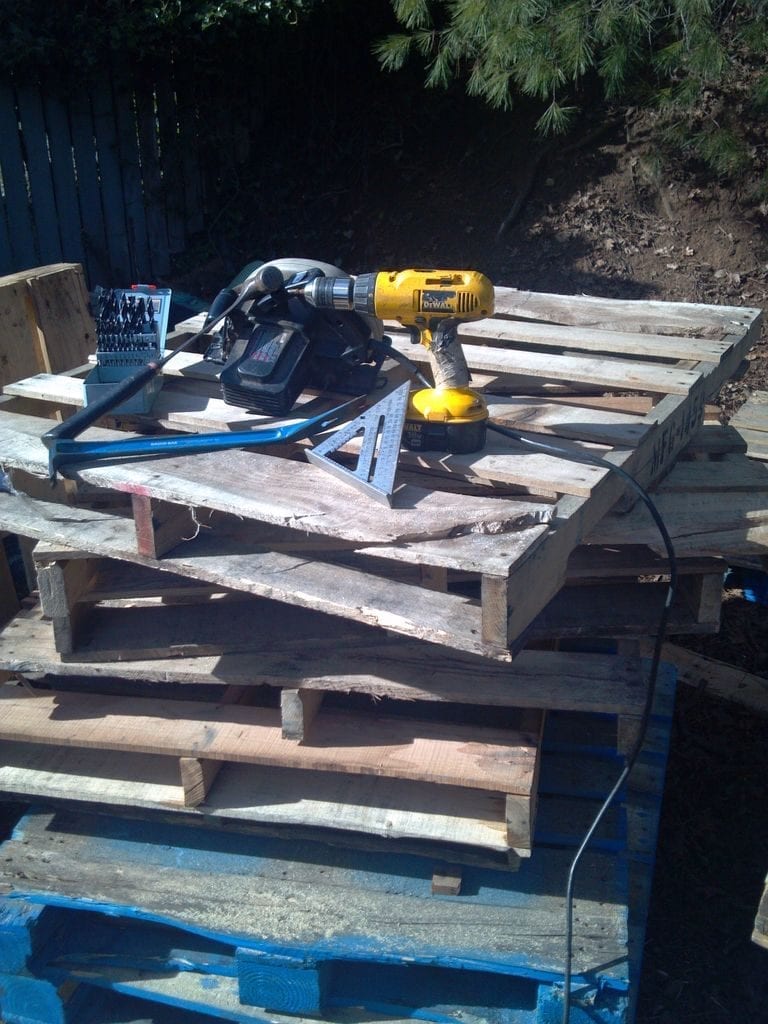
This is my list of essential tools and materials for this sawhorse from the pallets project. While it is not exhaustive, it is a great starting point. You will need:
- A crowbar, wonder bar or nail puller.
- A claw hammer.
- A tape measure.
- A pencil.
- A speed square.
- A skill saw.
- A drill.
- A drill bit, for pilot holes, the same size as your screw shaft.
- A screw bit that fits your screws.
- 2 ½ or 3″ and 1 ½ screw. Coated, galvanized, or not, your call.
- A stack or so of pallets.
If you have better, different, or want to use store-bought # 1 pine that’s cool. I used pallets because they are free for me and cheap for anybody. If you buy pallets be somewhat picky. Pallets get used hard, often the wood they are made out of is not of decent quality for anything but pallets. Pick good pallets.
Step 2: Cut List
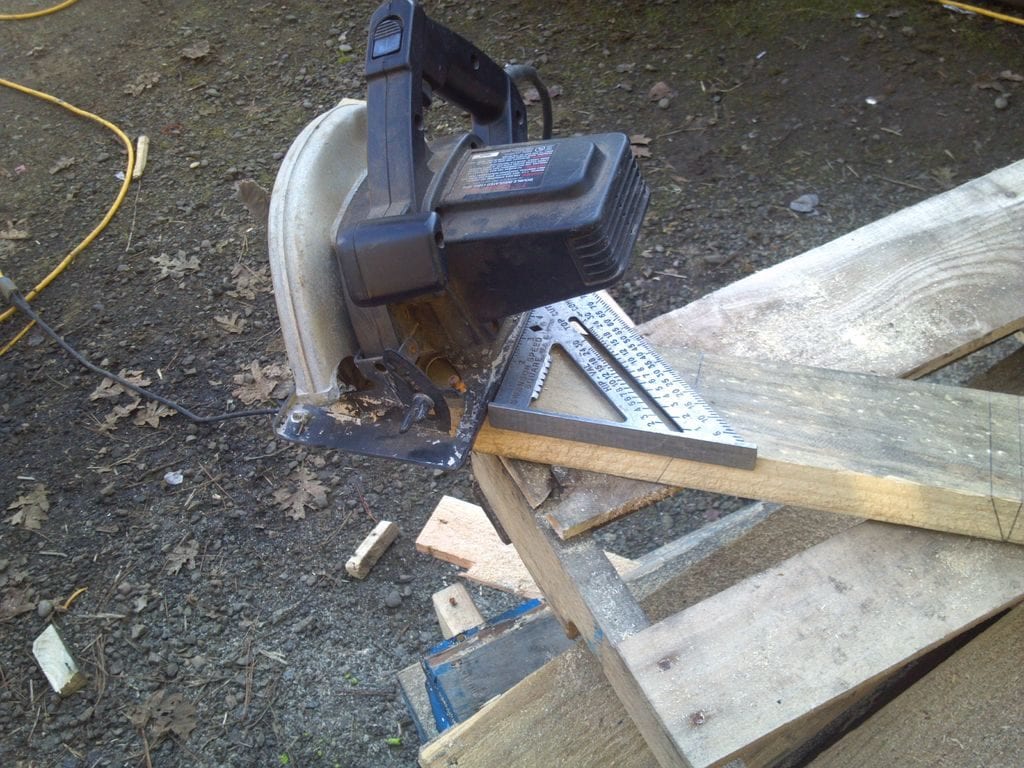
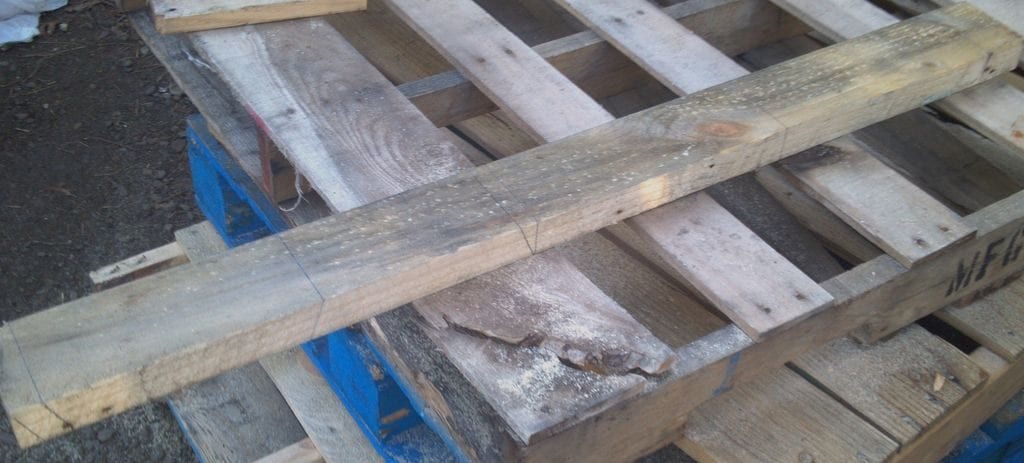
Start by taking the pallets apart with the help of a wonder bar or crowbar. Once the pallets are dismantled, use a nail puller to remove any remaining nails. Next, sort the lumber by type and size. Finally, cut the lumber to the desired length.
I use my speed square as a saw guide. Fast and easy.
From the 2x4s:
- 2 at 9″ at 22% on both sides (7¾” on top and 9″ on bottom).
- 2 at 12″ as square as you can.
- 4 legs Your call here, 30 is standard, I cut mine for about a 36” sawhorse so my legs are 34” you could cut one of the ends at 22% for a fine fit. I didn’t but it would have looked nice.From the 1×4 slats:
- 2 4-inch wide, thickness is not critical, at your desired length. They are your sawhorses, you get to pick how wide they are. Try for good pieces as these will be the tops of your sawhorse (splinters hurt) 4′ inches wide, thickness is not critical.
2 more at the same length for optionaly bracing of the legs.
Step 3:
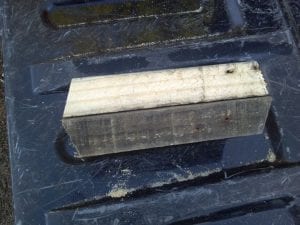
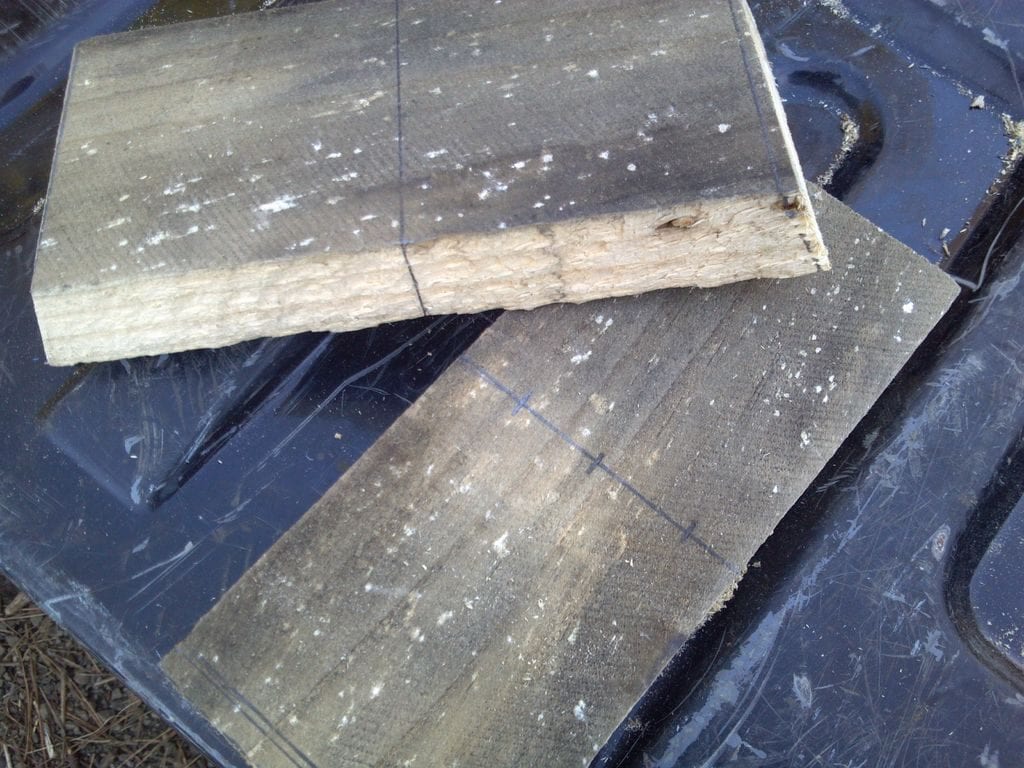
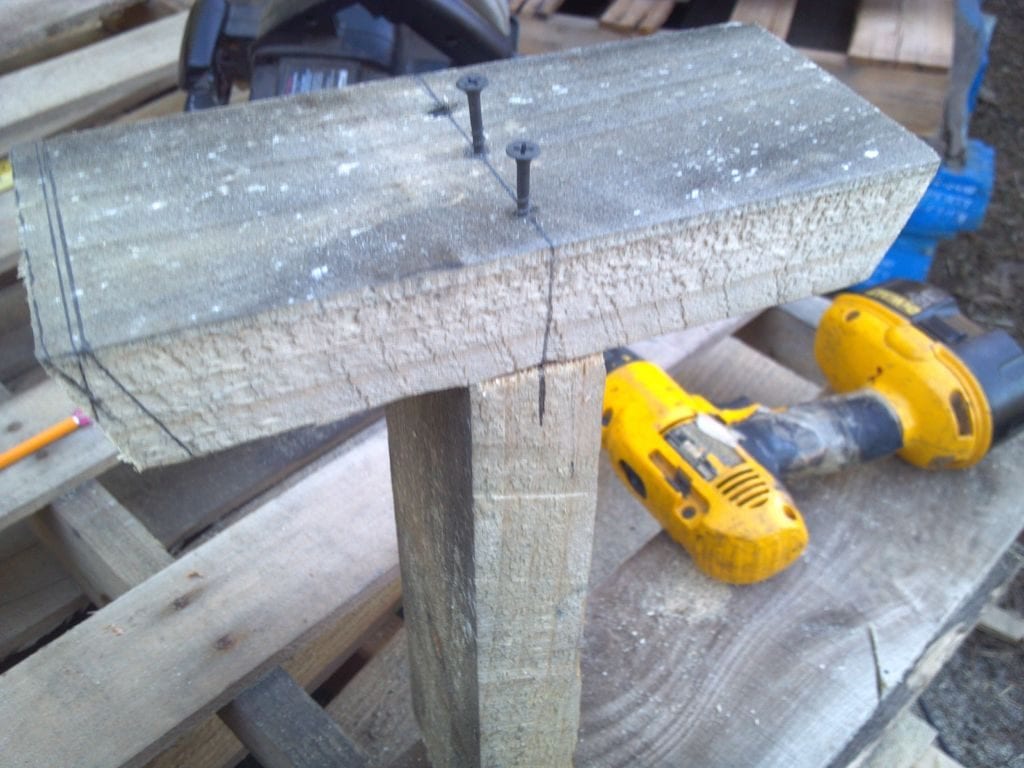
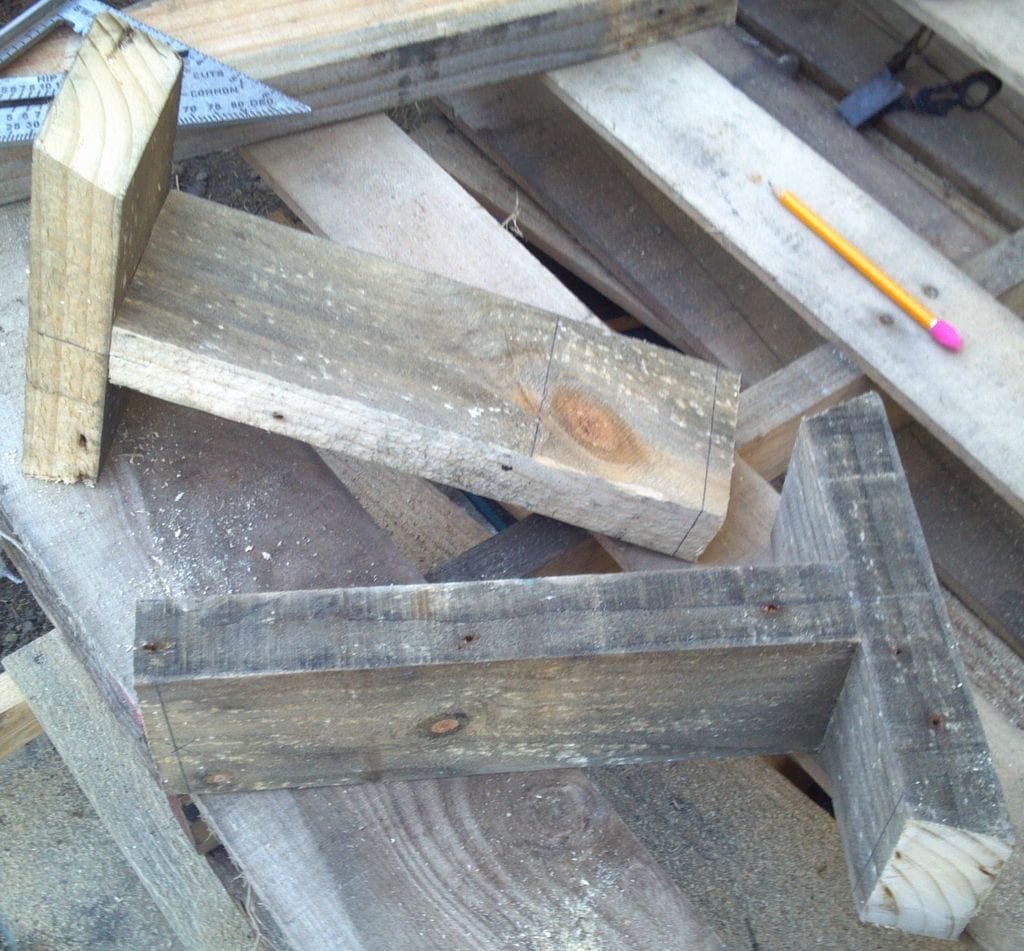
Mark the centre of the 9” piece on the side as well as on the bottom. Then, mark the centre of the side of your 12″ 2×4 on one end, and a line parallel to the cut 4 inches from the opposite end. This will be the T brace of your saw horse so get it centred and perpendicular accurately.
Step 4: Tee’s
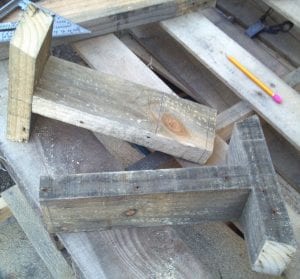
Drill 3 pilot holes from the bottom of the short angle ended 2×4 on its centre line and then fit Extend your pilot holes into the 12′ pieces. Screw together.
Step 5: Stand Tall and Be Done
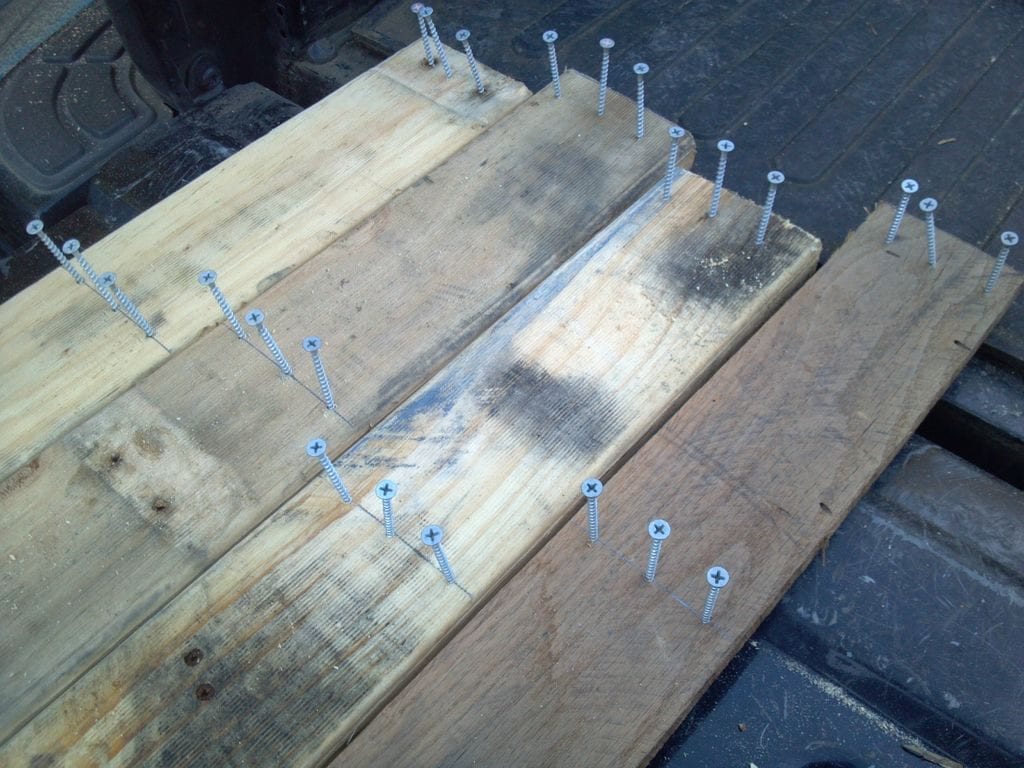
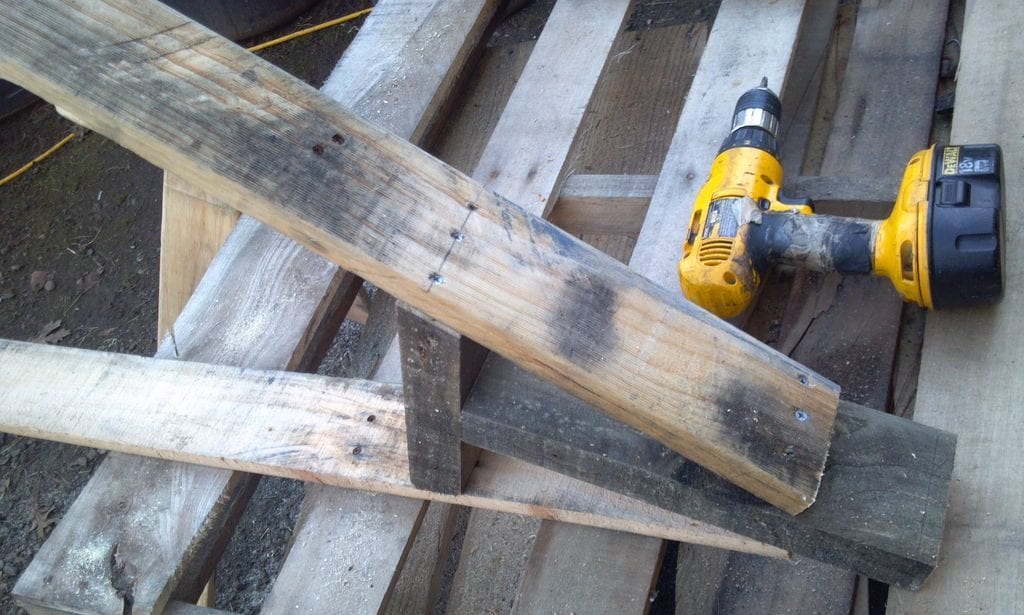

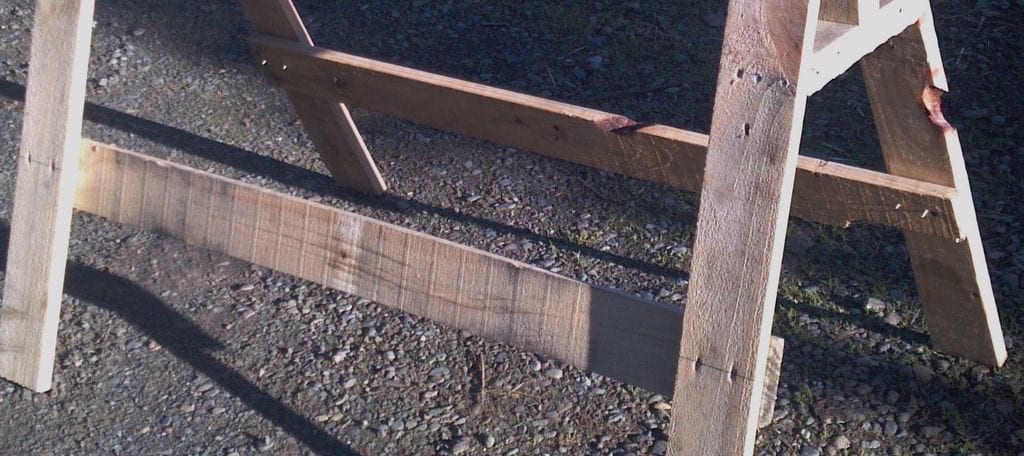
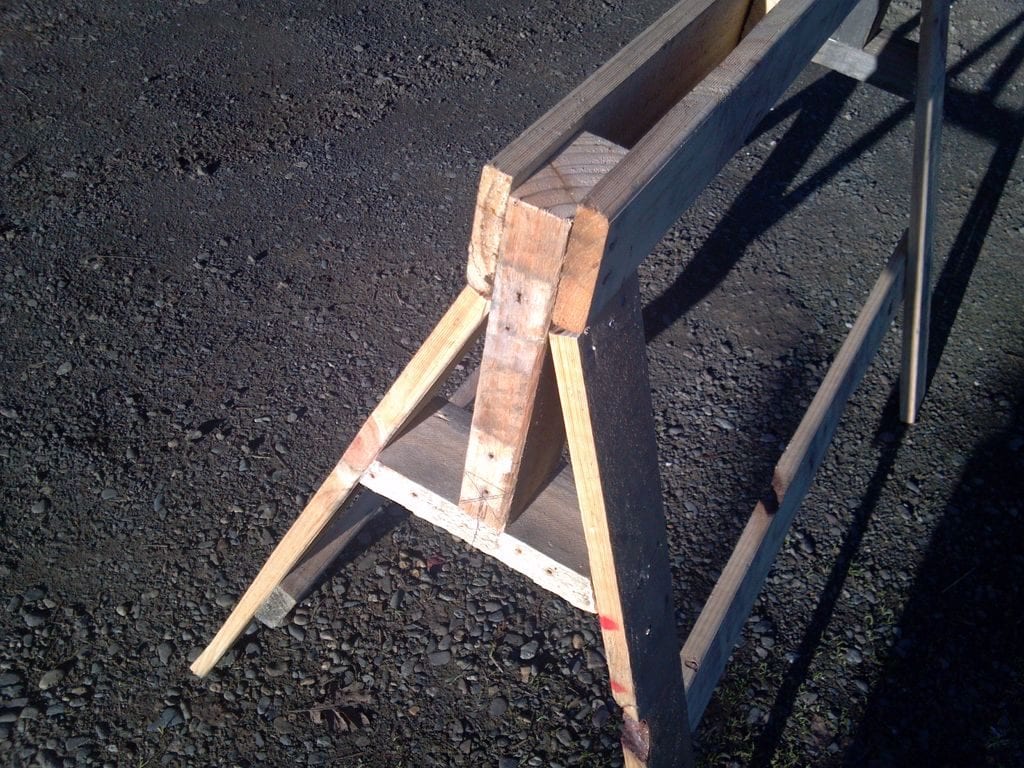
You can cut the ends of your leg pieces off at 22% on the tops and bottoms for a clean look, I wanted to get done so I didn’t.
Install the 2 top pieces.
Brace 12” up the legs(optional but strong). I did not finish mine, but you could if you have the time, and want to spend more on the finished materials than on the sawhorses.

