Last Updated on November 9, 2022 by teamobn
If you have a bare wall in your house, you may be wondering what to do with it. There are many options for decorating a blank wall, and the right choice for you will depend on your personal style and the overall aesthetic of your home.
Building floating shelves is a great way to put that empty wall space to good use.
It’s a simple project that anyone can do, and it’s a great way to add some extra storage or display space to your home. Floating shelves are also fairly easy to build, which makes them a great project for beginners.
If you’re looking for a way to spruce up your home décor, you may want to consider investing in some floating shelves. This trendy, minimalist style can add a touch of elegance to any room without being overpowering. Plus, they’re functional as well – perfect for displaying your favourite books, trinkets, or pictures. Whether you’re a seasoned decorator or just starting out, floating shelves are a great way to add extra storage to your home.
They are also a versatile storage solution that can be used in any room in your home. You can use them to create additional space for displaying collectibles or organizing items within easy reach. Floating shelves are easy to install and can be customized to fit your specific needs.
With a little bit of planning, you can create a stylish and functional storage solution that will help you maximize your space. This will provide you with additional space where you can put collectibles on display or organize things within easy reach.
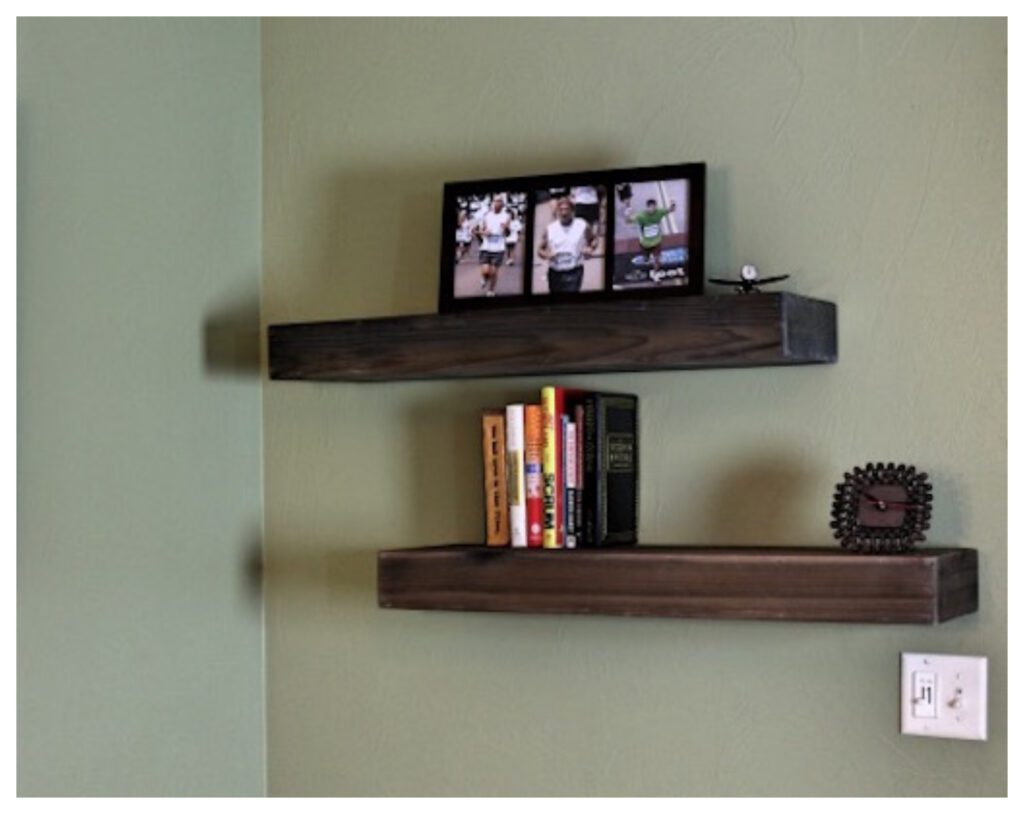
You’ll be surprised to know that it can very well be an easy project, depending on your carpentry skills.
Yes, you read that right. You can build your own floating shelves; it’s no rocket science. Just imagine the amount of money you’ll save when you do it by yourself instead of having someone else do it for you.
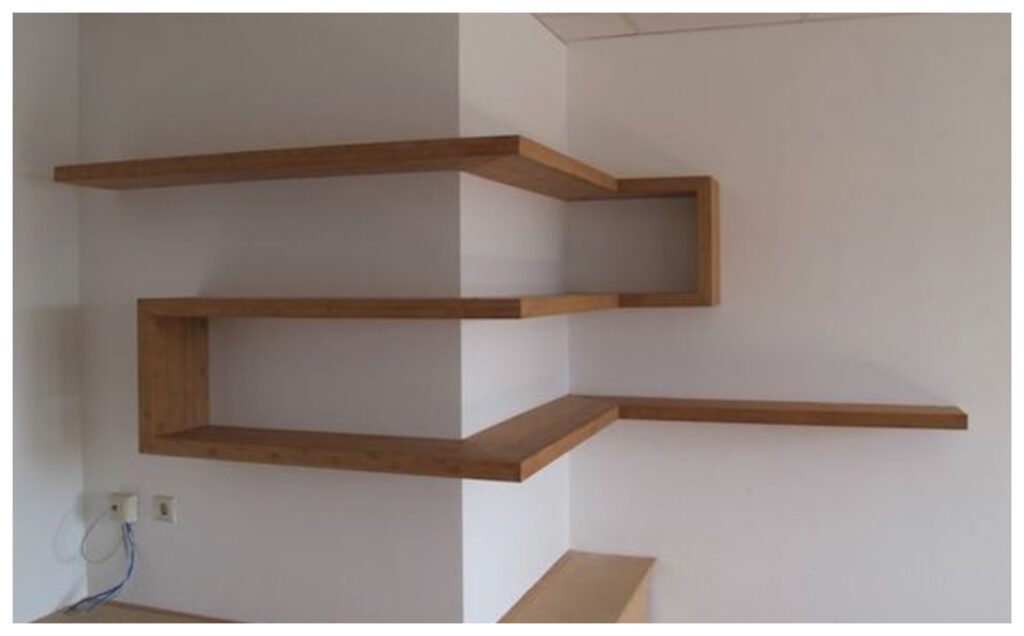
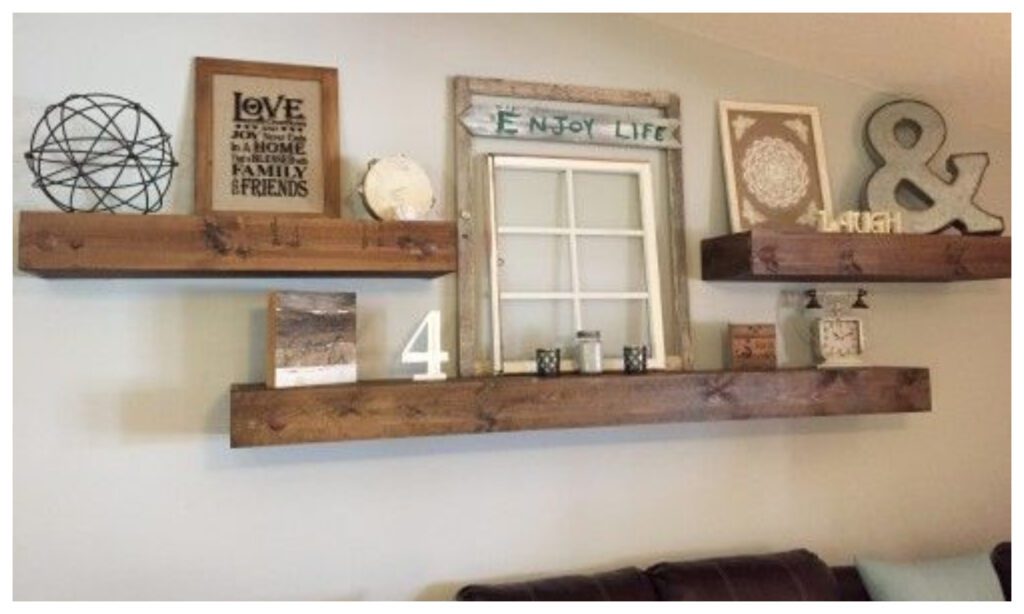
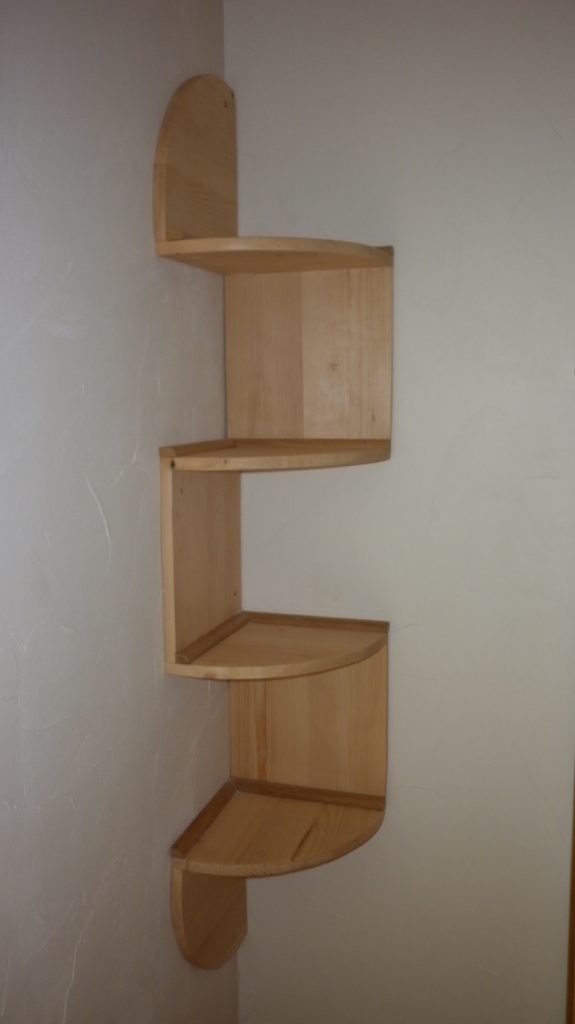
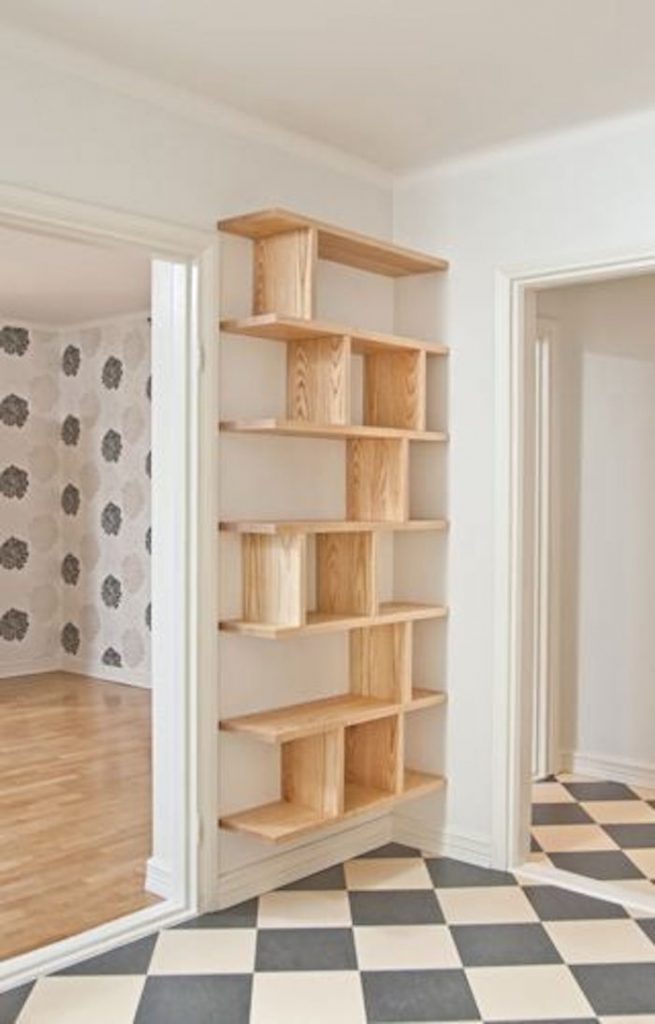
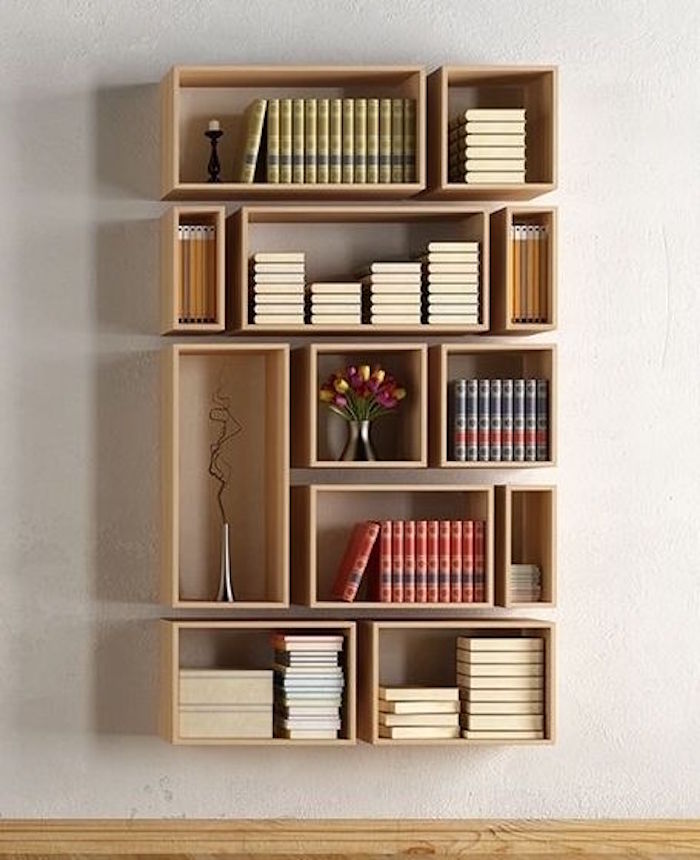
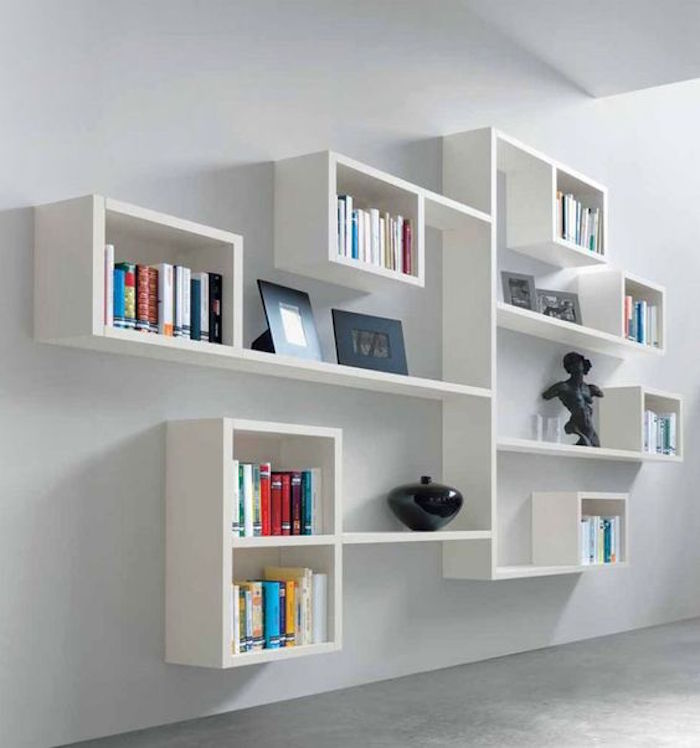
If you’re looking for more design inspiration for your floating shelves, our gallery below has a lot of different looks to choose from. Whether you want a sleek and modern look or something more traditional, we’ve got you covered. So take a browse and get inspired!
Are you intimidated by the thought of a floating shelf project? Don’t be.
You’ll need these materials:
- Lumber for the frame support and shelf
- 1 – 2×4
- 3 – cedar pickets
- Steel wool and vinegar solution/stain
- Water-based polyurethane spray
- 3” Wood Screws
- 1 ¼” Nails
- Gorilla wood glue
And these tools:
- Circular saw
- Table saw
- Drill
- Kreg jig
- Nail gun
- Clamps
- Tape measure
- Straight edge
- Pencil
- Eye and ear protection
- Stud Finder
- Level
- Nailer
The first thing you need to do for the floating shelf project is to frame out the shelf support. You will need to cut and assemble the frame support first. The dimension of your frame support will depend on your preference.
You will need to cut a ledger board to the approximate width of the shelf and the shorter boards which will serve as the depth of the shelf. Then lay out the five boards that are part of the shelf support, and attach the shorter board to the ledger using a nailer.
Once the frame support is complete, you can now then build the box that will slide onto the shelf support. Cut the board down to the size of the shelf support, then put the boards in place to simulate how the shelf will look. Then, using wood glue and a nailer, assemble the box that will serve as the shelf.
Using a level and screws, attach the shelf support to the wall. Make sure the shelf support is level before attaching it to the wall. Once the shelf support is level, slide the box to the shelf support. The box should fit snugly into the shelf support.
For a more detailed step
Click on any image to start the lightbox display. Use your Esc key to close the lightbox.
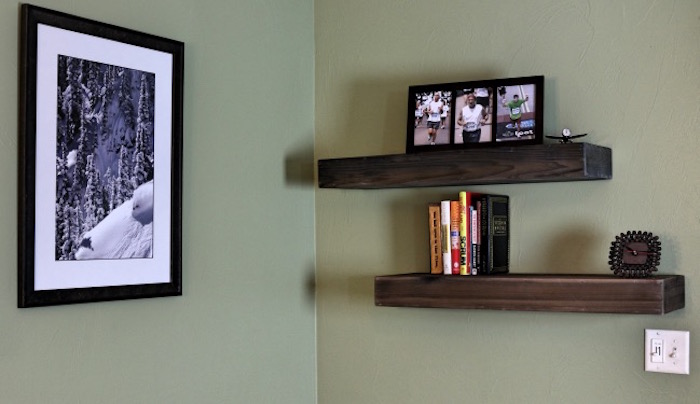
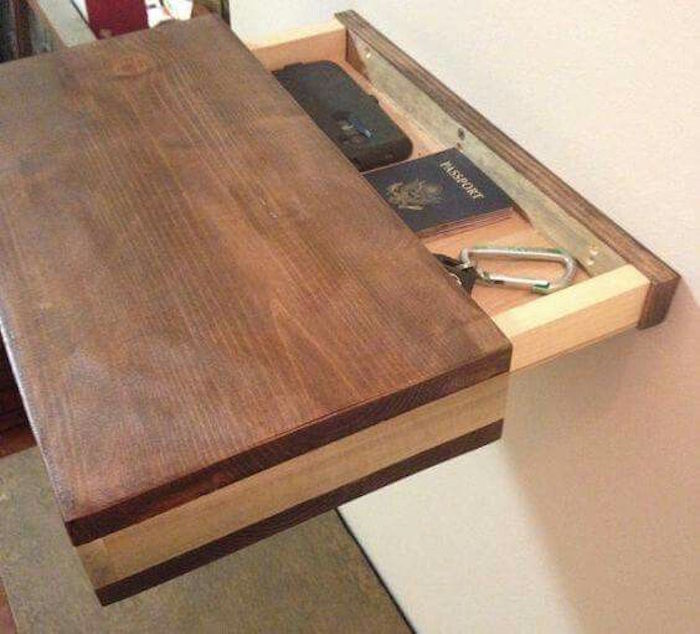

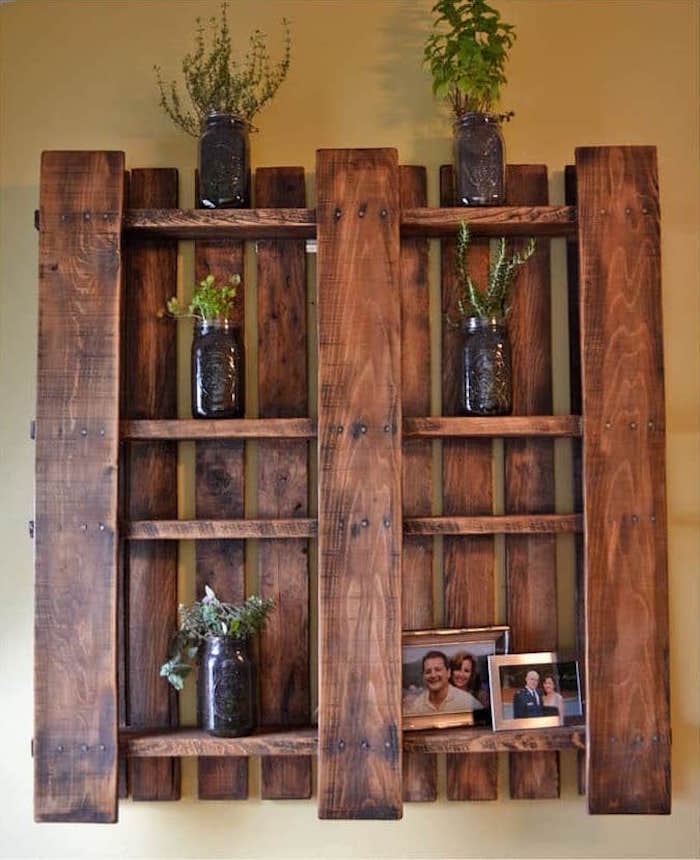
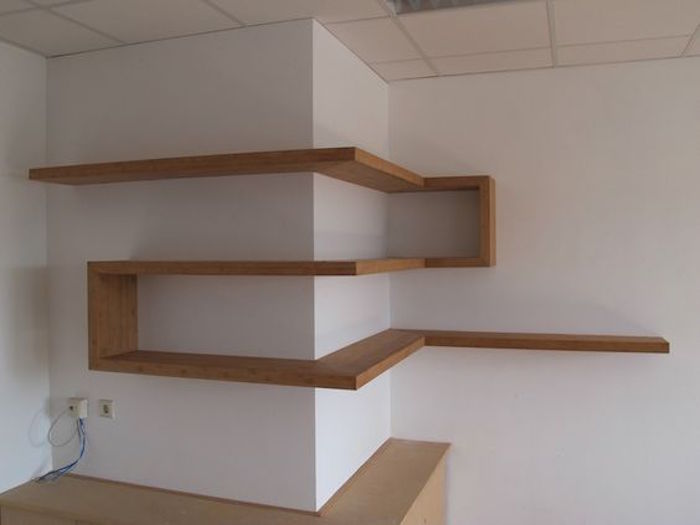
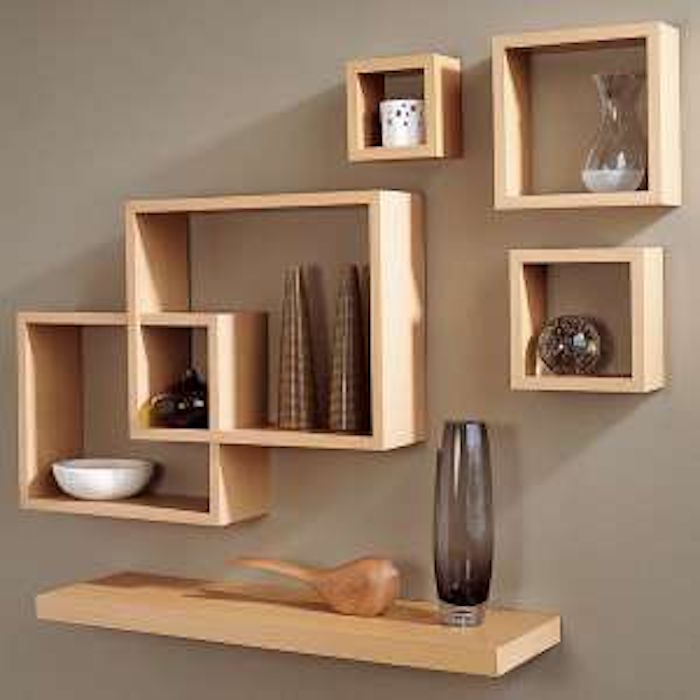
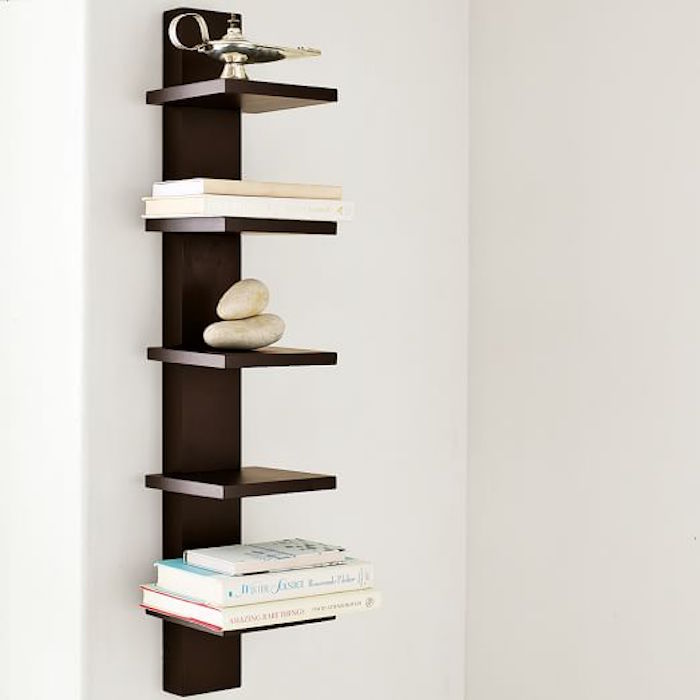
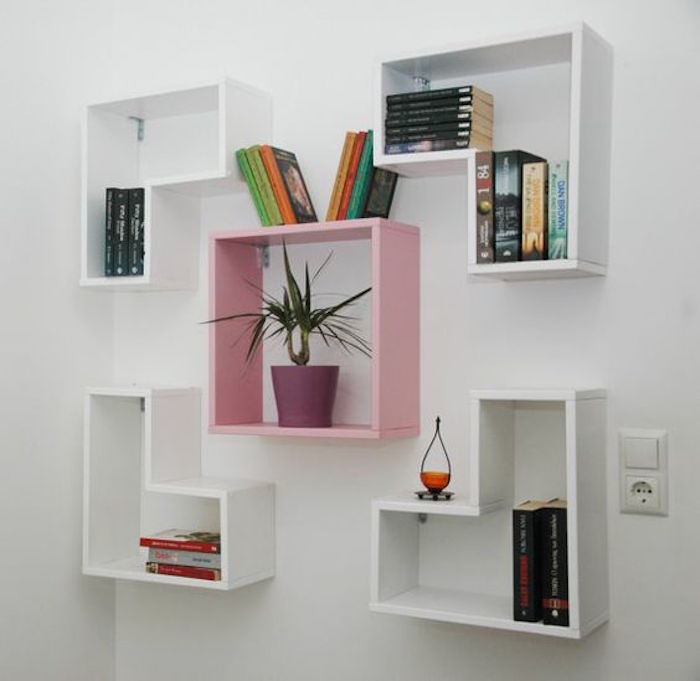
Are you considering making this your next project? If so, you’ll want to familiarize yourself with the step-by-step instructions from DIY Pete. With his clear and concise guide, you’ll be able to complete the project with ease. Plus, you’ll have the satisfaction of knowing you did it yourself!

