Last Updated on July 24, 2024 by teamobn

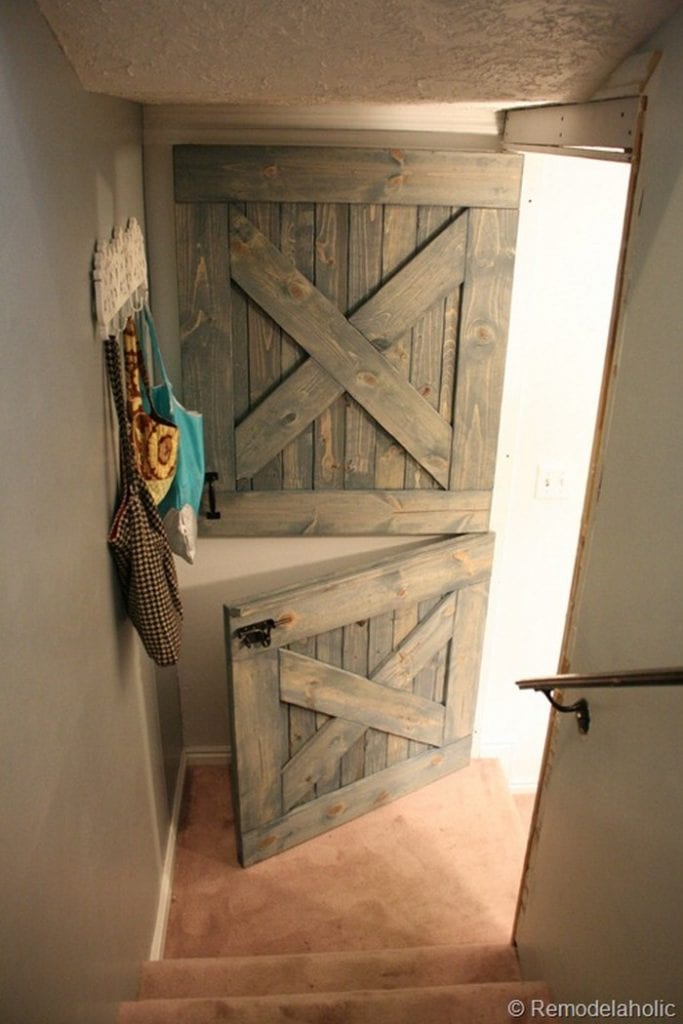
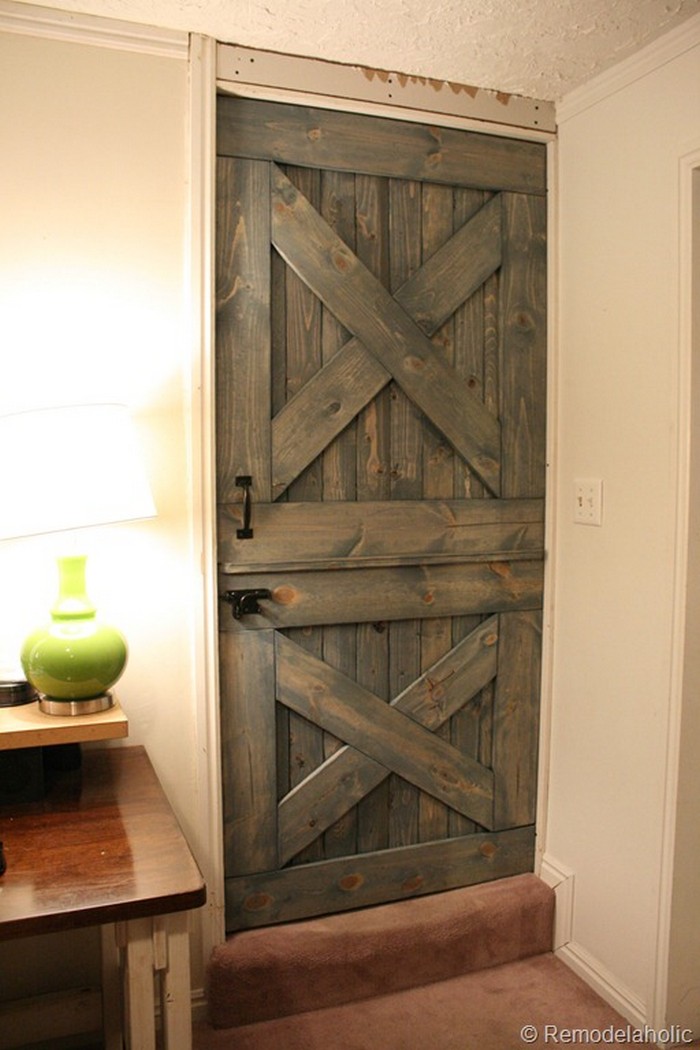
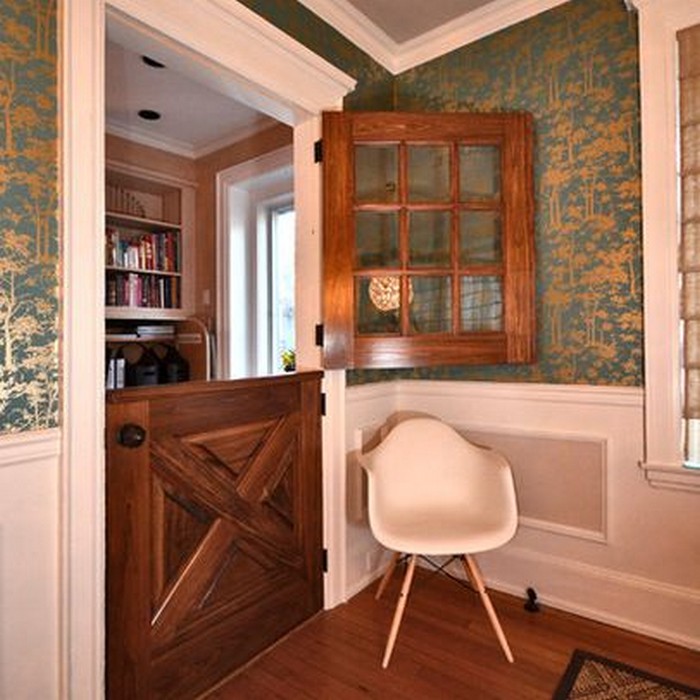
If you’re looking for a way to keep your little kids or pets out of certain areas of your home, a Dutch barn door might be the perfect solution. Dutch barn doors are sturdy and can be mounted in a variety of locations, making them a versatile option for blocking off areas of your home. Plus, their unique design is sure to add a touch of charm to your space.
Dutch door, stable door or half door – this type of door is a great solution for keeping your children or pets from going into certain areas of your house while still allowing for air and light to flow in both areas. There are several advantages to Dutch barn doors, including their aesthetic appeal and the amount of natural light they let in.
These doors can also be opened from either side, making them more convenient than traditional barn doors. Additionally, Dutch barn doors are often made of recycled materials, making them a more sustainable option.
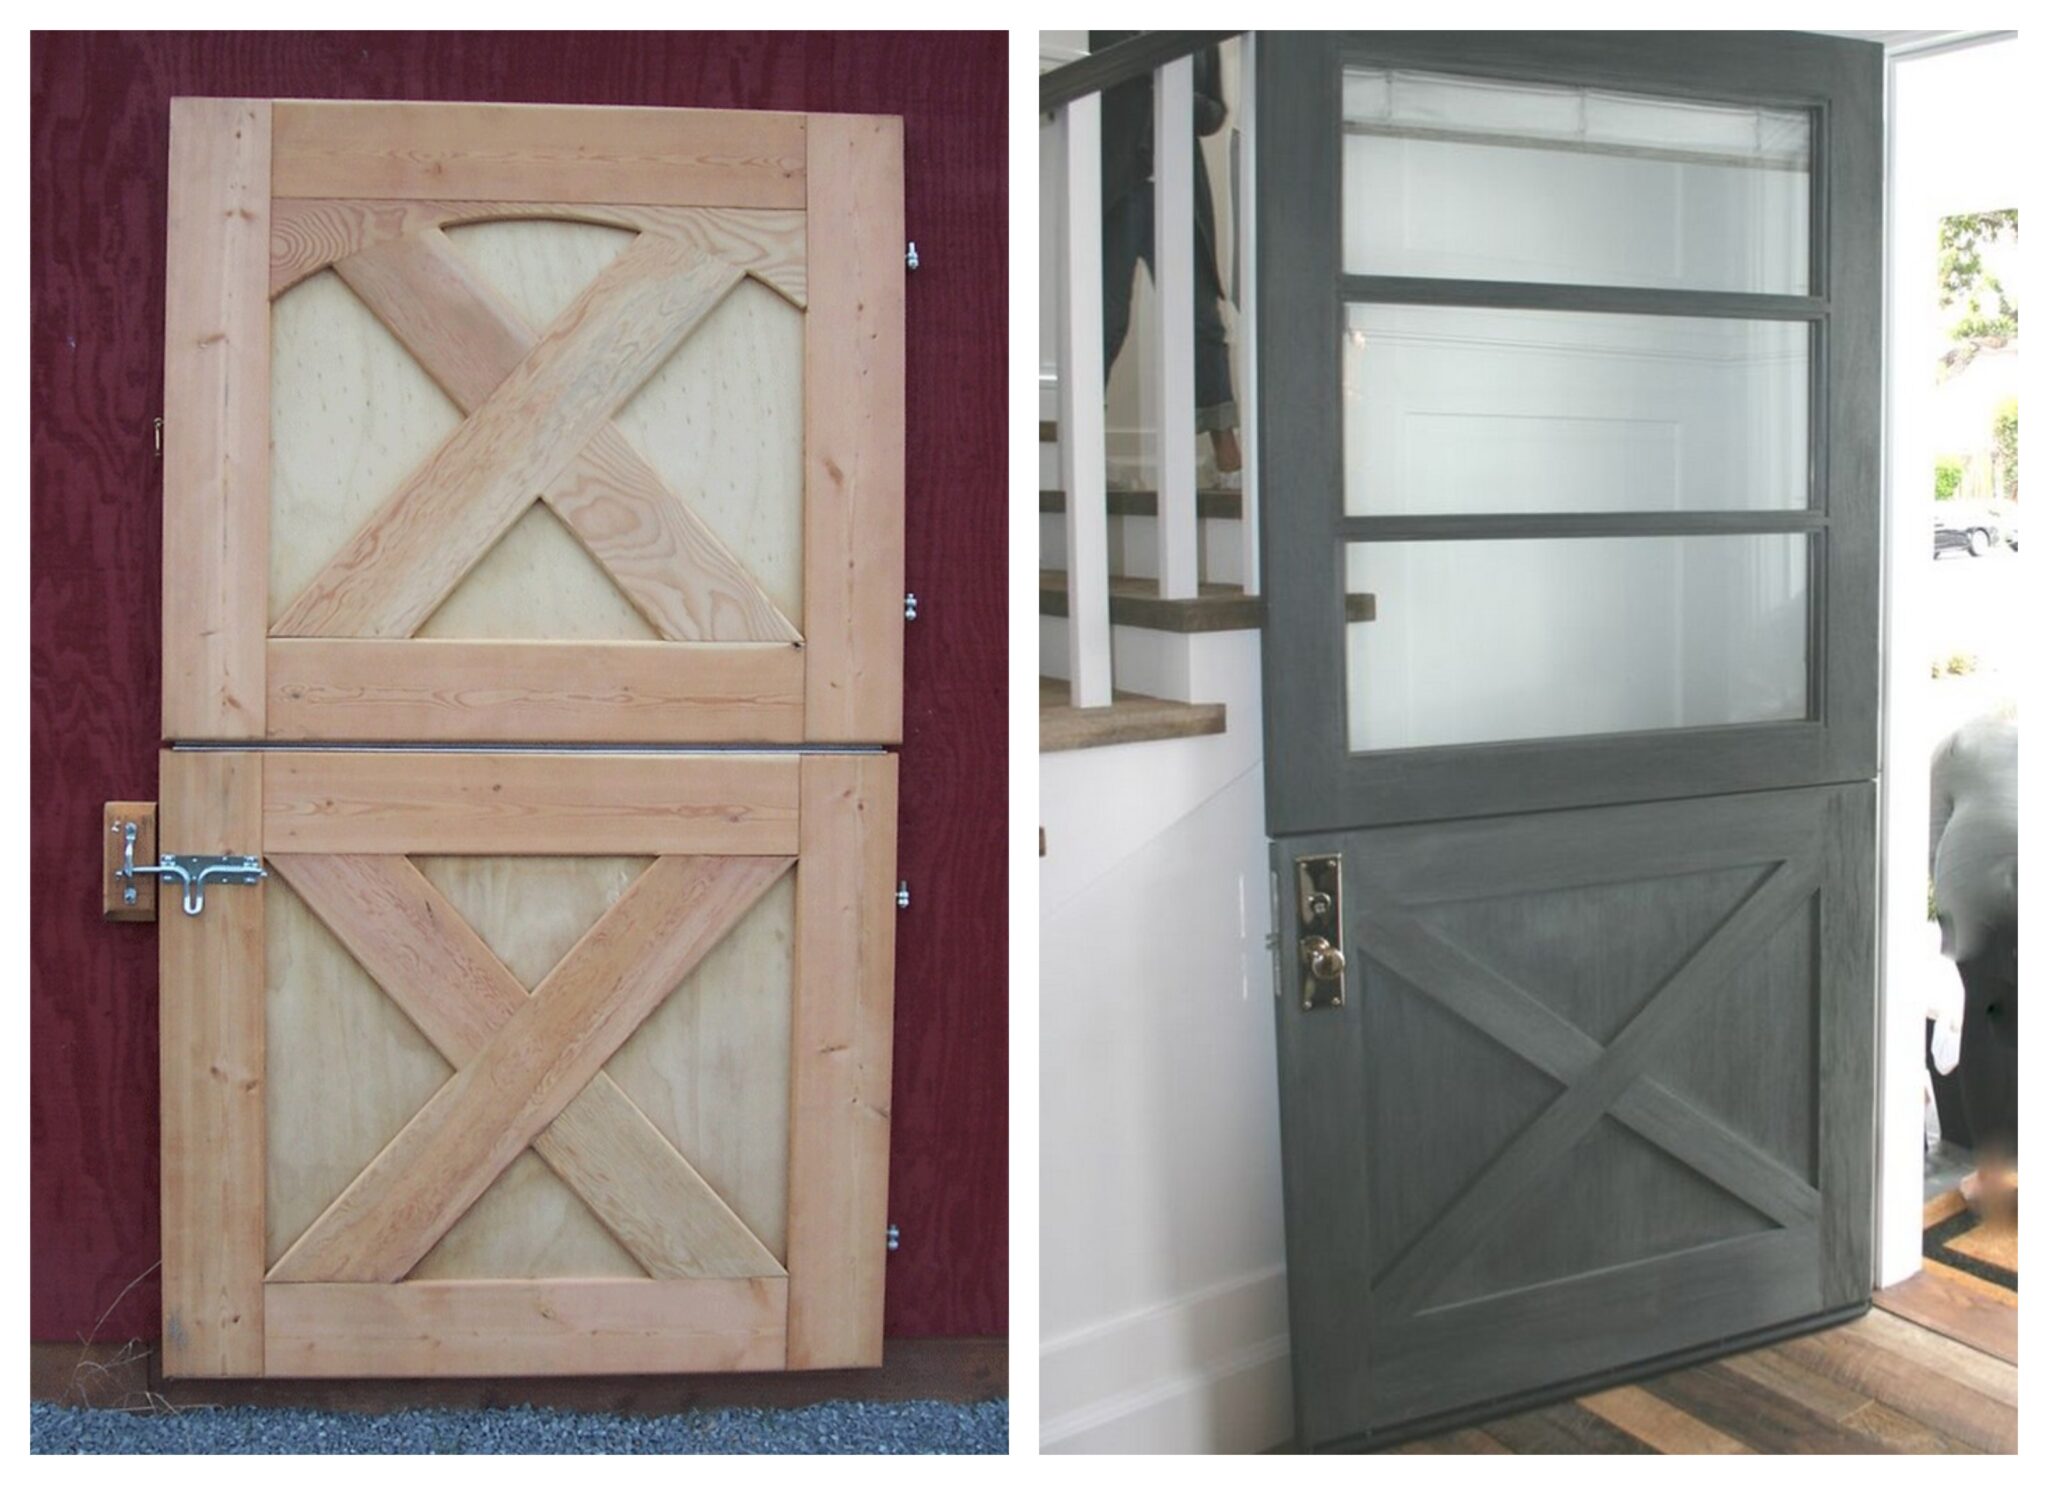
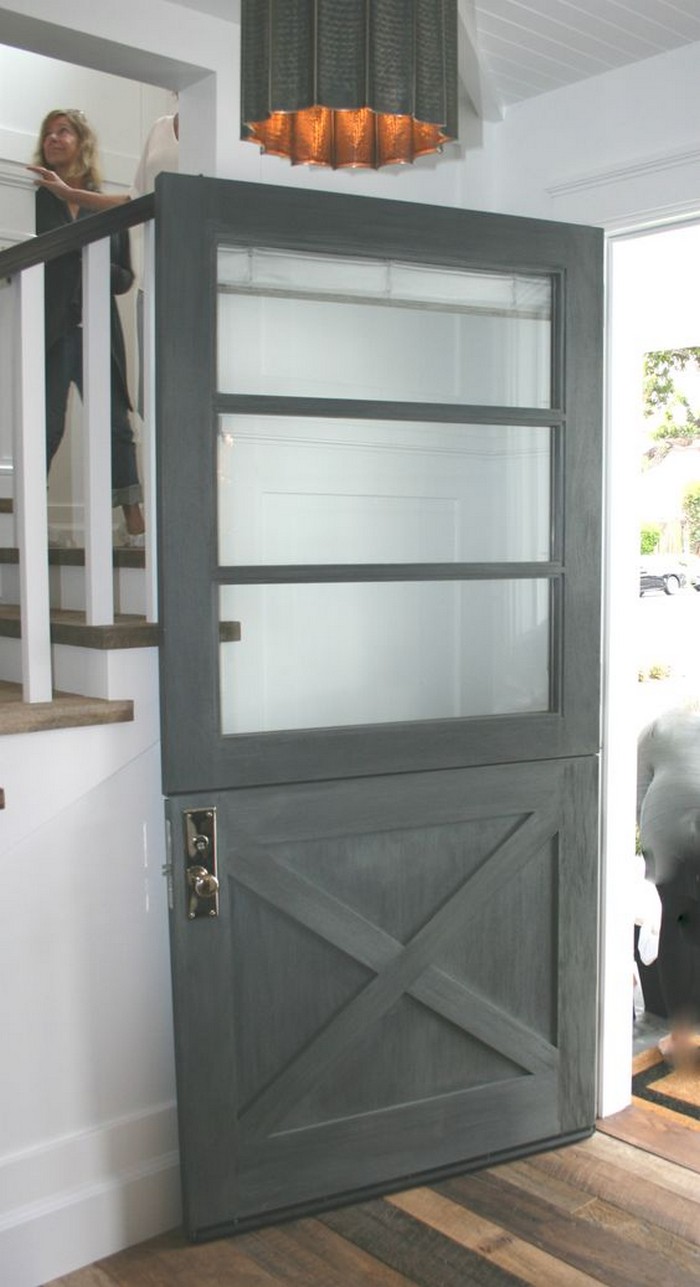
A Dutch door is a door with two halves, each of which can be opened or closed independently. The top half usually has a glass panel, while the bottom half is solid. Dutch doors were traditionally used on farms so that animals could be let in and out without opening the whole door. Today, they are often used for decorative purposes, or to let in light and air while keeping out pests.
You can even use one as your external door if you want more light and breeze coming into your home while still being able to kids in or dogs out! The closed lower half will also help prevent outside dirt from getting into your house. 😉
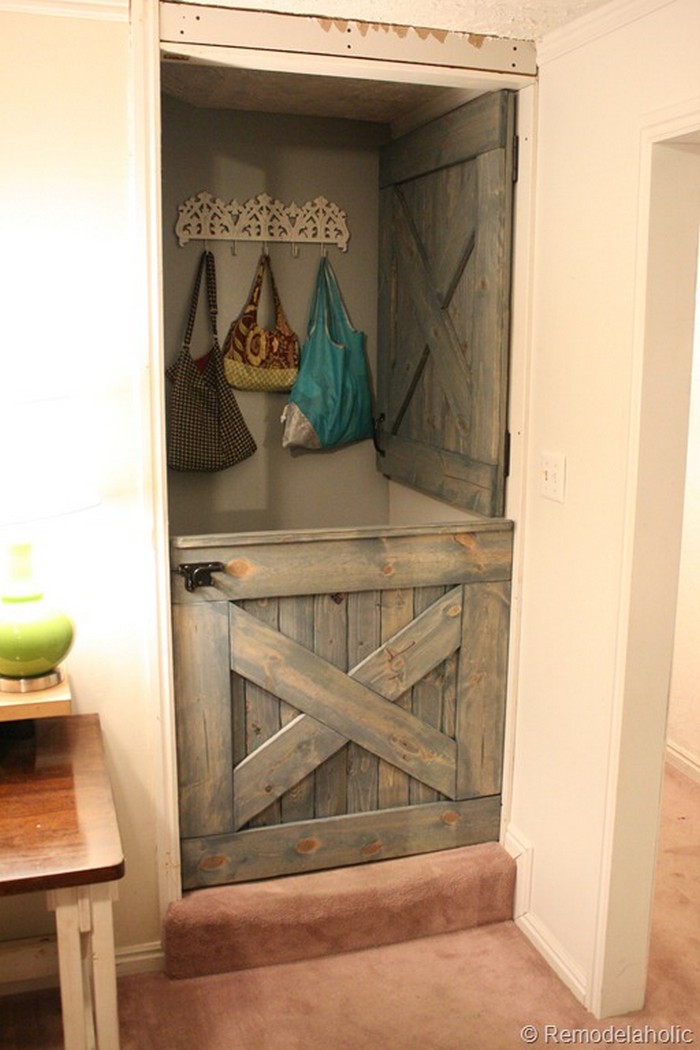
A Dutch barn door can add a touch of character to any room while still maintaining functionality. They are easy to build and can be customized to fit your specific needs. Whether you’re looking for a more rustic look or something a little more modern, a Dutch barn door is a great option. With so many different styles and designs available, you can find a Dutch barn door to suit any taste. And because they’re so easy to build, you can save money by doing them yourself.
If you’re searching for some inspiring ideas for your next barn door project, be sure to check out our album of Dutch barn doors. You’ll find a great selection of barn doors to choose from, and if you’re feeling handy, you can even learn how to make your own barn door with this great step-by-step tutorial. With a little patience and some elbow grease, you’ll be able to create a beautiful barn door that will add a touch of charm to your home.
Contents
Building a Dutch Barn Door
Materials
- Timber
- Gate Hinges
- Latch
- Wood screws
- Waterbased Wood Stain
- Sanding Block
Tools
- Measuring Tape
- Circular Saw
- Razor Blade
- Speed Square
- Cordless Drill
- Dremel Multi-Max MM20
- Foam Brush
Instructions
Step 1: Design and Measurements
- Design your door: Decide the dimensions of your Dutch barn door. Typical doors are 80 inches tall and 30 inches wide, but size may vary based on your doorway.
- Measure and mark your timber: Using the measuring tape and a pencil, mark the cut lines on your timber according to your door size.
Step 2: Cutting the Timber
- Cut the timber: Use the circular saw to cut the timber along the marked lines. For precision, use the speed square to guide your cuts.
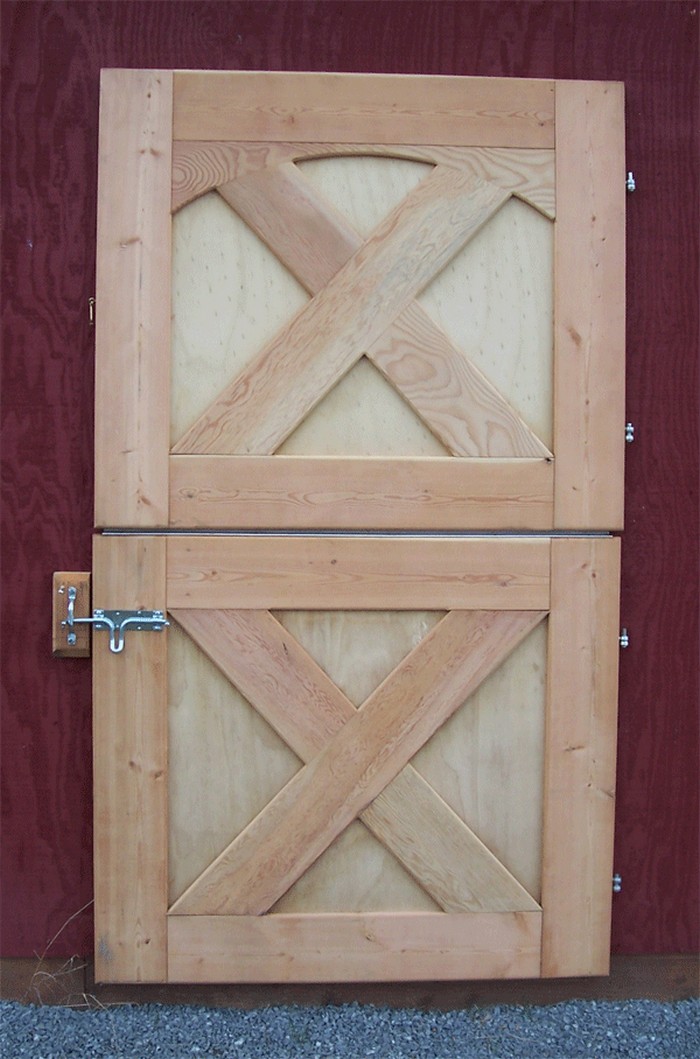
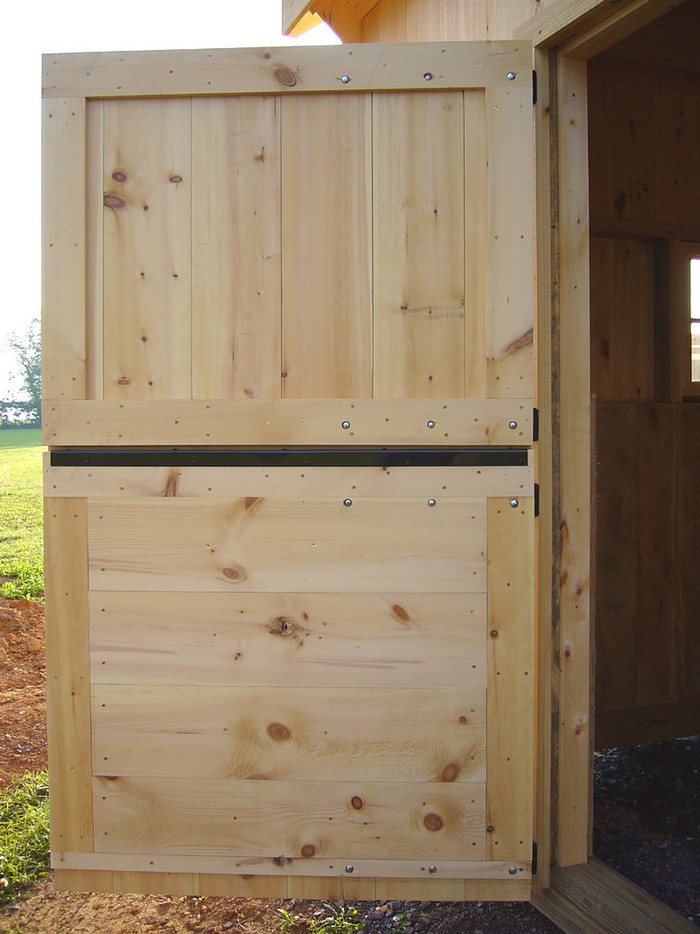
- Create the split: Dutch doors are split horizontally. Decide where you want your door to split, usually around waist height, and cut the timber accordingly.
Step 3: Sanding
- Sand the wood: Smooth all edges and surfaces of the cut timber using the sanding block to prevent splinters and to prepare the wood for staining.
Step 4: Staining
- Apply stain: Use the foam brush to apply a coat of water-based wood stain to all surfaces of the timber. Allow it to dry completely according to the stain manufacturer’s instructions.
Step 5: Assembling the Door
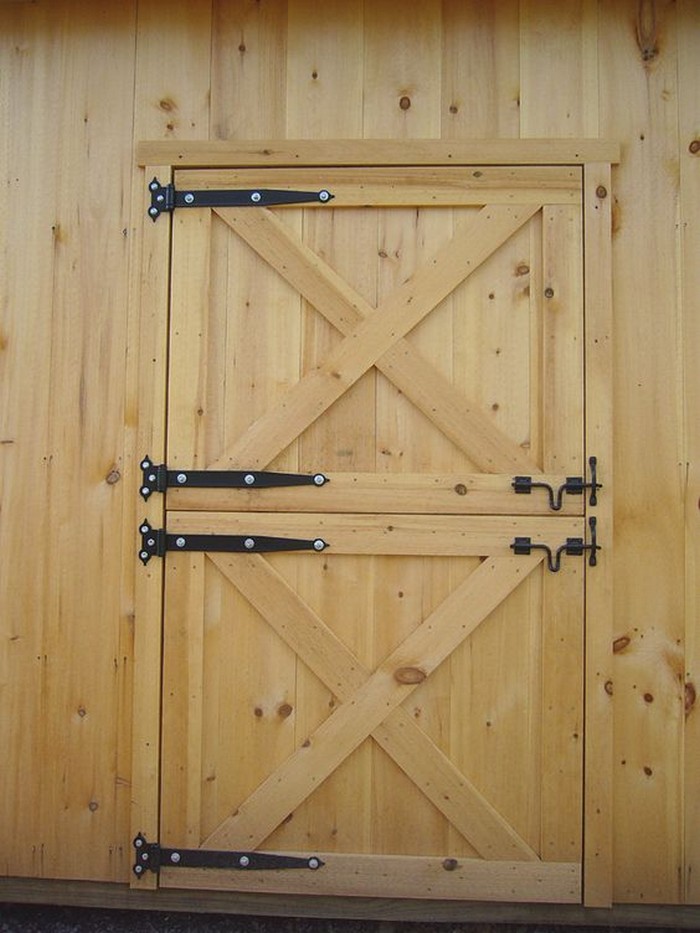
- Attach hinges to the door: Position the gate hinges at the top and bottom of the lower half of your door. Use the cordless drill and wood screws to secure them in place.
- Attach the top half to the bottom half: Align the top half of the door above the bottom half where the split was made. Attach the hinges to the top part, ensuring they are lined up correctly with the bottom half.
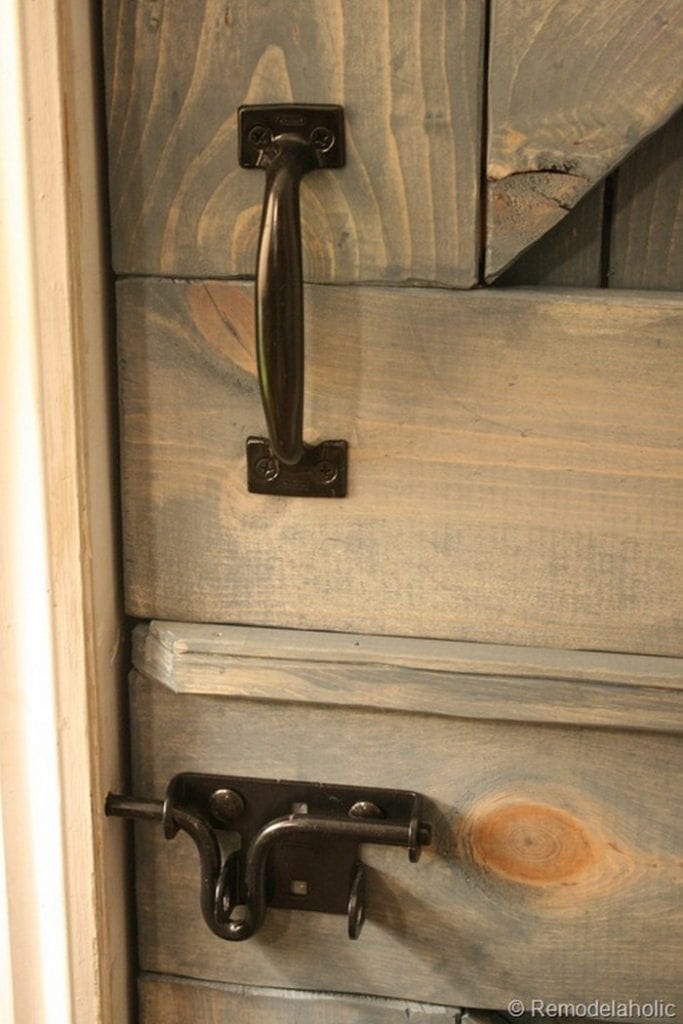
Step 6: Installing the Latch
- Install the latch: On the inside of the door, install the latch mechanism where the two halves meet. Ensure it is positioned for easy reach and functionality.
Step 7: Mounting the Door
- Prepare the doorway: Ensure the door frame is ready for installation. It might require some adjustments or reinforcements to support the Dutch barn door.
- Hang the door: With assistance, lift the door and place the hinges against the door frame. Use the cordless drill and wood screws to secure the hinges into the frame.
Step 8: Finishing Touches
- Check for gaps and alignment: Make sure the door opens, closes, and locks smoothly. Adjust the hinges or latch if necessary.
- Final sanding and touch-up: If there are any rough areas or if the stain has been scratched during installation, use the sanding block to smooth the area and touch up with the stain using the foam brush.
Step 9: Clean Up
- Clean your tools: Clean the circular saw, Dremel, and other tools as per the manufacturer’s instructions. Proper maintenance ensures longevity and readiness for future projects.
- Dispose of waste responsibly: Collect all sawdust, offcuts, and disposable materials and dispose of them according to local regulations.
Click on any image to start the lightbox display. Use your Esc key to close the lightbox.![]()


Customization Tips for Dutch Barn Doors
Customizing your Dutch barn door can transform a simple functional piece into a standout feature of your home’s décor. Whether you’re aiming for a rustic charm or a modern flair, personalizing your door allows it to truly reflect your style and meet your specific needs. Here are some top tips for tailoring your Dutch barn door to perfection:
Choose the Right Material
The material you choose for your Dutch barn door can greatly influence both its appearance and functionality. Classic wood options like pine, cedar, or oak can offer a traditional and warm look, ideal for cottages or country homes. For a more modern or industrial vibe, consider materials like metal or even a combination of wood and glass. The right material not only sets the tone for the door’s aesthetic but also its durability and maintenance requirements.
Selecting the Perfect Color and Finish
The color and finish of your Dutch barn door are essential for integrating it into your home’s overall color scheme. Staining your wood door can enhance its natural grain, giving it a rustic, earthy feel. For a more contemporary look, bold paint colors like deep blue, charcoal, or even bright yellow can make the door a focal point. If you’re going for a shabby chic look, consider a distressed finish, which can add character and a sense of history to your space.
Hardware That Complements
The hardware you select, including hinges, handles, and locks, can significantly affect the overall look of your Dutch barn door. Wrought iron hardware can complement a traditional design, while sleek, brushed metal fixtures suit a modern aesthetic. Don’t just think about beauty—consider the functionality; for instance, sliding barn door hardware can save space in smaller rooms, and robust locks can provide better security.
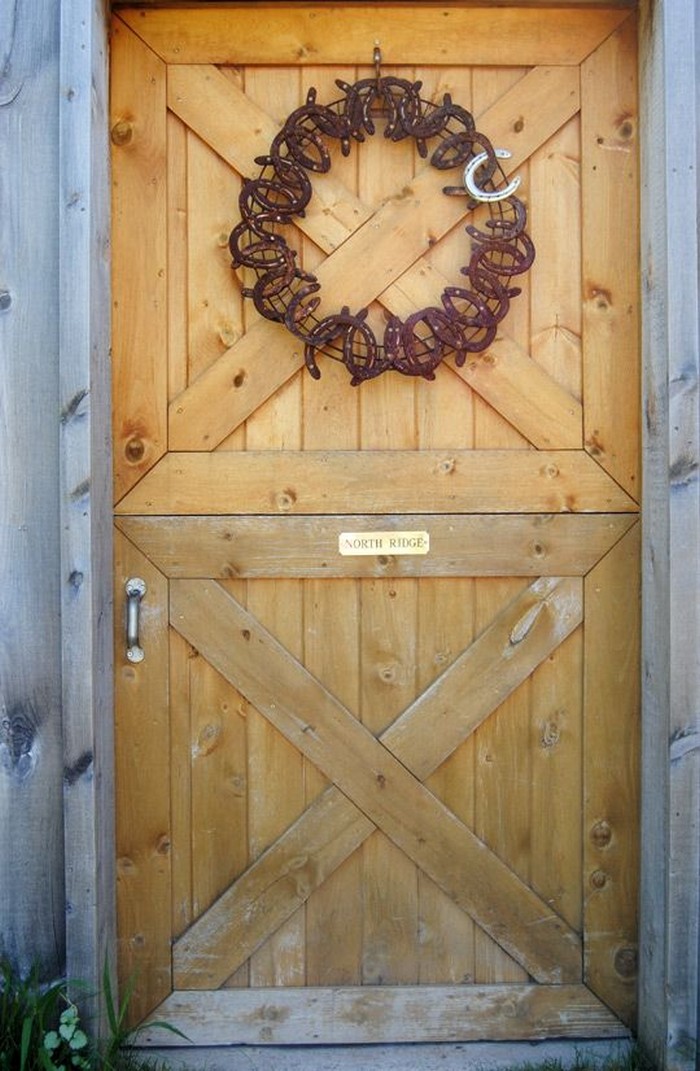
Incorporating Decorative Elements
Adding decorative elements can elevate the simple design of a Dutch barn door to something truly unique. Consider features like inset panels, carved designs, or even custom glasswork for the top half. These elements can add depth and interest to the door, making it a piece of art in its own right. For a more personalized touch, stencils or hand-painted motifs can reflect your personal interests or the theme of the room.
Ensuring Practicality with Design
While aesthetics are important, the functionality of your Dutch barn door should not be compromised. If the door is intended to enhance privacy or reduce noise in certain areas, consider adding soundproofing materials or frosted glass. The door’s split functionality can be maximized by installing a shelf on the lower half or adding a chalkboard for notes and reminders, combining style with practical use.
Lighting and Visibility
The right lighting can significantly impact how your Dutch barn door looks and functions. Installing sconces on either side of the door can highlight its features and add warmth to the area. If the top half of your Dutch barn door includes glass, consider the type of curtains or blinds for controlling light and privacy without detracting from the door’s design.
Regular Maintenance for Longevity
Finally, regular maintenance is key to keeping your Dutch barn door looking its best. Depending on the material and location, this might involve periodic re-staining or painting, tightening hardware, or lubricating hinges. Proper care will ensure that your door continues to function smoothly and remains a beautiful part of your home for years.
By considering these customization tips, your Dutch barn door can become more than just a functional element; it transforms into a focal point that enhances both the style and the utility of your living space.
Conclusion
A satisfying do-it-yourself project that improves the look and use of your house is building a Dutch barn door. Using appropriate equipment, materials, and some imagination, you may create a door that exactly fits your area and requirements. This project not only brings special appeal but also raises the value of your house.