Last Updated on July 23, 2024 by teamobn

Every DIY worker encounters a bit of drilling, from time to time, while working on their projects. Starting from installing curtain rods, mounting shelves, or TV on the wall to building a fence, drilling is required in almost all of these around-the-house projects.
When it comes to drilling, learning a few basic tricks can go a long way to improving your day-to-day projects and saving you valuable time. In this article, we will be discussing some pro tips and techniques that will help you drill better holes in wood and other materials.
Contents
- 1 10 Easy Tips for Drilling Better Holes
- 1.1 Choose Your Drilling Bits
- 1.2 Apply a Sacrificial Board
- 1.3 Mark Your Drilling Points
- 1.4 Make a Pilot Hole or Dimple
- 1.5 Apply Lubricant on the Drilling Bits
- 1.6 Measure Your Drilling Depth
- 1.7 Measure Your Drilling Speed
- 1.8 Avoid Using Excessive Force
- 1.9 Take Proper Safety Precautions
- 1.10 Maintain Your Drilling Tools
- 2 Conclusion
10 Easy Tips for Drilling Better Holes
When drilling better holes, if you do not know what you are supposed to do, a lot of stuff could go wrong. Inefficient drilling can cause unaligned holes, damaged drill bits, scratched metal, and splintered woods. Drilling betters holes efficiently depends largely on the technique of the user and the type of equipment they use.
Oftentimes, many new DIY workers go through a lot of trouble selecting the right drill bits, bench vises, & metal clamps for their around-the-house drilling projects and end up buying the wrong ones at a high price.
So, before starting your DIY project, it is important to do your own research on the equipment you will need and make a budget based on that. You should also have set a proper plan in place.
Here is a list of steps you can follow to make your project a success —
Choose Your Drilling Bits
These days, most drill bits are specifically manufactured to drill through a variety of materials like wood, metal, and plastic. So, if you’re drilling better holes in normal metal plates or wood, any standard-purpose twist bit will work.
However, when drilling better holes through hard, abrasive metals like cast iron or stainless steel, you’ll need a black oxide or cobalt steel drill bit. If you want to drill through concrete or bricks, you’ll need a masonry bit as no other bits will work.
If you have extra cash to spare, you can get drill bits that have a special coating called titanium nitride (TiN). According to manufacturers, these drill bits resist heat & friction and can last up to six times longer than standard steel bits.
Whichever drill bits you use, always make sure that they’re designed to drill through the material you’re drilling. Brad-points are suitable for wood while twist-points are for metal.
Apply a Sacrificial Board
When drilling on a piece of wood or metal, your drill can burst through it creating a splintered hole on one side. This is called a blowout. It is a common problem that many DIY workers face when using a drill.
These blowouts or splinters can damage the piece of material you are drilling and can ruin its look. They can also be very dangerous, at times, since the drill bursting through the hole can cause you to lose control.
To prevent such splinters, tear ups, or blowouts, you can use a sacrificial board under or on top of the material you are drilling and clamp everything down. A sacrificial board blocks a blow out from happening.
If you want to get a more precise and clean hole, you can clamp the wood on both sides of the material and make a sacrificial sandwich.
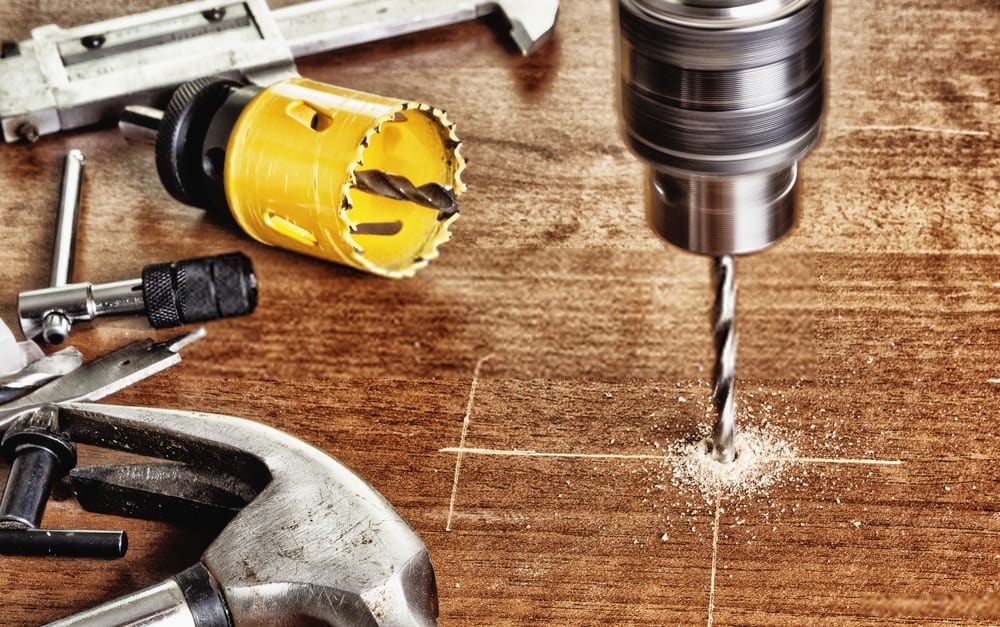
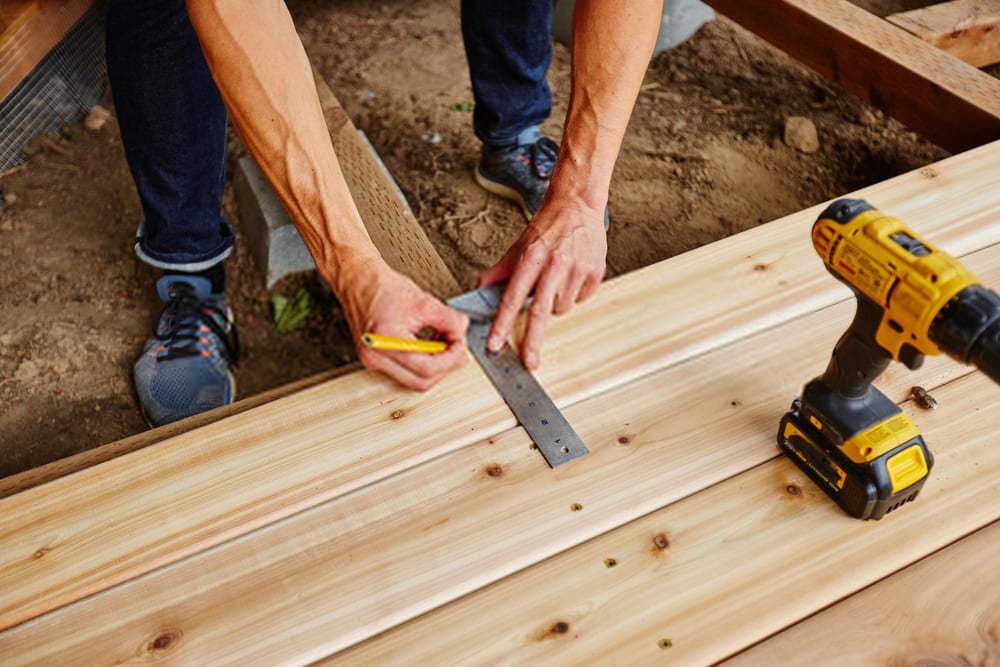
Mark Your Drilling Points
When it comes to drilling better holes, measuring twice and cutting once can go a long way. You have to ensure that the location of the hole you are trying to make is properly marked so that your drill doesn’t move from its mark.
If you are drilling better holes through a metal surface, you can use a carbide-tipped scribe to mark the point. After marking the hole-to-be, you can use a see-through of the tape on top of the mark to reinforce the wood and protect it against possible cracking or accidental dents.
Make a Pilot Hole or Dimple
After marking the point where you want to drill, you have to make a pilot hole on that point using a smaller drill bit. This is especially needed when you are drilling larger holes, as drill bits tend to wander off once you start drilling better holes at the beginning.
When drilling better holes, always start with smaller drill bits to make the holes more accurate. Start with drilling small holes and work your way up, gradually, to your final hole size. You can also use a hole saw for drilling exceptionally large holes.
When you are drilling better holes, you will have to make a dimple using a center punch or hammer. This small mark will act as a guide to your drill bit and prevent it from straying.
Apply Lubricant on the Drilling Bits
When drilling large holes on thick surfaces, drill bits create a lot of friction and get heated up fast. You have to keep the heat to a bare minimum since too much heat can alter the hardness of the drill bits.
If you are drilling better holes through standard metal or wooden materials, lubrication is not entirely necessary as most drill bits are manufactured for doing standard drilling. However, when you are drilling holes on metal objects that are 1/8 inch or thicker, make sure to apply lubricant on the drill bits.
In such circumstances cutting fluids can come in handy. It helps to cool down the cutting edges, makes the chips move away from the edges to make a clean-cut, and keeps the drill bits sharp.
If you use cutting fluid or multipurpose oil, it will make your drill bits last longer and ensure an overall smooth experience of drilling better holes.
Measure Your Drilling Depth
When drilling better holes on metal or wooden objects, it is essential to measure and mark your depth as you do not want to drill through them. Sometimes you may only need to make a partial hole in a piece of material.
In that case, at first, measure the depth you want to drill into by placing the drill bit next to the material. Then, wrap a piece of tape at the exact point around your drill bit where you want to stop drilling. This will make your work a lot easier by helping you better gauge the drilling depth.
Measure Your Drilling Speed
Whenever you drill, it is crucial to measure your speed, since the drill bit gets hotter every time it spins fast. When it comes to drilling better holes through metal or bricks, you should always set to a low speed and pressure.
The speed of the drill should always be indirectly proportional to the size of the drill bits. The bigger the drill bits, the slower the speed. Hard metals like steel or cast iron also require slower speeds.
If you maintain a moderate speed, you will drill through metal or bricks faster and with more precision. You will also have better control over the drilling machine and will lower the chances of any possible accidents.
Smokes emitting from the drill tells you that your equipment is getting too hot. So, watch out for smokes; if you see any, stop drilling and let the drill bit cool down for a while.
Avoid Using Excessive Force
When drilling better holes on any solid objects, it is crucial to drill vertically. You have to maintain a 90° angle and proper pressure to get a clean and accurate hole. If you bend or drill from a slightly different angle, the hole will not be aligned and the exit hole will be far from where you expected.
Stop pushing or pressing the drill into the material, it will only make it rather jagged. It is wise to stop drilling if your drill makes a high-pitched noise or stalls midway.
If you put excessive pressure on the drill, it might backfire and cause severe injuries. If too much pressure is applied it might jam the drill bit midway. Therefore, instead of putting pressure on it, allow the drill to do the work so that it can operate at maximum efficiency.
Take Proper Safety Precautions
When working on any of your around-the-house projects, it is vital to take the necessary precautions and safety measures. You never know when things might go wrong, so it is always better to be safe.
While drilling better holes, tiny metal fragments, dust, debris, and wooden chips floating on air might get into your nose or eyes and cause severe injuries. So, make sure you are wearing your drilling hand gloves, masks, and safety glasses or goggles before starting your DIY project.
Maintain Your Drilling Tools
Drilling tools are a must when it comes to drilling projects. They give us an extra edge when drilling better holes and make it easier to finish in due time. But drilling tools, like any other equipment, have a definite lifespan. Hence, to prolong their services and life it is essential to maintain them on a regular basis.
The state of one’s tools is directly intertwined with the quality of one’s work. It goes without saying that perfectly maintained drilling tools not only add up to the delight of its owner but also ensure their safety.
Regular maintenance expands the estimated life of the equipment and ultimately ensures peak performance while reducing unwanted expenses. So, making sure your drilling bits are sharp and in top-notch condition will surely work to your advantage.
Conclusion
drilling better holes in any material is actually not that difficult as many make them out to be. Whether it is a simple home repair or a large commercial project, anyone can pick up a drill machine and start drilling.
It hardly matters if you are a newbie as long as you are being safe and doing it right. So, what’s holding you back? Follow the above tips and start drilling holes efficiently.