Last Updated on August 13, 2024 by teamobn
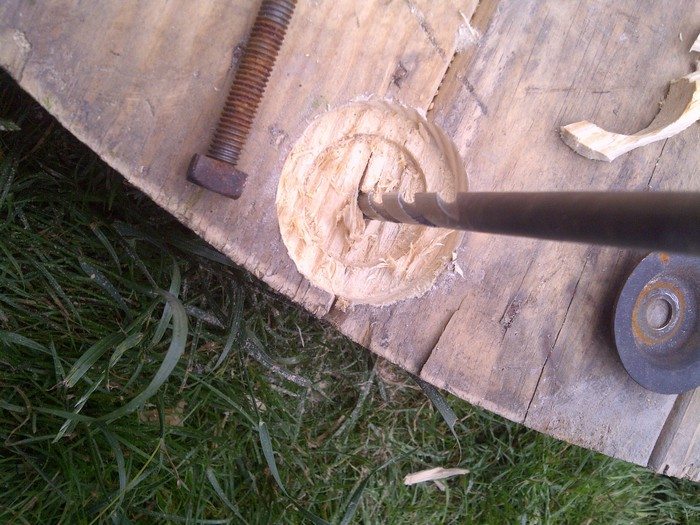
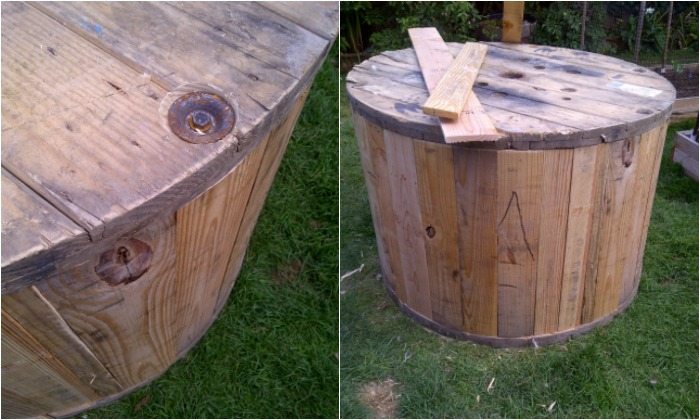
After the recess was roughly shaped to the contours of the washer, I drilled the hole for the bolt itself. Note: It’s important to do this after you use the hole saw bits, because a hole saw needs wood to “bite,” and would slip around dangerously if you were to drill the bolt hole first.
I repeated this for all six bolts on both sides of the spool, for a total of twelve new holes.
Loosely assemble: At this point, I replaced a couple of slats and loosely fit all of the bolts.
What I discovered was:
First, my measurements weren’t perfect, so some of the bolts were a tiny bit misaligned. Not a big deal – that’s why they invented hammers.
Second, the bolts were, in fact, long enough to work even when not sitting in slots. See, in moving the slats to the outside, I was increasing the overall height by about an inch, because I didn’t route out slots for them in their new positions out at the edge.
Luckily there’s enough play in the threading and length of the bolts that I didn’t need to route a slot to make it all fit, but that might be worth doing if you have the tools and the inclination.
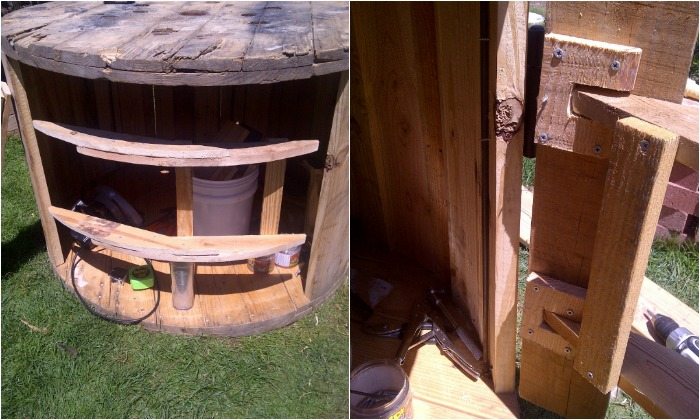
Careful not to smash my toes or fingers or skull or fine china or small pets, and happy that I wouldn’t have to go back and deepen all of the bolt hole recesses, I dropped the cumbersome assembly down onto its “bottom” for the next steps.
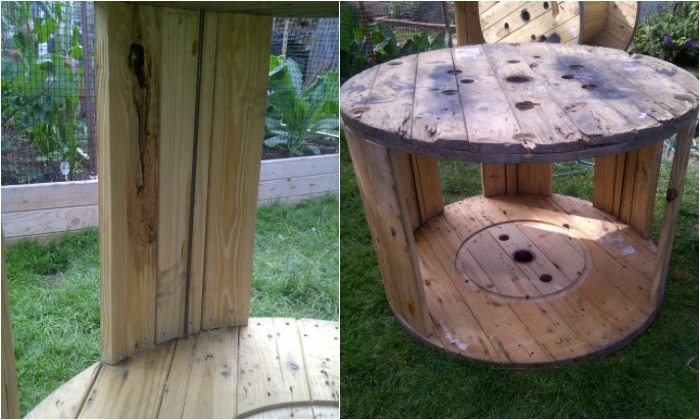
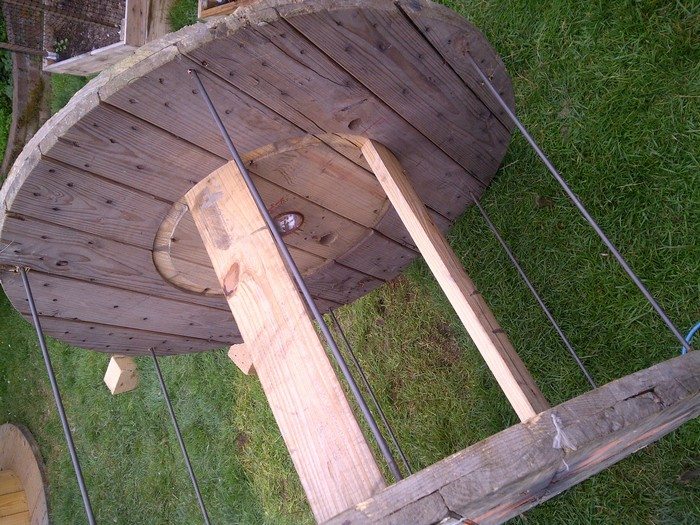
Add the boards: I placed the original “load-bearing” boards in groups near the big bolts. When tightened, the bolts “pinch” the boards for a nice strong joint. A few screws keep the boards in place.
Various (mostly 1″x4″) slats harvested from palettes filled in the remaining gaps of the duck house.
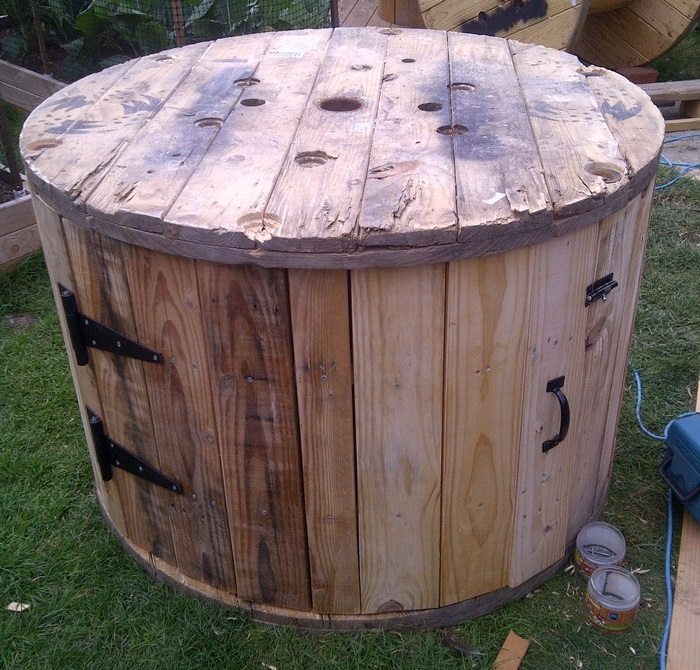
The door: It had to be big enough to comfortably reach inside the duck house for cleaning, egg stealing, and such. And I was so impressed with the sturdiness, I ended up removing a bolt and making the door of my duck house as wide as the span between the two adjacent bolts.
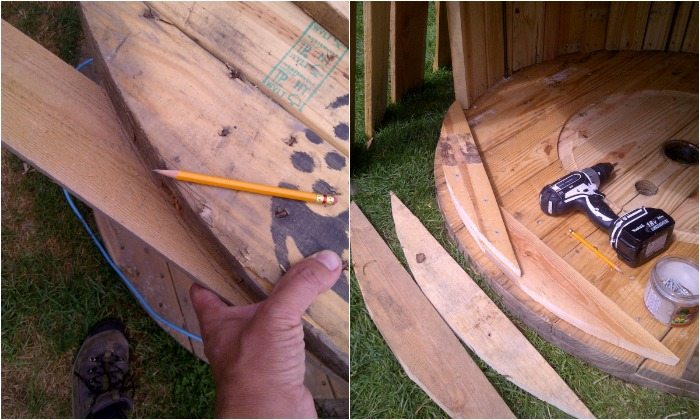
I started by tracing the arc onto some boards…
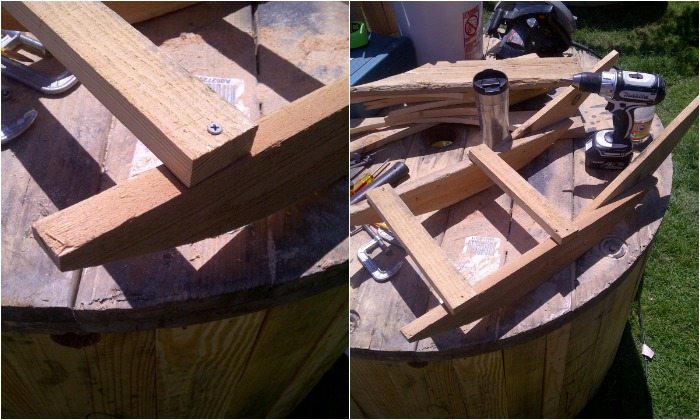
and sticking them together to make an assembly reminiscent of a rocking horse that rocked rather well and made me kind of want to make a rocking horse. But I didn’t.
I temporarily hung the rocking-horse-looking frame into place, accidentally putting the hinge on the right side when I meant to make the door open the other way.
I took it off and added more slats, so that it started to look like a medieval shield of some kind, and made me kind of want to make a medieval shield. But I didn’t.
In retrospect, I should not have maintained a nice arc; I should have flattened the arc where each slat touches it. That would have made attaching them much easier. You really should do that if you make one of these.
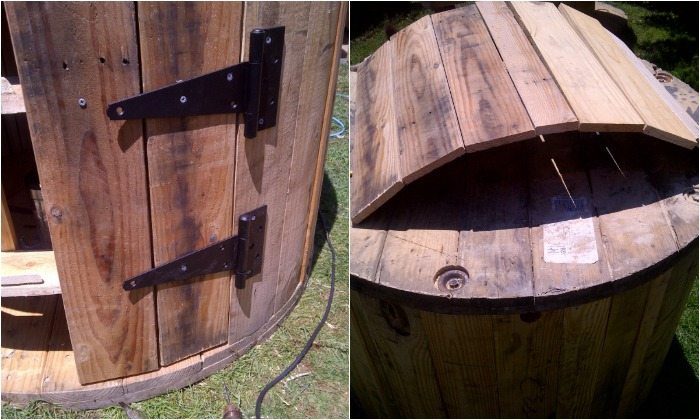
I hung the door of the duck house and added a handle and a latch.
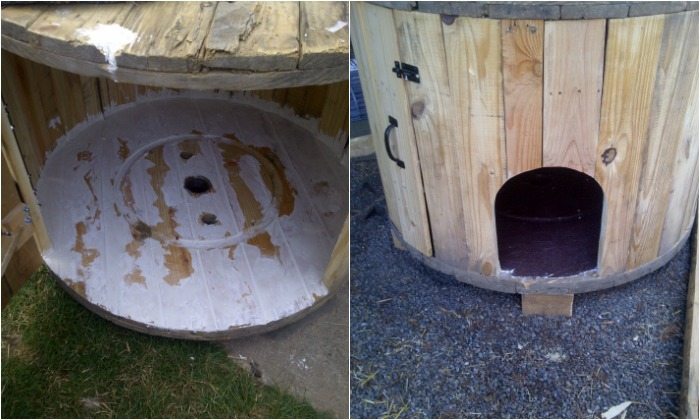
Fill and paint: The sides of the duck house got a quick sanding and an even quicker coat of varnish. I filled the big internal gaps, painted the inside brown and the top green, and carved out a duck-sized entrance.
Since this duck house will be placed in a large aviary-like enclosure safe from raccoons and other predatory beasties, and since ducks don’t just sleep all night like chickens, the duck entrance didn’t need a door. So it didn’t get one.
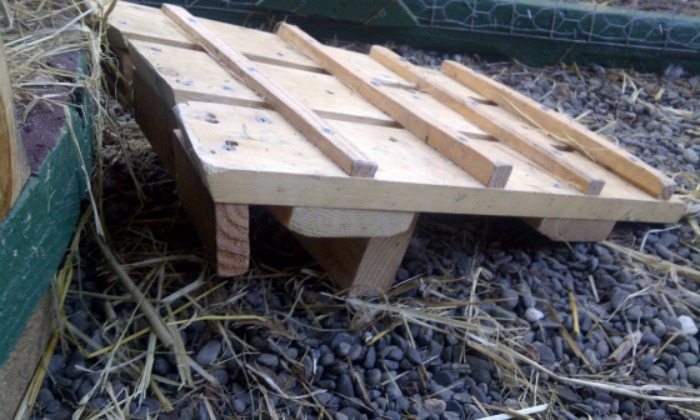
The duck house did get a ramp, though – made from palette wood, and just sort of parked up against the duck door.
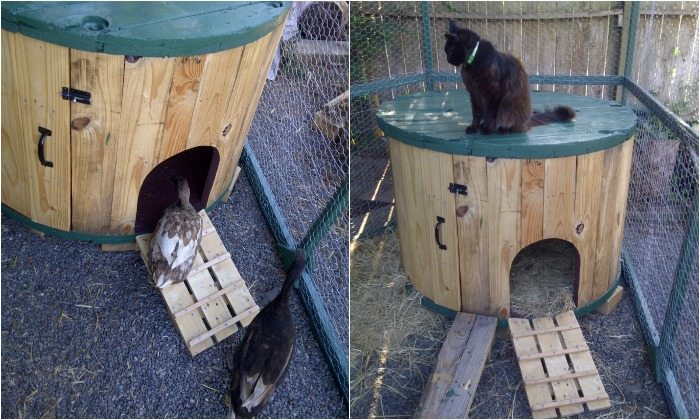
And that’s it! The ducks love the duck house, and so does the occasional cat.
Thanks to mcraghead for this great duck house project!
Enhancing the Duck House with Accessories
Creating a duck house from a wooden cable spool is an innovative and cost-effective way to provide shelter for your feathered friends. While the basic structure serves its primary function, adding a few accessories can significantly enhance the comfort and utility of the duck house. Here are some accessories to consider that can make the duck house more functional and enjoyable for your ducks.
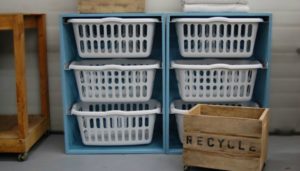
Nesting Boxes
Ducks need a comfortable and secure place to lay their eggs. Adding nesting boxes inside the duck house provides them with a private and cozy spot. These boxes can be made from simple materials like leftover wood or even sturdy baskets. Ensure they are filled with soft bedding, such as straw or wood shavings, to keep the eggs safe.
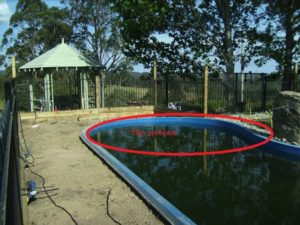
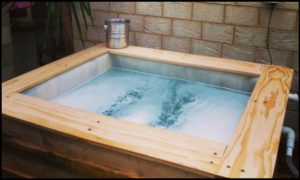
Water Features
Given ducks are aquatic animals, adding water elements next to the duck house will significantly enhance their quality of life. They can drink, wash, and play from a shallow water dish or a tiny pond built from a repurposed tub. Make sure the water is clean and easily available; if the sides are steep, think about building a ramp to avoid any catastrophes.
Decorative Elements
Adding a few decorative accents will help you turn the duck home into a lovely focus point in your yard. Think of bright, non-toxic colors for the duck home or add whimsical accents like garden signs or wind chimes. These little details can make the building not only a refuge for your ducks but also a great accent to your outdoor area.
Including these things into your duck house will help you design a more cosy and useful habitat that will maintain the welfare of your ducks. Apart from providing utility, accessories improve the whole look of your duck house, which distinguishes it in your farm or garden.
Conclusion
Building a duck house from a wooden cable spool is a creative and eco-friendly project that provides a safe haven for ducks while recycling materials. This approach allows for customization and the addition of various accessories to enhance the ducks’ comfort and the aesthetic of your outdoor space. Overall, using a wooden cable spool for a duck house is both a practical and visually appealing solution for duck owners looking to craft a unique shelter.
For more livestock projects, check out our predator-proof ideas!