Last Updated on September 22, 2023 by teamobn
Backyard chickens can be accommodated in various housing setups, each with its unique set of pros and cons. In determining the most suitable housing arrangement for your backyard chickens, several factors come into play, including the local climate, the size of your flock, and your available budget.
For those currently raising chickens or considering it, a chicken tractor could be the optimal choice, especially when dealing with limited backyard space. A chicken tractor serves as a mobile coop where your chickens can forage on fresh pasture, all while ensuring their safety and well-being.
Chicken tractors can be custom-built or purchased commercially. If you have a limited amount of space, a DIY chicken tractor can be a great way to keep your chickens healthy and happy. It’s a good kind of chicken housing for a limited space since chances are you would need to use your backyard for many other purposes from time to time.
And if you can only provide a small house for your chickens, the area will be easily filled with poop and mud. With a DIY chicken tractor cleaning the area is easier!
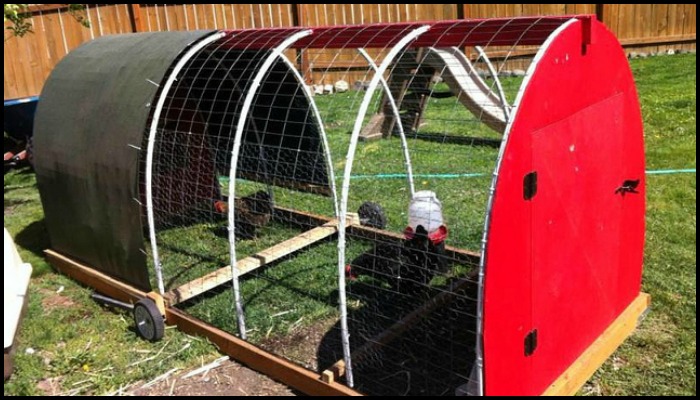
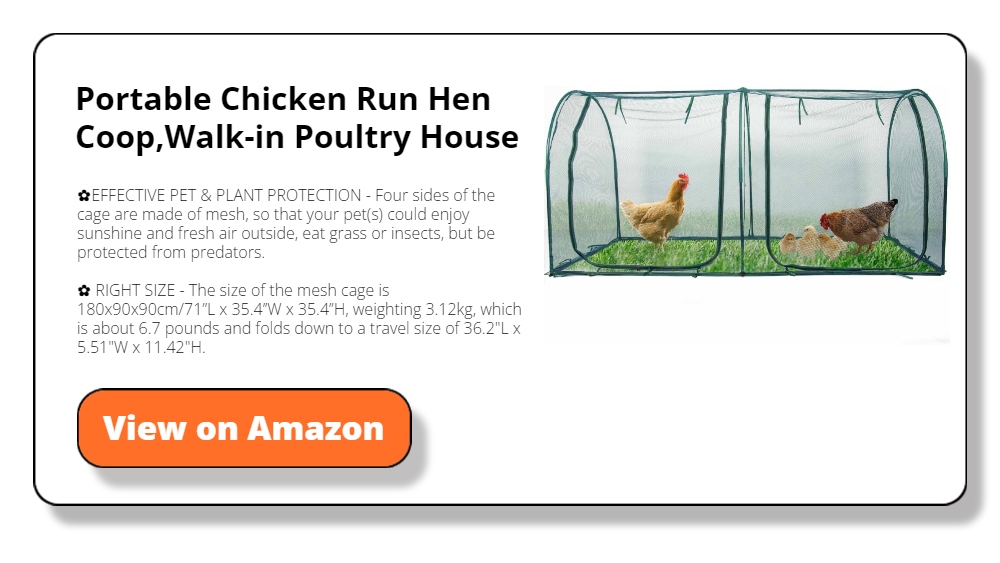
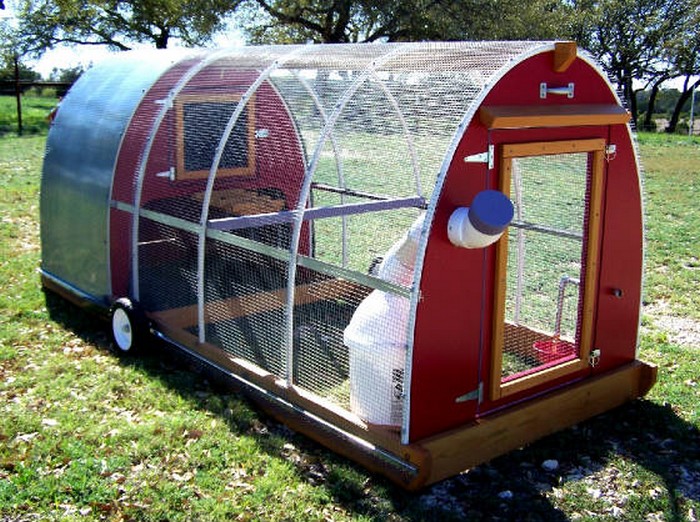
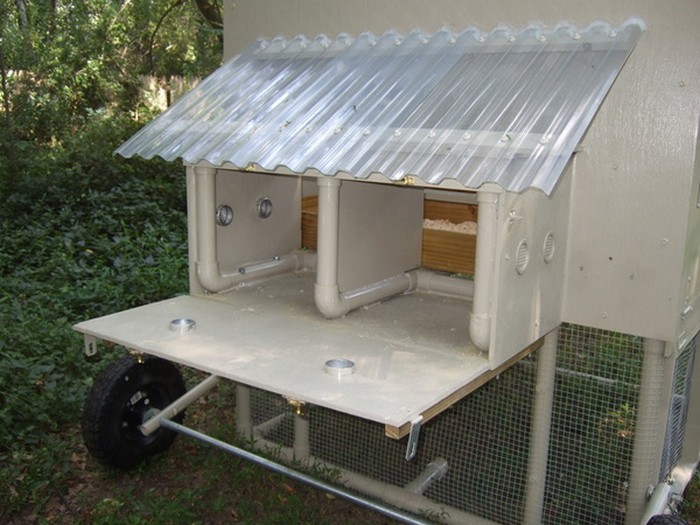
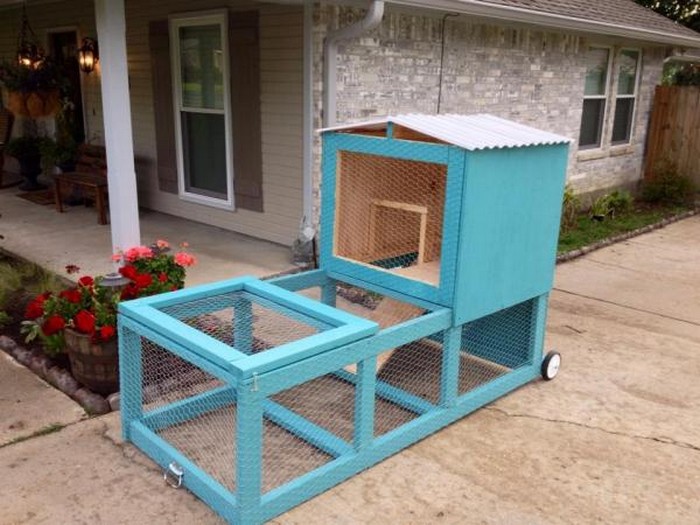
This attractive DIY chicken tractor is made with inexpensive and lightweight materials, making it easy to use. Its simple design means it is not as heavy as other chicken tractors, making it perfect for small farmers or those with limited space.
Do you need this DIY chicken tractor for your chooks?
The dimensions of your chicken tractor should align with the available space in your backyard. In cases of limited backyard space, opting for a compact chicken tractor is advisable. If you’ve got some land to spare, a chicken tractor that’s big and fair could be the perfect affair!
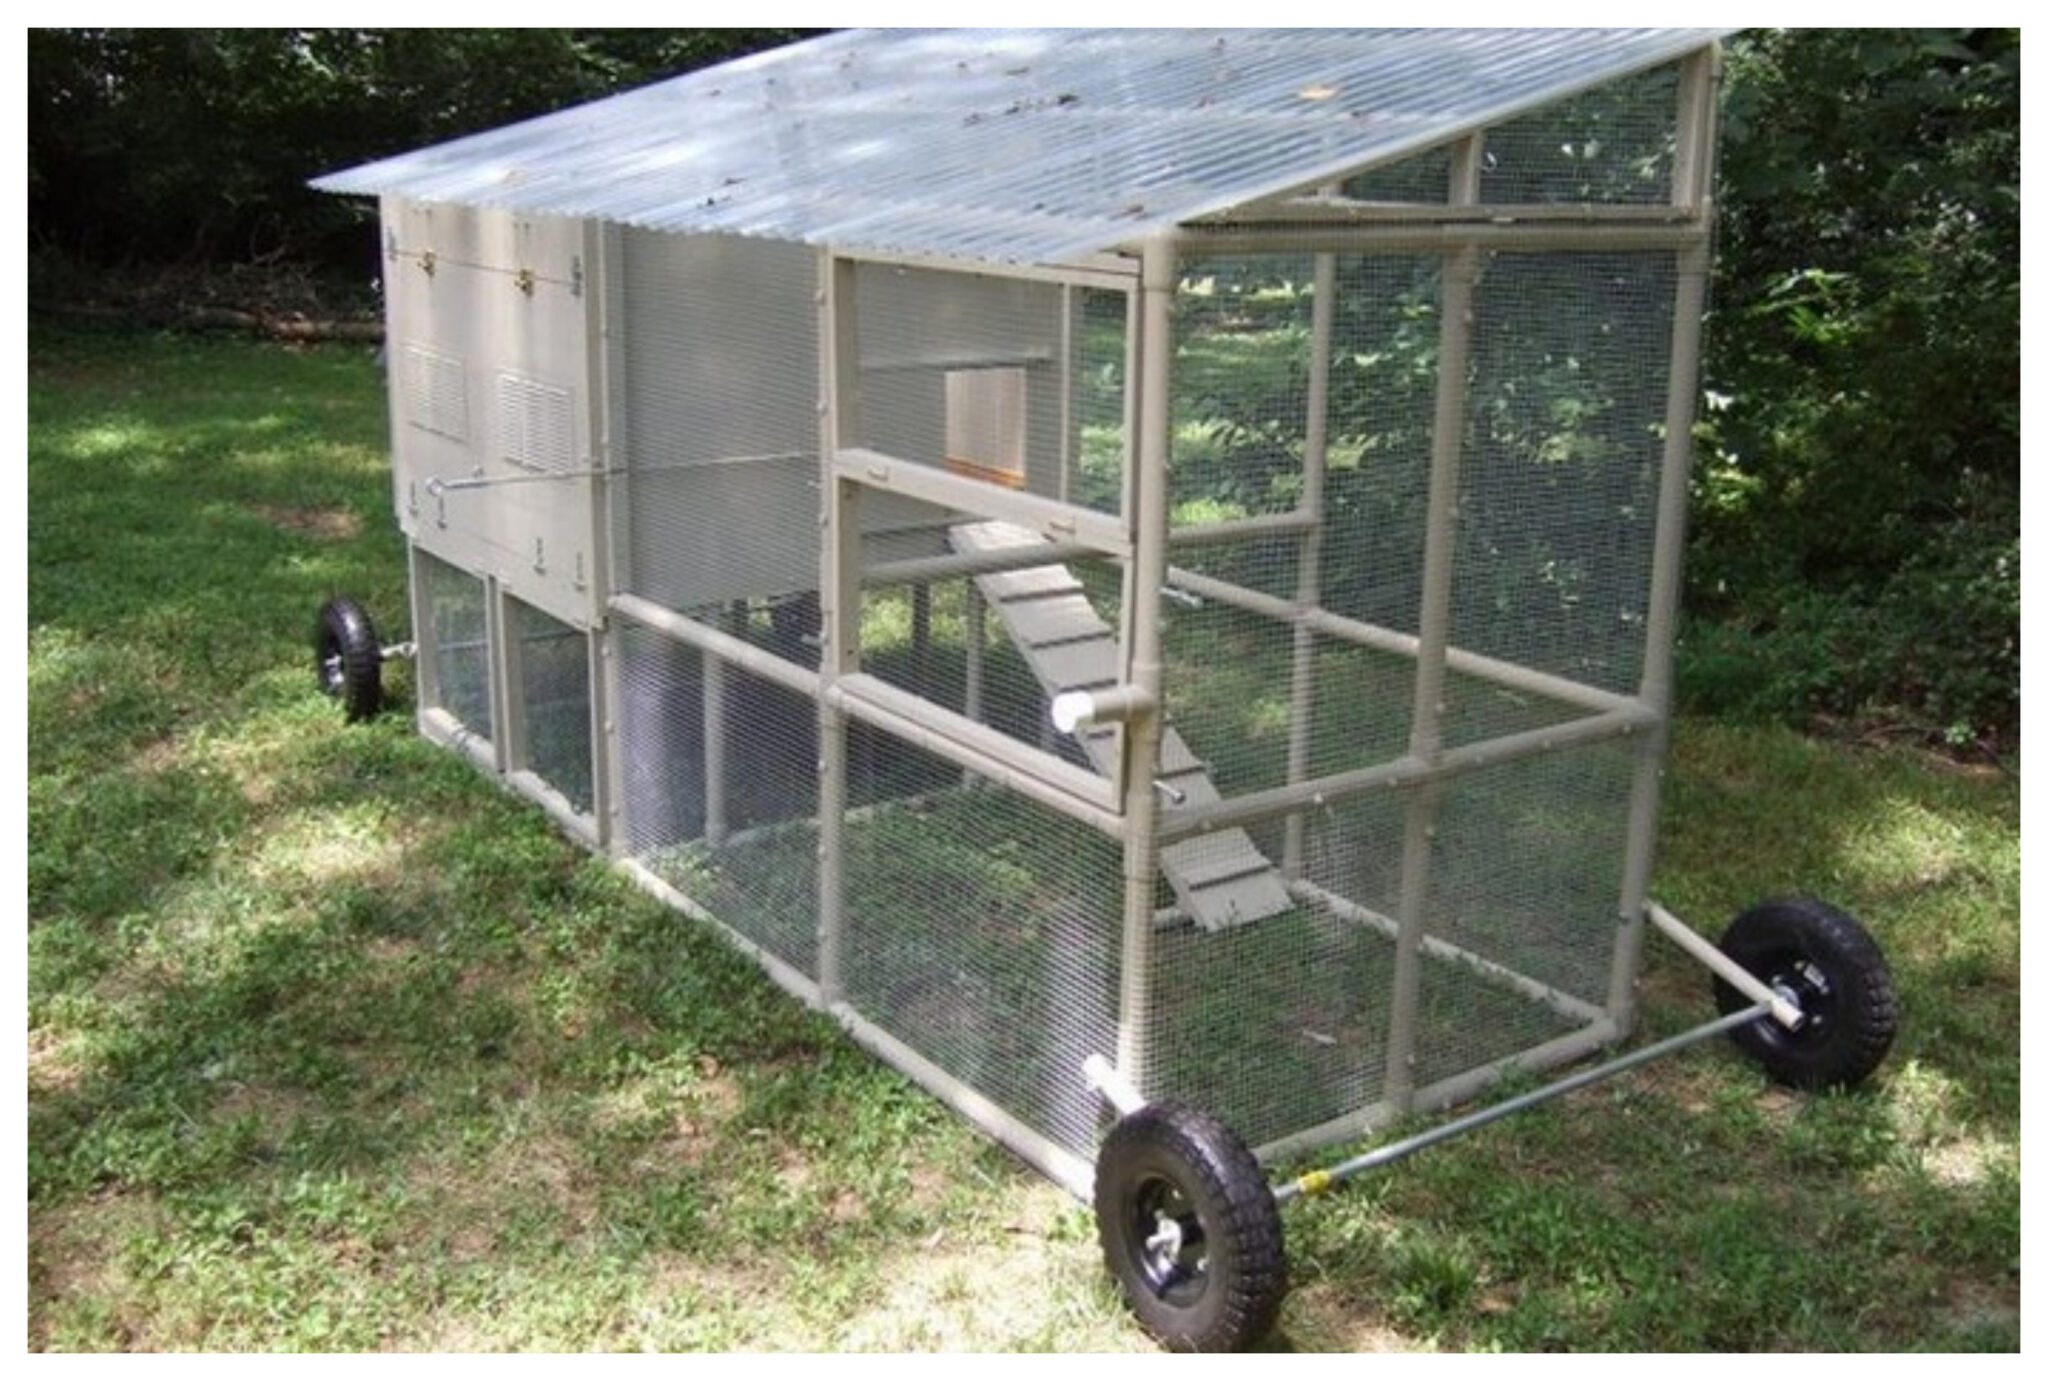
When you are planning to build a DIY chicken tractor, the first step is to create a solid base. This will provide support and ensure that it is durable. There are a few different ways that you can build the base of your chicken tractor.
One option is to use pressure-treated lumber. This type of lumber is resistant to rot and insects, making it an ideal choice for the base of your chicken tractor.
Why not also go green and use recycled materials like pallets? Not only will you be helping the environment, but you’ll also be able to strut your stuff knowing that you created it on a budget! Whatever you decide, just be sure the foundation is strong and level.
When constructing the frame of your DIY chicken tractor, prioritize both its stability and durability. Selecting the appropriate design and materials for the frame plays a pivotal role in determining the overall effectiveness of your tractor.
Then with the frame in place, complete the setup by adding some hardware cloth. This not only serves as a barrier against potential hazards but also enables your chickens to soak up the sun and freely extend their wings.
You can add wheels to your DIY chicken tractor to make it easier to move around. Caster wheels or cartwheels are both good options.
Contents
How to Build Your Own DIY Chicken Tractor
In this guide, you’re about to embark on an exciting journey that’s all about freedom, mobility, and giving your clucky companions the coops of their dreams. Say goodbye to conventional chicken housing, and say hello to a flexible, cost-effective solution that’s not only practical but also downright stylish.
Craft a mobile haven that’ll have your chickens clucking with delight! Gather the necessary materials and tools to get started.
Materials
- 4 2 x 3 x 8 Foot Studs
- 3 3/4 x 10-foot pieces Schedule 40 Electrical Conduit
- 1 Roll 14 Gauge Welded Wire
- 1 Small Roll of Hardware Cloth
- 1 Roll Poultry Netting (For Small Birds)
- 1 Box U Nails
- 2 Tee-Hinges
- 1 Pack #75 lb Zip Ties
- 1 Barrel Bolt
- 3/4 x 2 ft x 4 ft Pine Plywood Panel
- Exterior Paint
- Wood Screws
Tools
- Cordless Drill
- Square
- Jigsaw
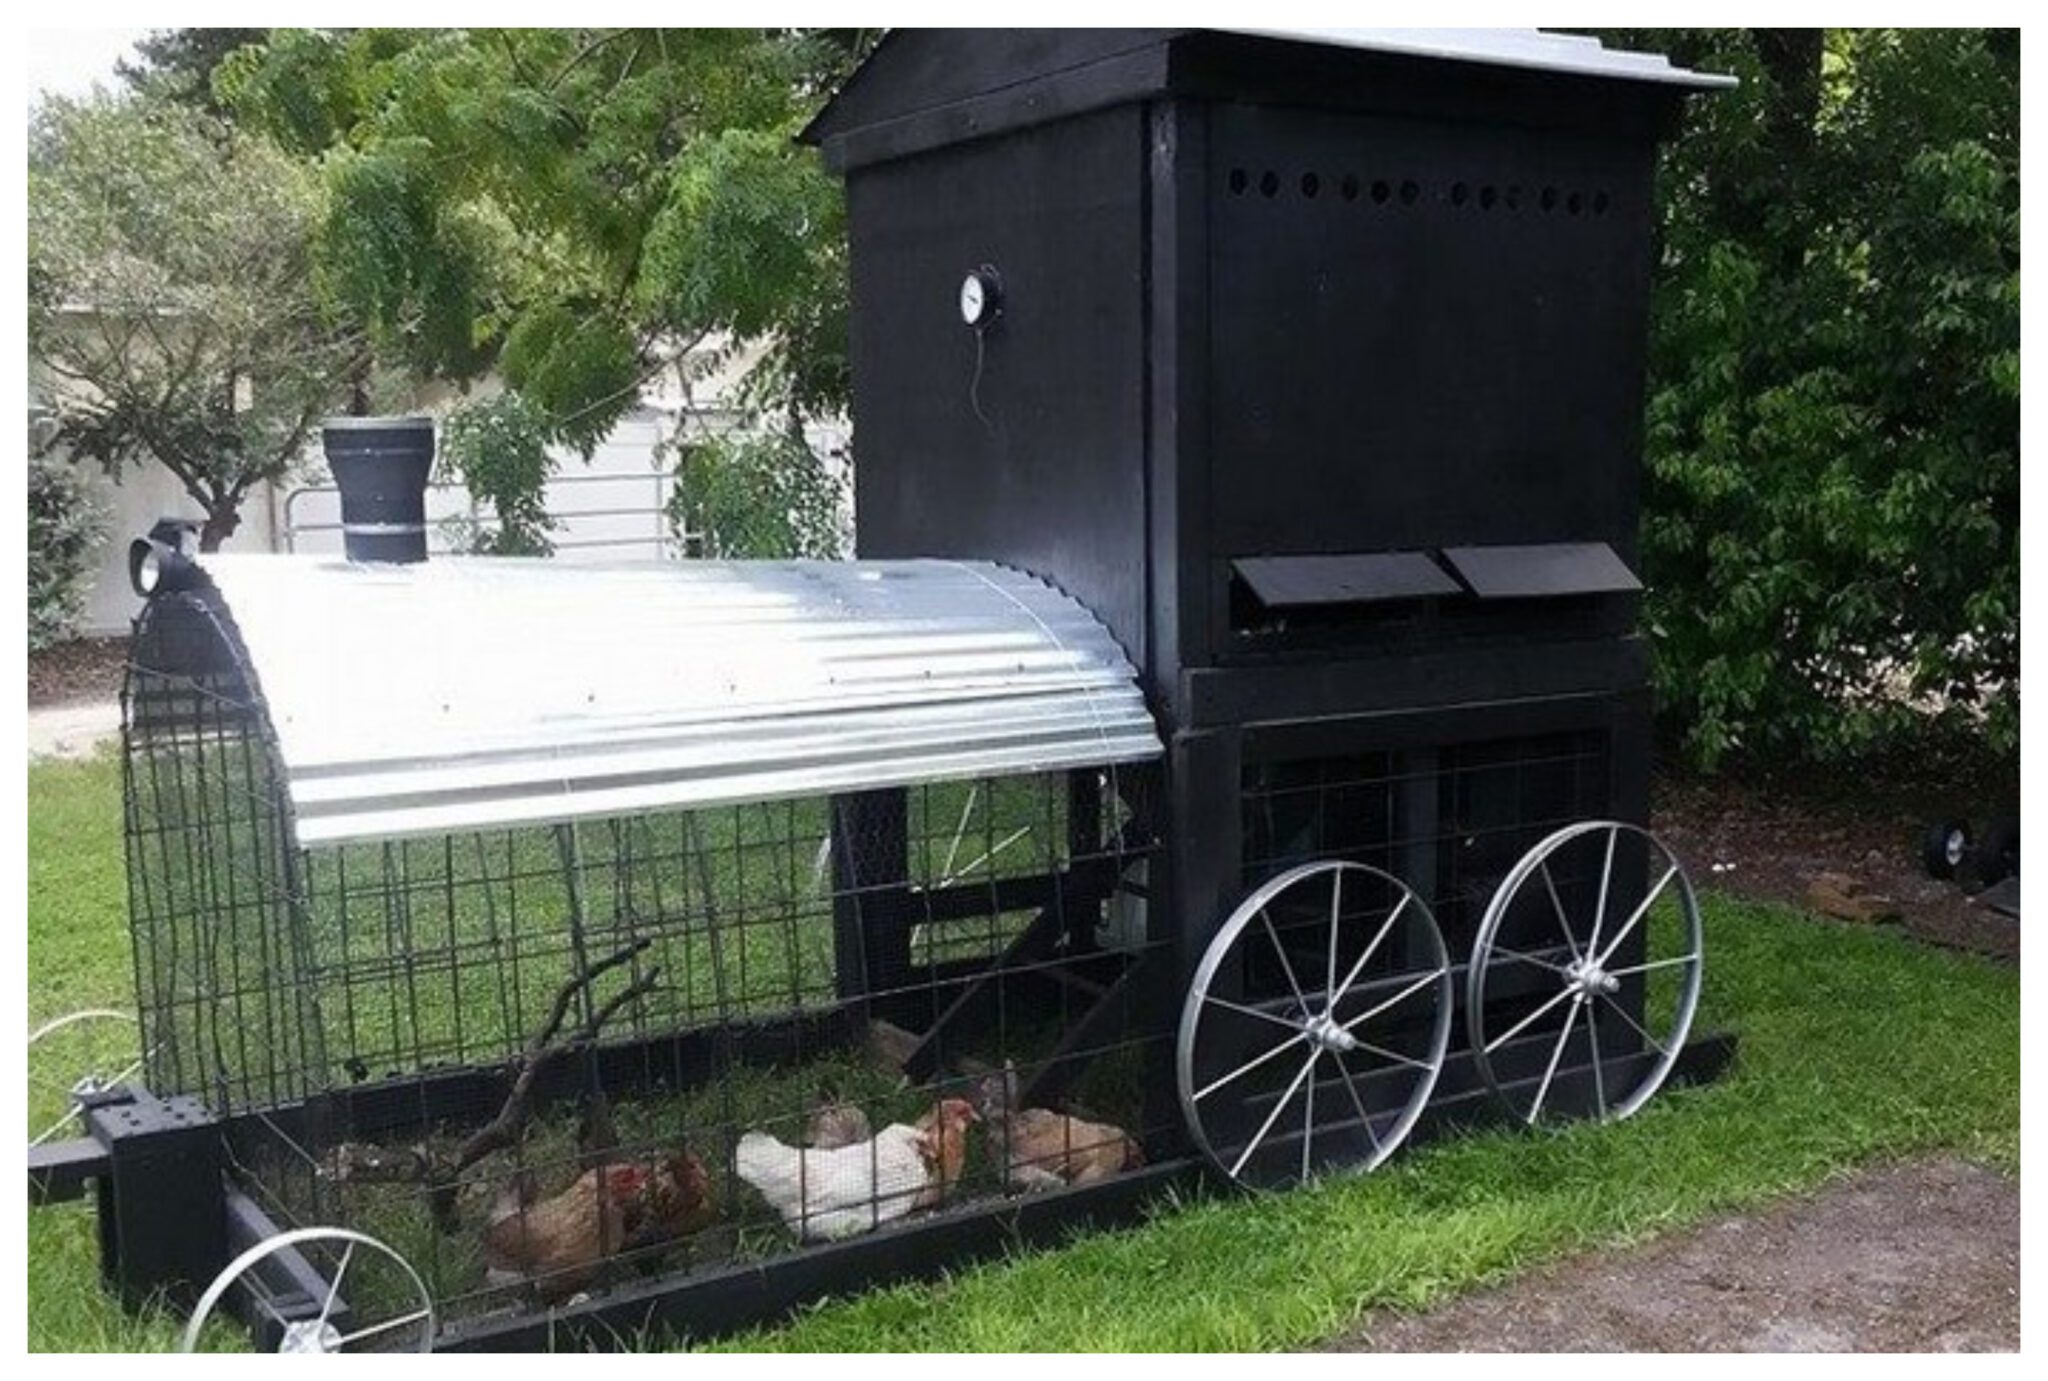
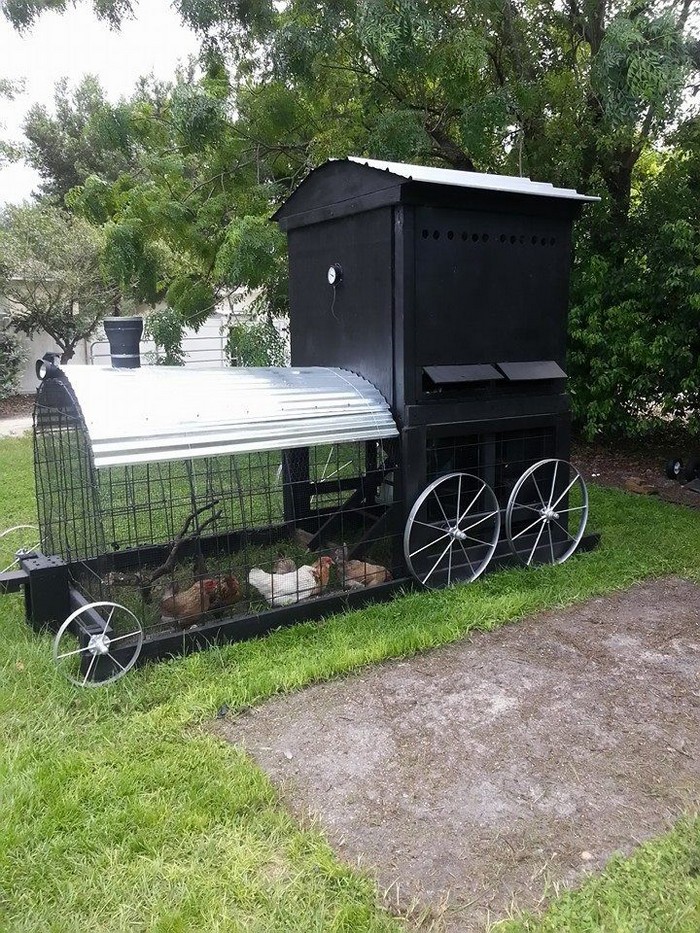
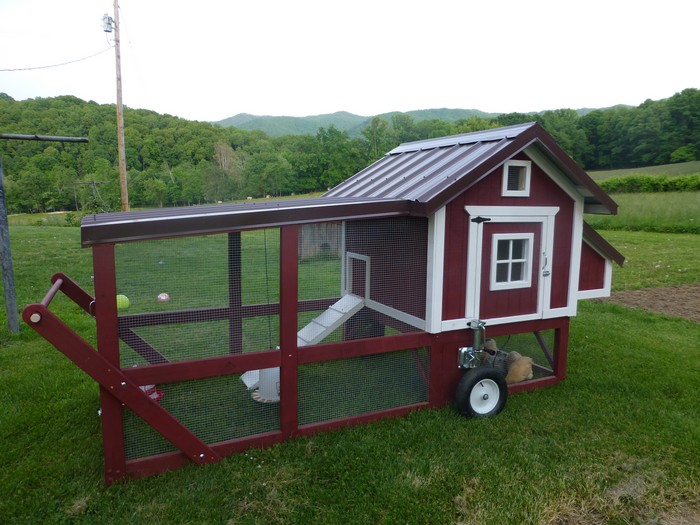
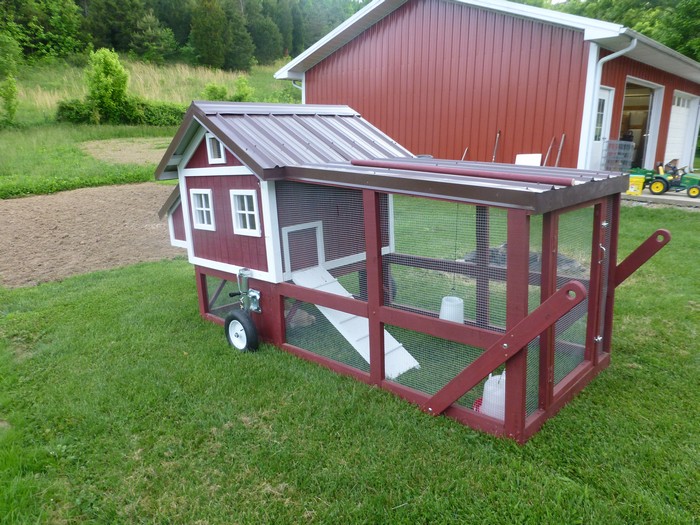
For additional chicken tractor inspiration, feel free to explore our collection. Within this compilation of designs, you’ll discover top-notch options, all conveniently gathered in one place for your perusal.
Click on any image to start the lightbox display. Use your Esc key to close the lightbox. ![]()

Steps
Here are the steps for making a DIY chicken tractor:
Step 1: Design your chicken tractor
- Plan the dimensions of your chicken tractor. A common size is around 4×8 feet, but you can adjust it according to your needs and available space.
Step 2: Build the frame
- Cut the 2x3x8 foot studs to create the frame of the chicken tractor. You will need two 8-foot pieces for the longer sides and two 4-foot pieces for the shorter sides.
- Assemble the frame by screwing the pieces together at the corners to create a rectangular base.
Step 3: Create the hoop structure
- Use the 3/4×10-foot pieces of Schedule 40 Electrical Conduit to create the hoop structure. Bend the conduit into an arch shape and attach each end to the longer sides of the frame. You may need to drill holes in the frame to secure the conduit in place.
Step 4: Attach the wire mesh
- Cover the frame with the 14-gauge welded wire, securing it in place using U nails. This will create the walls and top of the chicken tractor, providing ventilation and protection.
Step 5: Add a door
- Cut an opening for a door in one of the shorter sides of the chicken tractor frame.
- Attach a wooden frame around the door opening using wood screws.
- Cover the door frame with hardware cloth to keep them safe.
- Attach tee-hinges to the door and the frame so that the door is smooth to operate.
- Install a barrel bolt on the door to keep it secure.
Step 6: Create the roof
- Cut the 3/4x2ftx4ft pine plywood panel to fit the top of the chicken tractor.
- Attach the plywood panel to the frame using wood screws. This will provide shade and protection from rain.
Step 7: Paint and finish
- Paint the exterior of the chicken tractor with exterior paint to protect it from the elements.
- Give it enough time for the paint to dry completely.
Step 8: Attach wheels (optional)
- If you want to make your chicken tractor mobile, you can attach wheels to one end. This will make it easier to move the tractor around your yard or garden.
Step 9: Secure the poultry netting
- If you plan to keep small birds inside the chicken tractor, attach poultry netting to the bottom to prevent them from escaping.
Step 10: Final touches
- Use zip ties to secure any loose ends or connections.
- Double-check that all openings are secure.
Your DIY chicken tractor is now complete and ready for use. You can move it around your property to give your chickens access to fresh forage while keeping them safe. Make sure to provide food, water, and bedding inside the tractor for your chickens’ comfort and well-being.
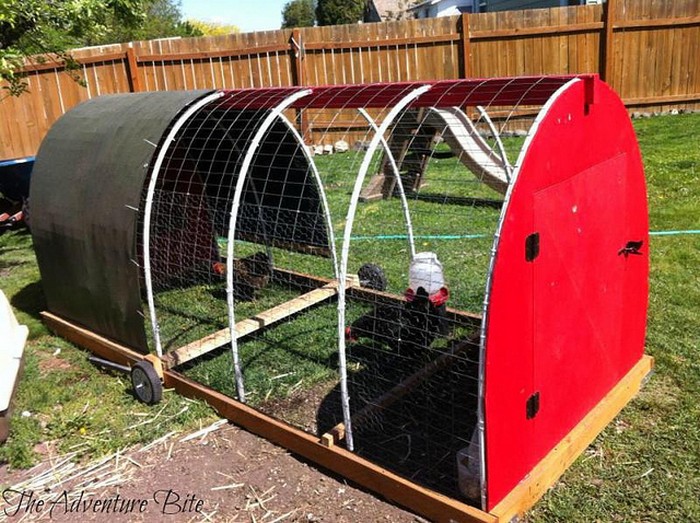
Thanks, Adventure Bite for sharing this wonderful DIY chicken tractor project… This is a perfect solution for those who want to raise their own chickens but don’t have a lot of space or want to keep them confined to one area.
Hatch Your Dream Coop!
Unlock the world of poultry farming with ease! In ten simple steps, you can build a cost-effective and efficient chicken coop on your terms.
Whether you’re a seasoned farmer or just starting out, this guide provides the perfect blueprint to create a safe, mobile coop for your feathered friends. Say goodbye to expensive pre-made tractors and hello to your custom, wallet-friendly solution!
Are you looking forward to doing this DIY chicken tractor project?