Last Updated on July 2, 2024 by teamobn

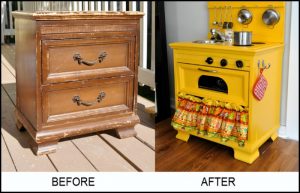
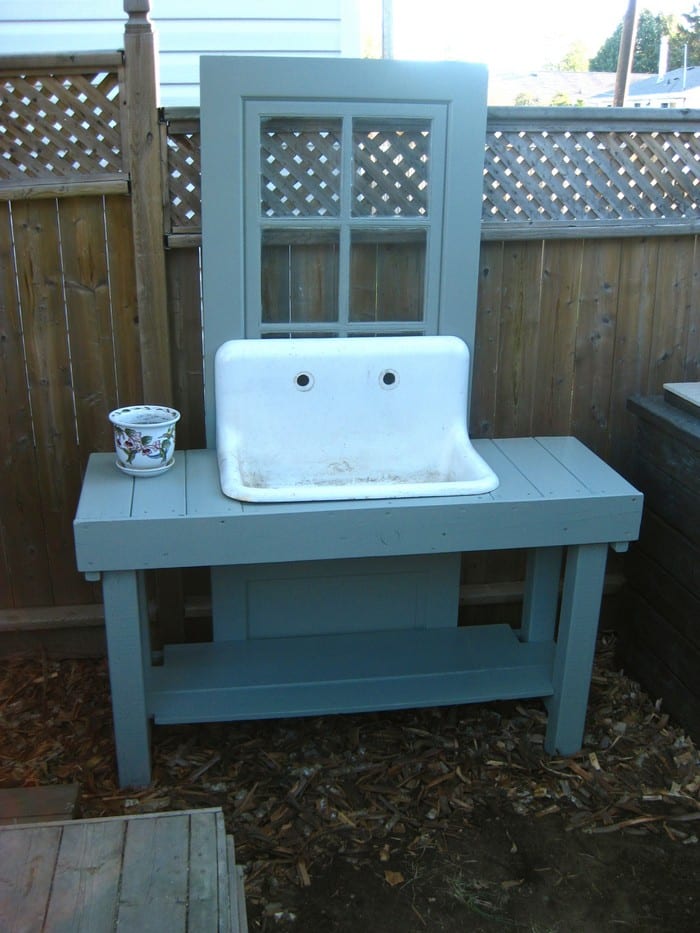
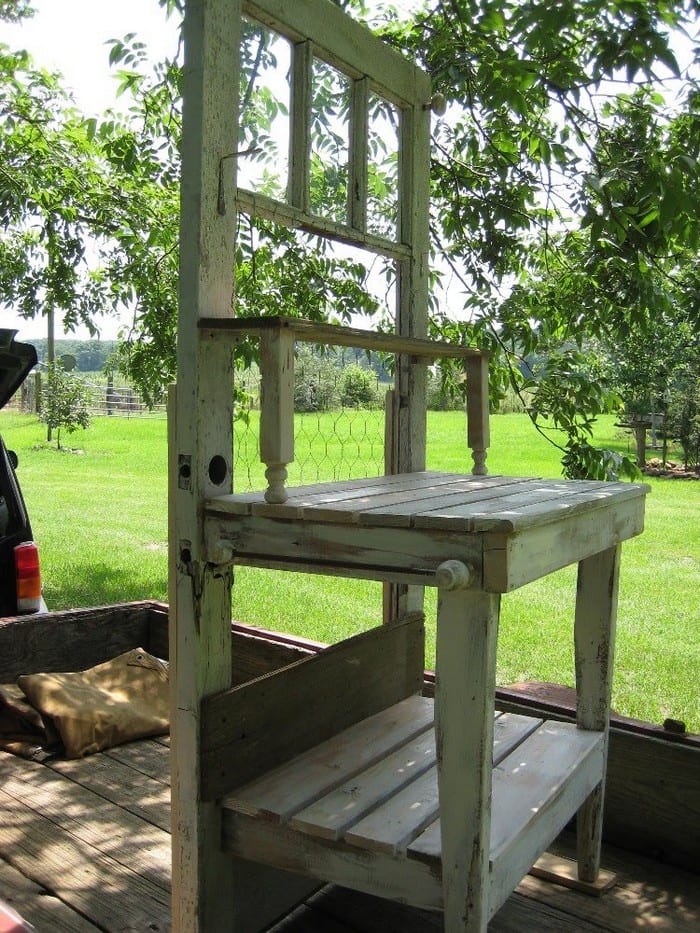
If you’re looking for a potting bench for your garden but don’t want to spend a lot of money, you can easily build your own using an old wood door. This project is relatively simple and can be completed in just a few hours. Plus, by using an old door, you’ll be giving it a new life and saving it from ending up in a landfill.
This is a great way to get a custom-built potting bench that’s better suited to your needs than a store-bought model. Plus, it’s a fun project that you can do yourself!

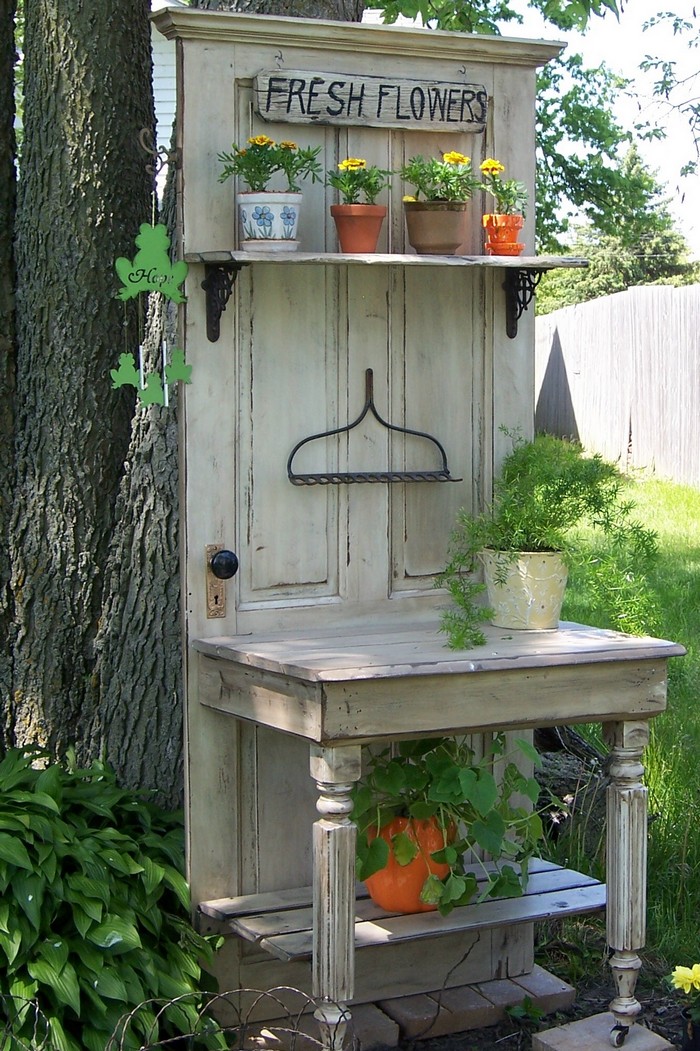
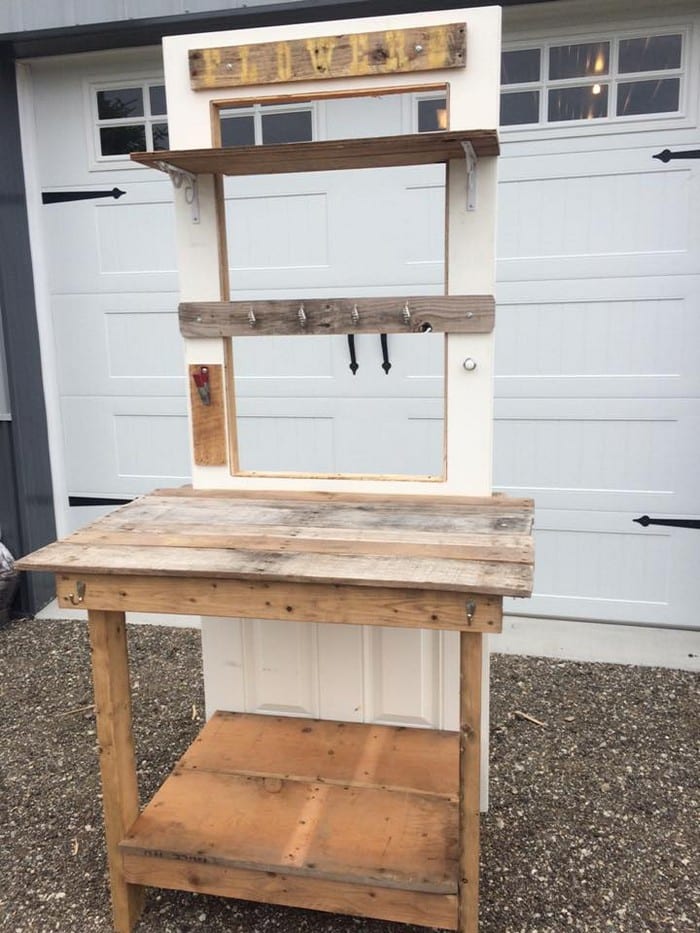
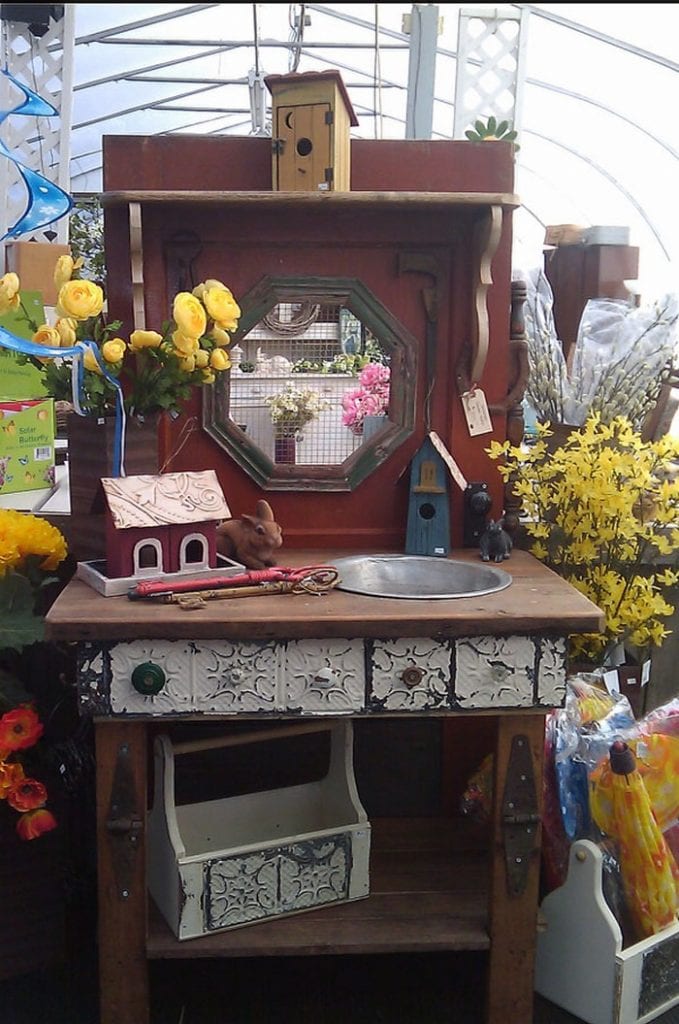
You can have it in any size that you want. And the hooks for your garden tools, the number of shelves for your pots and all other features that you want to have in your potting bench are all up to you. (Just don’t forget to include a closed storage like a drawer for items that you need to protect from bad weather 😉 )
This idea can also be a no-cost project if you happen to already have a broken wooden door. And instead of buying new parts like hooks and table legs, you can use other old, broken odds and ends that might be simply gathering dust in your storage. Old silverware or keys can serve as hooks and scrap timber can be used as legs or shelving.
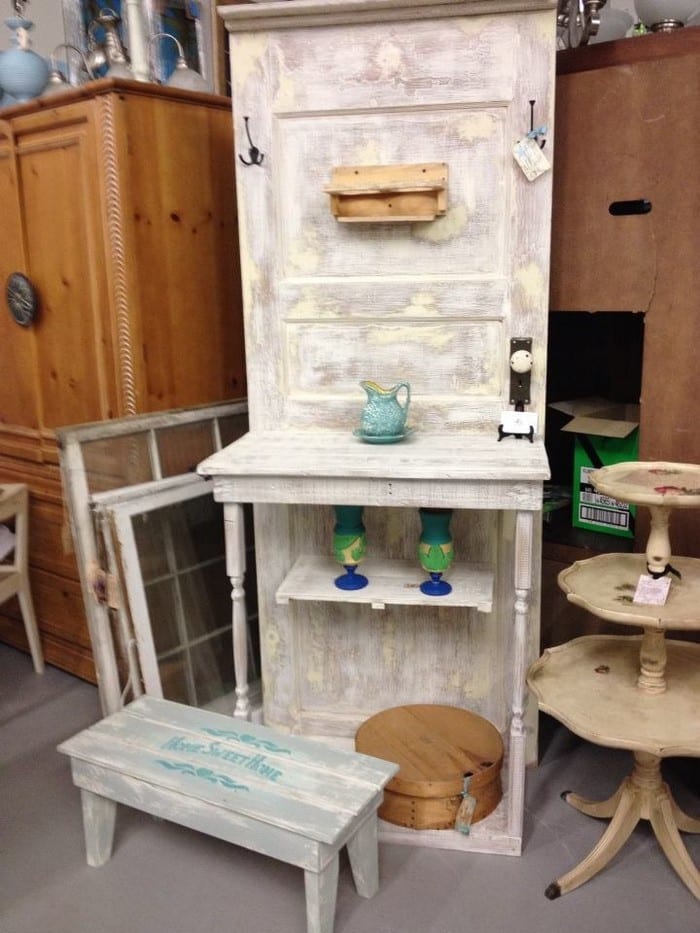
With this upcycling project you not only have an inexpensive potting bench, but you also have a unique addition to your garden!
Is this potting bench going to be your next upcycling project?
Click on any image to start the lightbox display. Use your Esc key to close the lightbox. ?
You’ll need these materials:
- Old Wooden Door
- Chicken Wire
- Timber Planks
- Old Silverware
- Iron Bar
- Paint
- Wood Screws
- Brackets
- Hook Screws
- Broken Table
And these tools:
- Cordless Drill
- Paintbrush
- Saw
Steps:
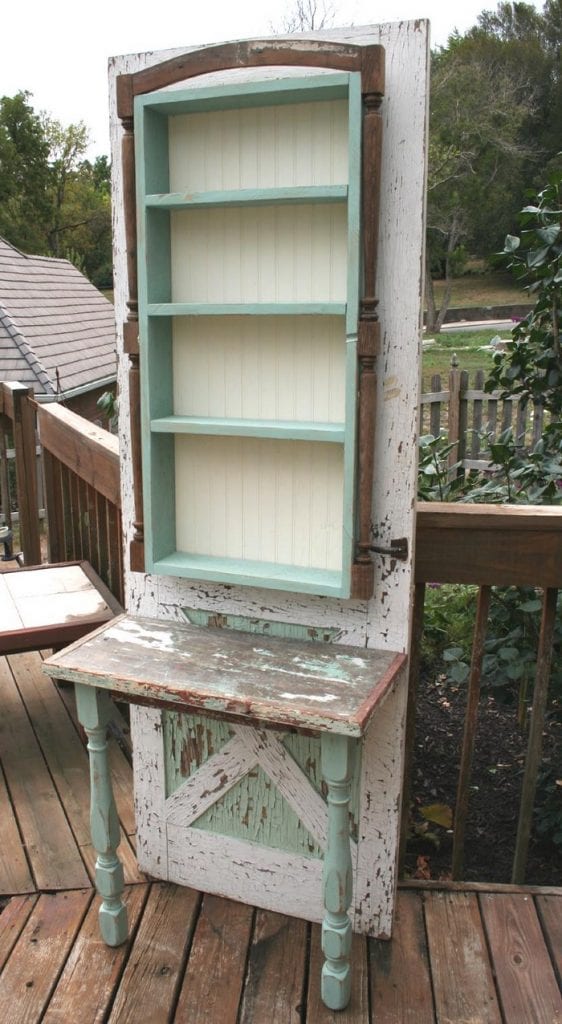
Start by cleaning up your broken table. You can sand them down and remove the legs, leaving two legs on the table. You can then use a saw to cut the table in half, creating two smaller surfaces. You’ll only be needing one part of the table.
Attach one of the halves of the table to your old wooden door using screws or nails. This will create a sturdy surface to work on. You may need to sand or plane the door first to create a smooth surface.
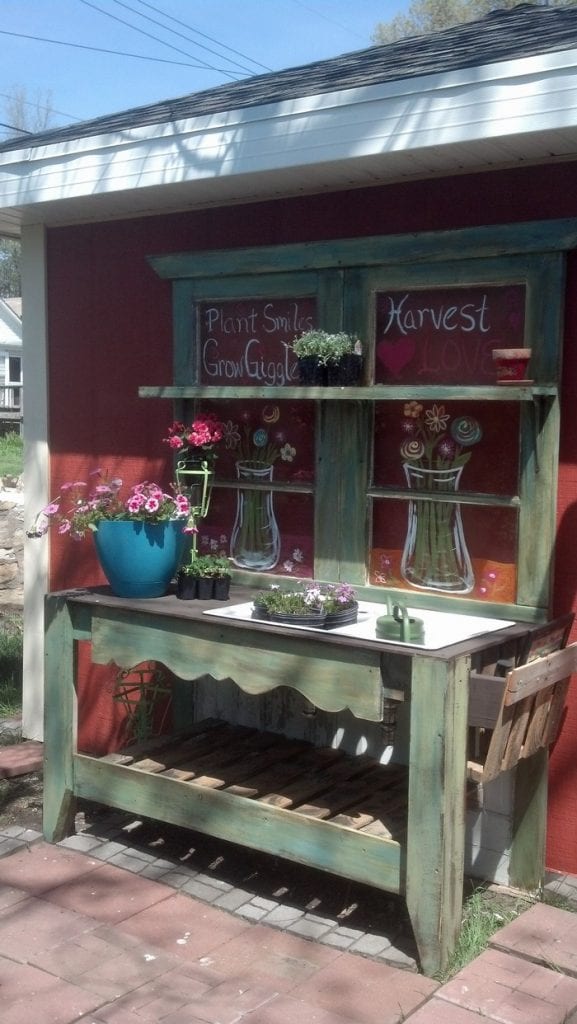
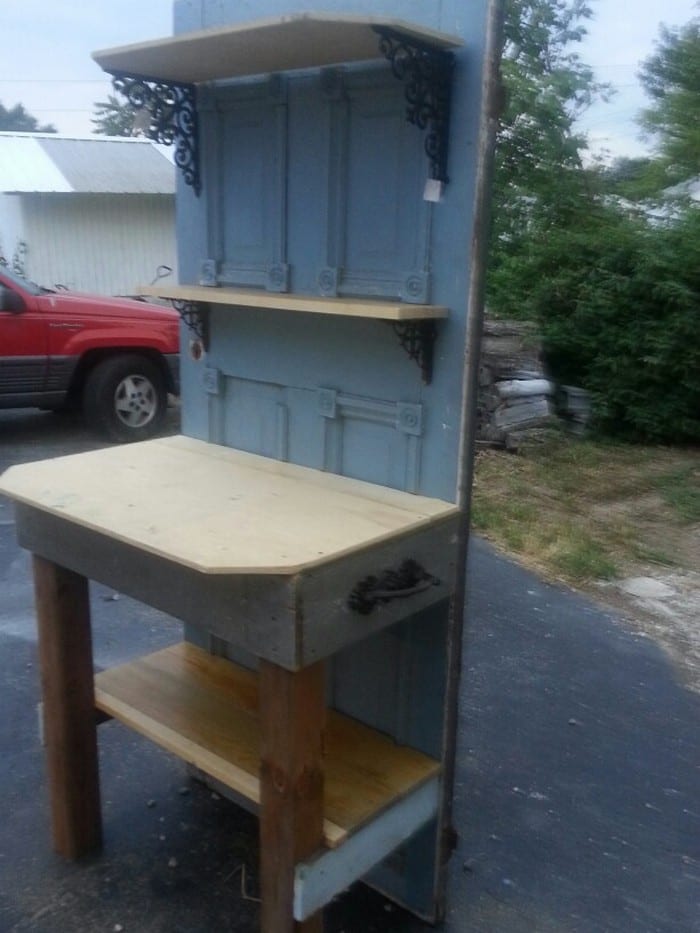
When you have attached the table to the old wooden door, you may want to add more shelving by attaching timber planks to the door. You can add brackets to help support the shelving and make it more sturdy. This is a great way to add more storage and functionality to your potting bench!
You can also screw in hook screws to the old wooden doors for your potting tools. This includes your garden trowel, gardening fork, hedge shears, gardening gloves, pruning shears, and any other gardening tools you may have. Not only will this give you easy access to your potting tools, but it will also help to keep your gardening area more organized.
Now that you have all the parts assembled, you can paint the potting bench. You’ll want to choose a paint that will withstand the elements and won’t fade too quickly. A good quality exterior paint should do the trick. Once you’ve decided on the paint, apply a primer to the bench. This will help the paint to adhere to the surface and provide a more even finish.
After the primer is dry, you can start painting the bench. Be sure to use a brush or roller designed for use with exterior paints. Apply the paint in even strokes, going with the grain of the wood. You may need to apply several coats of paint to get the desired coverage. Let the paint dry completely between coats.

You can get step-by-step instructions from Cottage and Cabin Interiors and Collections over here…