Last Updated on June 5, 2024 by teamobn
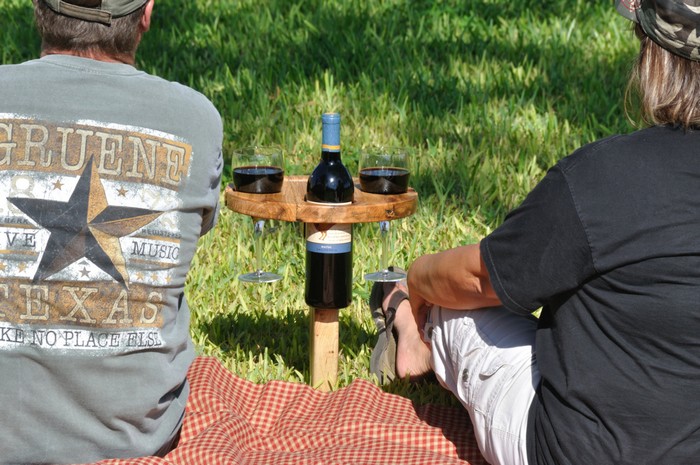
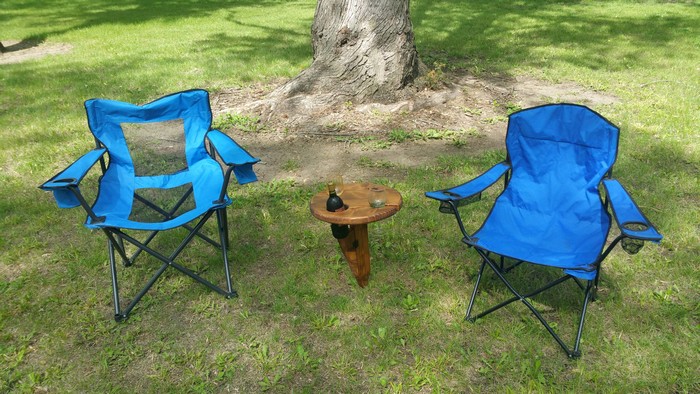
Whether you’re enjoying a glass of wine around the campfire, on a picnic, or simply relaxing in your backyard, there’s nothing like a good glass of wine to help you unwind. But what makes a good glass of wine even better? Sharing it with friends! So next time you’re out enjoying a glass of vino, be sure to invite a few friends along to enjoy it with you.
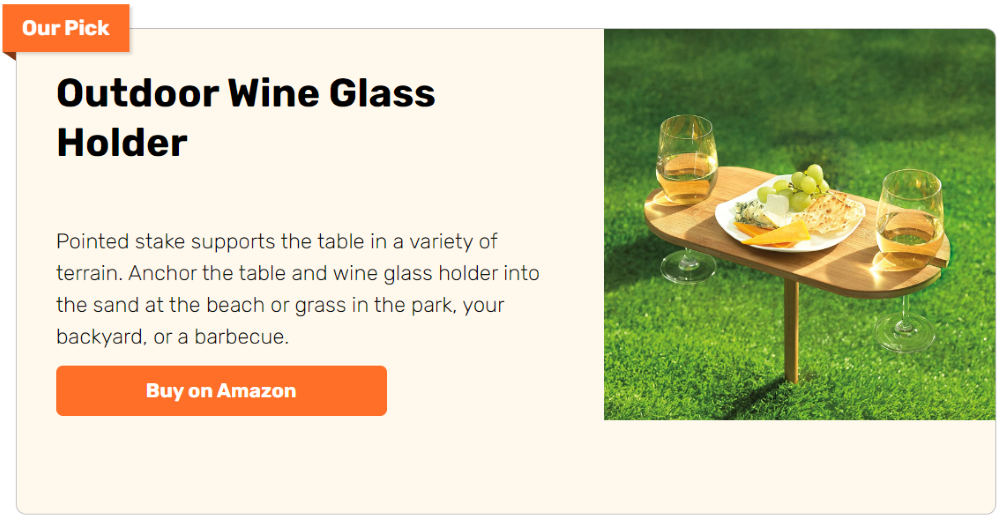
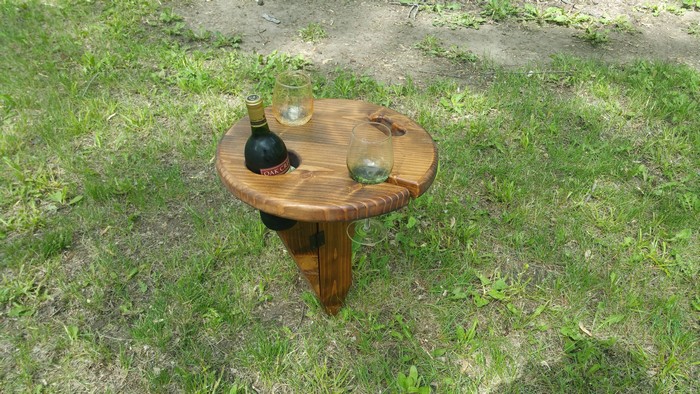
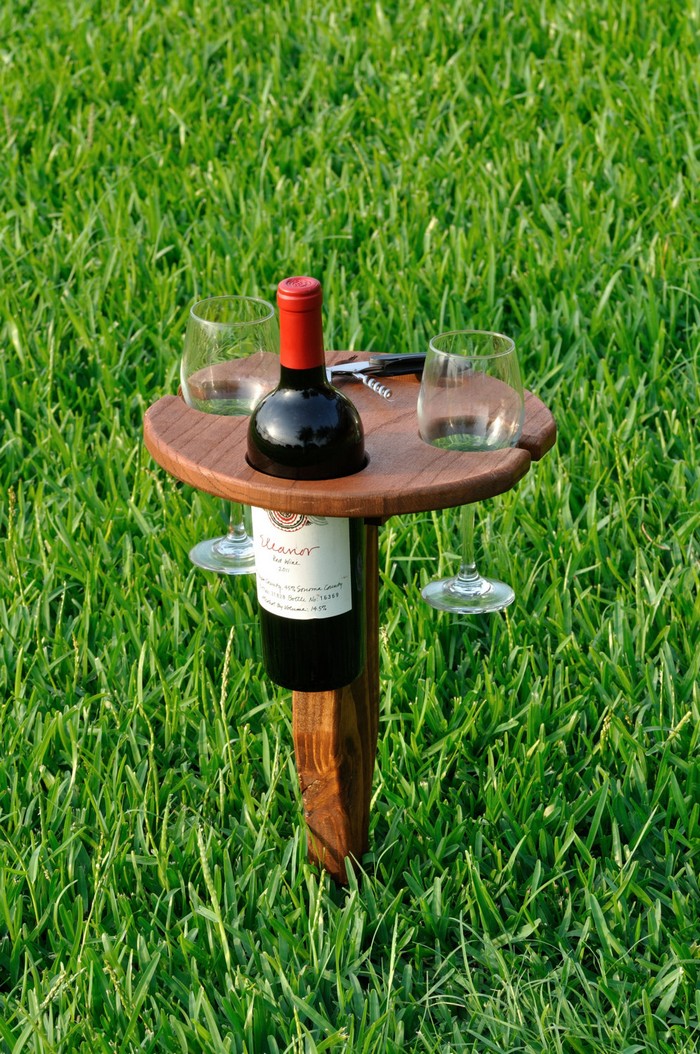
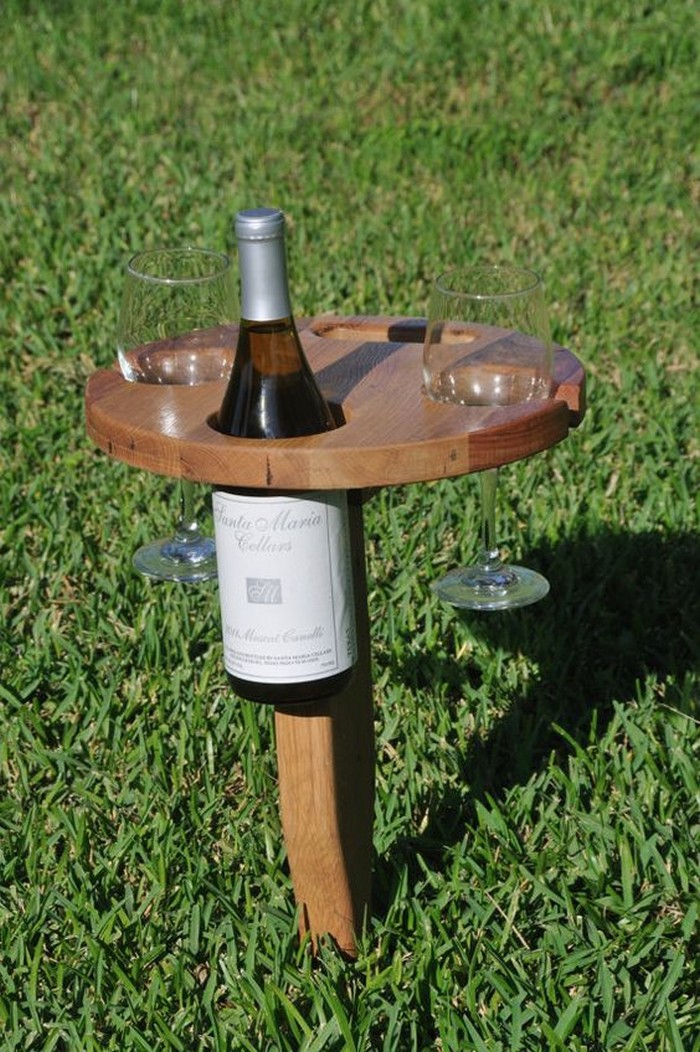
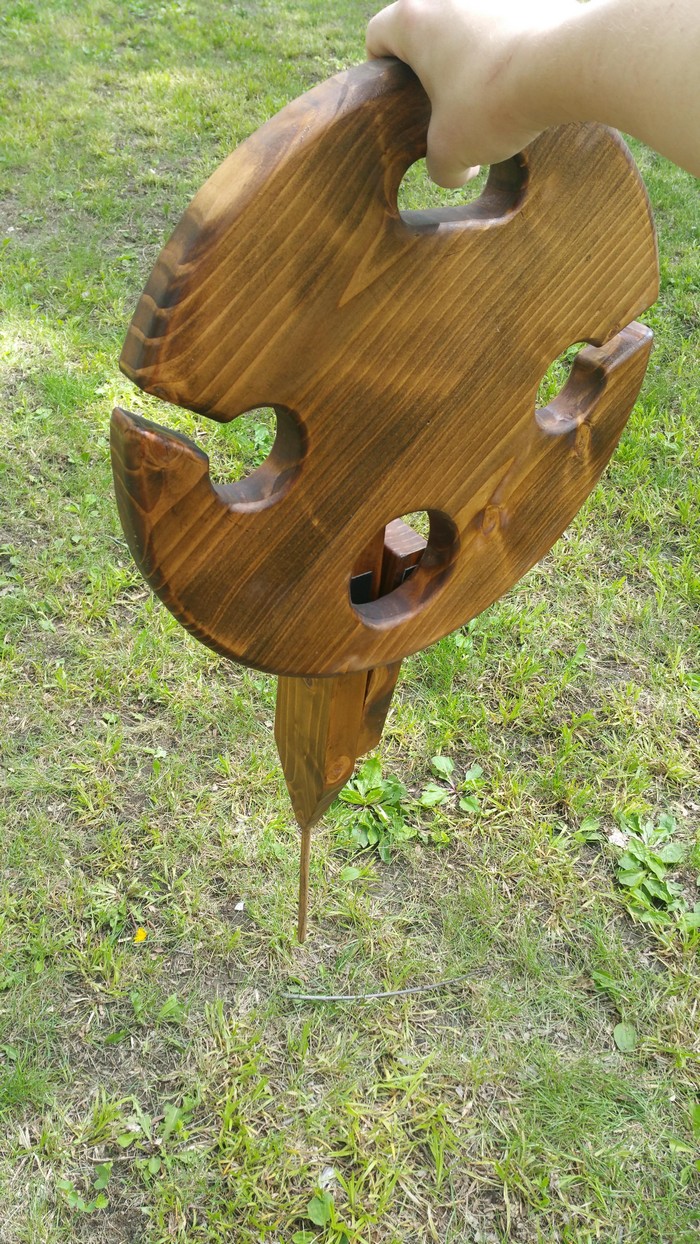
However, finding a level surface for that bottle and your glasses isn’t always easy. Here’s a simple project that can change that by giving you a stable table anywhere! Drinking a glass of wine outdoors is difficult if you don’t have a flat, stable surface to put your glasses (and bottle) on.
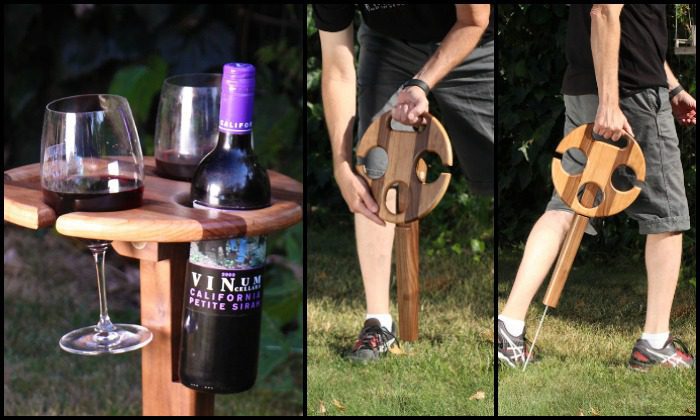
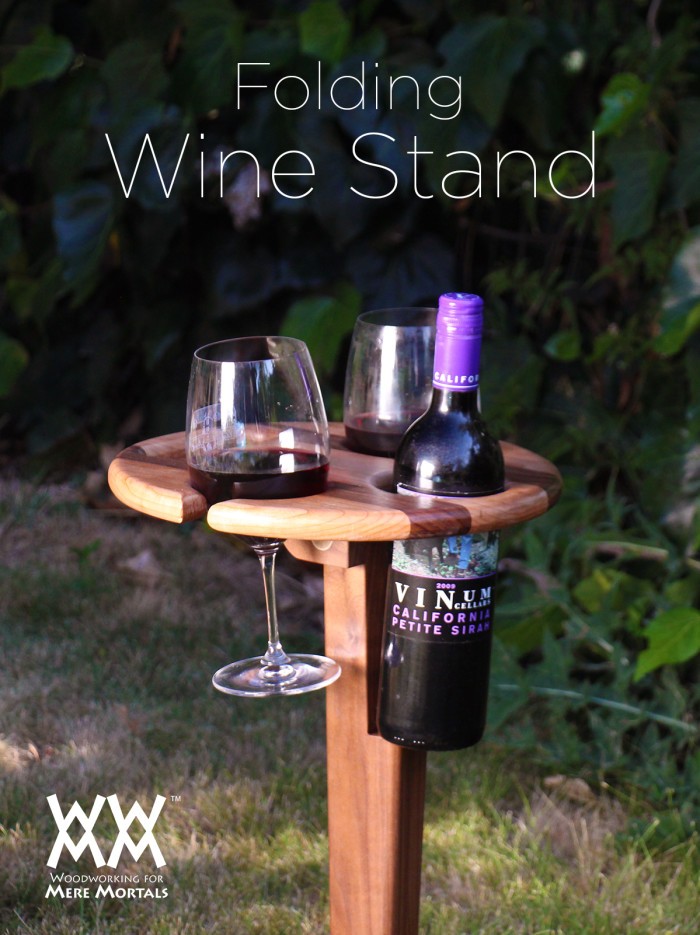
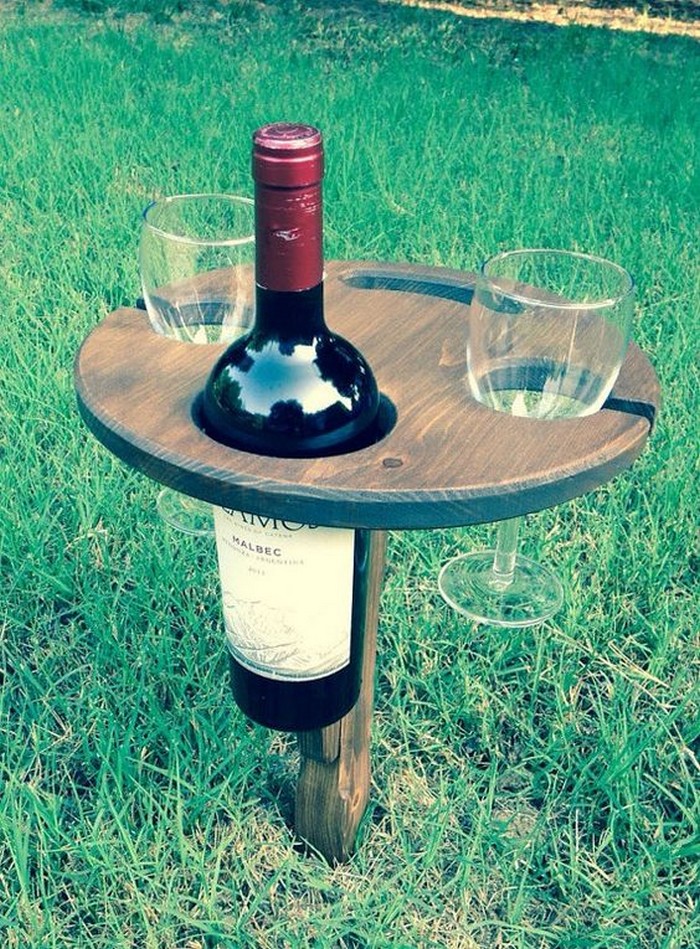
Make your next picnic or outdoor gathering a breeze with this easy-to-carry wine caddy. Whether you’re headed to the park or beach, this caddy will keep your wine glasses safe and secure, so you can relax and enjoy your drink without worry. Made from durable materials, it’s also built to last, so you can enjoy many worry-free picnics to come.
If you already have the right tools, you can easily make your own portable wine caddy. If you don’t have the tools listed below, there are many alternate ways to get the same result. Even a simple jigsaw and some patience will yield a great result! You can even make more as DIY gifts to friends and family who also love having a glass of wine every now and then. 🙂
Contents
Is this wine caddy going to be your next project?
Now if you think that you don’t have the time, tools, or skills that are needed to DIY, here are some great options you can get instead. 🙂
Crafting a Wine Caddy
Materials
- Timber
- 1/4″ Steel Rod
- Wood Glue
- Wood Dowel
- Gel Epoxy
Tools
- Hole Saw
- Mandrel (to hold hole saws)
- Forstner Bit
- Router Roundover Bit
- Flush Trim Saw
- Wood Clamps
Instruction
Step 1: Design and Measurements
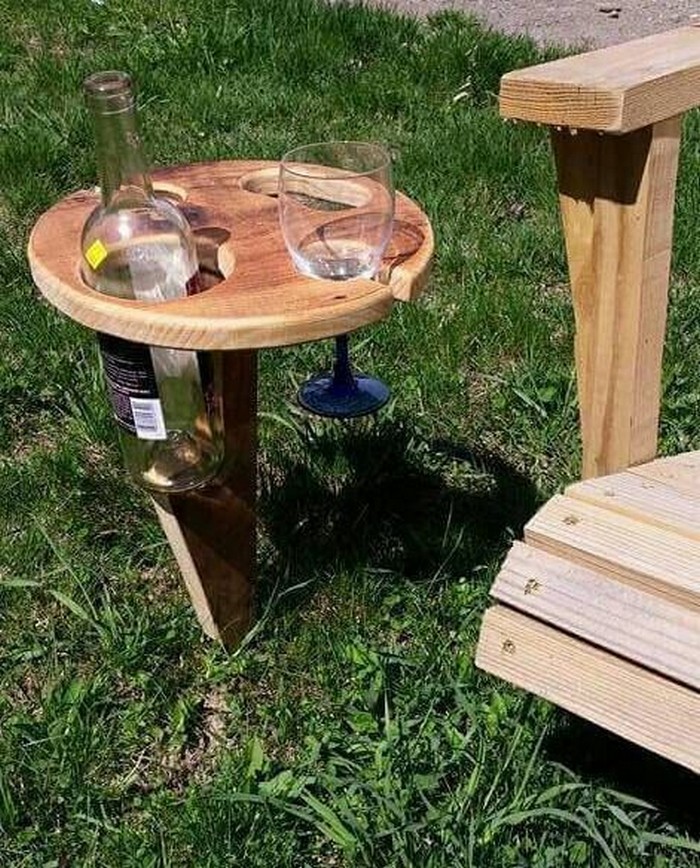
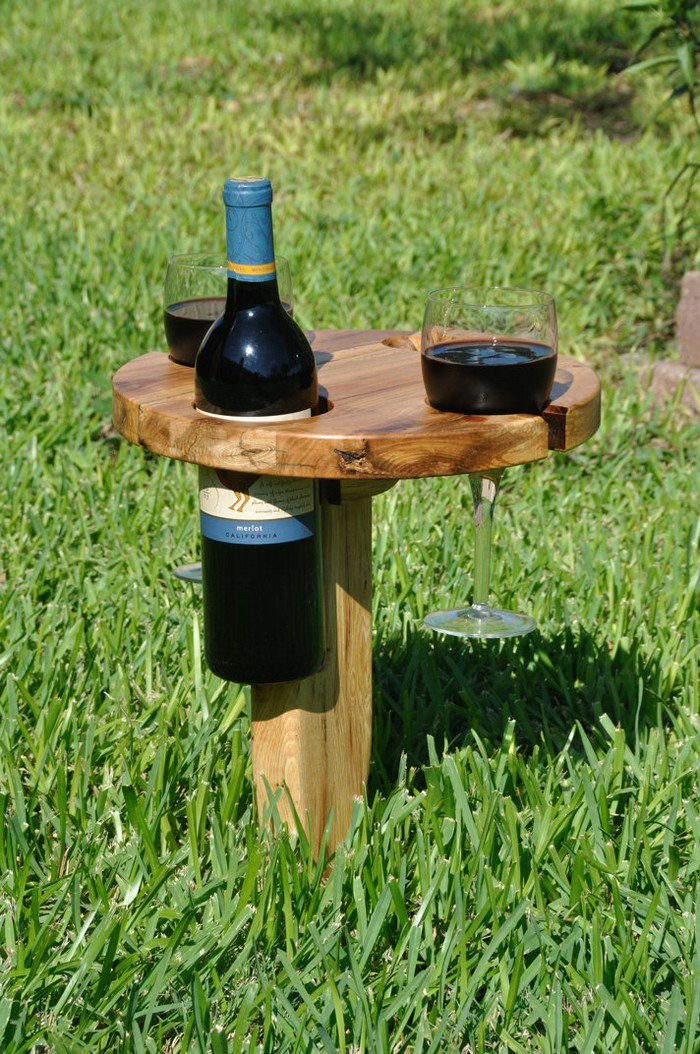
- Sketch your wine caddy design on paper. Include spaces for at least two wine glasses and a bottle.
- Determine the size of each section and overall dimensions of the caddy. A typical measurement could be 10 inches long, 7 inches wide, and 10 inches tall.
Step 2: Cutting the Timber
- Use the flush trim saw to cut your timber to the required dimensions.
- Smooth the edges with sandpaper to prevent any splinters or sharp edges.
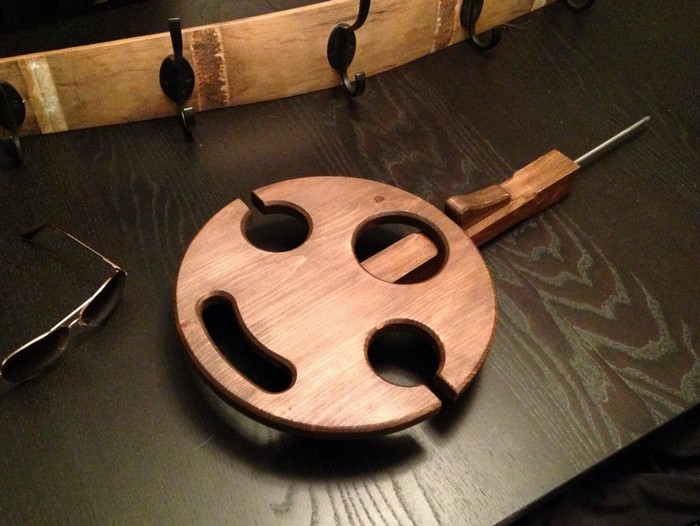
Step 3: Drilling Holes for Wine Glasses and Bottle
- Mark the positions for the holes on the timber using a pencil. Ensure they are spaced appropriately to avoid the glasses and bottle from tipping.
- Attach the hole saw to the mandrel and drill holes for the wine glasses using the hole saw. Use a size that fits the base of your wine glasses snugly.
- Switch to the Forstner bit to drill a hole for the wine bottle. This hole should be slightly larger than the base of the bottle for easy insertion and removal.
Step 4: Adding Details with the Router
- Attach the router roundover bit to your router.
- Carefully round the edges of the timber and the rims of the holes. This not only adds aesthetic appeal but also prevents chips and wear.
Step 5: Assembling the Wine Caddy
- Cut the steel rod and wood dowel to create dividers that will separate the glasses and the wine bottle. Measure and cut them to fit between the holes drilled.
- Use wood glue to fix the dividers into place. Clamp them down with wood clamps to secure while the glue dries.
- For added stability, drill small holes and insert wood dowels through the sides of the caddy into the dividers. Secure with gel epoxy.
Step 6: Finishing Touches
- Once all parts are securely glued and the epoxy has cured, sand the entire caddy again to ensure a smooth, even surface.
- You can finish the timber with a coat of varnish, paint, or sealant to protect it from the elements and enhance its appearance.
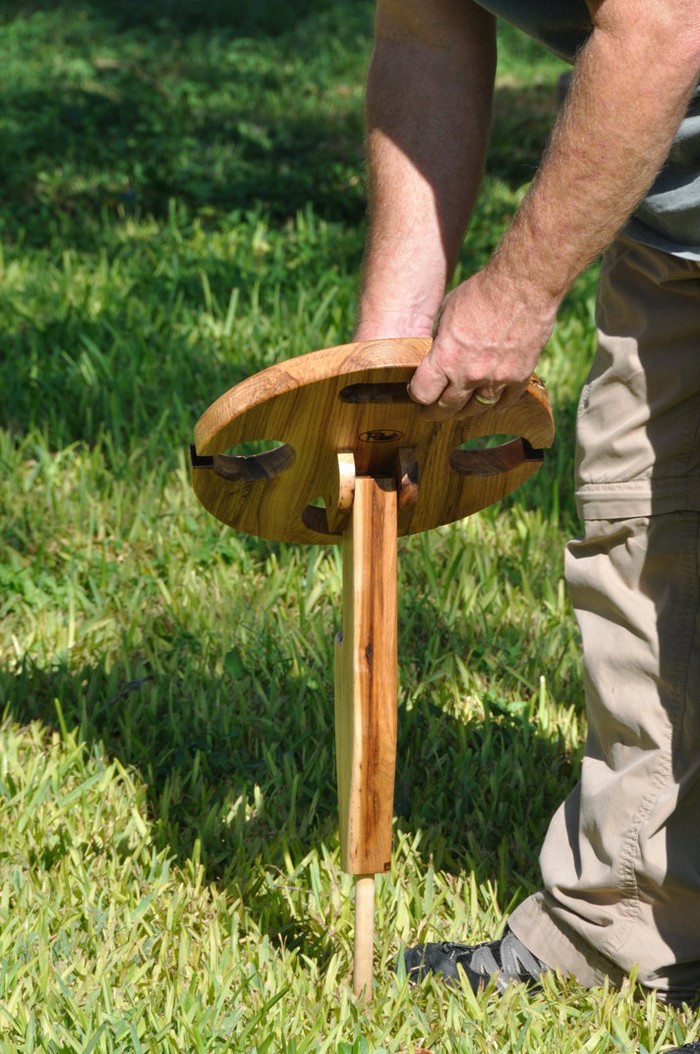
Step 7: Final Assembly
- Insert the steel rods in pre-drilled holes to act as handles or additional stabilizers if needed.
- Allow everything to set and dry according to the products’ instructions before use.
Click on any image to start the lightbox display. Use your Esc key to close the lightbox.![]()
You can get more step-by-step instructions over here…
Personalizing your DIY wine caddy can transform a simple utility item into a stylish accessory that complements your outdoor entertainment setup. Whether you’re crafting for personal use or as a thoughtful gift, customization allows you to add a unique touch. Here are several creative ideas to customize your wine caddy:
Engraving and Wood Burning
- Personalization: Use an engraving tool to carve names, initials, or special dates into the wood. This is perfect for gifting or commemorating special occasions.
- Decorative Patterns: Add artistic flair with wood-burning tools. Floral patterns, geometric shapes, or thematic symbols related to wine can enhance the aesthetic appeal.
Painting and Staining
- Color Matching: Paint your wine caddy to match your outdoor furniture or your favorite color scheme. Use outdoor-safe paints for durability.
- Staining: Apply a wood stain for a more natural look that enhances the grain of the wood. Stains are available in various shades, from light to dark, allowing for customization to your taste.
Decorative Hardware
- Handles and Corners: Attach decorative metal handles or corner protectors. Brass, copper, or wrought iron can add an elegant or rustic touch, depending on the design.
- Functional Additions: Consider adding hooks for hanging wine tools or small fold-out shelves to hold snacks.
Fabric and Leather Accents
- Soft Touches: Line the sections of your caddy with felt or leather to protect glassware and add a luxurious feel.
- Straps and Holders: Use leather straps or crafted fabric holders to secure the wine bottles and glasses during transport. These can be both functional and visually appealing.
Lighting Integration
- Ambient Lighting: Install small LED lights under the rim of the caddy to illuminate the glasses and bottle in low-light conditions. This not only adds functionality but also creates a beautiful ambiance.
- Thematic Lights: Use string lights or themed decorative lights to wrap around the caddy for added charm during evening gatherings.
Eco-friendly Touches
- Reclaimed Materials: Use pieces of reclaimed wood or metal for an eco-friendly approach. Each piece has its history, adding character and a story to your wine caddy.
- Natural Finishes: Opt for natural oil finishes instead of synthetic varnishes. Linseed or tung oil can be great choices that are both protective and environmentally friendly.
These customization ideas allow you to tailor your wine caddy not just to your needs but also to your creative vision, making each project uniquely yours. Whether you aim for functionality, aesthetic appeal, or a mix of both, these touches can significantly enhance your outdoor wine experiences.
Advanced DIY Wine Caddy Designs
For the DIY enthusiast looking to take their craftsmanship to the next level, designing an advanced wine caddy combines functionality with intricate design elements. Whether you’re looking for a more sophisticated project or want to challenge your skills, these advanced wine caddy designs will not only hold your wine securely but also showcase your woodworking prowess.
Modular Wine Caddy
- Design Concept: Create a wine caddy that can be expanded or reconfigured based on the number of glasses or bottles needed. This involves crafting individual modules that can be connected securely with hooks or magnets.
- Functionality: Each module could hold one wine bottle or two glasses, allowing the user to customize the arrangement as per the occasion.
- Advanced Skills: This design requires precision in measurement and cutting to ensure all modules fit together seamlessly.
Collapsible Wine Caddy
- Space-Saving Feature: Ideal for those who love outdoor picnics but need to save on space, a collapsible wine caddy folds flat when not in use. Using hinges and a clever design, the caddy can be opened up to hold bottles and glasses securely.
- Transportation Ease: This design makes the wine caddy easy to transport and store, appealing to those who frequent outdoor venues or enjoy traveling with their wine essentials.
- Technical Requirements: Crafting a collapsible wine caddy involves working with moving parts and ensuring stability when unfolded, posing a delightful challenge for advanced DIYers.
Wine Caddy with Integrated Ice Pack
- Enhanced Functionality: For those warm outdoor settings, a wine caddy with a built-in compartment for an ice pack keeps your wine chilled. This design requires creating a double-layered structure where the ice pack can be slid in beneath the wine bottle.
- Leak Proofing: Special attention needs to be paid to insulation and sealing techniques to prevent moisture from affecting the wood.
- Innovative Approach: Incorporating thermal insulation within a wooden structure tests your ability to combine materials effectively for both aesthetics and function.
These advanced designs push the boundaries of traditional wine caddies, offering more than just storage by enhancing user experience through innovation and thoughtful design. As you tackle these projects, you’ll not only refine your woodworking skills but also create a wine caddy that stands out at any gathering.
Conclusion
Making your own wine caddy combines your own flair with utility to produce a useful accessory that improves your wine-drinking experience. Learning and using new woodworking techniques at every stage of the process guarantees a robust and aesthetically pleasing finished result. Any event is made more charming and conversation starter-worthy with a handcrafted wine caddy.
We have more interesting ways of showcasing your love for wine. Check out our single bottle wine rack project!