Last Updated on September 20, 2024 by teamobn
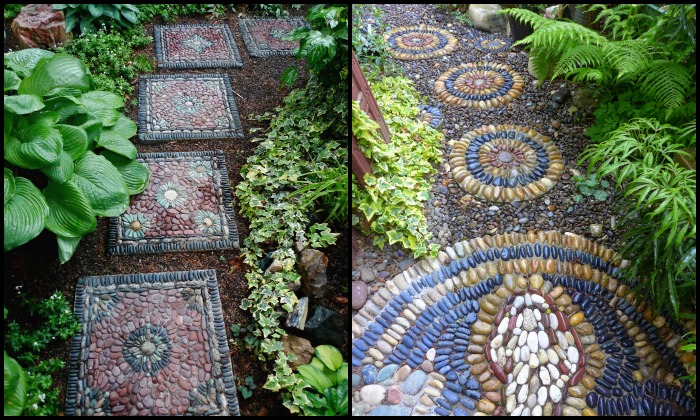
A stepping stone is a small stone that is used to create a path or walkway. Stepping stones are typically made of natural materials like stone, brick, or concrete. They are often used in gardens or other outdoor spaces. Stepping stones can also be used as decoration, and they can be engraved with messages or images.
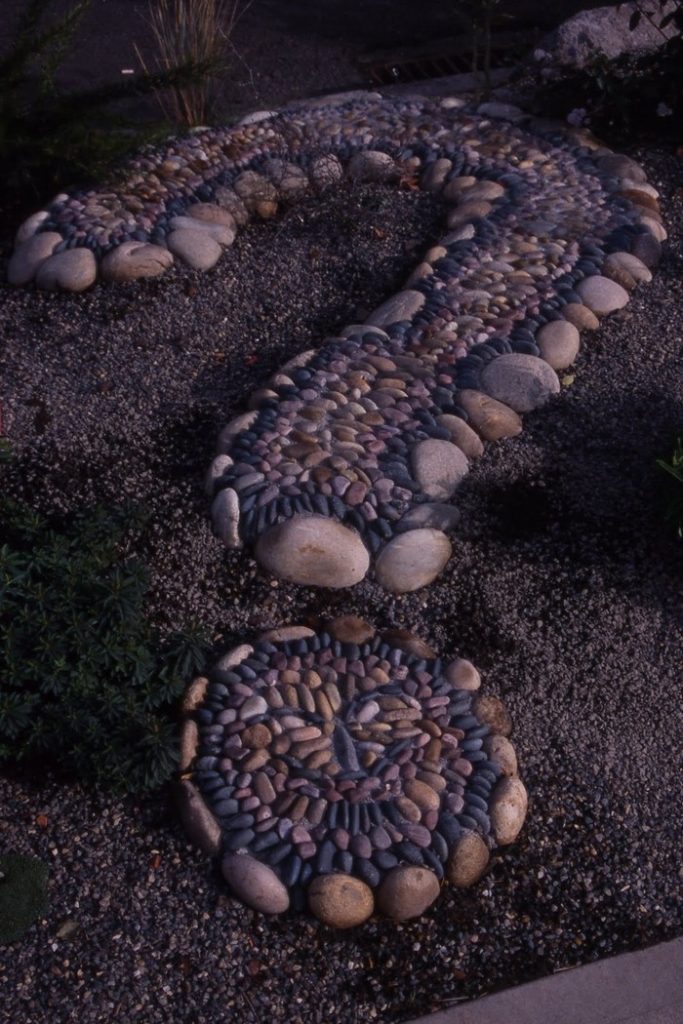
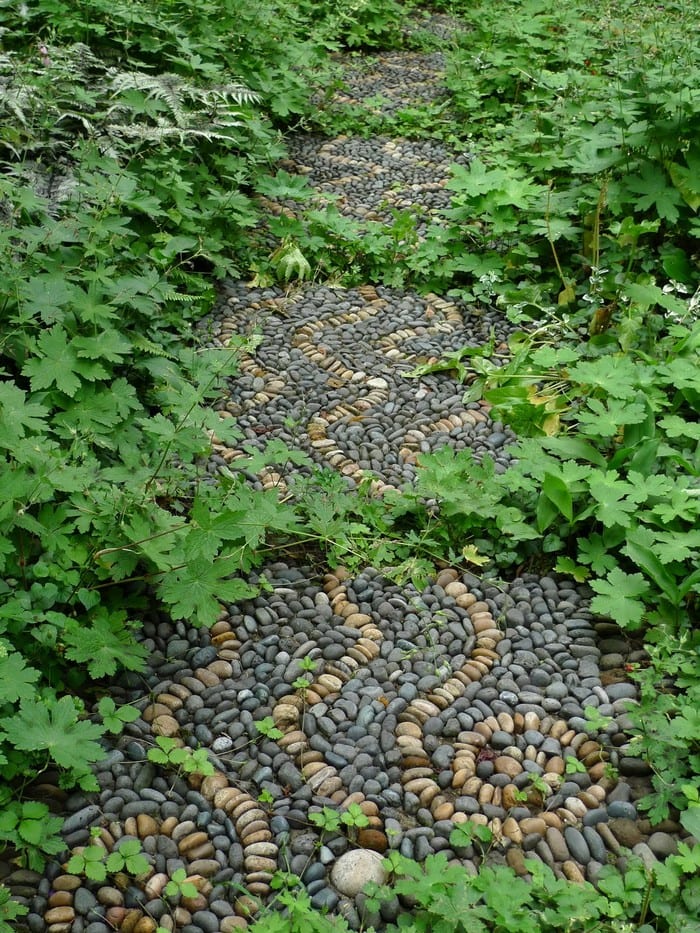
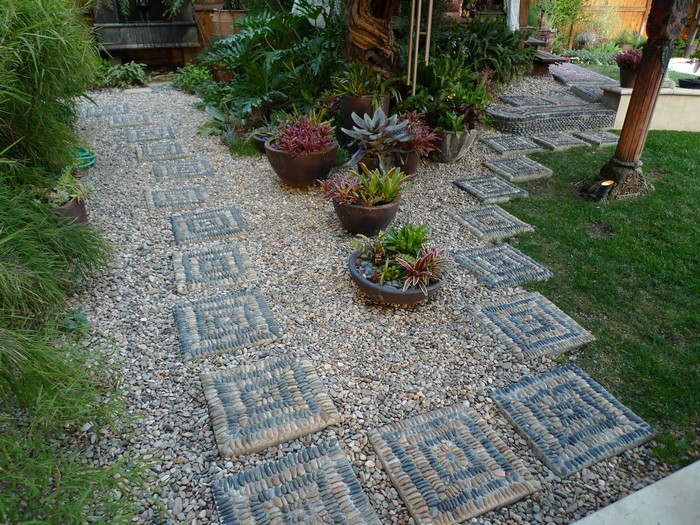
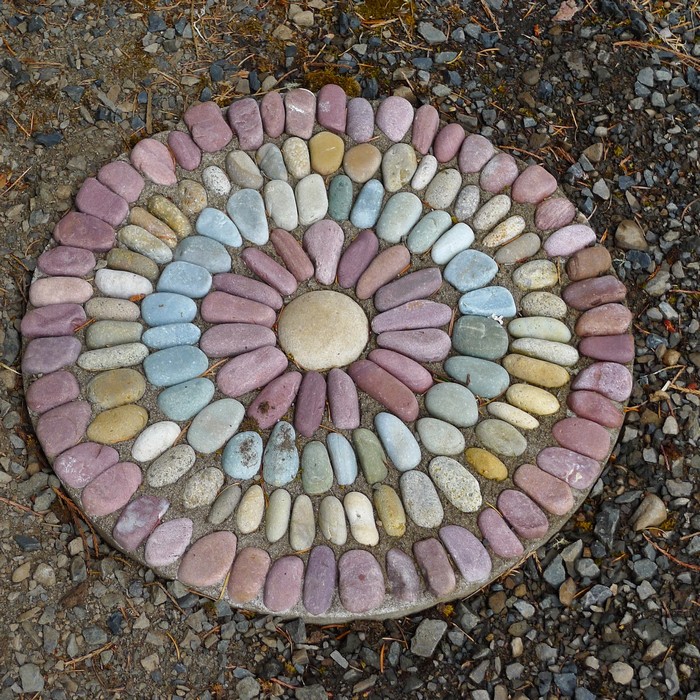
But, have you ever wanted to have a pebble mosaic stepping stone in your garden? This beautiful collection of Jeffrey Bale’s stepping stones will make you want to do this as your very next DIY project! With a wide variety of designs to choose from, you are sure to find the perfect stepping stone for your garden.
Pebble mosaic stepping stones are a great way to add a touch of beauty and elegance to your garden. With a little bit of time and effort, you can create a stunning piece of art that will be the envy of your neighbours.

There’s no doubt that these beautiful and detailed stepping stones require a lot of hard work. Every stone is unique, and each one takes time and effort to create. The results are definitely worth it, though – these stones add character and charm to any garden path or patio. It includes tedious tasks and attention to detail, but anybody with the right amount of patience can definitely DIY their own mosaic stepping stones. You don’t need any special tools or skills!
Jeffrey Bale, an expert in the field of pebble mosaics, has kindly shared a detailed article explaining how to create your own mosaic stepping stone. When it comes to creating beautiful and unique stepping stones for your home and garden, there are a few things you need to keep in mind in order to get the best results.
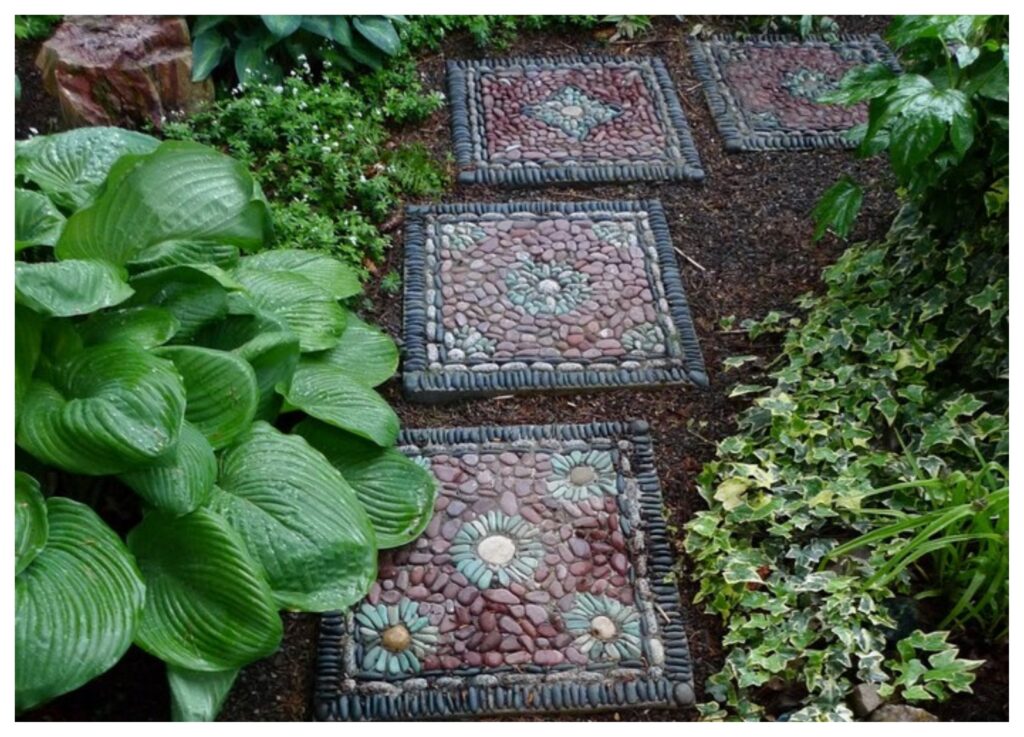
In this helpful guide, he covers everything from choosing the right materials to putting the finishing touches on your project, so you can create stunning stepping stones that will last for years to come. He has been creating these beautiful works of art for years, and his passion for the craft shows in every piece he creates.
Jeffrey’s work has been featured in magazines and online, and he has even been commissioned to create custom pebble mosaics for private clients. His work is truly one-of-a-kind, and his attention to detail is what sets him apart from other mosaic artists.

So if you’re feeling inspired to try your hand at creating a beautiful mosaic stepping stone, be sure to check out Jeffrey’s article for all the tips and tricks you’ll need to know. With his expert guidance, you’ll be able to create a stunning piece of art for your home that will be sure to impress your friends and family.
Contents [show]
View the album of his amazing pebble mosaic stepping stones and get the link to the step-by-step guide below! 
Making Mosiac Stepping Stones
Materials
- Pebbles
- 2 Plywood
- 2×4 Timber Frame
- Type S Mortar
- Sand
- 2 1/2″ long Screws
- Rolled Flexible Lawn Edging (optional; for rounded corners)
- 3/8th or 1/2″ Rebar (for reinforcement)
- Garden Hose (with squeeze handle spray nozzle)
- Dust Mask
- Rubber Gloves
- 5-Gallon Bucket (with water)
- Muriatic Acid
Tools
- Drill
- Hacksaw
- Framing Square
- Contractors Wheel Barrow and Garden Hoe
- Flat Screwdriver
- Nylon Bristle Brush
Instructions
Step 1: Prepare the Frame
- Measure and cut the 2×4 timber to create a frame for your stepping stone. Use the framing square to ensure precise 90-degree angles.
- Drill pilot holes and screw the timber pieces together to form a square or rectangular frame. For rounded corners, attach the rolled flexible lawn edging inside the frame.
Step 2: Cut and Assemble the Base
- Cut the plywood to fit the bottom of your frame. Secure the plywood to the frame using 2 1/2″ long screws.
- Place the frame on a flat, stable surface where you’ll be working.
Step 3: Prepare the Reinforcement
- Cut the rebar with a hacksaw to fit inside the frame, leaving about 1 inch of space from the edges. This will reinforce your stepping stone.
- Place the rebar pieces in a grid pattern inside the frame.
Step 4: Mix the Mortar
- Put on your dust mask and rubber gloves.
- In a contractors wheelbarrow, mix the Type S mortar with sand and water according to the manufacturer’s instructions. Use the garden hoe to blend until you achieve a thick, workable consistency.
Step 5: Pour the Mortar
- Pour the mixed mortar into the frame, spreading it evenly with the garden hoe.
- Fill the frame halfway, then place the rebar grid on top. Continue pouring the mortar until the frame is filled.
Step 6: Level the Mortar
- Use a flat screwdriver to smooth and level the surface of the mortar.
- Tap the sides of the frame to release any air bubbles and ensure an even surface.
Step 7: Arrange the Pebbles
- Begin arranging your pebbles on the surface of the mortar. Press each pebble gently into the mortar so it is firmly set but not submerged.
- Create your desired design, ensuring the pebbles are evenly spaced and level.
Step 8: Let the Mortar Set
- Allow the mortar to set for about 24 hours. Keep it moist by gently spraying it with a garden hose using a squeeze handle spray nozzle.
Step 9: Remove the Frame
- Once the mortar is fully set, carefully remove the screws and disassemble the frame.
Step 10: Clean and Finish
- Mix muriatic acid with water in a 5-gallon bucket (follow safety instructions on the acid container and wear gloves and a mask).
- Use a nylon bristle brush to scrub the surface of the stepping stone, removing any mortar residue from the pebbles.
- Rinse thoroughly with water from the garden hose.
Step 11: Cure the Stepping Stone
- Allow the stepping stone to cure for an additional week, keeping it moist to prevent cracking.
Step 12: Place in Your Garden
- Once fully cured, your mosaic stepping stone is ready to be placed in your garden. Enjoy the beautiful and functional addition to your outdoor space!
Click on any image to start the lightbox display. Use your Esc key to close the lightbox.![]()

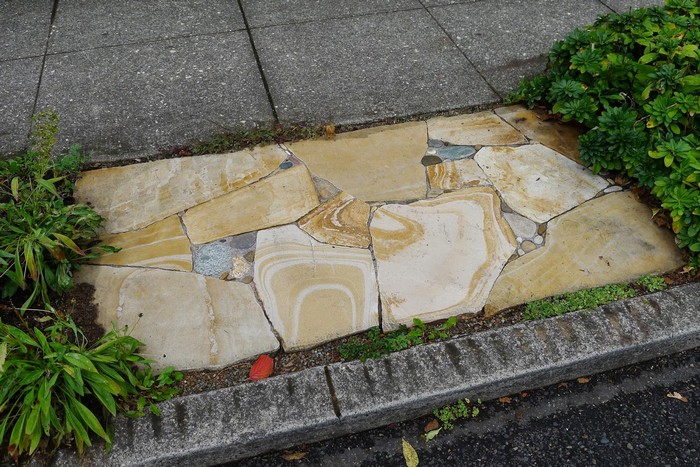
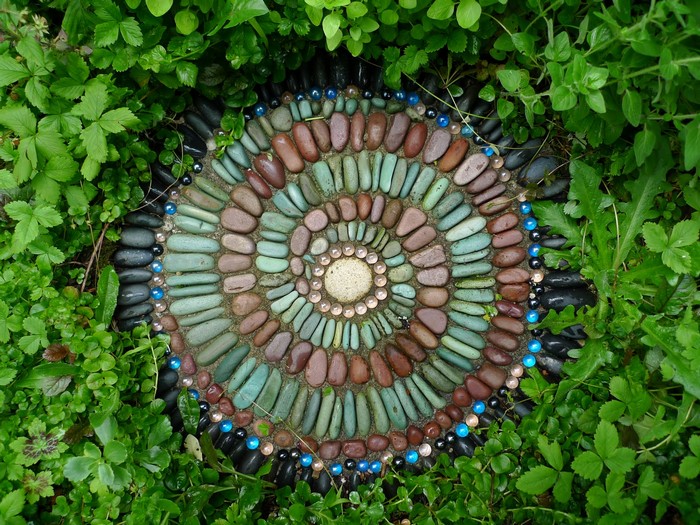
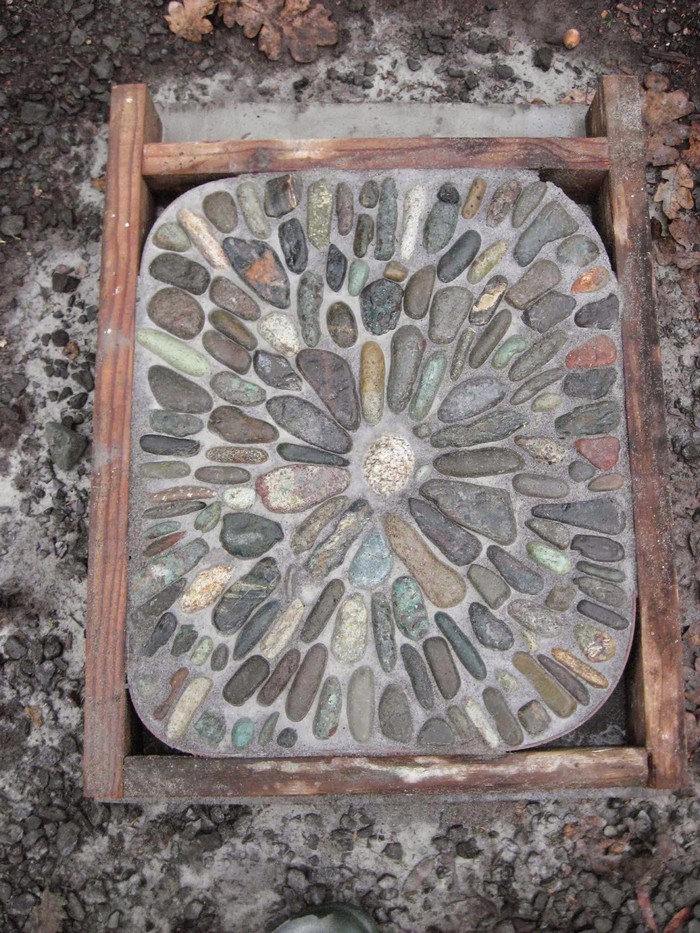
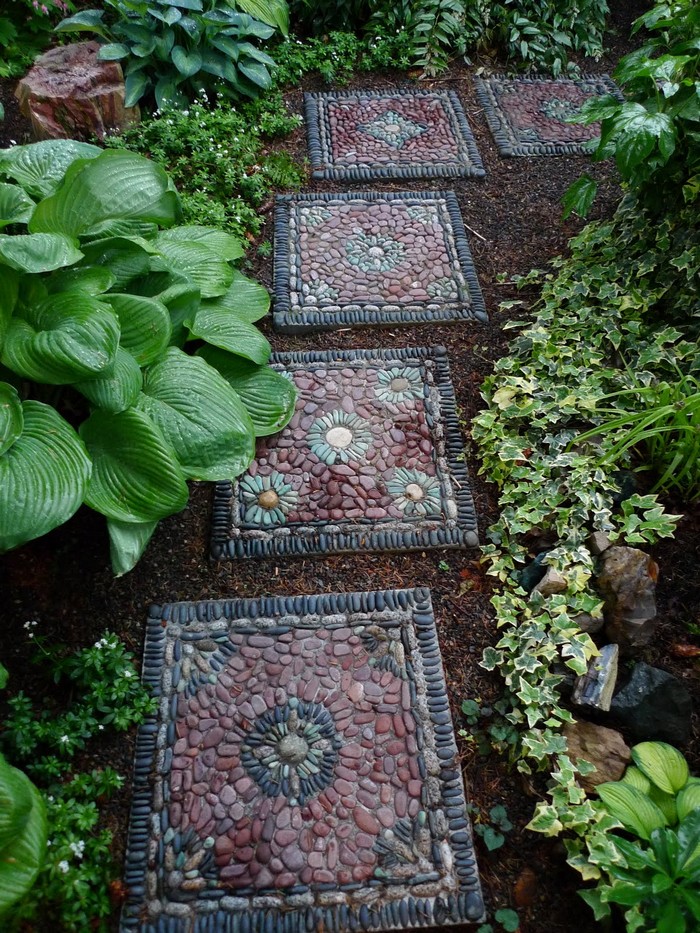
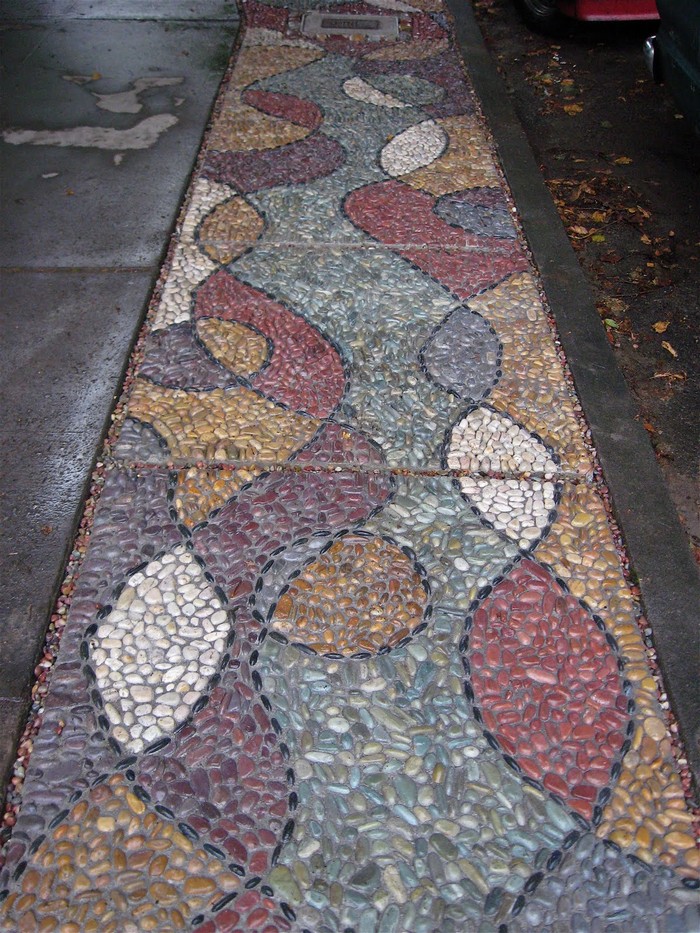
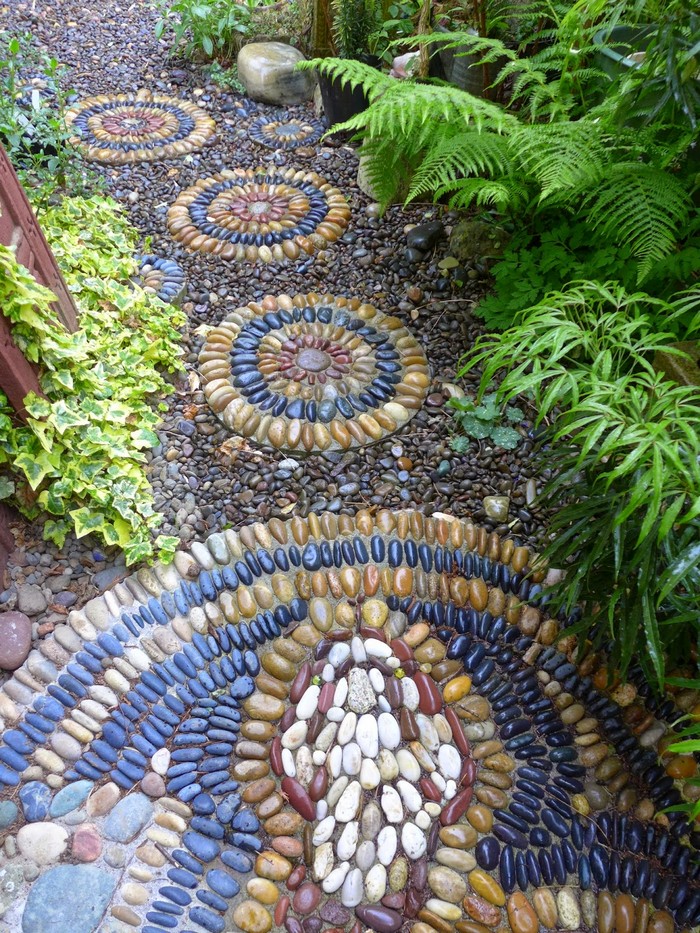
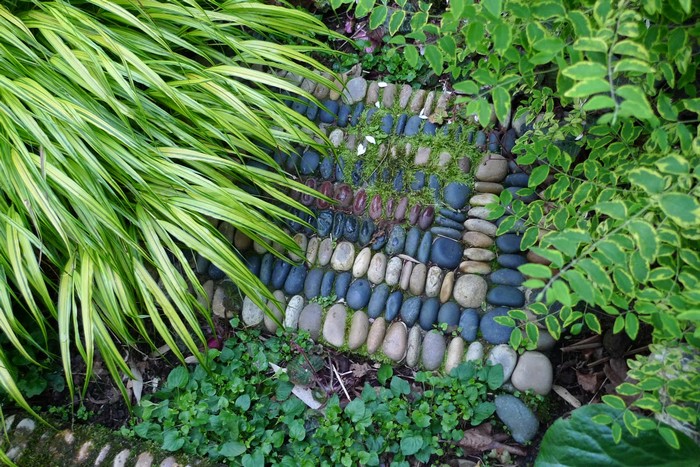
You can get more step-by-step instructions here…
Benefits of Mosaic Stepping Stones
Mosaic stepping stones are a beautiful and functional addition to any garden or outdoor space. They offer a range of benefits that go beyond their aesthetic appeal. Let’s explore how mosaic stepping stones can enhance your garden.
Aesthetic Appeal
Mosaic stepping stones add a unique and artistic touch to your garden. The intricate designs and vibrant colors of the pebbles create visual interest and beauty. Each mosaic stepping stone is a piece of art, reflecting your personal style and creativity.
Functional Pathways
These stones provide a practical solution for creating pathways. They offer a stable and durable surface to walk on, preventing soil compaction and mud. Mosaic stepping stones guide you through your garden, making navigation easier and more enjoyable.
Durability and Longevity
Mosaic stepping stones are built to last. Made from sturdy materials like pebbles and mortar, they can withstand various weather conditions. With proper maintenance, these stones will remain a long-lasting feature in your garden.
Customization and Personalization
One of the greatest benefits of mosaic stepping stones is the ability to customize them. You can choose colors, patterns, and designs that complement your garden’s theme. Personalize your mosaic stepping stones with names, dates, or meaningful symbols to make them truly unique.
Low Maintenance
Once installed, mosaic stepping stones require minimal upkeep. Regular cleaning and occasional resealing will keep them looking fresh. They resist wear and tear, ensuring that your garden maintains its charm with little effort.
Eco-Friendly Option
Creating mosaic stepping stones can be an eco-friendly project. Using locally sourced pebbles and sustainable materials reduces environmental impact. Recycled materials can also be incorporated, making this a green choice for your garden.
Incorporating mosaic stepping stones into your garden offers numerous benefits. From their aesthetic appeal to their functional advantages, these stones enhance the beauty and usability of your outdoor space.
Choosing the Right Pebbles for Your Mosaic
Selecting the right pebbles is a crucial step in creating stunning mosaic stepping stones. The pebbles you choose will determine the overall look and durability of your project. Here are some key considerations to help you pick the perfect pebbles for your mosaic stepping stones.
Color and Aesthetic Appeal
When choosing pebbles, consider the color scheme of your garden. Natural tones like browns, grays, and greens can blend seamlessly with your outdoor space. For a bolder look, select pebbles in vibrant colors. Mixing different colors can add depth and interest to your mosaic.
Size and Shape
The size and shape of the pebbles will affect the texture and appearance of your mosaic stepping stones. Smaller pebbles can create intricate patterns, while larger ones make a bold statement. Smooth, rounded pebbles offer a polished look, whereas irregular shapes add a rustic charm.
Texture and Surface
Pebbles with a smooth surface are easier to walk on and can create a sleek finish. Rough-textured pebbles provide better grip but might be less comfortable underfoot. Consider the texture that best suits your design and functional needs.
Durability and Quality
Ensure the pebbles you select are durable and weather-resistant. High-quality pebbles will withstand the elements and maintain their appearance over time. Avoid soft or porous stones that may crack or erode.
Source and Sustainability
Opt for pebbles that are sourced sustainably. Locally sourced stones reduce the environmental impact and support local businesses. Using recycled or reclaimed pebbles is also an eco-friendly choice.
Choosing the right pebbles is essential for creating beautiful and lasting mosaic stepping stones. By considering color, size, texture, durability, and sustainability, you can select pebbles that enhance the aesthetic and functional appeal of your garden.
Conclusion
Mosaic stepping stones are a beautiful and practical addition to any garden. They enhance the aesthetic appeal while providing functional pathways. With the right materials and a bit of creativity, you can create unique and durable pieces that will last for years.


