Craft beer has seen a resurgence in popularity in recent years, as more and more people are interested in trying new and unique flavours.
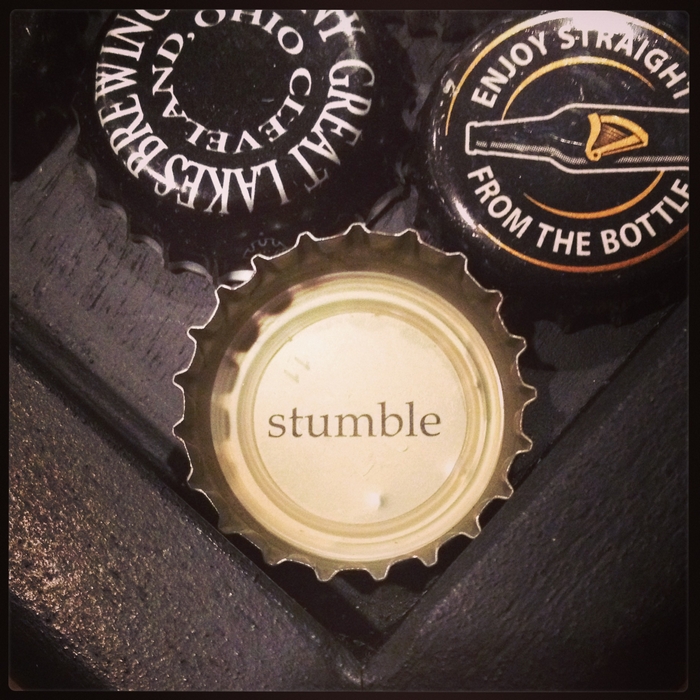
If you’re a beer drinker, then you know the satisfaction that comes from sampling a rare brew and collecting the bottle cap to commemorate the moment. But did you know that there’s a whole subculture devoted to collecting bottle caps? It’s true!
Enthusiastic about their pastime, bottlecap collectors go worldwide in pursuit of unique and uncommon caps. This personalized bottle cap bar top might be the ideal solution for you if you’ve been collecting bottle caps but are having trouble coming up with a good project to use them for.
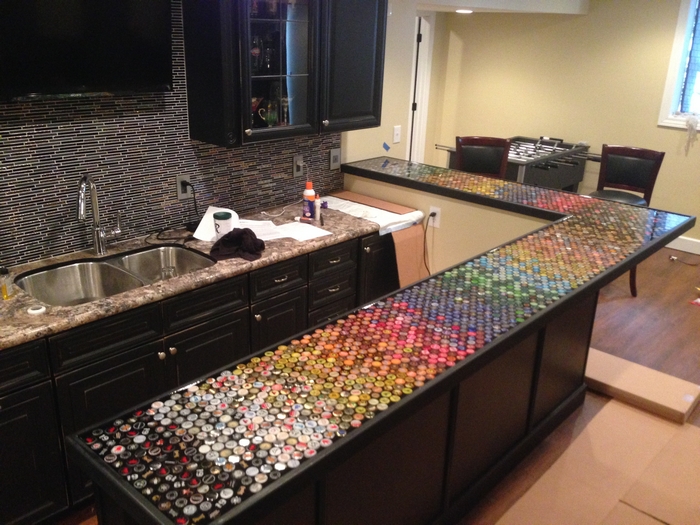
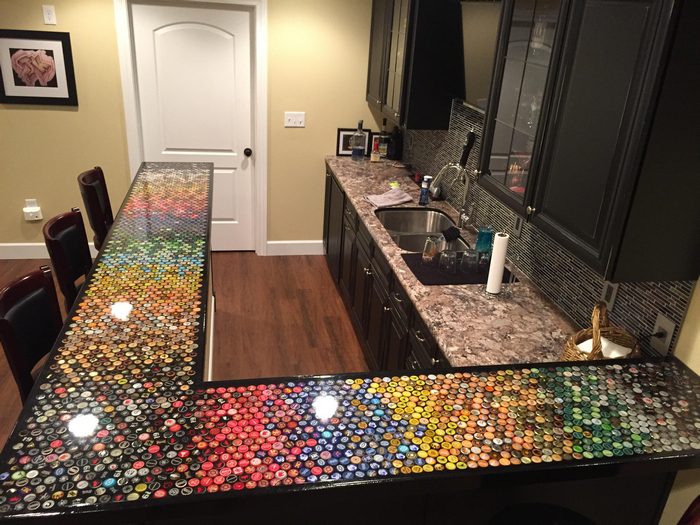
Surely, this do-it-yourself project will spark conversation in your house;) Five years’ worth of bottle caps were collected with the help of the family and friends of the do-it-yourselfer to make the distinctive countertop you see here. The couple’s original plan was to arrange the pictures in a mosaic-like design using the bottle caps.
But they did figure that creating a gradient effect would be easier. Beautiful countertop that is sure to draw attention is the final result. This is a really original method to create something for your home and arrange your bottle cap collection.
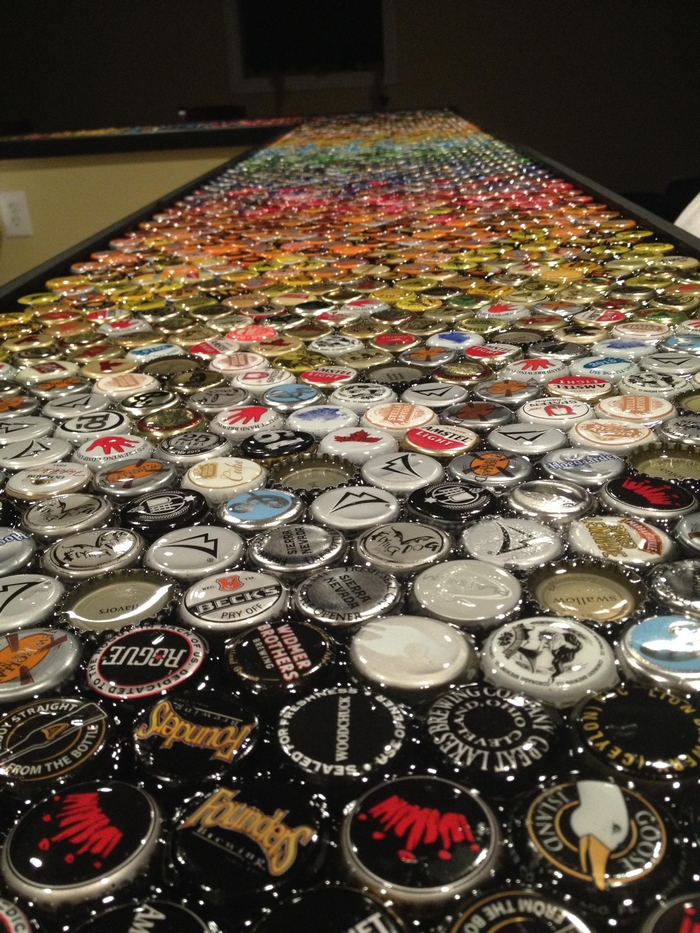
Though they first intended to create noticeable color transitions, they soon discovered that the required effect would require many more blackcaps than other colors. They debated for a while before settling on a more muted color scheme that yet produced the desired effect of a distinct and eye-catching color shift.
Surely, this do-it-yourself project will spark conversation in your house;) Five years’ worth of bottle caps were collected with the help of the family and friends of the do-it-yourselfer to make the distinctive countertop you see here. The couple’s original plan was to arrange the pictures in a mosaic-like design using the bottle caps. But they did figure that creating a gradient effect would be easier.
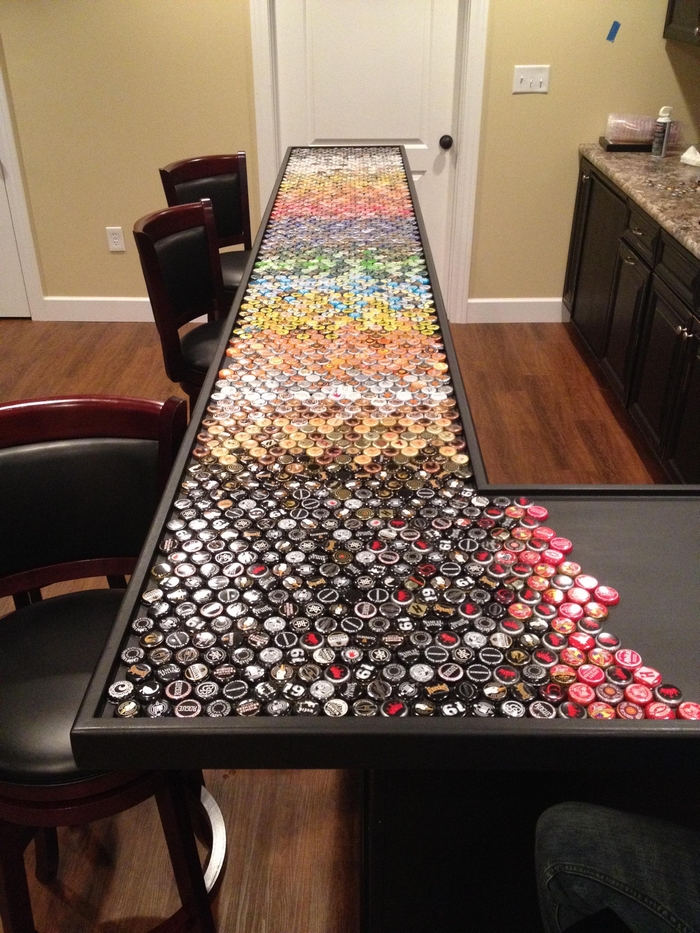
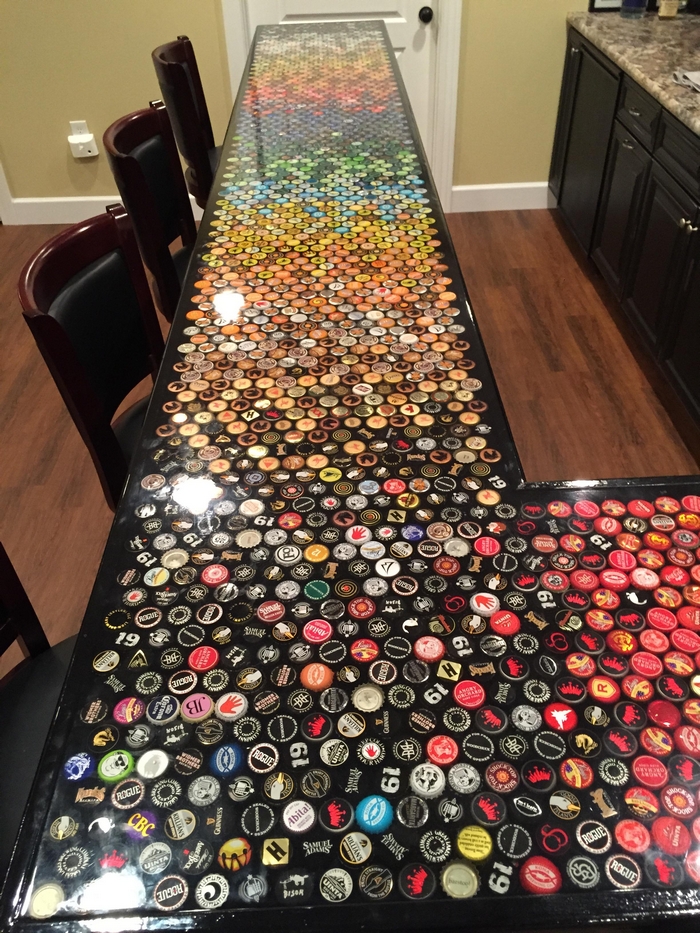
Beautiful countertop that is sure to draw attention is the final result. This is a really original method to create something for your home and arrange your bottle cap collection.The solution the team decided upon was to let the colours “flow” and overlap with each other. You can view the gallery below to better see how the bottle caps are laid out! 🙂 This gave the project a more organic feel and allowed for a more creative design.
The bottle caps were sorted and arranged by the builders for a long time until they were happy with the appearance. Though it took several tries, they eventually produced a stunning and original work of art. The builders deserve great credit for their hard effort and commitment; this bottle cap bar top is genuinely unique.
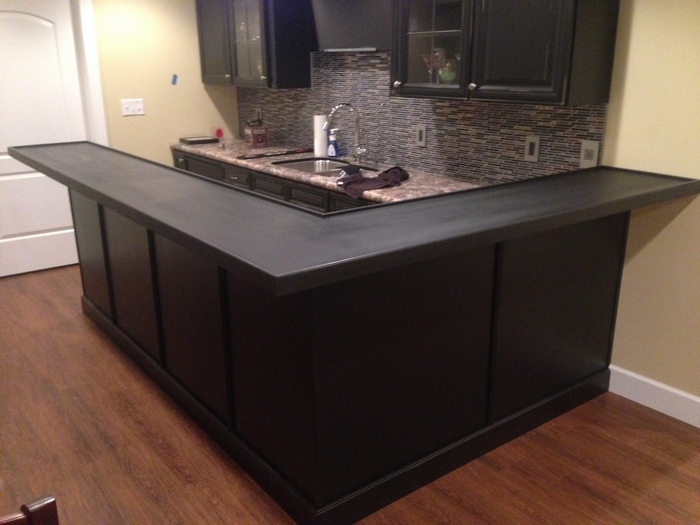
This DIY bottle cap bar top project is, indeed, time-consuming from start to finish. But the result shows that it was definitely worth the wait! The professional-looking and unique piece that will be the envy of all your friends is the perfect way to add a personal touch to your home décor.
A bottle cap bar top makes for a great conversation starter when guests come over, and it’s a fun way to show off your personality. Plus, it’s a great way to add a pop of colour to your kitchen.
Have you thought of a way to store your bottle cap collection? What do you think of this bottle cap bar top project?
Creating a Bottle Cap Bar Top
Materials
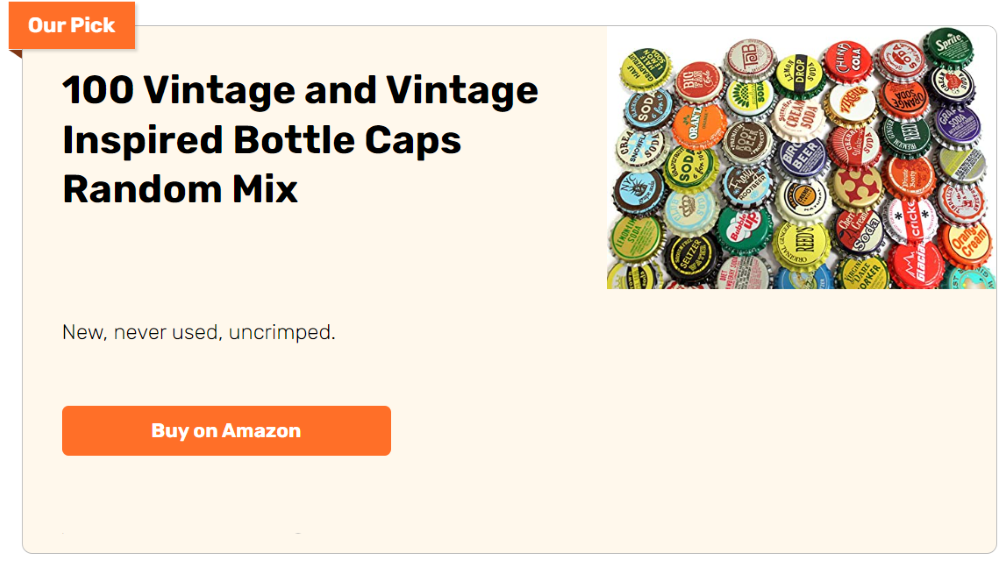
- Heaps of Bottle Caps
- 5/8″ Plywood
- 1-1/2″ Poplar
- Wood Glue
- Matte Black Paint
- Epoxy
- Drop Cloths and Towels (for cleaning)
Tools
- Table Saw
- Router
- Brad Nailer
- Spirit Level
- Heat Gun
Instructions
Step 1: Get Your Base Ready
- Cut Your Plywood: Grab your table saw and cut the 5/8″ plywood to fit the size of your bar area.
- Smooth It Out: Take some sandpaper and smooth out all the edges so you don’t have any sharp bits.
Step 2: Frame It
- Measure and Cut Your Poplar: Measure and saw your poplar wood to fit around the edge of your plywood. This frame will help hold everything in once you pour the epoxy.
- Put the Frame Together: Slather some wood glue on the ends of your poplar pieces and stick them around your plywood’s edge.
- Nail It Down: Use your brad nailer to firmly attach the frame to the base.
Step 3: Paint the Base
- Slap on Some Paint: Paint the plywood and the frame with the matte black paint. It makes the bottle caps pop visually.
- Dry Time: Let the paint dry completely. Grab a coffee, relax.
Step 4: Cap It Off
- Design Time: Lay out your bottle caps on the painted plywood. Get creative with the design!
- Glue Down the Caps: Once you’re happy with your design, dab a bit of wood glue on the underside of each cap to keep them from shifting.
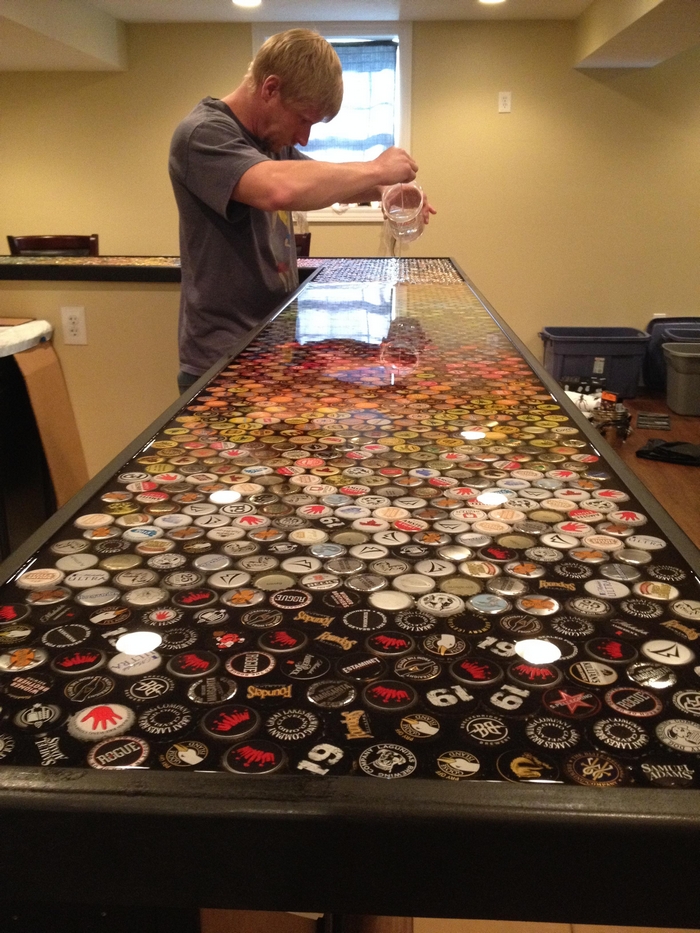
Step 5: Epoxy Time
- Mix Your Epoxy: Follow the directions on your epoxy resin to mix it properly.
- Pour It On: Start at one corner and pour the epoxy over your bottle caps, making sure to cover them evenly.
- Smooth It Out: Use something like an old credit card to spread the epoxy evenly over the whole surface.
- Bubble Buster: Whip out your heat gun and gently wave it over the epoxy to pop any pesky air bubbles.
Step 6: Let It Set
- Cure the Epoxy: Let the epoxy set. It might take a while, so no touching!
- Touch-Up Time: Once it’s set, check for any spots you might have missed. You can apply more epoxy if needed.
Step 7: Tidy the Edges
- Sand Any Drips: If any epoxy has dribbled over the edge, just sand it off.
- Clean Up: Use your drop cloths and towels to wipe up any mess.
Step 8: Install It
- Put It in Place: Mount your new bar top over your bar area. Make sure it’s secure.
Click on any image to start the lightbox display. Use your Esc key to close the lightbox. ?


You can find more instructions from thepassionofthechris over at Imgur!
This user provides clear and concise directions that are easy to follow, ensuring that anyone can complete this project with great results.
Designing your bottle cap bar top requires a blend of creativity and strategy. You’ll want to consider not only the overall look but also how the design will interact with the space where the bar top will be installed. This phase is your opportunity to map out a plan that will result in a functional art piece.
Choosing a Theme
Before you start laying out any bottle caps, think about the theme of your bottle cap bar top. Are you going for a specific color scheme, or perhaps a pattern that resonates with a personal hobby or interest? Themes can range from random, eclectic mixes to precise, intricate designs that depict a specific image or pattern.
Grid Layout
One straightforward approach is to create a grid layout, where you arrange your caps in straight rows and columns. This method works well if you have a large collection of similar caps, allowing the uniformity of the caps to create a tidy, cohesive look.
Mosaic Design
For a more artistic bottle cap bar top, consider a mosaic design. This could involve creating specific shapes, letters, or even a landscape scene using caps of different colors and designs. Mosaic layouts require more planning and possibly sketching your design on paper first to serve as a guide.
Gradient Effect
A gradient effect can add a dynamic element to your bottle cap bar top. Arrange the caps in a spectrum, perhaps starting from dark colors at one end and moving to light colors at the other. This approach is visually striking and can be a real conversation starter.
Themed Color Choices
If you prefer a more thematic or branded look, select bottle caps that match the colors of your favorite sports team, company logo, or even a fictional character. This type of design requires collecting caps in specific colors, which adds an element of challenge and excitement to the bottle cap bar top project.
Using Software for Pre-Visualization
For those who want to get a realistic view of their bottle cap bar top design before committing to placing caps, there are several software tools available that can help. Use graphic design software to simulate the layout of your bottle cap bar top. This can help in visualizing the end product and making necessary adjustments before the actual assembly begins.
Making sure the style and arrangement of your bottle cap bar top are well thought out guarantees that the finished result is not just a distinctive piece of décor but also a reflection of your own ingenuity and taste. Using digital tools or hand sketching your drawings, the important thing is to enjoy the process of realizing your creative idea.
Conclusion
Building a bottle cap bar top is a rewarding DIY project that transforms everyday items into a stunning piece of functional art. This creative endeavor allows you to express your personality and interests through design and color choices. As you assemble your custom bar top, you’ll enjoy both the process and the opportunity to engage with friends and family over this shared project. The end result is not just a conversation starter but a durable, personalized addition to your home décor.
We have more incredible projects for your bar. Check out our fire extinguisher mini bar project next!