Last Updated on April 2, 2021 by teamobn
Designing your house is important if you want a pleasant home to live in. It is even better if your house is filled with unique and customized decorations. It makes the place really your home.
If you want a chic monogram decor in your home, this DIY project might appeal. It could be your initials painted with your favourite colour, but it would also be nice plain and simple.
Some letters might be challenging to mould like the letters J, O, and P. But we trust that you are up for it! ![]()

Materials:
- Concrete or cement
- Sand
- Rubber gloves
- Cutter
- Pencil and ruler
- Hot glue
- Bucket or pot (for mixing the concrete)
- Cardboard (for making the mould)
- Duct Tape
Steps:
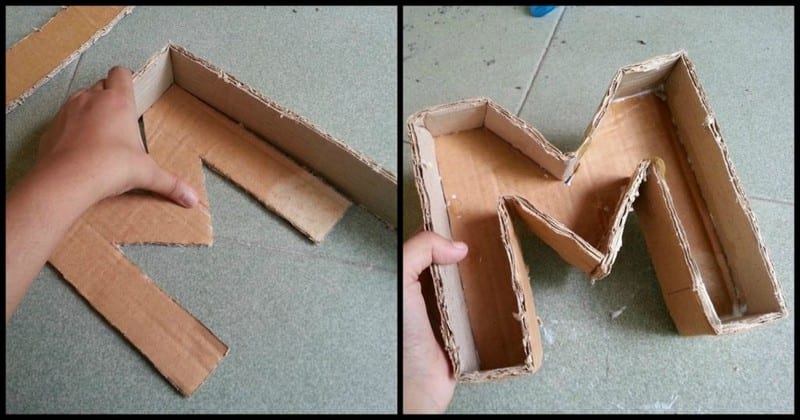
For the mold, make a lettering of your choice. The strokes of your letters should be at least 1 inch thick for it to be strong. Cut strips, also at least 1 inch thick, to glue around the letter.
Cutting separate strips for each side of the letter is recommended (instead of cutting a long strip and just folding it around) for cleaner corners. You can cut longer strips on some sides so you could easily hot glue the end of the adjacent strip to it.

Strengthen your mold by covering the outside with duct tape.

Before you mix the concrete, wear your rubber gloves! The mixture is 2 parts cement, 3 parts sand.
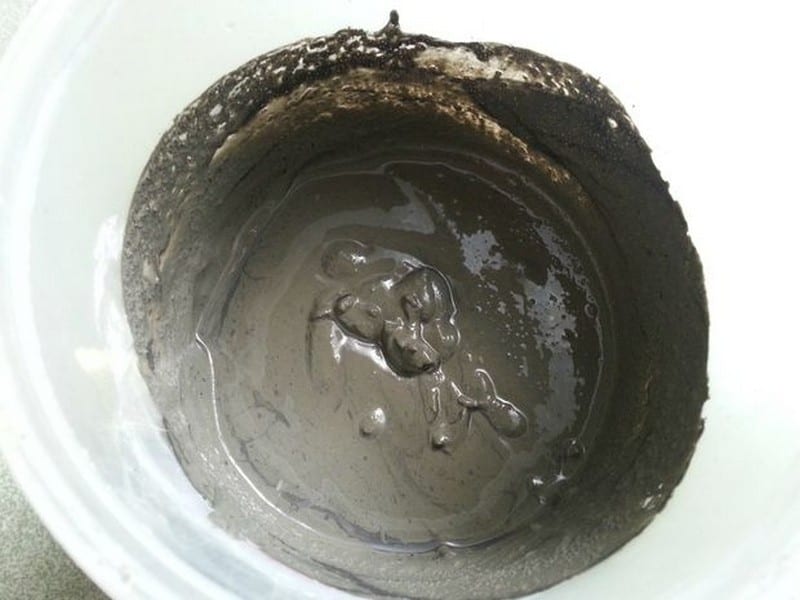
Add a small amount of water and mix them very well. If it’s too thick, just add some more water but make sure you don’t pour too much!

Place your mold on a flat surface where you can leave it to harden overnight. Gently pour the cement mixture, making sure you don’t ruin your mould.

You can paint it if you want. And that’s it!
These letters would be nice for any part of the house, don’t you think?
Source: Muhaiminah Faiz

