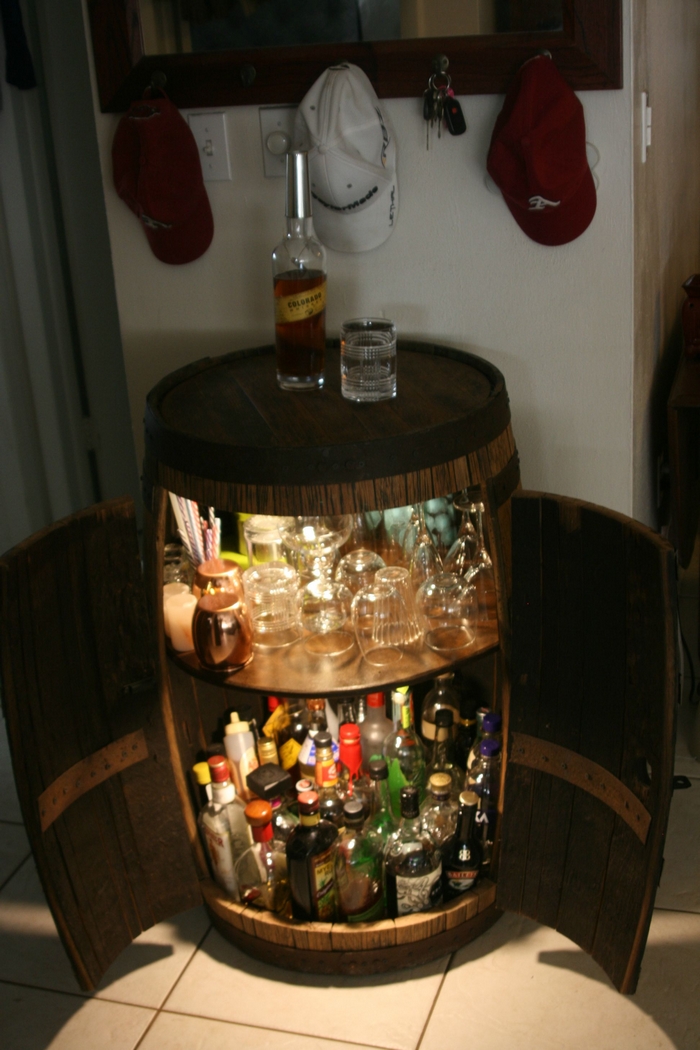
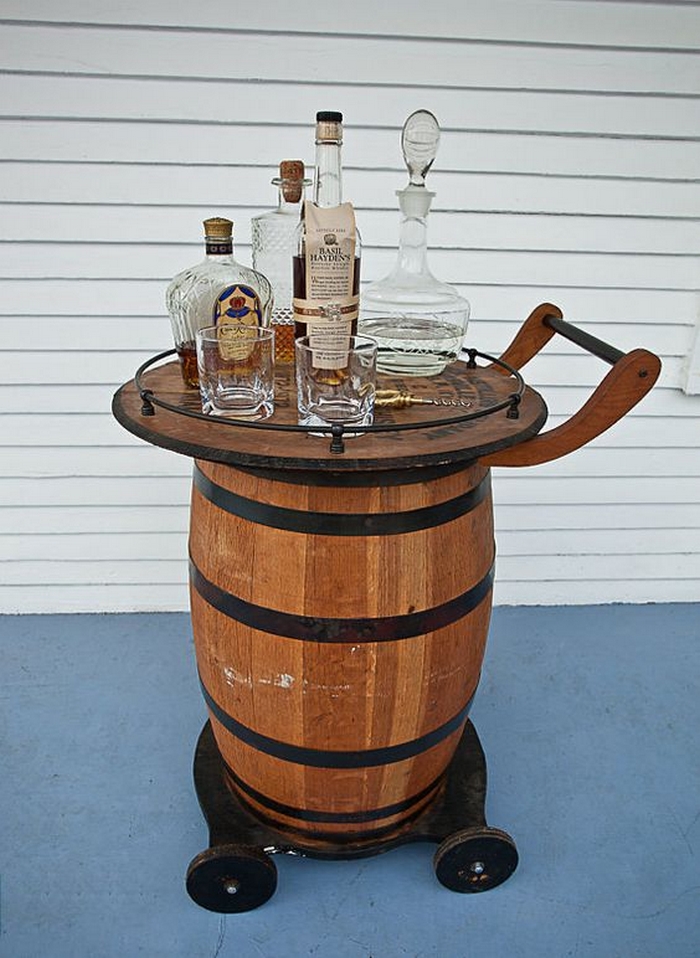
If you like the idea of having your alcohol and spirits tucked away but still within easy reach, this repurposed oak barrel bar could work for you. The addition of a simple lock will also keep the kids out of it.

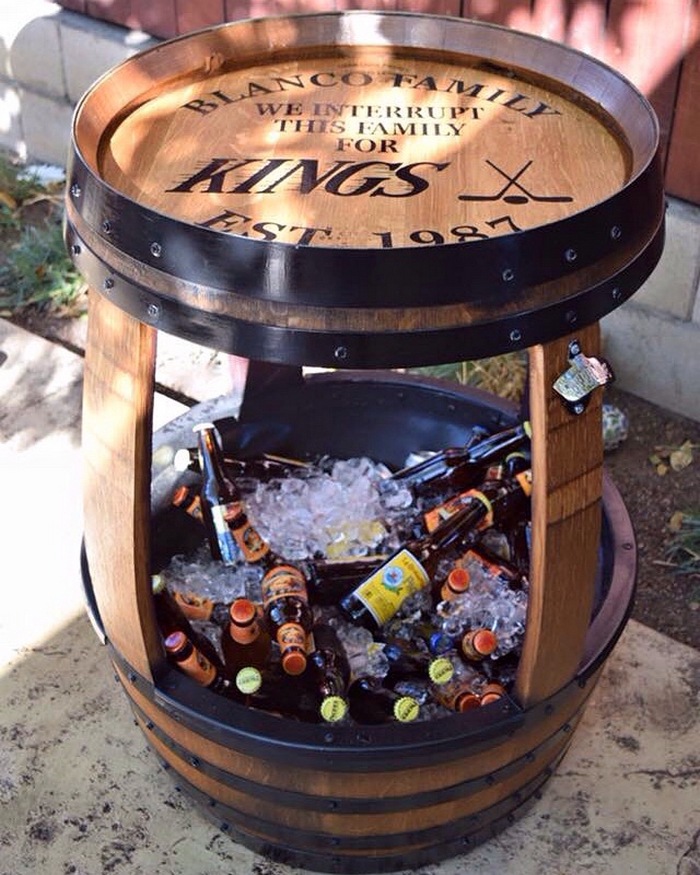
This oak barrel bar would also serve as a great gift idea for those you know that love to drink! It’s a great weekend project to take and for making use of those old wine barrels.
Click on any image to start the lightbox display. Use your Esc key to close the lightbox. ?
Read on to learn how to easily turn one into this beautiful oak barrel bar.
You’ll need these materials:
- Cardboard
- Plywood
- Scrap Wood
- Metal and Wood Glue
- Wire Wool
- Screws
- Danish Oil
- Gas Mask & Goggles
- Wheel Barrow draped in sheets
- Hinges
- Door Handles
- Tape
- Sello Tape
- Plastic Wrap
- Damp Cloth and Warm Water
And these tools:
- Hammer
- Circular and Small Triangular Shaped Sander
- Hacksaw
- Buzz-saw
- Drill with various Drill Bits
- Measuring Tape
- Scraper
- Vacuum Cleaner
Steps:
It’s up to your taste and the state of your barrel whether or not you do this oak barrel bar project. When I got hold of mine, it was pretty messy, so I gave it a quick sand to clean it up.
Remove the middle two metal bands from the barrel, they should just slide off, but you might need to tap at them with a hammer and a piece of wood.
Take the barrel to a well-ventilated area, and put it on an old sheet or blanket so it doesn’t get damaged. I did it outside on the grass, and it got a couple of green stains on it (before I put a sheet down), but they came off with no bother.
Sand the barrel down with the course paper first on the larger sander, and then do the little fiddly bits (such as next to the other metal bands) with the smaller sander (if you have one). Then go over the whole barrel again with the fine sandpaper to get it smooth to the touch.
I sanded the top and bottom too, and then I did the top of the barrel with some wire wool to make it super smooth and to make the grain of the wood stand out a bit more. When using wire wool, rub it in the same direction as the grain of the wood.
Set the barrel on one end and sit one of the hoops around it. Using a hammer and a scrap piece of wood, carefully tap the hoop down as far as it will go. Use a measuring tape to make sure it is level all the way around.
Run a piece of sellotape on the wood as close to the hoop as possible. Then tape glad wrap onto this piece of tape, so that no glue will be able to get onto the wood. Do the same on the other side of the hoop.
Take the hoop off gently, trying not to damage the sellotape and glad wrap.
Clean the inside of the hoop using a wire brush or something like that, to get any rust off the metal.
Follow your glue’s instructions to apply it to the hoop and/or the barrel.
Gently slide the hoop onto the barrel again. You might want to align all of the rivets with those of the other bands. In our case, all of the rivets ended up in line with the bunghole on the barrel.
Tap the hoop down with the hammer and wood, so that the hoop is sitting between the two layers of sellotape/glad wrap.
Let the glue set (allow as much time as the glue instructions say).
Remove the sellotape and glad wrap and sand down the wood around the hoops to get rid of any excess glue.
Do the same for the other hoop.
Cutting out the door was one of the trickiest bits of this oak barrel bar project, we thought about several different ways of doing this part. Our main problem was that there was nowhere to start cutting. None of the staves was far enough apart to fit a blade between them. For a while, we had considered drilling a small hole in one corner and starting from there.
In the end, what we did was used a hacksaw and a jigsaw. First, we labelled the staves that were to be cut with sellotape. In our case we cut a double door, with four staves on each door, so we cut eight staves in total. We also completely covered the doors of the oak barrel bar with tape, so they would stay together and keep their shape. Label which end is top and which end is bottom oak barrel bar as well, or do something so you’ll know which way to orientate the door of the oak barrel bar once you’ve cut it out.
This is also the point where you decide which part of the barrel you want the door cut out of. In our case, the bunghole in the barrel will be used to pass power cables in and out of the oak barrel bar (they fit beautifully without any adjustment!). So, our door is directly opposite the bunghole. You could also cut it so that the bunghole is on the door, and use it as a sort of handle to open and close the door. It’s entirely up to you how you end up doing it.
We started cutting with the hacksaw until we’d cut right through the wood into the inside of the barrel. From there we used the jigsaw to cut the rest of the doors of the oak barrel bar.
Because the individual staves aren’t stuck together, we only had to cut the top and bottom of the staves, not the sides.
Care should be taken to cut as straight as possible because any wobbles will come back to haunt you later, as we found out.

Next, we glued the staves of the door of our oak barrel bar together. We decided to make our oak barrel bar have double doors, so we didn’t glue the middle two together (but we kept them taped together, to make sure everything would still fit together).
Cover the top and bottom of the door with tape to stop the glue from going everywhere.
Lie the door on its convex face (so that the inside surface of the door is facing up). Gently separate two adjacent staves, and squeeze a line of glue down them. Repeat this for each of the other staves (except the middle ones, if you want a double door).
Put an old sheet, some newspaper or a plastic sheet inside the barrel, to protect it from any glue that might drip onto it.
Lift the door back into its hole in the barrel, making sure it sits relatively snuggly with the neighbouring staves.
Tie a rope or something around the barrel to hold the door down, and let the glue set.
Once the glue has set fully, remove the rope and the door. Take all the tape off the door and use a scalpel blade and a sander to get rid of any excess glue. If your barrel has been used to age wine, you will also likely need to gently sand the inside surface of the door to remove the crystals that have settled onto the wood.
This was the messiest step of the oak barrel bar project. You might want to wear some goggles and a gas mask or something because there will probably be a lot of dust flying around.
Use a scraper to get most of the muck off. Depending on how much you get off, you might want to vacuum it out before sanding it.
Use the sander on the inside of the barrel. We just sanded it down enough so that nothing loose was left on the wood, so nothing would flake off later.
Vacuum out the inside again.
Use a damp cloth to wipe out the inside of the oak barrel bar to get rid of most of the dust. Don’t worry if the cloth seems to come away very dark. This happened to us, and I think it was because the inside of the barrel is stained with the red wine that was aged inside it.
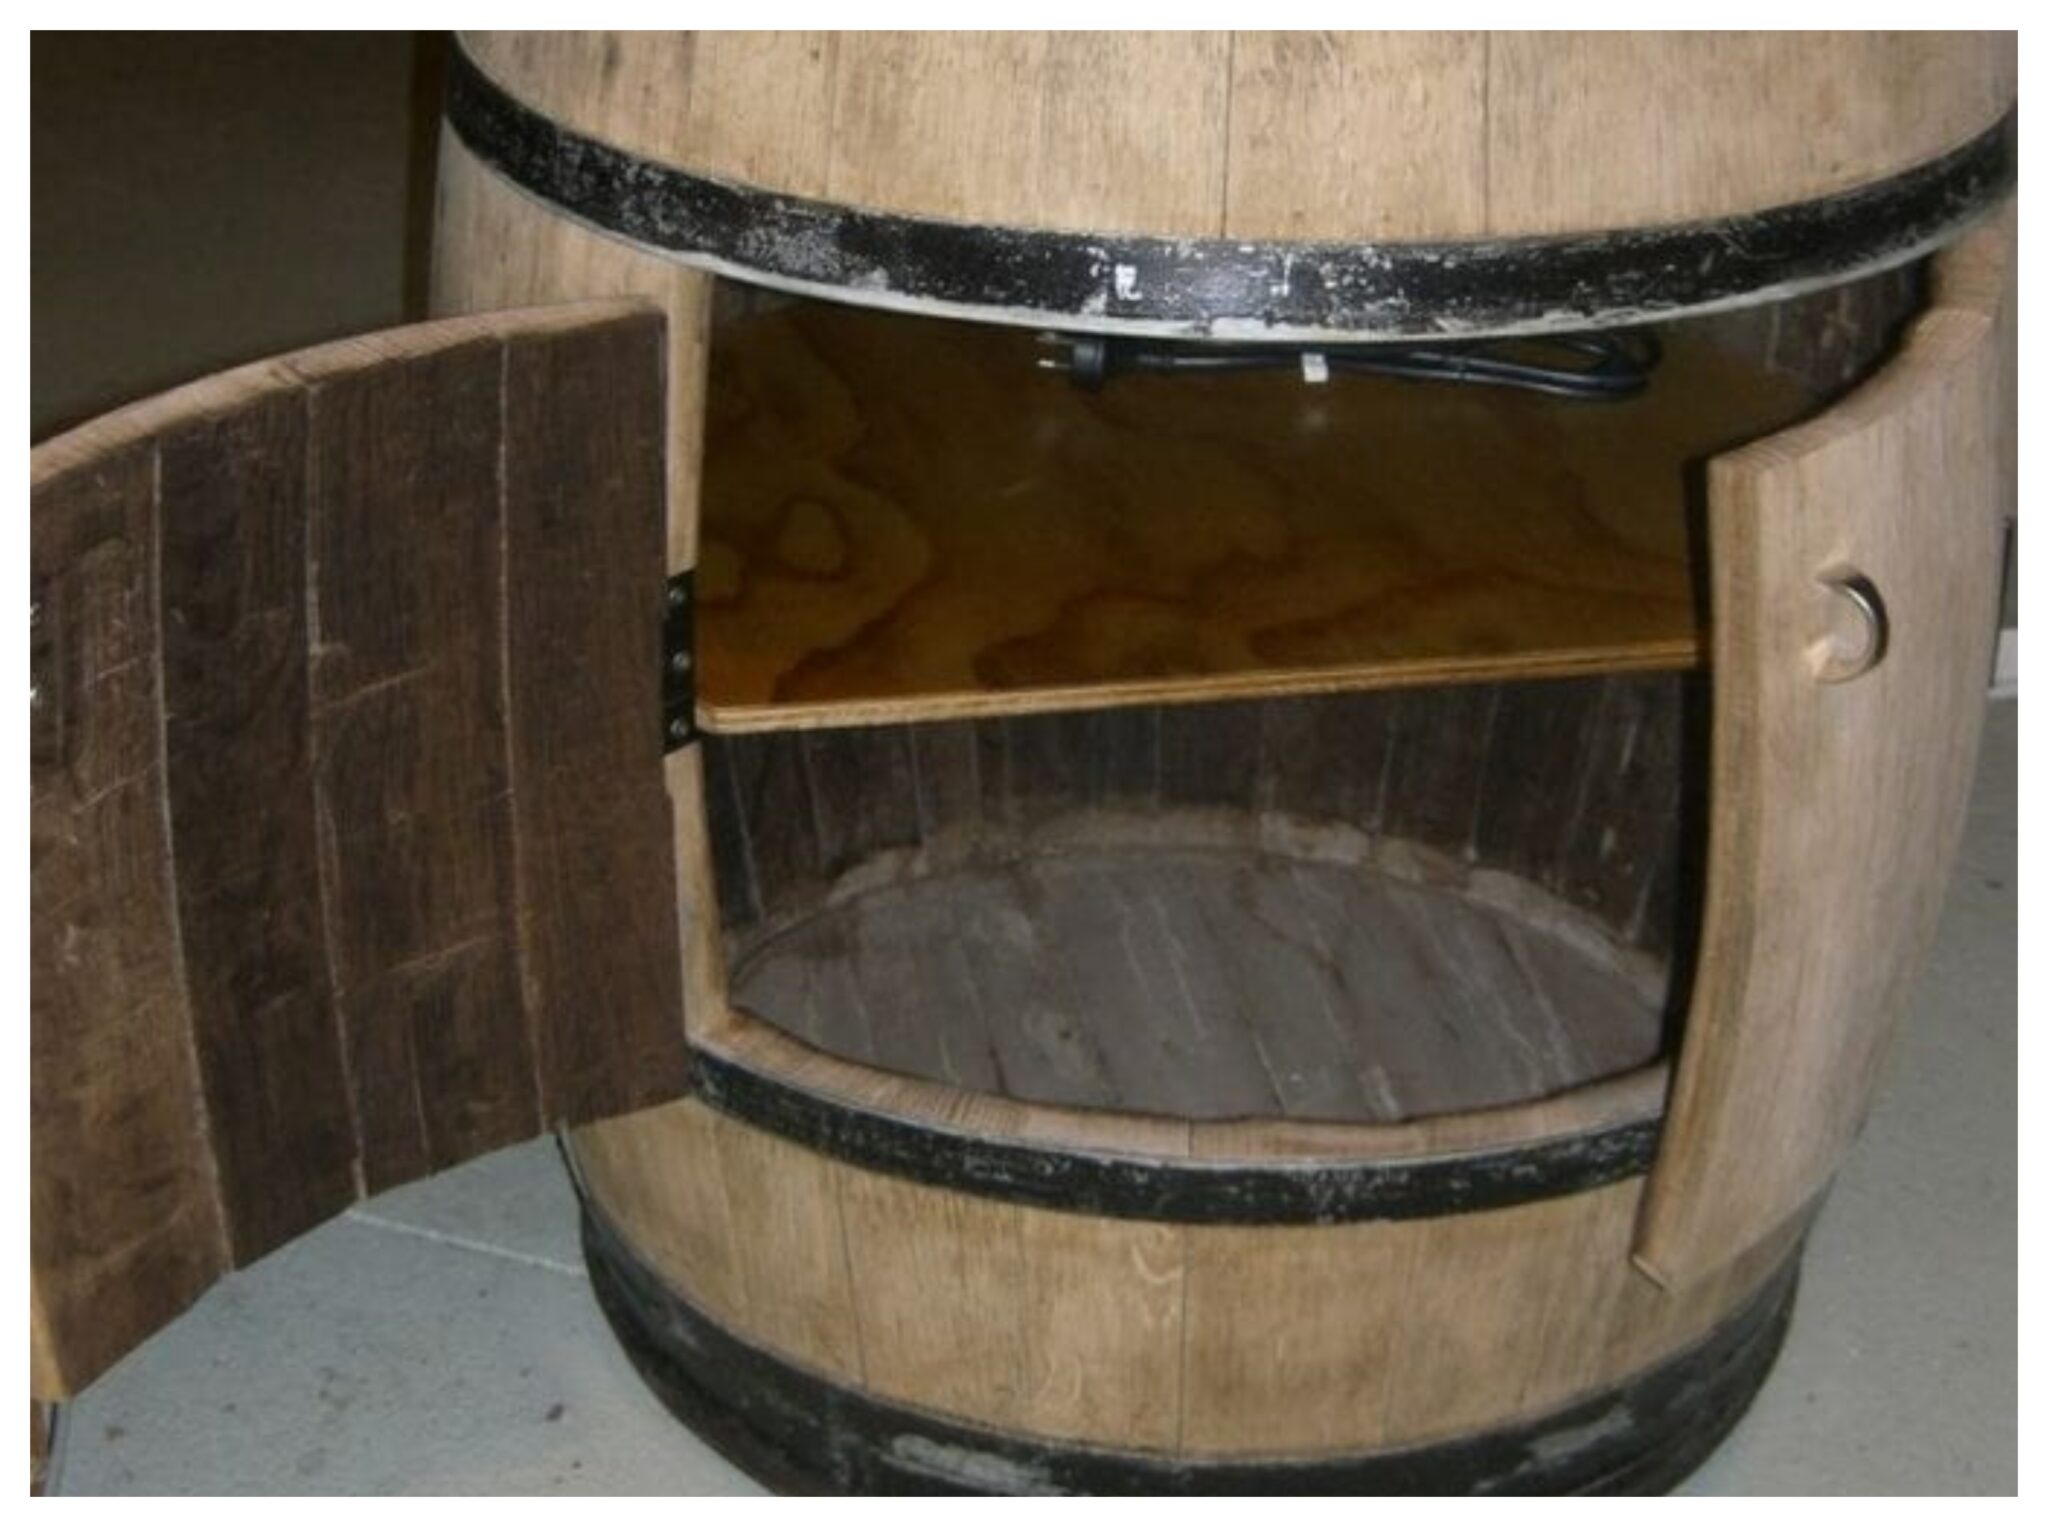
Decide what height you want the shelf in the oak barrel bar to be. When making this decision, it is very important to decide what you want to store in each part of the oak barrel bar. In our case, we decided that the bottom part of the oak barrel bar will be used to store wine, beer, and some food.
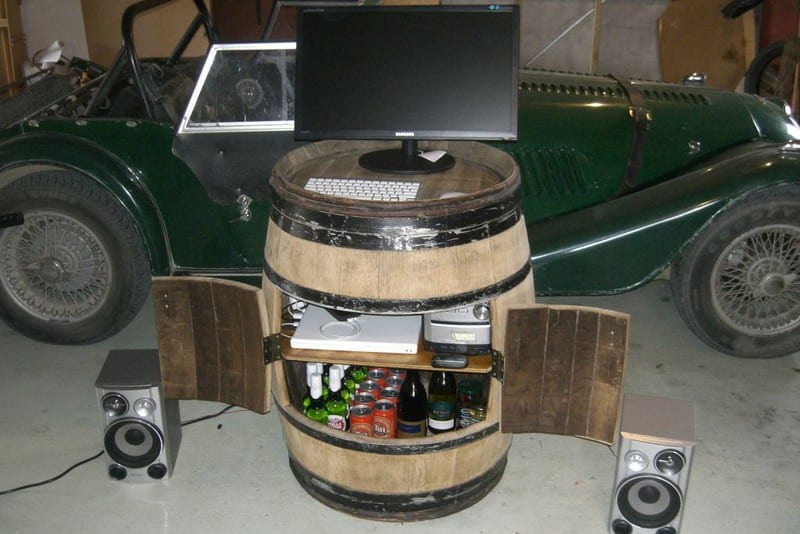
So we needed the bottom compartment to be tall enough to stand a full bottle of wine. In the top part, we wanted to put a stereo, a laptop, and a powerboard, with cables leading out of the bunghole. We ended up making the shelf sit just below the bunghole. This left enough room in both compartments for everything we wanted, and also let us run all of the cables out of the bunghole.
Measure the diameter of the oak barrel bar at this point, and use it to draw and cut out a piece of cardboard to use as a template.

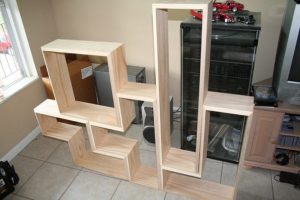
We decided that to be able to reach everything in the bottom half of the oak barrel bar easily and to make it easier to put the shelf in, we would cut part of the shelf out (see attached picture).
To do this, we first put the cardboard template inside the barrel (we had to bend it slightly to do this), and then draw a line on it from one side of the doorway to the other. Cut the piece off the cardboard that you marked, and slide the template in again to make sure it goes in without having to bend it.
Use the template to mark and cut out your shelf. We used some plywood, but you can use anything you want. You can smarten the shelf up a little bit if you want by sanding it and oiling it (we used Danish oil), or you could stain it.
Now we need to make some brackets on which to mount the shelf.
What we did was get an old piece of oak, and cut three slightly curved pieces out. We then held them in the oak barrel bar with the shelf on top, where we wanted the shelf to sit. Using a spirit level sitting on the shelf, we adjusted the supports until the shelf was sitting flat and level.
We marked where each of the supports would sit, and then drilled holes from them and screwed them in. We also drilled holes in the shelf to screw it onto the supports to make it as secure as possible.
Take the shelf out (but not the supports) to make the next step easier.

Now we need to screw the hinges onto the doors, and then the doors onto the oak barrel bar.
For the hinges, we had to cut out a small indentation in both doors and the barrel itself so that the door sits flush against the barrel when closed.
Drill holes for the screws, and then screw the hinges in place on the door.
We taped several pieces of card onto the barrel so that we knew there would be enough space above and below the doors for them to close without much drama.

Drill holes into the barrel for the screws, and then screw the hinge onto the barrel.
Do the same for the other door of the oak barrel bar.
Take the card off the barrel, and make sure the doors close properly. Check again when the barrel is standing upright, to make sure the doors don’t sag too much. If they do you might need to adjust the hinges. We had to put a couple of pieces of small cards between the hinges and the wood (of both the door and the barrel).

The left door on our barrel was closing perfectly and needed no other adjustments. However, the right door didn’t seem to want to shut properly, possibly because the line wasn’t cut completely straight.
To fix this, we glue an extra sliver of wood onto the bottom of the door, on one end. After that had set, we sanded it down and then stained it so that it didn’t stand out too much.
Now both doors shut properly!
Attach the door handles now too.
We marked where the holes for the screws needed to be, making sure they were level, and simply drilled the holes and then screwed the handles on.
Before putting the shelf back in, vacuum the barrel again, and wipe it down with a damp cloth to get rid of as much dust as possible.
Put the shelf back in and screw it on.
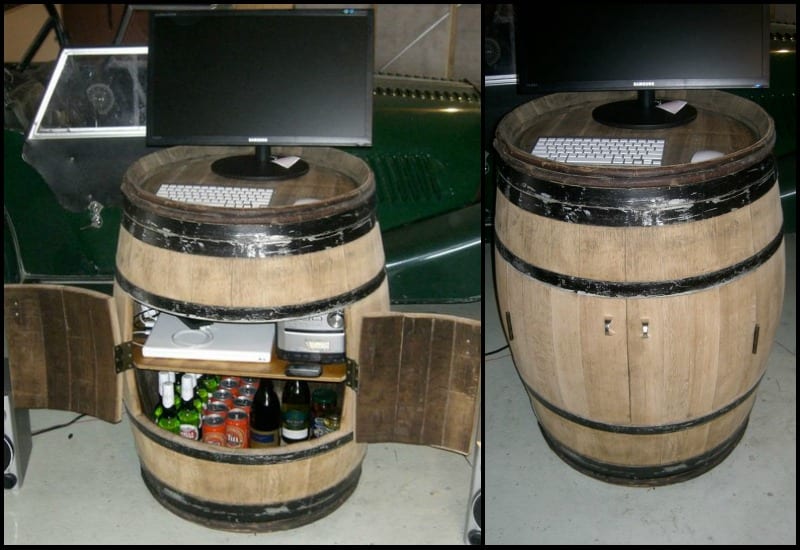
Finished! Last but certainly not least, stash all of your goodies inside the barrel.
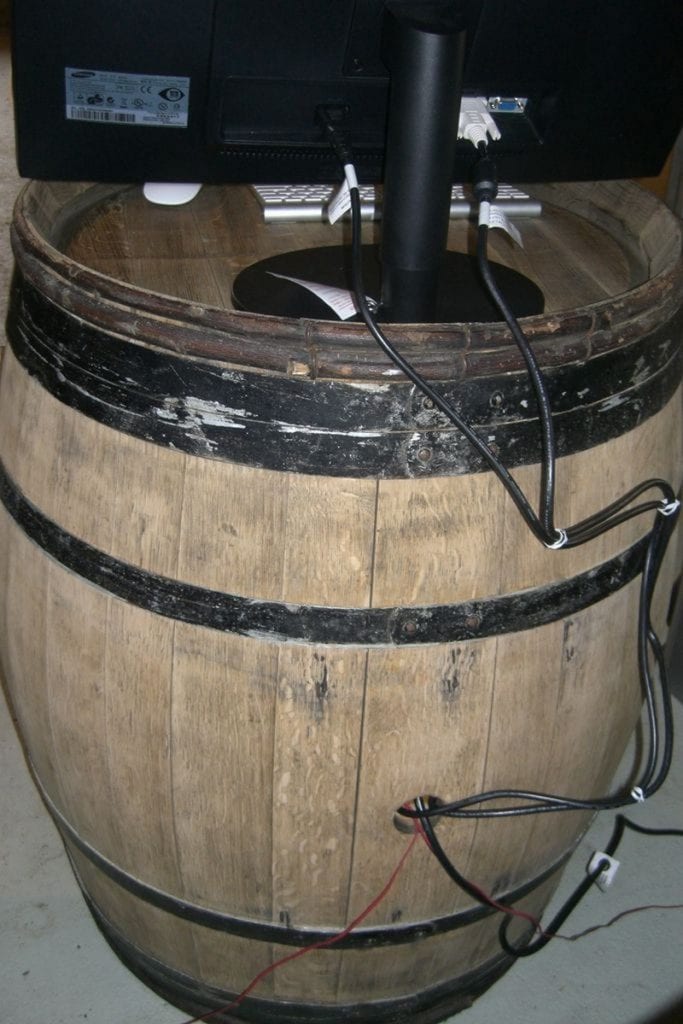
This is what it looks like from behind as the barrel top was used as a computer counter.
Of course, you can use this as an end table or stylish furniture in your kitchen.
Do you have access to old wine barrels? 🙂
Thanks to
7 Pro Strategies to Help You Make a DIY Oak Barrel Bar
Building a DIY oak barrel bar is a creative and rewarding project that can add character and functionality to your outdoor space. Here are 7 pro strategies to help you create a cool and unique DIY oak barrel bar:
1. Select the Right Barrel: Choose a sturdy oak barrel that is in good condition and free from any defects or damage. Look for barrels that have been previously used to age whiskey or wine, as they will have a rich patina and character that adds to the aesthetic appeal of the bar.
2. Plan Your Design: Before you start cutting or assembling the barrel, take the time to carefully plan out your design. Consider how you want to use the bar and what features you want to incorporate, such as shelving or a footrail. Sketch out your ideas and measurements to ensure everything fits together seamlessly.
3. Prepare the Barrel: Thoroughly clean the inside and outside of the barrel to remove any dirt, debris, or residual liquids. Sand down any rough spots or imperfections on the exterior to create a smooth surface for staining or painting.
4. Stabilize the Barrel: Depending on the stability of your barrel, you may need to reinforce it to prevent wobbling or tipping. Use sturdy wooden blocks or braces to provide additional support and stability, especially if the barrel will be used as a high-top table.
5. Create a Functional Bar Top: Choose a durable material for the bar top that can withstand outdoor conditions and frequent use. Options include hardwood planks, granite, or stainless steel. Secure the bar top to the barrel with screws or adhesive, ensuring it is level and securely attached.
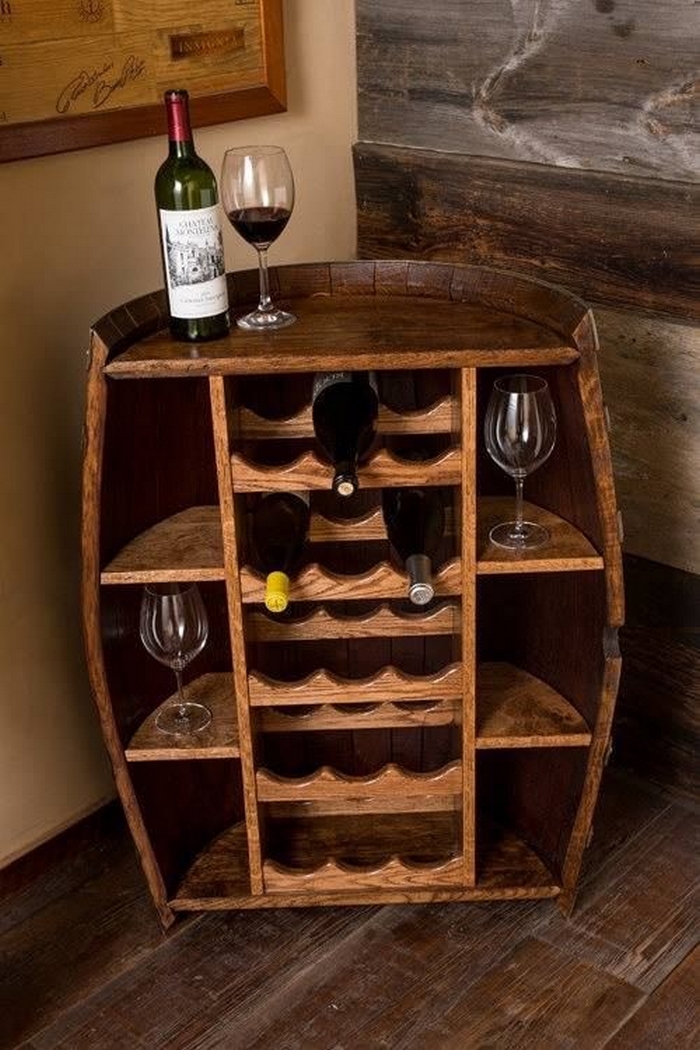
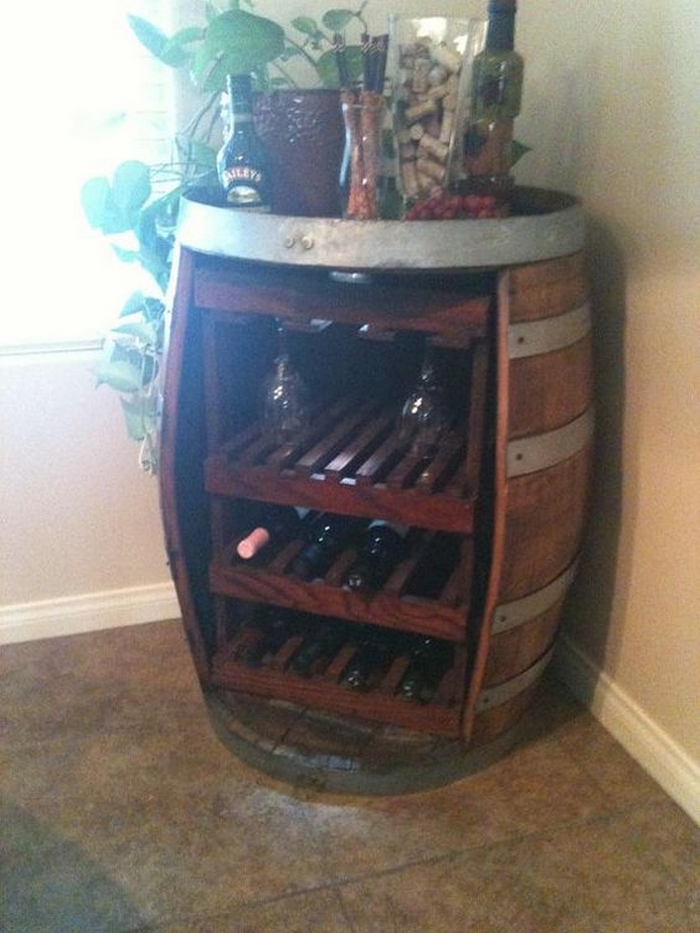
6. Add Custom Features: Enhance the functionality and aesthetic appeal of your DIY oak barrel bar by adding custom features such as built-in shelving, wine racks, or a sink. Incorporate hooks or racks for hanging glasses, utensils, or towels to maximize space and organization.
7. Finish with a Protective Coating: Apply a weather-resistant finish to the exterior of the barrel to protect it from the elements and prolong its lifespan. Choose a sealant or varnish that is suitable for outdoor use and compatible with the material of your barrel.
By following these pro strategies, you can build a stylish and functional DIY oak barrel bar that will become the focal point of your outdoor entertaining area. With careful planning and attention to detail, you can create a unique and inviting space where you can relax and enjoy drinks with family and friends.
Wrapping It Up
Building a DIY oak barrel bar using the 7 pro strategies outlined above can result in a stunning and functional addition to your outdoor space. By carefully selecting the right barrel, planning your design, and preparing the materials properly, you can ensure that your project gets off to a solid start. Stabilizing the barrel and creating a durable bar top are essential steps to guarantee the structural integrity and longevity of your bar.
Incorporating custom features like shelving, wine racks, and hooks adds both functionality and aesthetic appeal to your DIY creation. These personalized touches can make your oak barrel bar stand out and cater to your specific needs and preferences. Finally, finishing the bar with a protective coating ensures that it can withstand outdoor conditions and continue to look great for years to come.
Overall, building a DIY oak barrel bar requires careful planning, attention to detail, and craftsmanship, but the end result is well worth the effort. Whether you’re enjoying drinks with friends or simply relaxing outdoors, your DIY creation will serve as a stylish and inviting focal point in your outdoor entertaining area.
With creativity and dedication, you can transform a simple oak barrel into a beautiful and functional piece of furniture that you’ll be proud to showcase in your home.