Last Updated on October 19, 2022 by teamobn
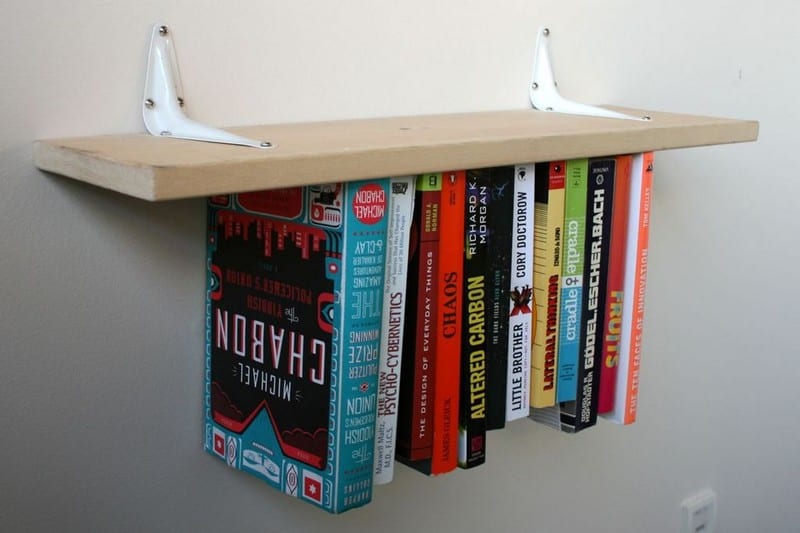
This interesting inverted bookshelf is sure to be a conversation starter for your guests! While it may not hold a large number of books, it makes up for it with its unique design. This bookshelf is perfect for adding a touch of personality to your home.
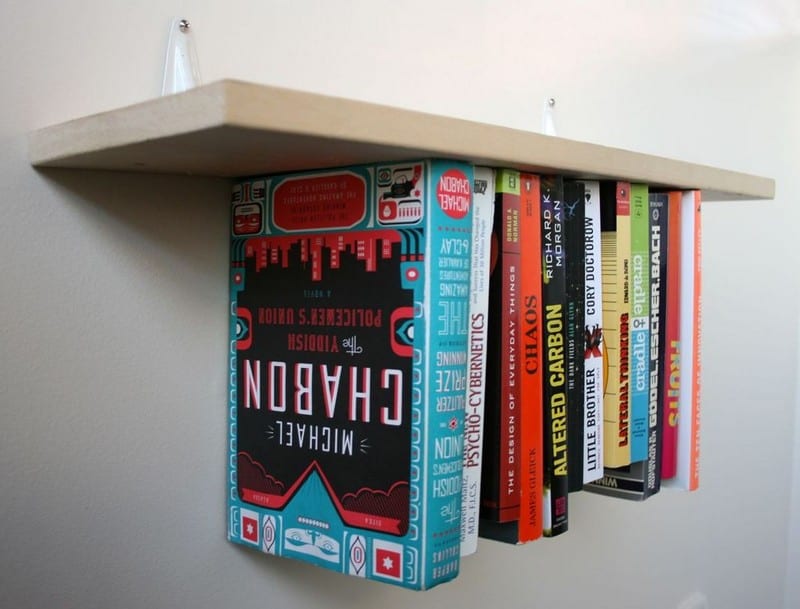
This unique bookshelf is sure to turn heads with its inverted design. Perfect for those who want to add a touch of quirkiness to their home décor, this bookshelf is sure to make a statement. Whether you use it to display your favourite books or to show off your most prized possessions. Although it looks like it shouldn’t be able to hold any books as it’s upside down, it’s a very effective way of storing books. Not to mention that it also makes a unique feature.
This inverted bookshelf can be built with easily accessible and inexpensive materials. The project should only take a couple of hours to complete and only require basic tools. This inverted bookshelf would make a great addition to any home.


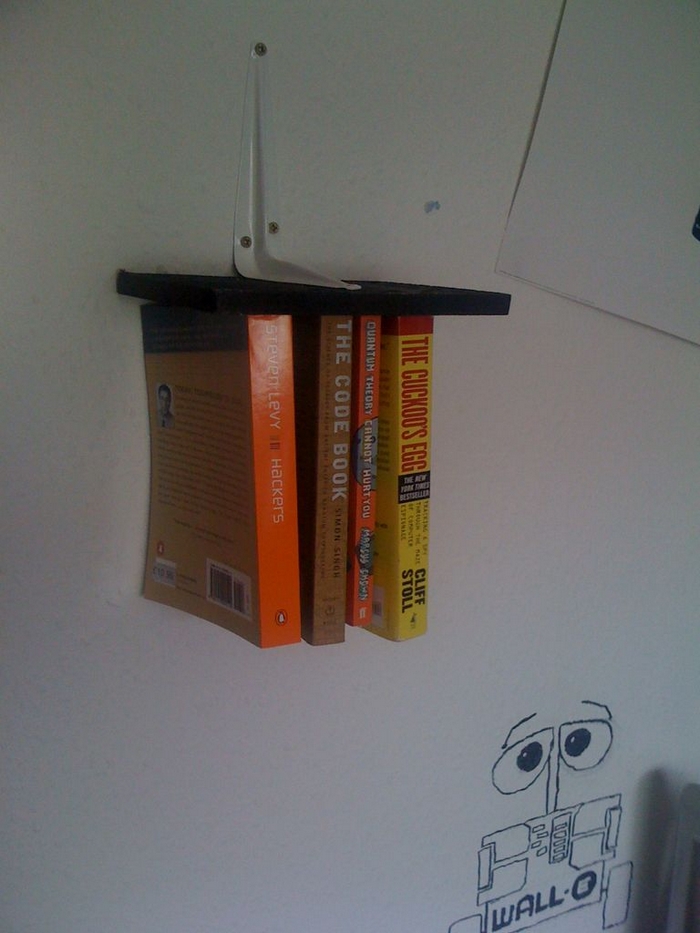
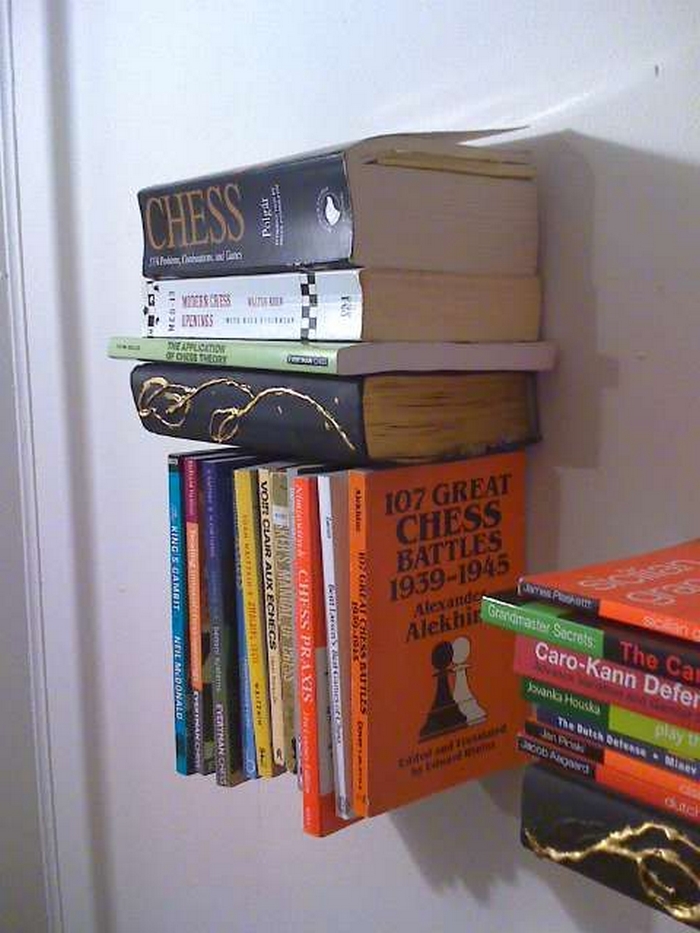
Click on any image to start the lightbox display. Use your Esc key to close the lightbox.
Would you like to have this inverted bookshelf in your room?
You’ll need these materials:
- Shelf
- 2 Metal Shelf Brackets
- Long Elastic/Garter
- Screws
And these tools:
- Staple Gun
- Tape Measure
- Drill
Steps:
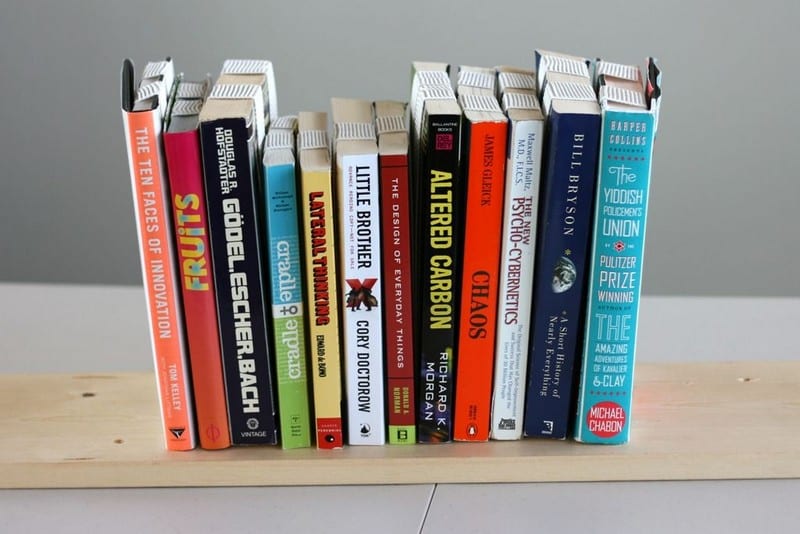
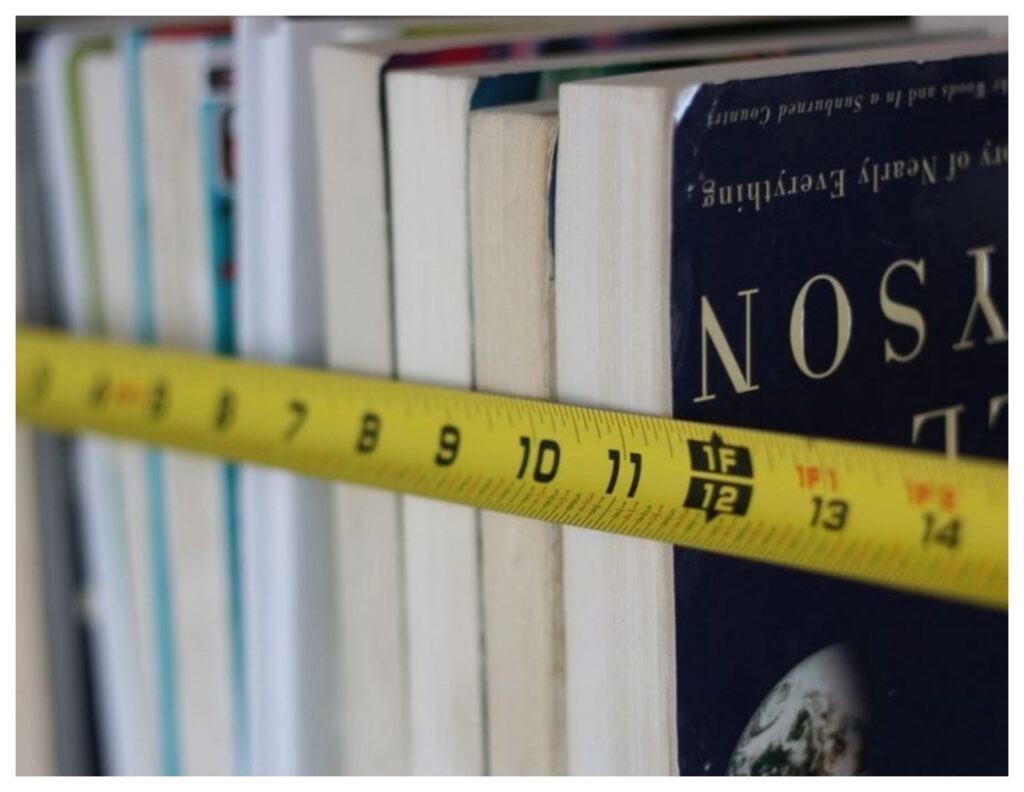
To ensure your books are well-supported on your book board, you’ll need to take a few measurements. First, determine the width of your book board, then measure the width of your books.
Add a few inches to the book width measurement to account for any book spines that may protrude, then choose an elastic cord that is long enough to stretch around the book board and all of the books. To avoid crushing the books against the book board, make sure the elastic cord is not too tight.


Measuring out my books, the average width was one inch and the ideal length of elastic turned out to be 14 inches.
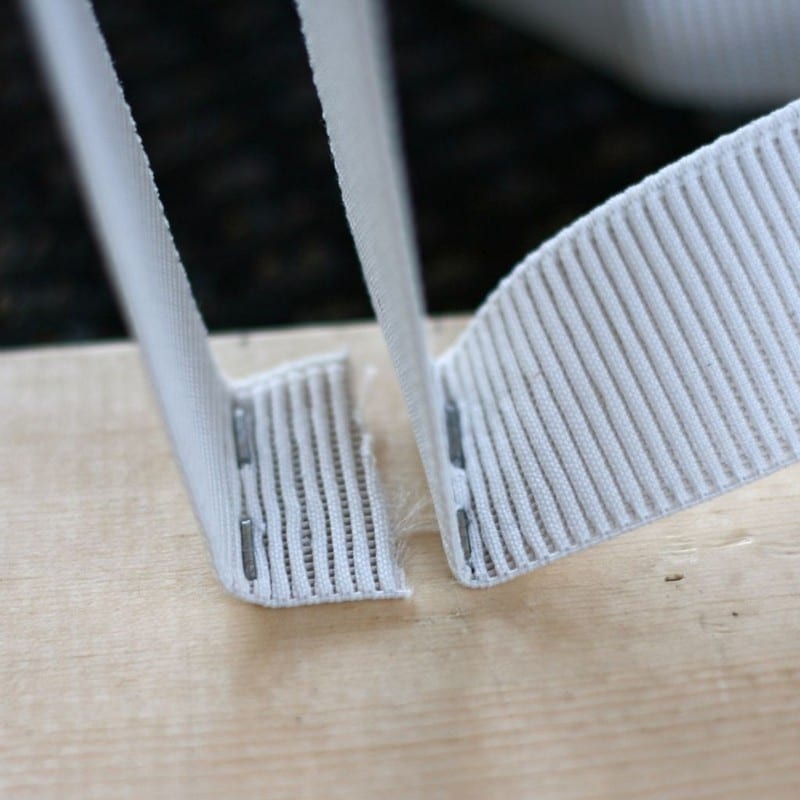
Now that you have a length and a width, the next step is to staple gun two pieces of elastic down the middle of the board of your inverted bookshelf. I’m going to be suspending 12 books here, so I used just over 14 feet of material for each side.

Start each piece of elastic with the excess facing in. Staple this in place and fold the elastic back over to start running it down the board. Measure out 14 inches, staple it one inch farther and repeat until you get to the other end fold the excess back inside again before stapling it.
I slid the books in and even the heaviest book was perfectly snug. It turned out that two straps were too much for the smaller books and started to compress them, so I only used the front strap and squished the other strap behind it.

Now that you know that the shelf itself is stable, add a couple of brackets to the other side of the board. Then simply screw it into the wall.

Note: This was intended for a short-term installation. To make it more permanent, I’d recommend hiding a couple of L brackets on the underside.

You can leave it as is or go for some more realism by gluing some toys, bookends, or even a fake drink to the bottom of the board to complete the look!
You can take this inverted bookshelf project to the next level by building a full-size bookshelf that will hold more books. That will give you more book storage, and a unique feature that’s hard to ignore, and will certainly make a talking point for your guests.
Thanks to fungus amungus for this great project.

