Last Updated on July 4, 2023 by teamobn

One of the most classic and beloved snacks during camping trips and bonfires is smores. This tasty treat consists of marshmallows and chocolate sandwiched between two graham crackers. Smores are usually made by toasting the marshmallows over the fire and then placing them between the graham crackers with the chocolate.
This simple snack is enjoyed by people of all ages and is a great way to enjoy the outdoors with friends and family. I have yet to meet someone who doesn’t like smores. Even on regular days at home, we are sometimes tempted to make them.
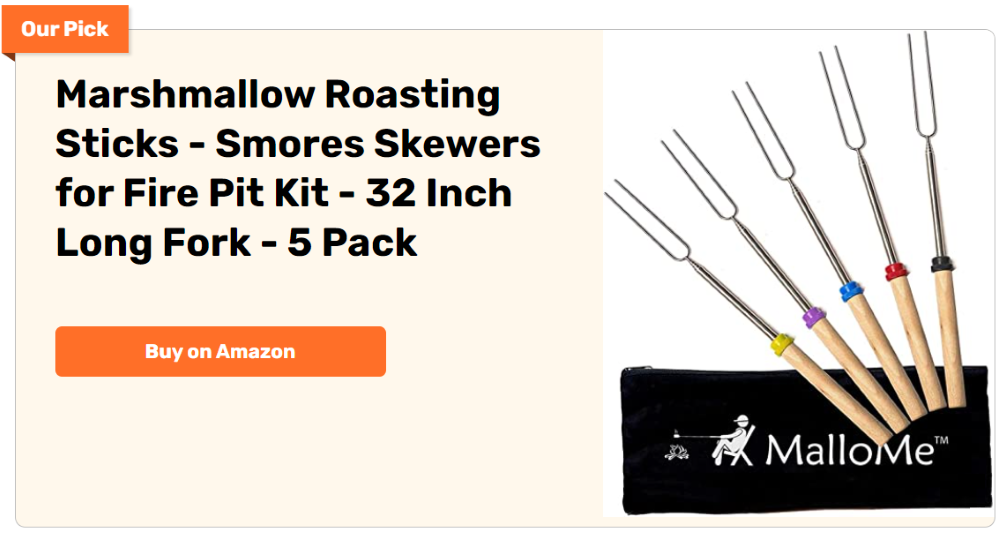
For avid smores lovers, this tool is definitely a must-have! These smores cone forks make it easy to hold smores cones over the fire, ensuring that every bite is perfectly melted and gooey. No more struggling to rotate your smores cone on a stick – these forks do all the work for you. So gather around the campfire, and enjoy perfectly made smores cones every time! Surely, you wouldn’t want to hold them by hand.
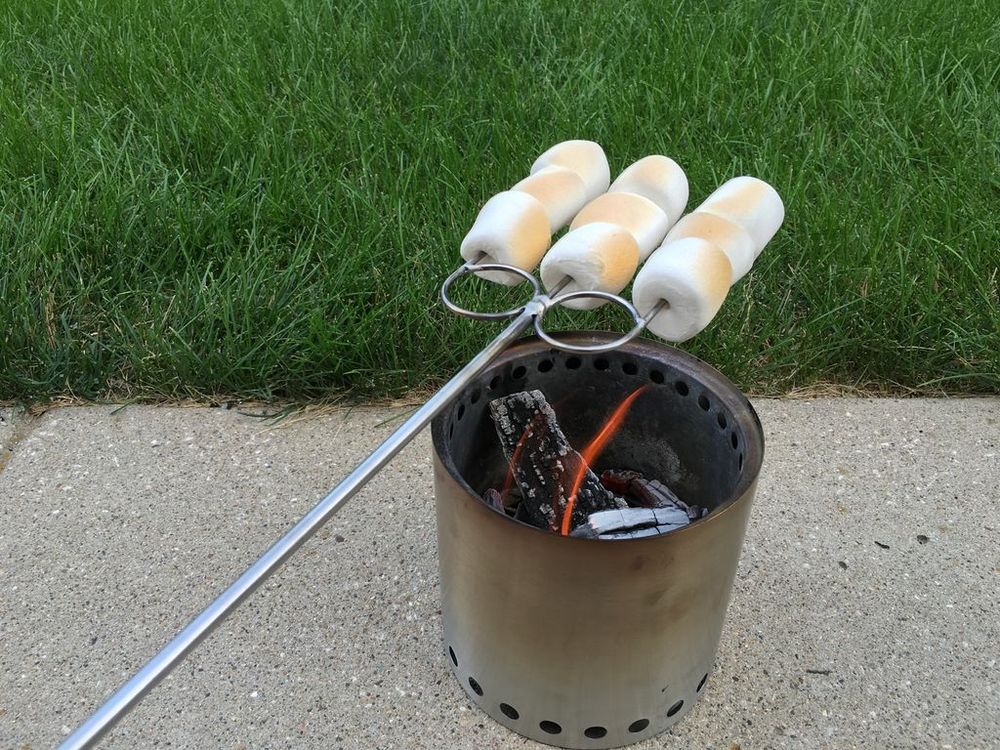
This DIY smores cone forks project is easy to make and super useful as well. Wait ‘till you see the smiles on the faces of your family and friends. They’ll light up once you hand them their own fork!
What you’ll need to make smores cone forks!
Materials:
- 1/8 inch and 1/4 inch diameter stainless steel rod
- 3/4 inch cherry dowel for handles
- Leather cord for hanging when storing
- Water-based polyurethane for the handles
- Two-part epoxy to glue the handles to the metal shaft
- 1″ PVC pipe
- Water Based Polyurethane
Tools:
- Tig welder
- Bolt cutters
- Table saw
- Oscillating belt sander
- Rotary tool for grinding and polishing welds
- Drill press
- Sandpaper
- Pipe wrench
- Leather gloves
- Safety glasses
- Dust mask
Steps:
Before starting with this smores cone forks project, it is important to make sure that you have the necessary skills and knowledge to use the tools safely. This is especially important for the tig welder, which can be dangerous if used improperly. If you are not confident in your abilities, it is best to seek professional help before proceeding.
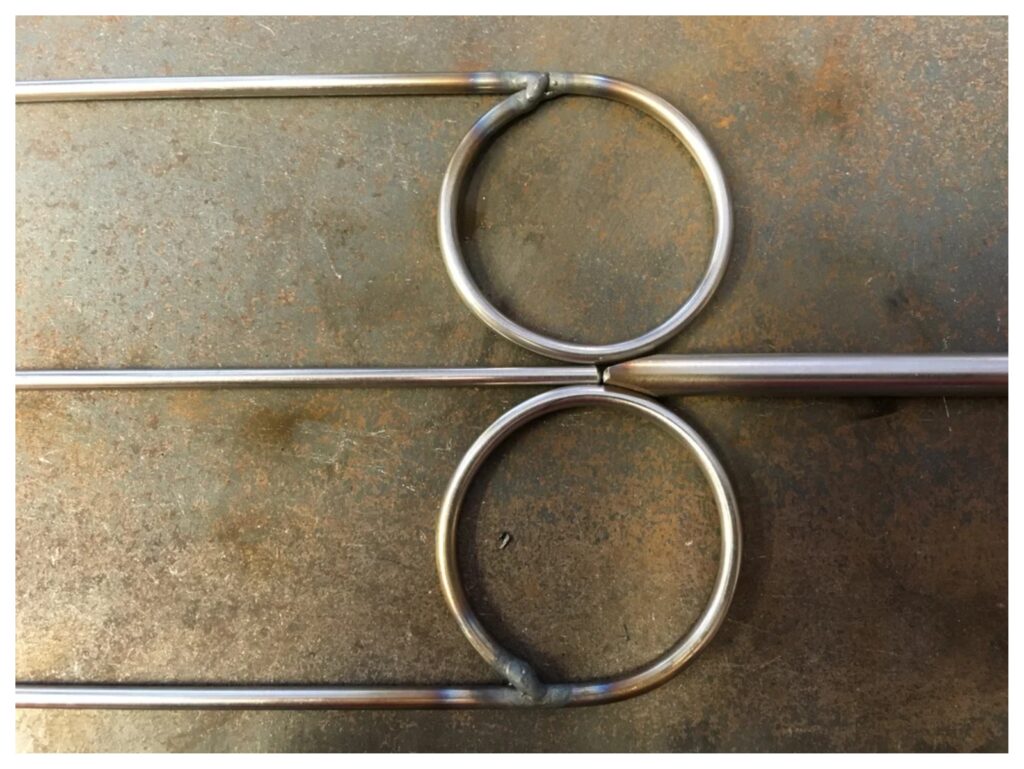
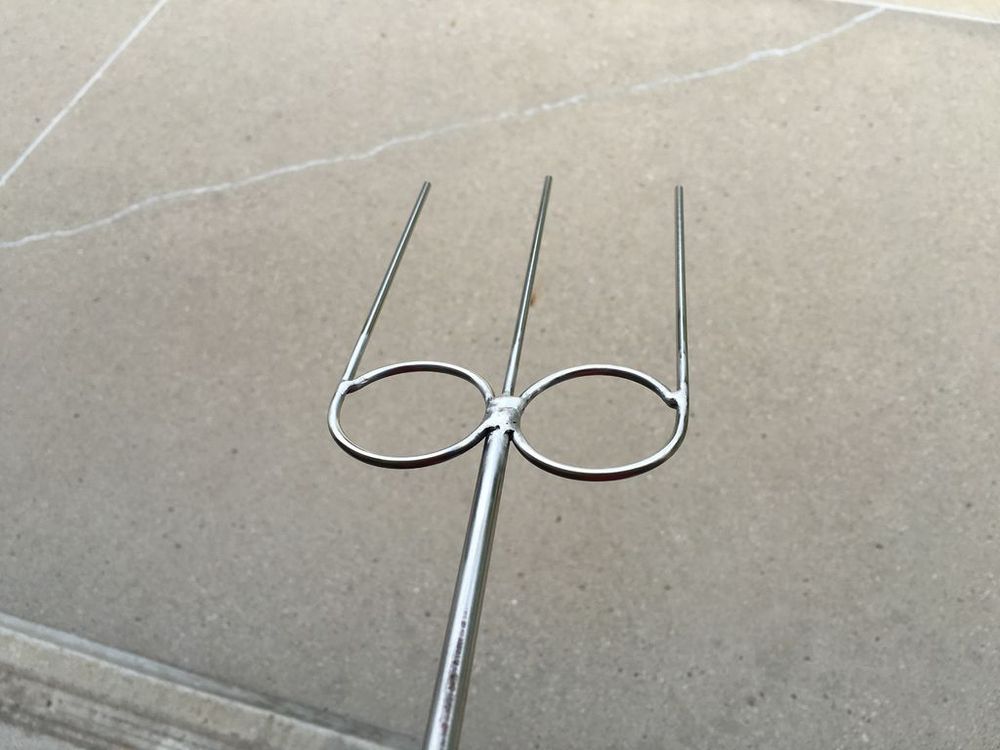
To begin your smores cone forks project, you’ll need to bend one end of your 1/8 stainless steel rod into circles. This will create the forks that will hold the cones in place. You may need to use a hammer or other tool to help you achieve the desired shape.
Once you have your forks made, you can begin assembling your smores cones by welding the forks to your 1/4 stainless steel rod. This will ensure that your smores cone is securely attached and will not fall apart during use. Refer to the picture below:
On the other end of your 1/4 stainless rod, you can attach the 3/4 dowel for the handle. To do this, simply drill the dowel using a 1/4-inch bit just enough to insert the stainless rod. To create a sturdy and reliable handle for your project, you can either use wood glue or epoxy. If you want to add a polished look to your handles, you can sand them down and then apply a clear coat of polyurethane.
Now that you’re done, you can start enjoying your smores cone forks in your next outdoor activity. With these forks, you’ll be able to roast your marshmallows to perfection, creating the perfect smores every time. So go ahead and get outside – your smores cone forks are waiting for you.
Click on any image to start the lightbox display. Use your Esc key to close the lightbox.

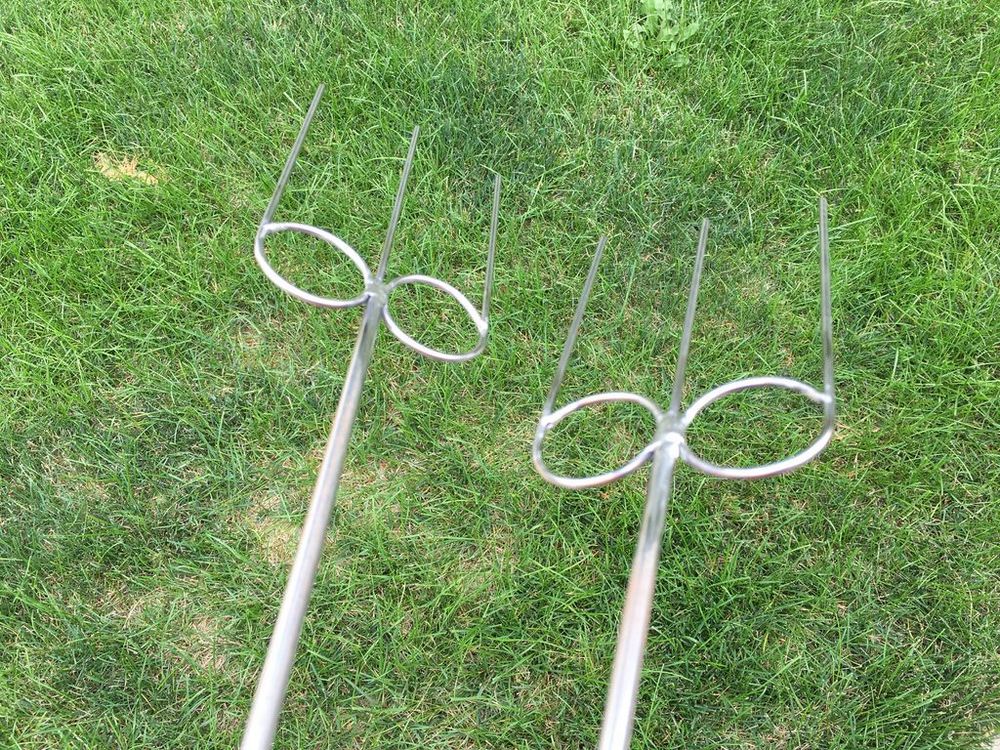
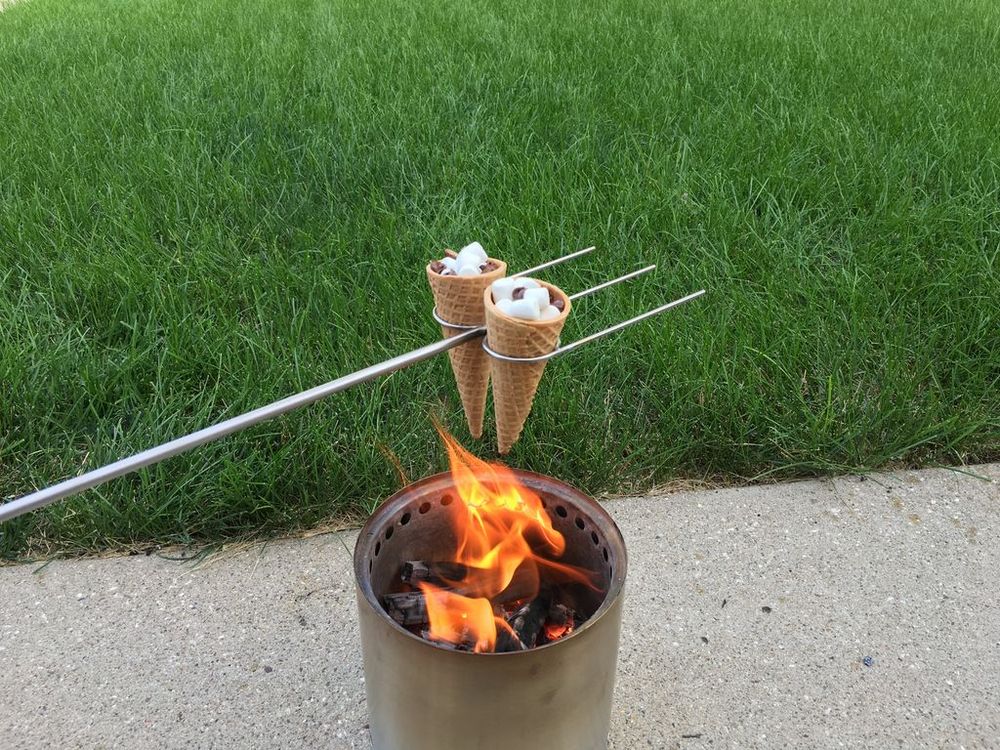


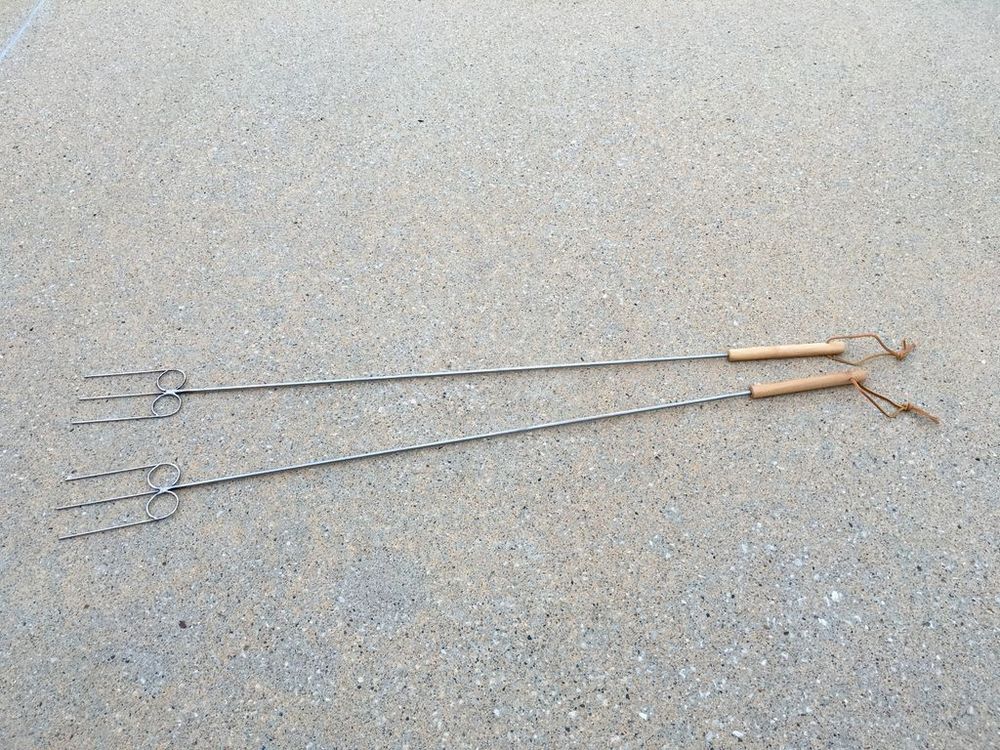
Thanks to stevemoseley for this great project. You can get step-by-step instructions here…
Here’s a quick video…


