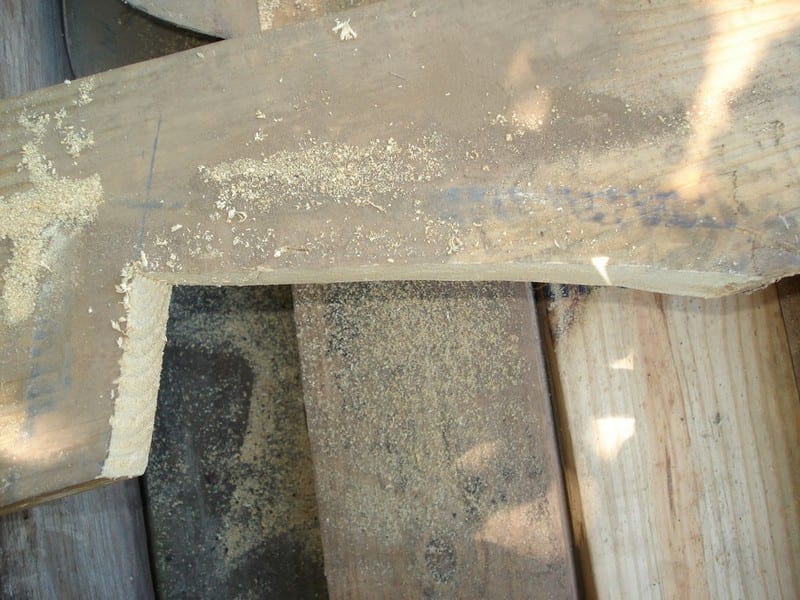
Here’s the angle seat cut out I just drew.
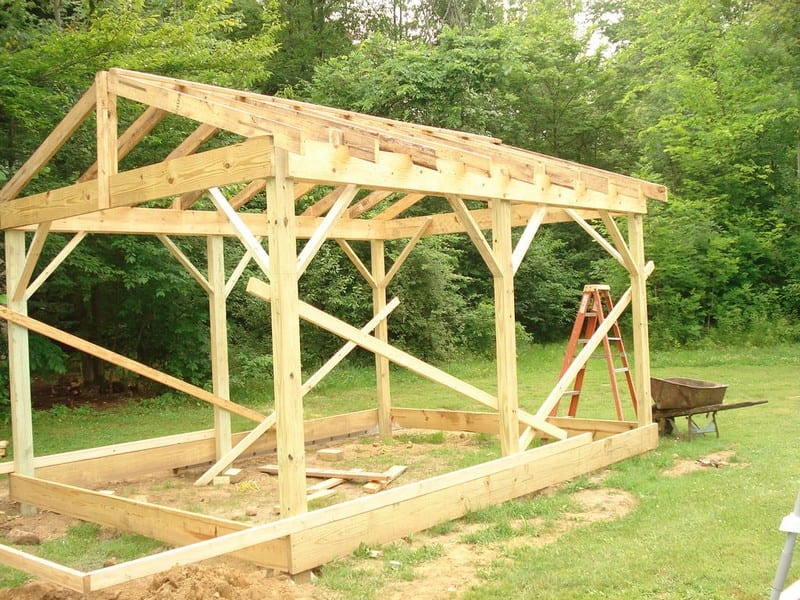
This shows the rafters being set next.
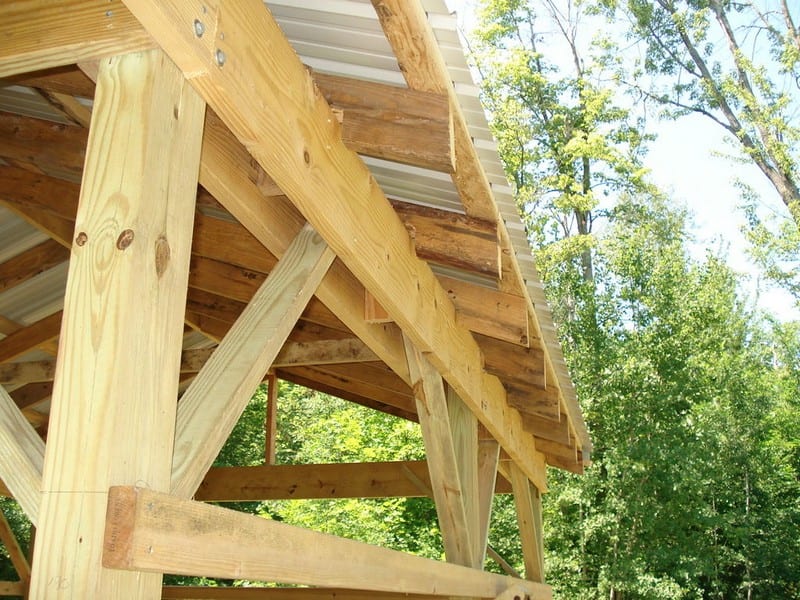
3rd * pic shows the tails all cut to 9 inches long and shows the steel roofing overhanging the roof by 2 inches to support the facia boards.
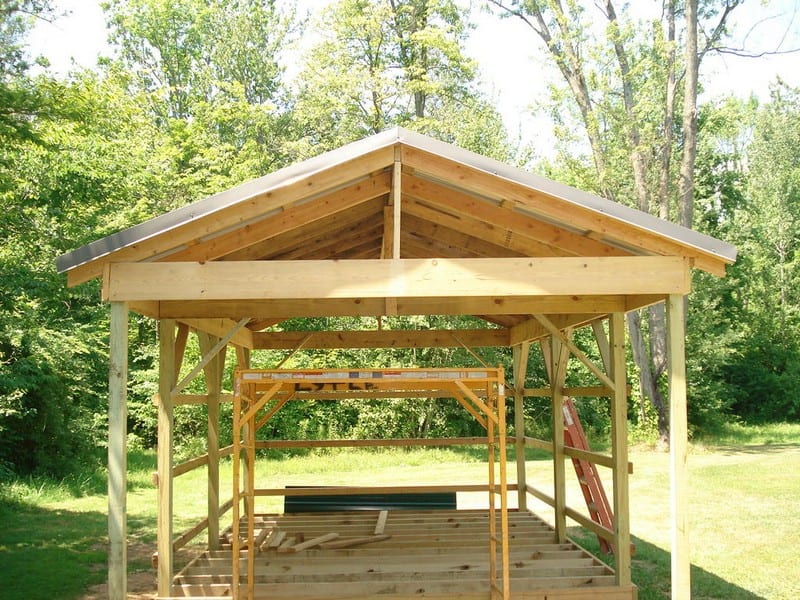
The 4th and 5th *pics show the roofing installed.
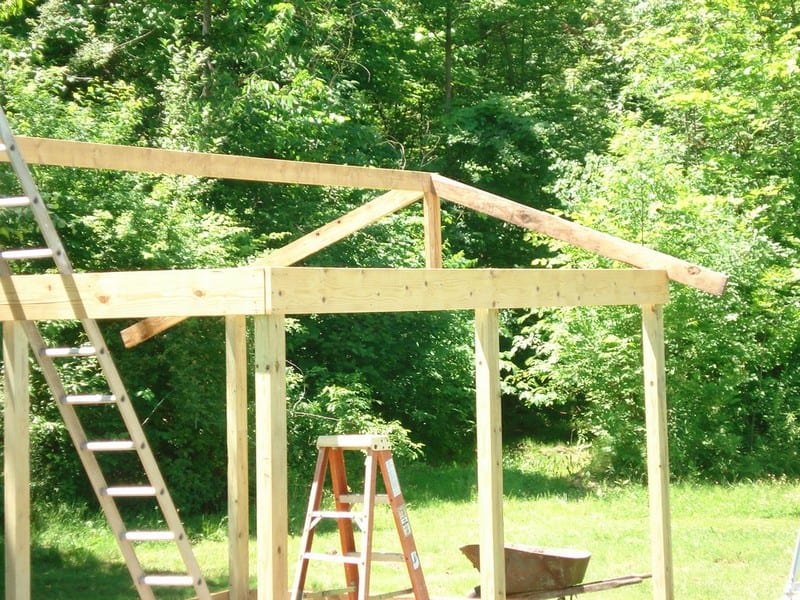
This picture shows the rafters on and the starting of the purlins being put on the top of the rafters for roof support and is what the metal roofing is screwed to.
Here the tails are all cut to 9 inches long and show the steel roofing overhanging the roof by 2 inches to support the facia boards.
Here is where it started to get complicated for me. I was looking for a 12×16 cabin but once I looked at it, I decided I wanted the whole 12×16 for floor space so I added a 4-foot porch to the 12×16 to make it a 12×20 total building instead of a 12×12 inside living space.
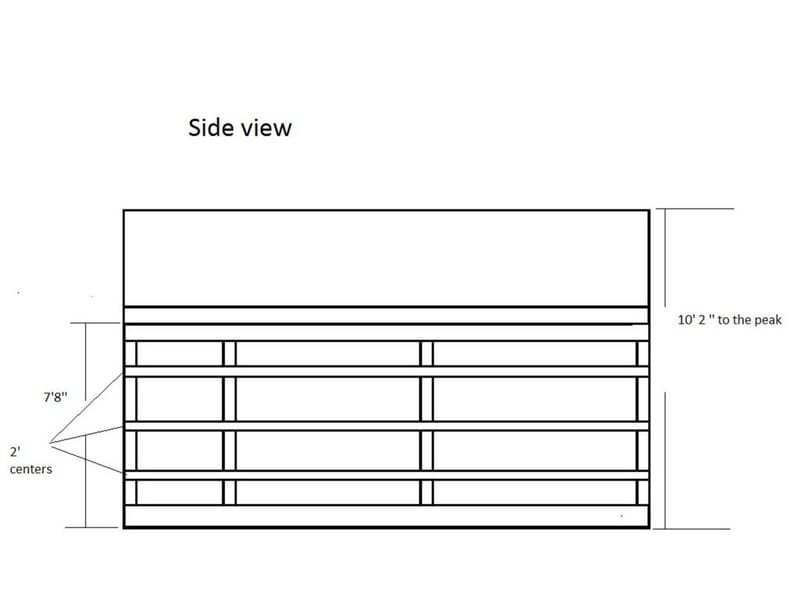
Sidewall and purlin illustration.
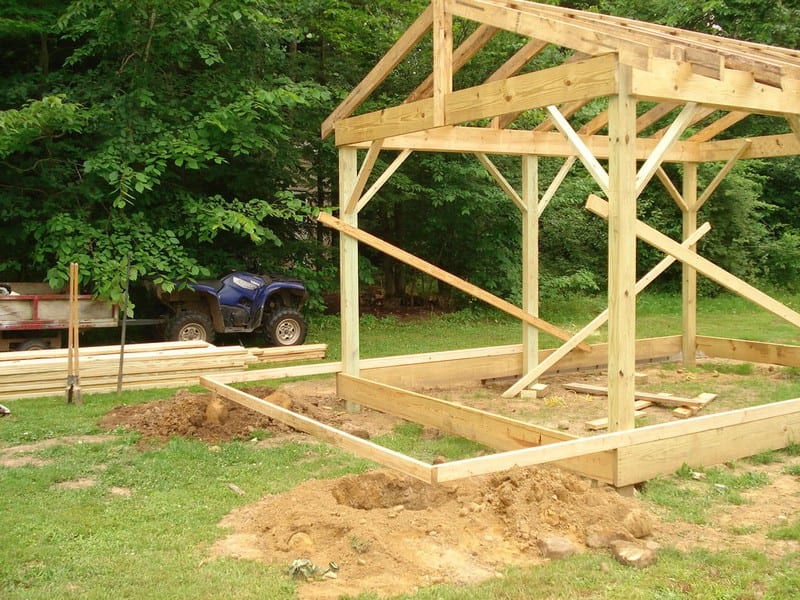
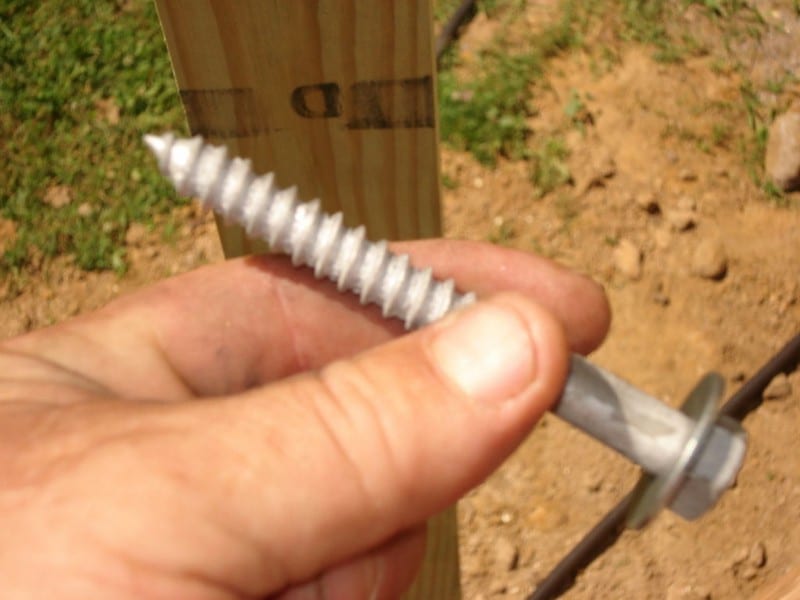
I had to screw in (36) 3×3/8 inch lag bolts to all the outer joist into the 4x4s for stability.
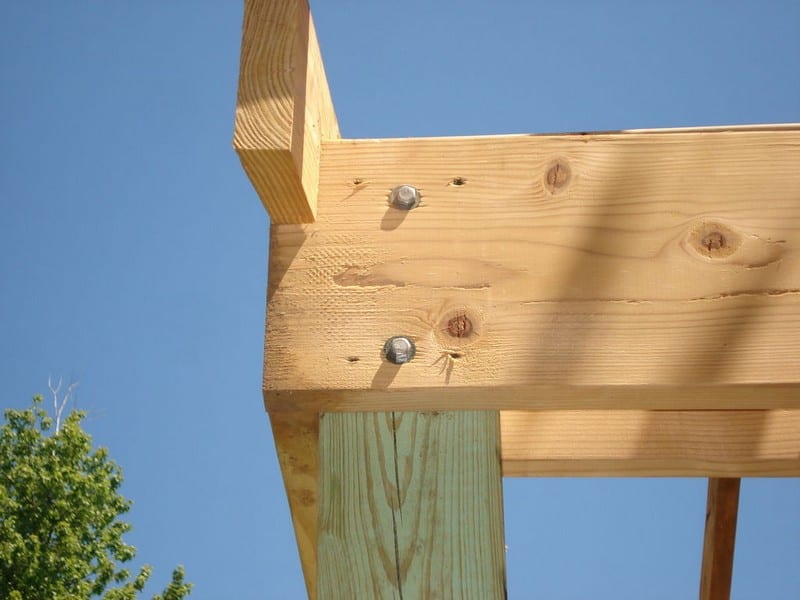
I have (20) 13-inch hurricane studs with 5/12 pitch angle cuts.
This is how they were installed.

This photo shows the (14) 2x10x12 floor joist installed.

Continued Page 3…