Last Updated on July 2, 2024 by teamobn
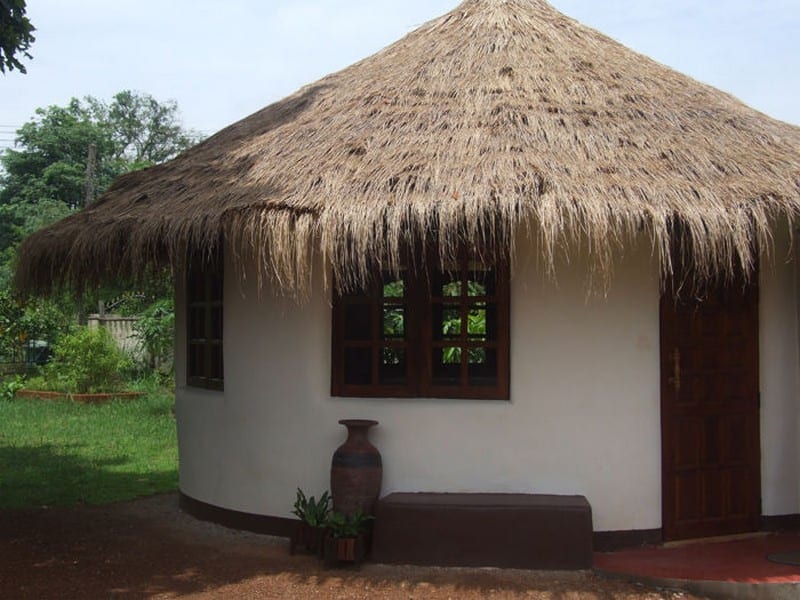
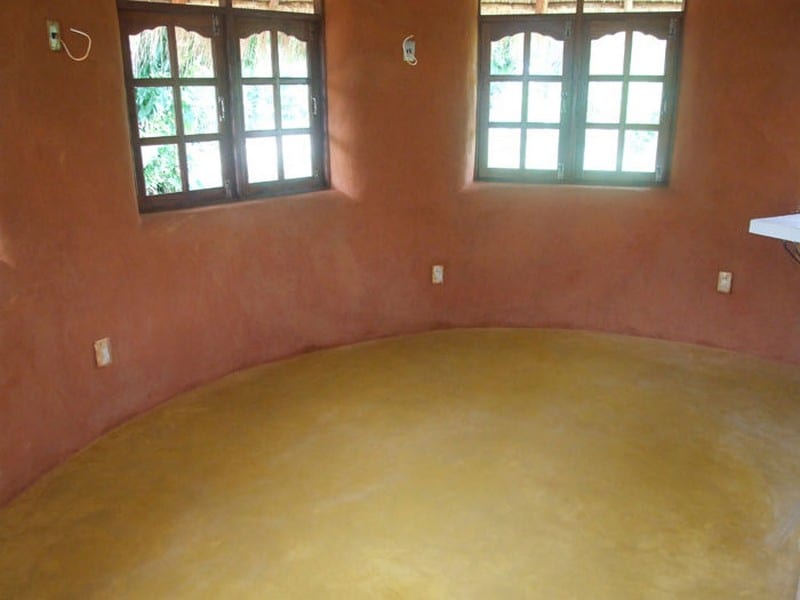
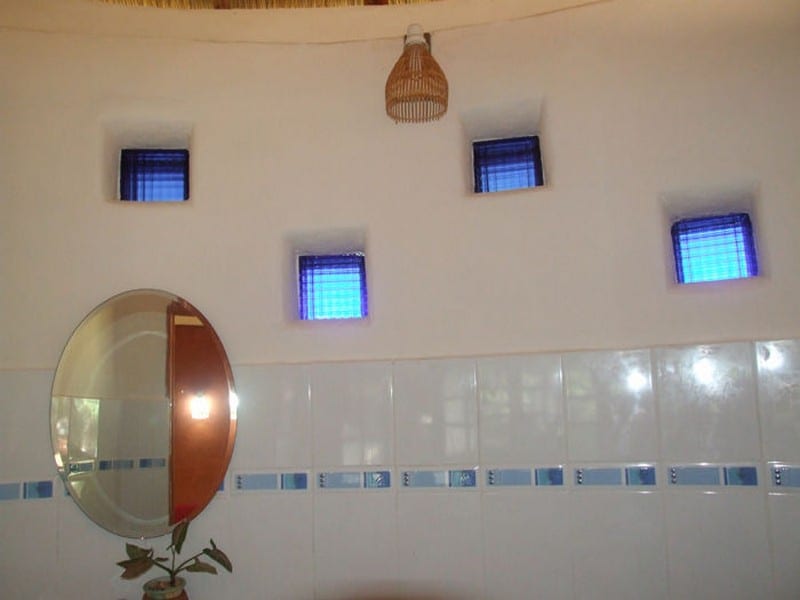
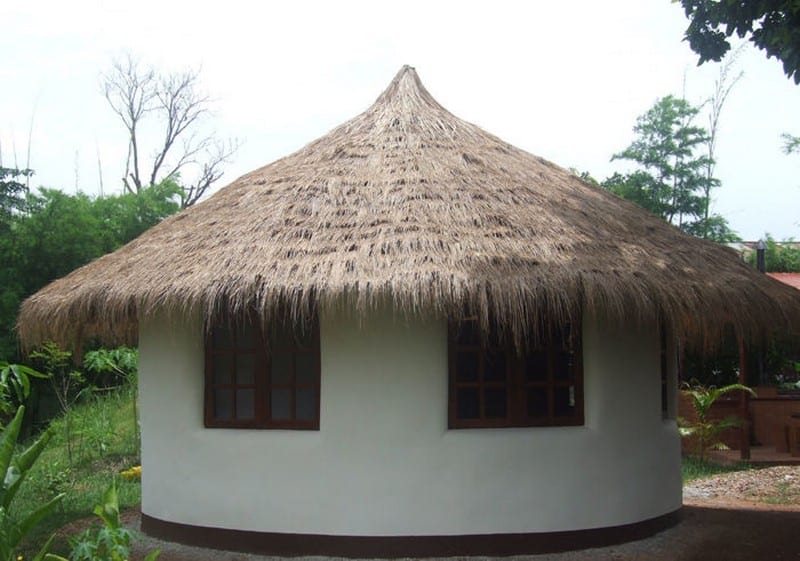
This interesting home is made from earthbags, also known as sandbags.
The idea of making walls by stacking bags of sand or earthbags has been around for at least a hundred years. People first used sandbags for flood control and military bunkers. The reasons are obvious.
Earthbags are cheap and they are easy to make and transport. Above all, of course, is that they proved remarkably resilient against floods, flak, and bullets.
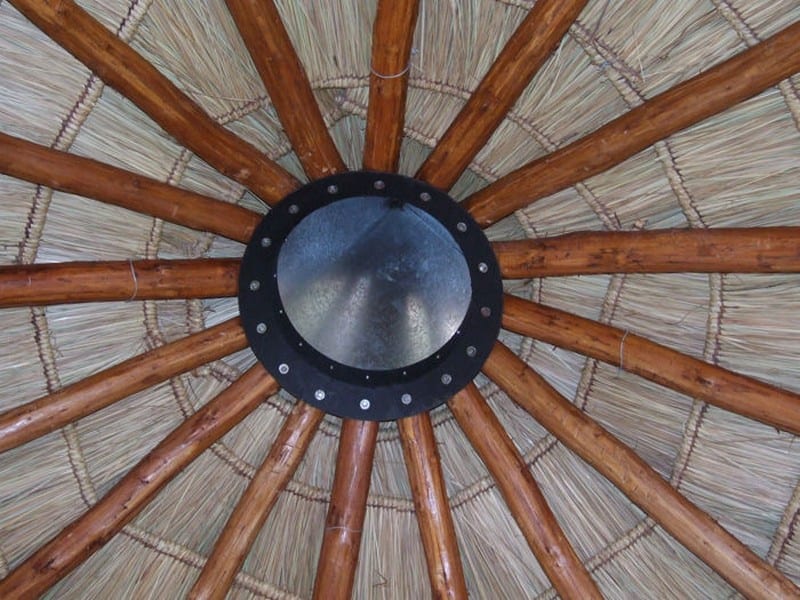
Now the concept of using earthbags has been applied to creating strong and affordable homes. Earthbags are ideal for making homes that will stand up to the harshest weather. And using the right design, you can also have one of the safest homes in a fire zone. Obviously, a grass roof is not going to help there ![]()
Aside from being durable structures, earthbag homes are also cheap. They are labor-intensive but bags can be filled with either dirt from the property itself, or other available sources and the homes can be built practically anywhere in the world.
Aside from saving money, you also get both thermal mass and great sound and temperature insulation.
Click on any image to start the lightbox display. Use your Esc key to close the lightbox. You can also view the images as a slideshow if you prefer 😎


You’ll need these materials:
- Woven Polypropylene Bags (about 18” x 30”)
- Bucket Chute (4-gallon bucket with the bottom cut off)
- Soil
- Gravel
- 4 or 5 heavy-duty 2-gallon Cement Buckets
- 4-point Barbed Wire
- String Line
- Sheet Metal Slider (about 13” x 16”)
- 15 gauge Galvanized Wire
- Bundle 500 Bags
- Concrete or Stones – for door threshold
- Galvanized Nails
- Galvanized Sheet Metal Anchors
- Long Wood Poles
- 2×4 Bucks
- ½” Rebar
- ¼” Plywood
- Hurricane Ties
- Metal Compression Ring
- Thatch
- Screws
- Cement
And these tools:
- Shovel
- Trowel
- Metal Chisel and Scrap Steel (or Bolt Cutters) – for cutting barbed wire
- Knife
- Wire Cutters
- Tape Measure
- Grub Hoe
- Tampers
- Corner Guide
- Level
- Sledge Hammer
- Hammer
- Cordless Drill
- Sponge Float
Steps:
Steps of building DIY earthbag round house
Earthbag foundations – gravel-filled bags or stabilized bags – offer many advantages over reinforced concrete foundations and work well with many types of sustainable buildings. In particular, they are low-cost, fast, and easy to build, require no cement (a major expense and cause of global climate change), and require no forms or expensive equipment.
In cold climates, you can use lava rock or pumice to create an insulated foundation. This one simple step can save you thousands of dollars over building with concrete and cut your energy costs.
Typical earthbag foundations are made with poly bags (double-bagged for strength) filled with gravel. Aggregates are preferred for foundations because they will readily drain away any moisture and prevent wicking into the wall system.
Some prefer to use stabilized soil in earthbag foundations, seeing it as a longer-lasting solution. The jury is still out, but it appears poly bags kept out of sunlight can last hundreds of years, so gravel-filled bags should last at least a lifetime.

Simply fill the bags in place with gravel. Stitch the ends closed or fold the bag end over. Butt each bag tight against the previous bag. Tamp the bags flat after each course is complete. Add two strands of 4-point barbed wire between each course. Add courses of gravel-filled bags until you’re at least 6” above the risk of moisture damage.
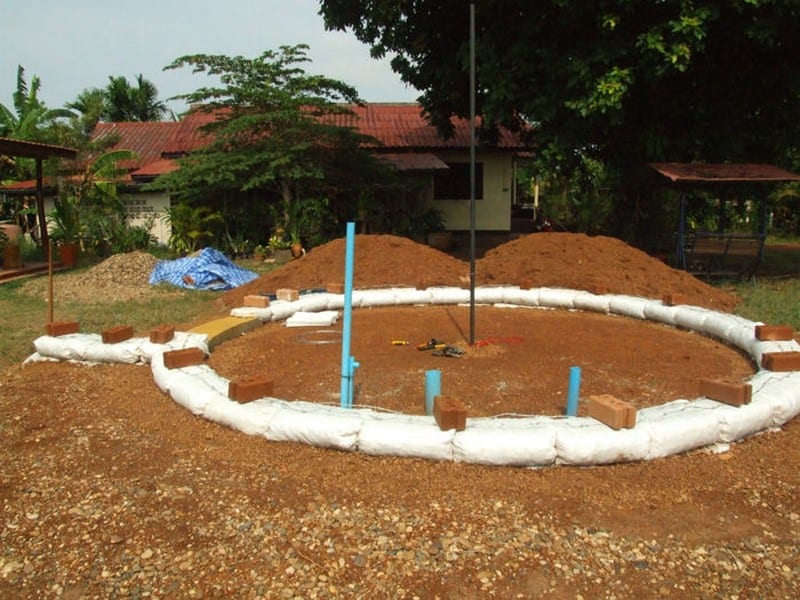
You’ll want durable thresholds at entry doors. I recommend concrete or stone for this purpose. In this method, the finished floor height (F.F.) is the same height as the threshold. In other words, the threshold and floor will be exactly the same height.
To build the threshold this way, pour a 2”-3” concrete threshold, sloped slightly for drainage, on top of the earthbags at each entry door location. You can add concrete pigment to make it any colour you want. Allow adequate time for drying (about one week, depending on the temperature), and then set the door back on the threshold and brace securely in position.
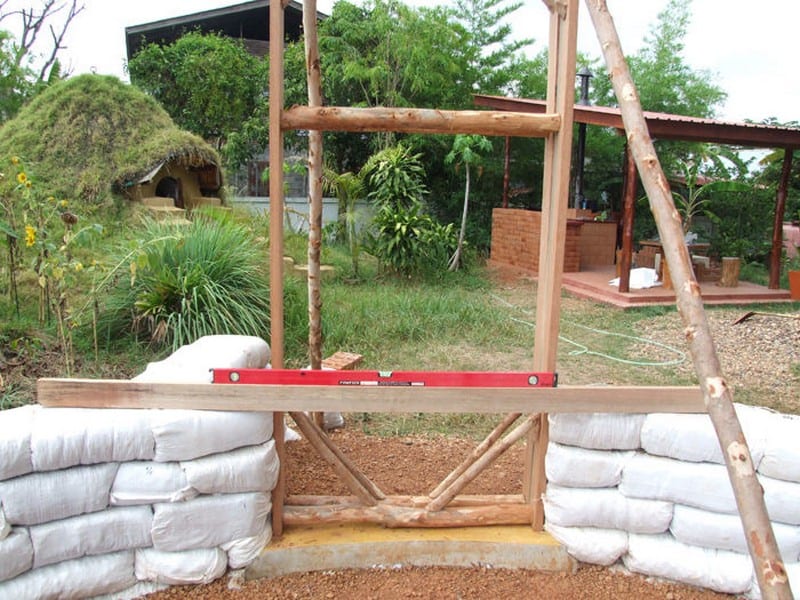
At this point, you can continue stacking courses of bags for the remainder of the walls, but now the bags are filled with soil. Most subsoil is suitable for earthbag construction. The subsoil is the clay/aggregate soil that’s below the topsoil.
You could dig your own, but you can buy it very inexpensively and save many days of hard work. You can also buy an engineered mix called road base, which contains the ideal ratio of clay to aggregates, with no mixing required.
Measure the radius of each course of bags to maintain an accurate circle. Tie a piece of rope to the centre pole and use it to check the radius of every bag. Always keep the rope level for accurate results.

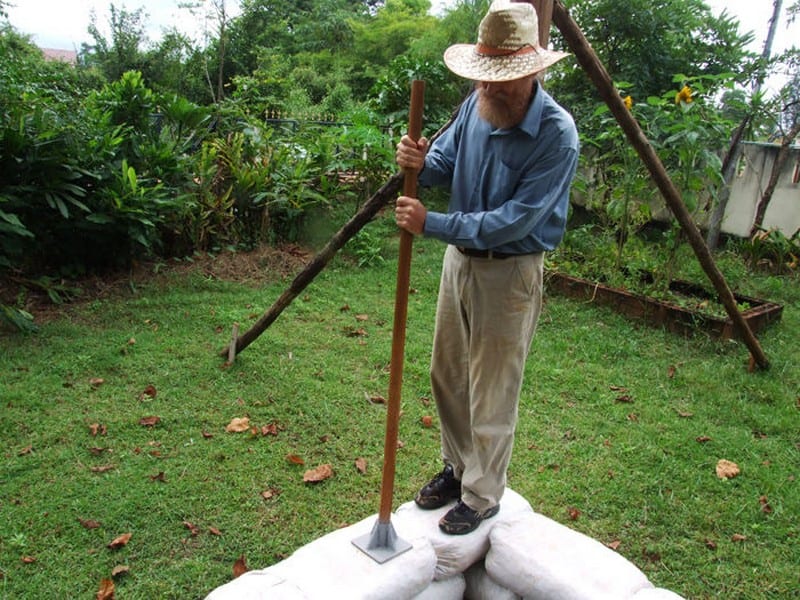
Tamp earthbags solid and level after each course is complete. Tamp the high points first. Then evenly tamp the entire wall several times as you continually move the tamper. This last step avoids creating low spots.
And if you use the same number of buckets of soil in each bag, and are carefully placing the bags, the courses are almost self-levelling. Consistency is the key. Use the same process for each bag. Remember to place two strands of 4-point barbed wire between every course.
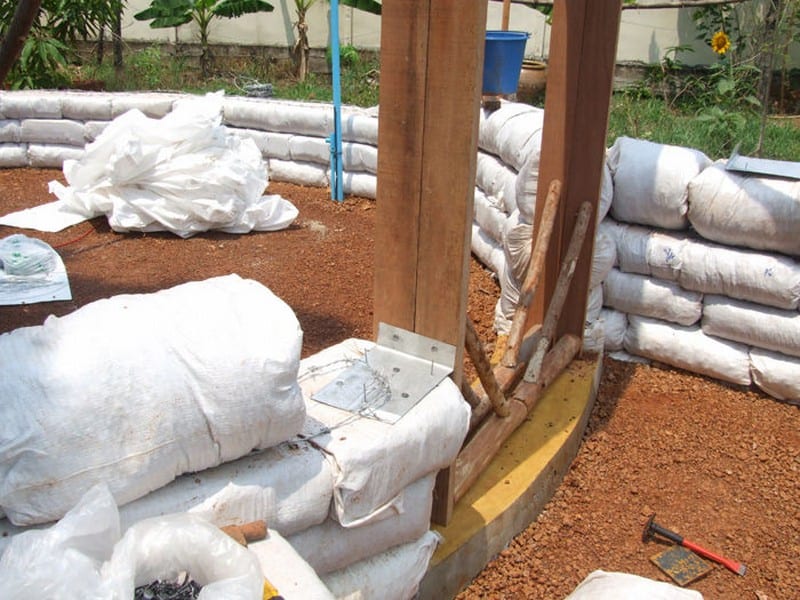
Add metal or wood anchors every few courses to secure door and window bucks to the earthbags. Most people use wood anchors. But in areas with termites, it’s best to use anchors made of galvanized sheet metal.
They’re inexpensive, strong, easy to make from scrap metal, resistant to decay and because they’re thin, they don’t take up space between bags like wood anchors do. In most cases, sheet metal anchors are preferred over wood anchors. Simply nail it into the earthbags with galvanized nails and screw it into the backside of the bucks.

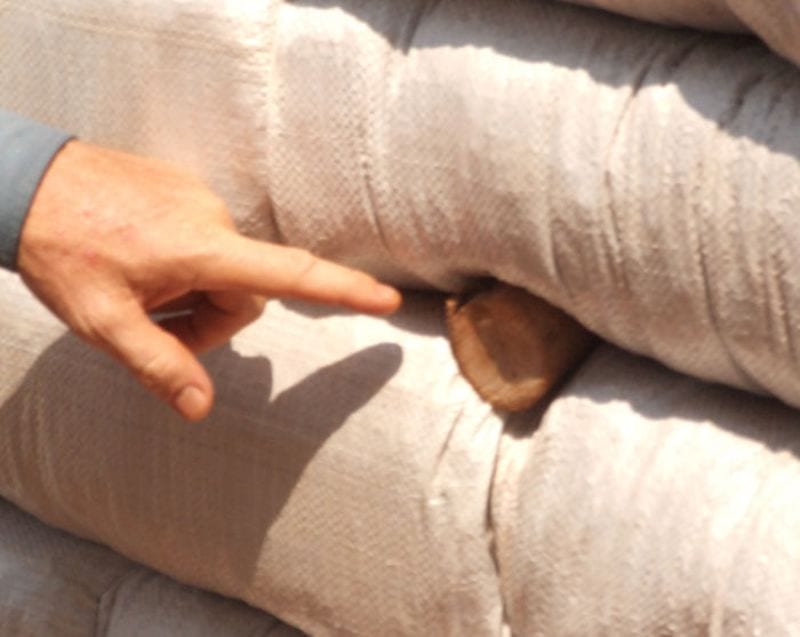
Most earthbag builders use some type of improvised wood or plywood anchor to attach electrical boxes. I’ve found the simplest solution to be 3” wood poles. A rot-resistant variety is best. Embed the poles between courses wherever you want an outlet or switch.
If you forget or want to add extra boxes, sharpen the end of the pole and drive it into the wall with a small sledgehammer before the soil gets too hard. Use an electrical box as a depth gauge. You want the front of the box to protrude about 1-1/4” beyond the earthbags to match the plaster.
After the walls are built, screw boxes to the stakes with two screws and staple or nail the wiring in the recesses between bags. Complete all the rough electrical work before plastering.
Continued Page 2…

