Last Updated on June 18, 2024 by teamobn
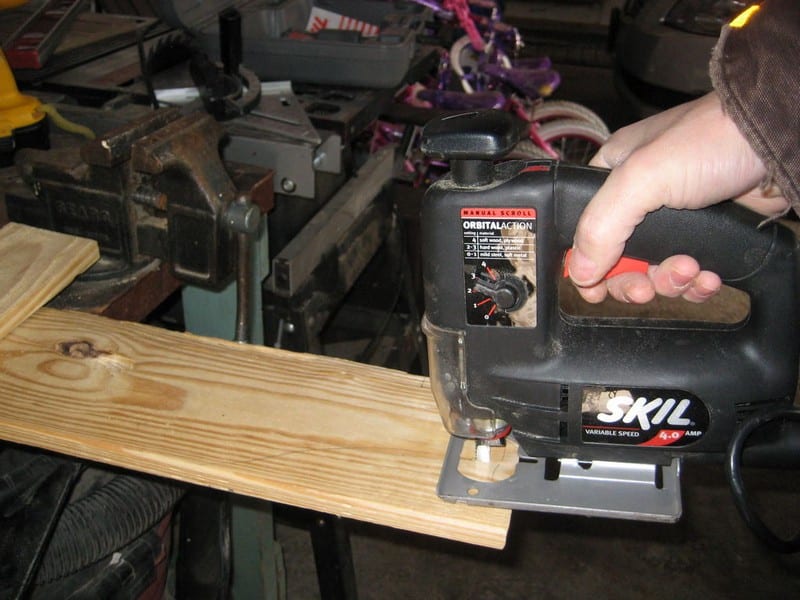
Using your jigsaw (or a bandsaw if you have one), cut out each of the pieces. You’ll want to make sure you clamp them down securely. For the rear leg/seat stringers and the armrests of your Adirondack chair, you’ll need two each. You can trace the first one after you cut it out to avoid having to draw the one-inch grids again.
You’ll need (4) 20″ x 3.5″ boards for (2) front legs, (1) front crosspiece, and (1) front seat slat. You can cut these with a handsaw, a table saw, a circular saw– whatever you have.
You’ll save yourself a lot of heartache if you remember to label these pieces. Use a pencil to write “front leg” on two of them and “front cross” on the third, etc. Make it small– you’ll be finishing the Adirondack chair later and the pencil marks will probably show through.
Cut (1) 18.5″ x 3.5″ rear crosspiece.

You’ll need (2) rear back supports of your Adirondack chair. Get a 1×4 and measure 26″ on one side, 23″ on the other. Draw a line between the two and cut.


Rip a 3.5″ inch board down the middle to get (2) 1.75″ seat slats. Cut the length to 20″.

Drill pilot holes and countersink on each end of the slat. The pilot hole should be with 3/4″ of the slat’s end. In practice, you can simply “eye it” so that you get as close to the edge as possible without allowing the countersink hole to ruin the board. You’ll need (9) slats.

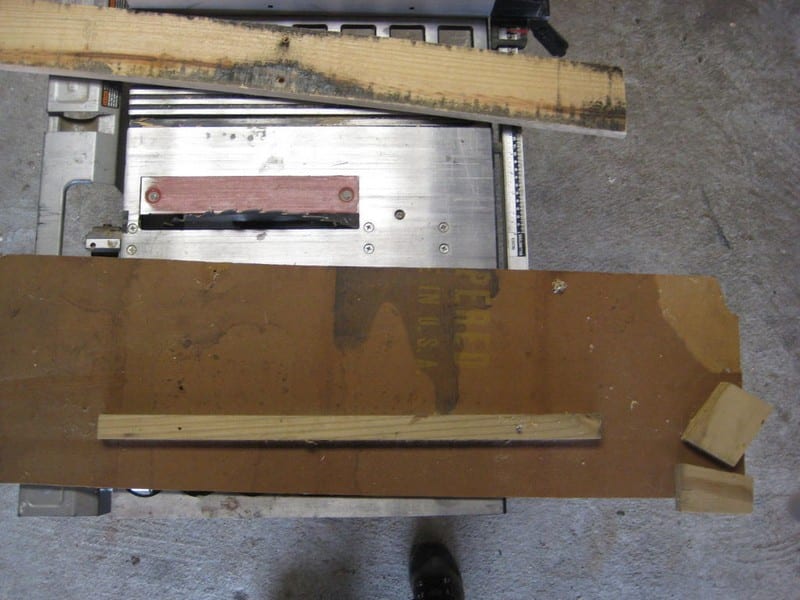
You’ll need (7) chair back slats. These are tapered cuts. I made a simple (yet dangerous) taper jig out of a sheet of masonite and a few smaller pieces of wood.
You can simply mark the board from the measurements below and use a circular saw to rip the taper.
I marked the length approximately; this is a good place to use some of your less-than-perfect boards. Anywhere from 34″-36″ should do fine. As you’ll see later, we’re going to trim the tops to make the fan shape at the top of the Adirondack chair.

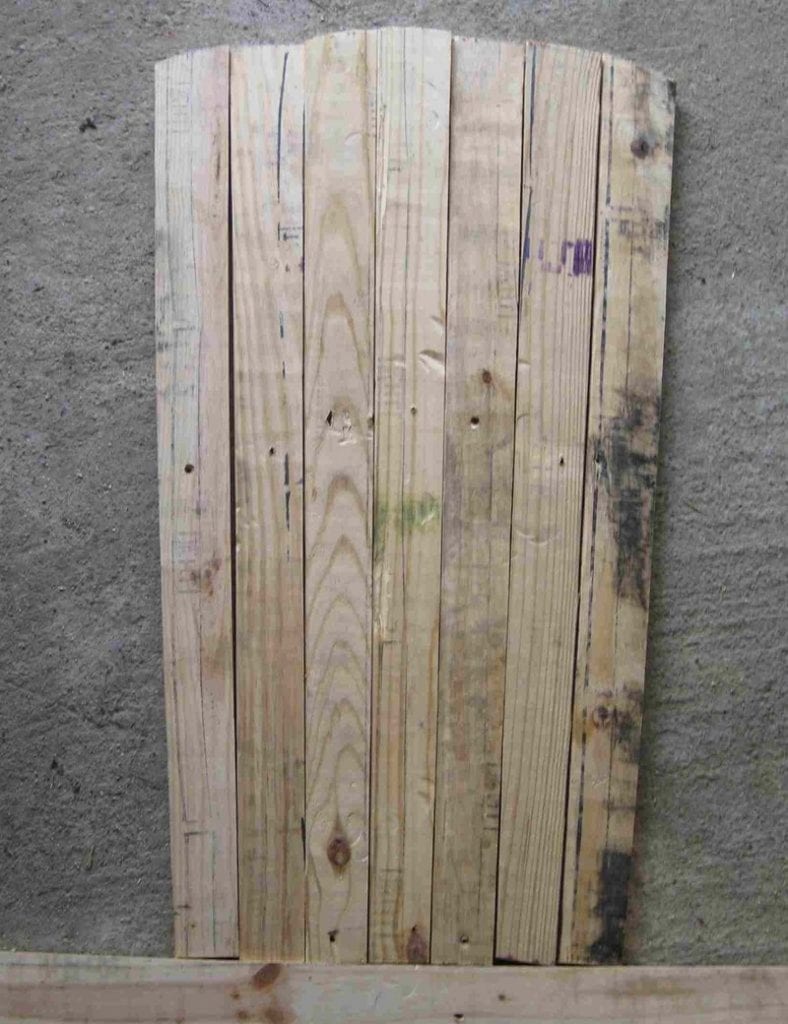
To cut the fantail of my Adirondack chair, lay the back slats together like in the picture shown. Use a board to line up the bottom edge.

Tie a pencil to a couple of feet of string (or use a ring at the end of the string as I did.)
Use your thumb to hold one end of the string in the middle of the centreboard at the bottom. Use the pencil to etch an arc into the top edge of the boards. If your boards are different lengths, use the shorter ones at the edge and the bigger ones in the centre.
After you draw the arc, number the boards with a pencil so you know what order they go into later.

Use your jigsaw to trim off the end of the boards.
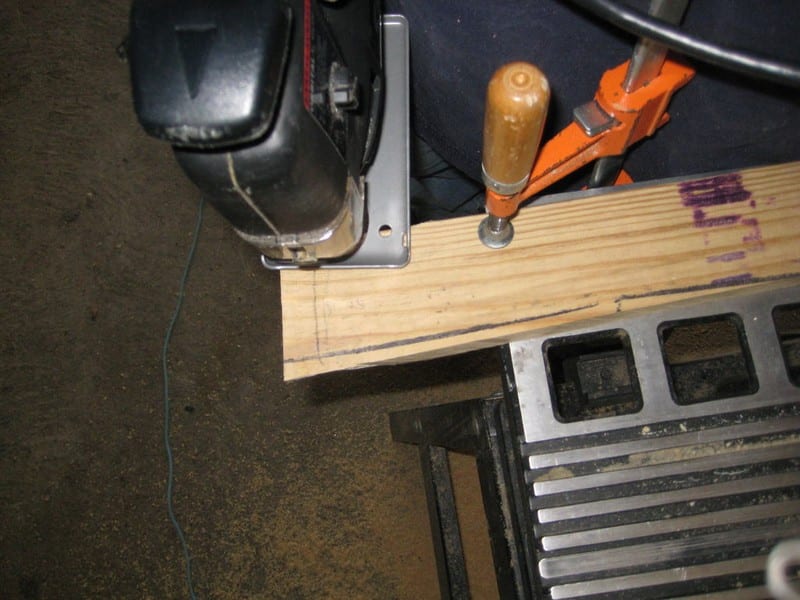
You should end up with something like this.
On a flat surface, arrange the front leg, rear back support, and seat stringer of your Adirondack chair as shown.
Remember, if your boards are smooth on one side and rough on the other, make sure the “good” side is facing out. In this picture, you’re looking at the rough side, i.e, the “inside”.
PLEASE NOTE: The front leg of the Adirondack chair is UNDER the seat stringer. The back support is OVER the seat stringer.
Use a board or the table edge to line up the pieces on the bottom. Measure the distance between the front leg and the rear back of your Adirondack chair support on top and bottom to make sure it’s reasonably straight. Mark the leg and support locations with a pencil.

Drill two staggered pilot holes through the top piece and halfway through the lower board. Use the 3/8″ bit to countersink the holes. Spread a generous amount of glue between the two pieces and attach with 1″ wood screws.
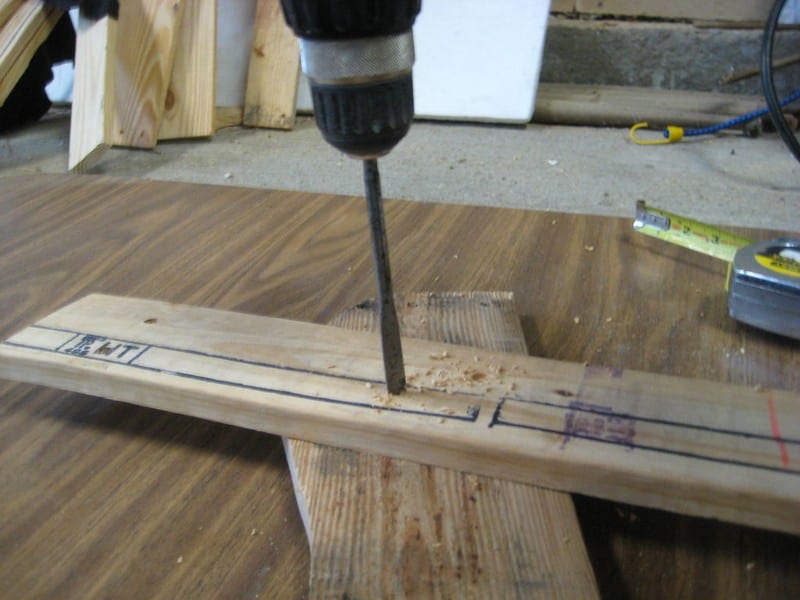
Tip: Sometimes pallet wood is especially soft. Set the drill’s torque as low as possible to avoid stripping out the pilot hole.

Continued Page 3…


