Last Updated on September 13, 2024 by teamobn
Mix up the stucco mix and add whatever colour you like. Trowel it onto the outside of the blocks. Don’t put it on the countertop. Go and select what tile you will use. 
Select what tile you will use and get a tile cutter. Mix up the tile glue. 
Trowel on the glue and apply tile to countertops and short backsplash area between the upper and lower counters in the front. 
We applied the edge tiles first, then put the tiles around the perimeter on the top. Then we laid the centre tiles diagonally. Once that is all laid install the sink and side burner.

Create trim around it from steel if desired. Test fit your barbecue. 

Use whatever wood is available to you for doors. We used some wood that we got for free from a pallet for the doors to get that slightly rustic rough-sawn look. We used some antique-looking hinges and handles to further this effect. 

We decided to go with a more open-style roof. Stain the wood to match the rest of the barbecue. use a template to get the end cut right.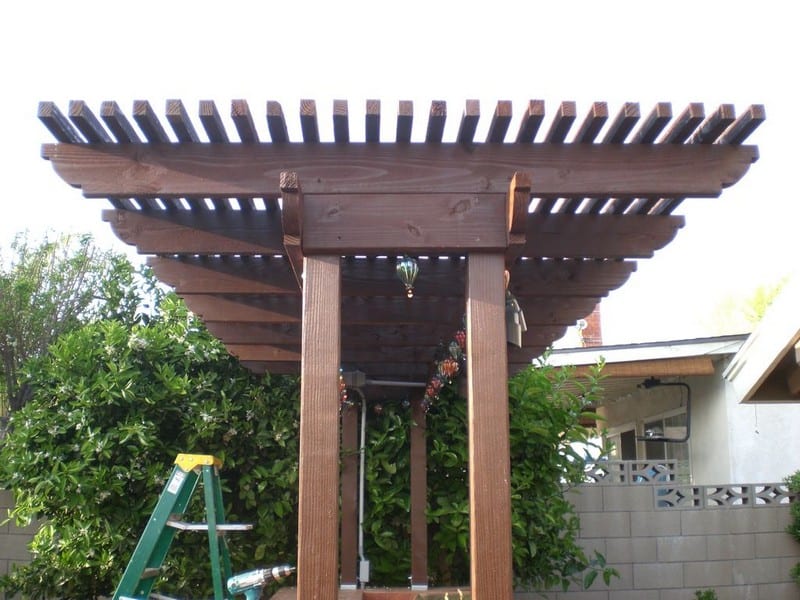
Run all electrical up to a box on the post. Use wet location switches and outlets.

Paint the pipe to match the stain of the wood. Install at least four lights to make grilling at night possible.
Backfill this area with dirt to cover the dry well and drain pipes, and either cover with pavers or use cement. We have since poured new concrete around the barbecue, and have used it a lot. Especially in the heatwave that we’ve been having lately here in SoCal. It has worked out great for us.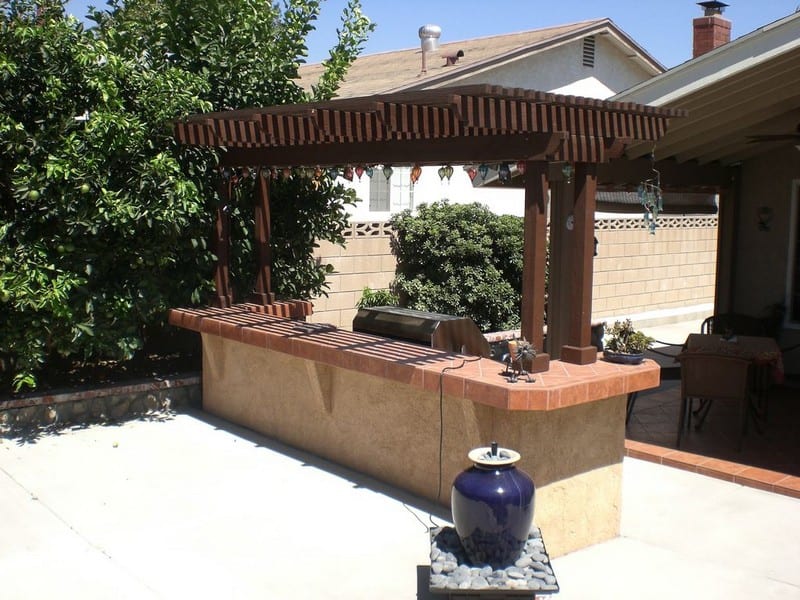
Thank you hivoltage for this beautiful project!


