A patio is a paved space in a yard. It is important to have a patio as it can be used for many things – such as relaxation or playing sports. Not only does it increase property value, but it also allows people to gather outside. A patio is an extremely important part of any home.
Patios are a great addition to homes, and this project will definitely freshen up your patio. You don’t necessarily need to hire a professional, or even get a contractor to help you with the build since it’s an easy and inexpensive project. In fact, many people will DIY it, and you will be able to save a lot of money by doing it yourself. With a little bit of creativity, you can transform your patio into a stunning outdoor space. So what are you waiting for? Get started today!
The design used in this patio is made with a handmade pattern. The owner had come across plastic forms for making walkways but didn’t find the size or style he wanted. So, he took matters into his own hands and designed his own patio. The result is a beautiful and unique space that is perfect for entertaining guests or simply enjoying the outdoors.
He was fed up with spending money on products that never quite lived up to his expectations. So, he decided to create his own solution. The result is this brilliant form. It’s cheap, easy to make, and has all the qualities he needed. Plus, the process of making it was immensely satisfying. He’s now a proud DIY-er, and he’s never looking back.
Click on any image to start the lightbox display. Use your Esc key to close the lightbox. You can also view the images as a slideshow if you prefer 😎

Want to build a completely customized patio? Then this project is for you!
You’ll need these materials:
- ¼” x 3” Poplar Wood
- ¼” x ¼” Poplar Square Bars
- Grabber Screws
- Portland Cement
- Cement Colouring
- Aggregate
- Sand
- Water
- Mortar
- Vaseline
- Wheelbarrow/Container – for mixing concrete
And these tools:
- Shovel
- Screw Driver
- Magnesium Float/Trowel
Steps in creating a DIY Cement Patio
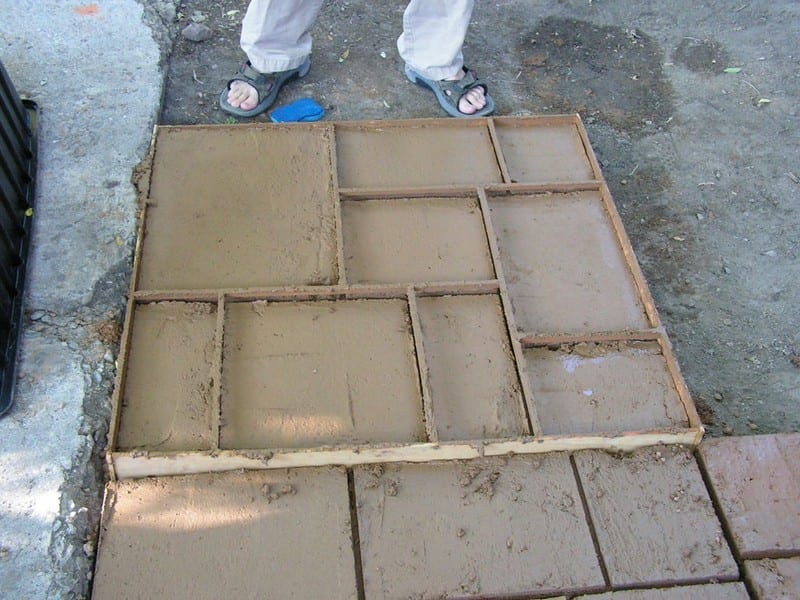
I built a simple mould with 1/4″ X 3″ poplar stock from the local big box hardware store. Then I used 1/4″x 1/4″ square stock to make a decorative pattern. The whole thing was held together with grabber screws. I used Vaseline as a release.
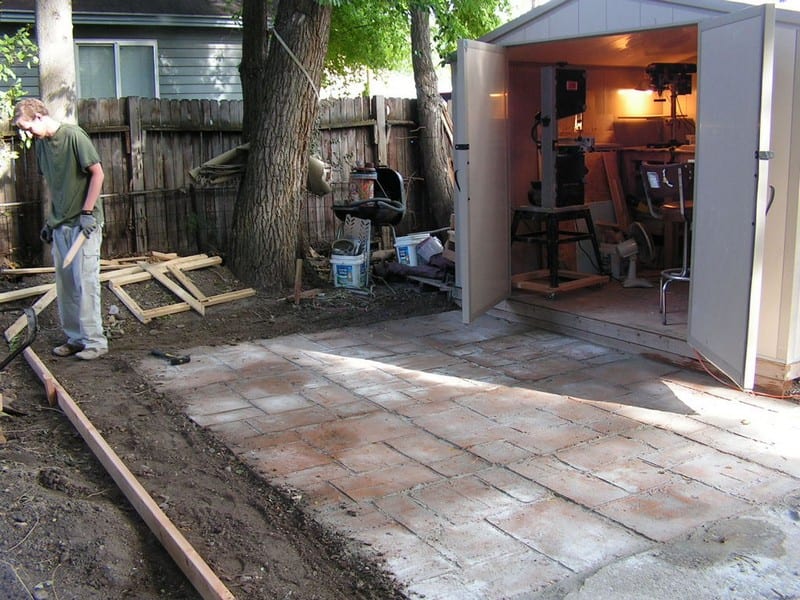
It took approximately three (80 lbs) bags of cement to fill one form (3-foot x 3-foot x 3 in) so after I got the form in place and level I mixed the cement colouring with the water and then mixed the cement into a fairly workable texture.
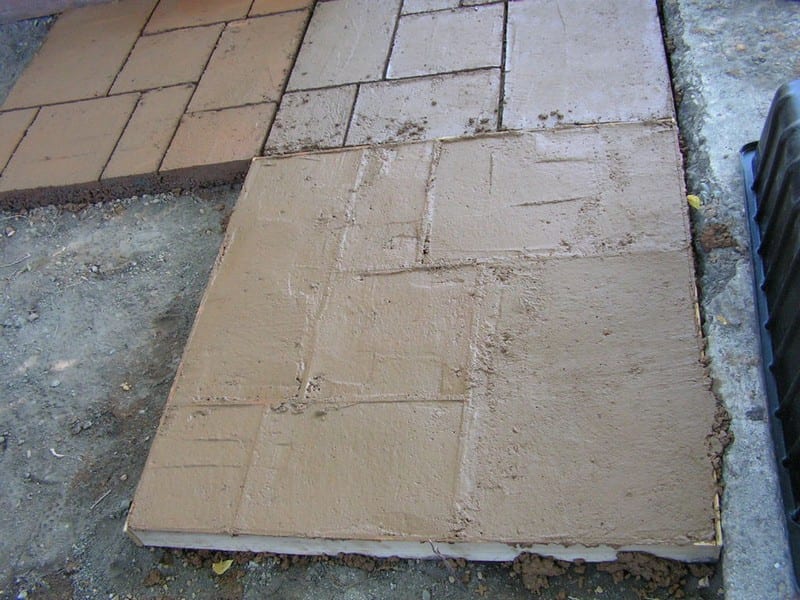
Then pour the cement into the form and work it around until all of the air pockets are worked out. It is important not to leave any aggregate from the cement on the top of the form, this will make it harder to remove later.

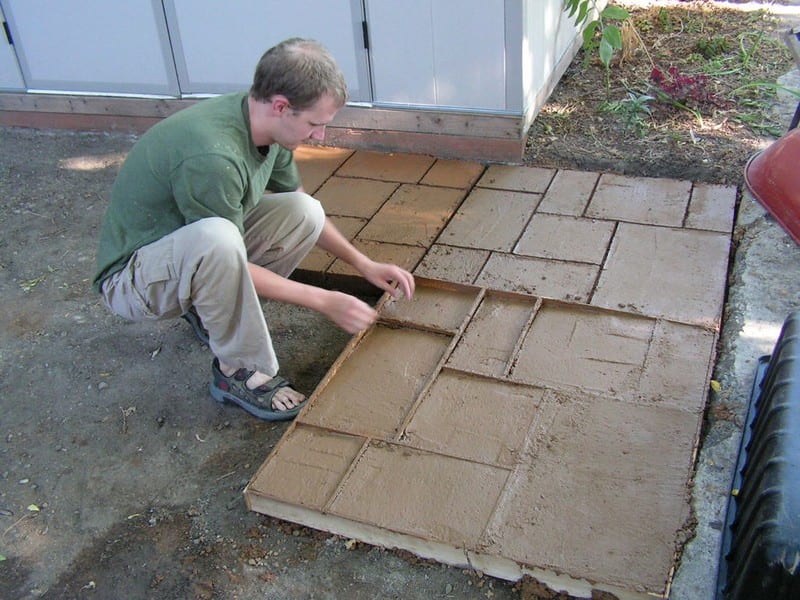
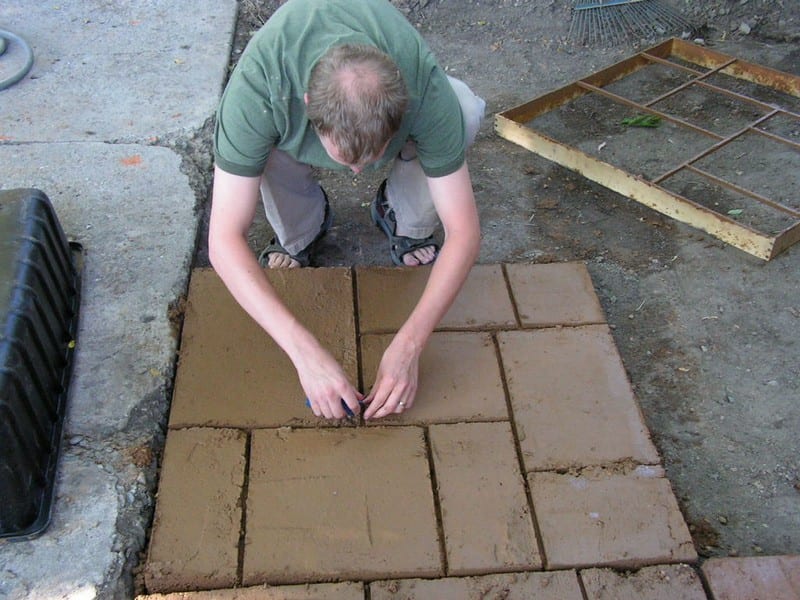
After waiting the required amount of time for the wet cement to harden, you can begin to remove the form. Gently tap on the surface of the wood form to release it, and then slowly work the form up and off. Be careful not to damage the surface of the cement, as it will be your finished product. With a little bit of patience and care, you’ll have a beautiful cement surface to show for your efforts.

There was some cracking but don’t worry about it. The mortar will fill in any voids.

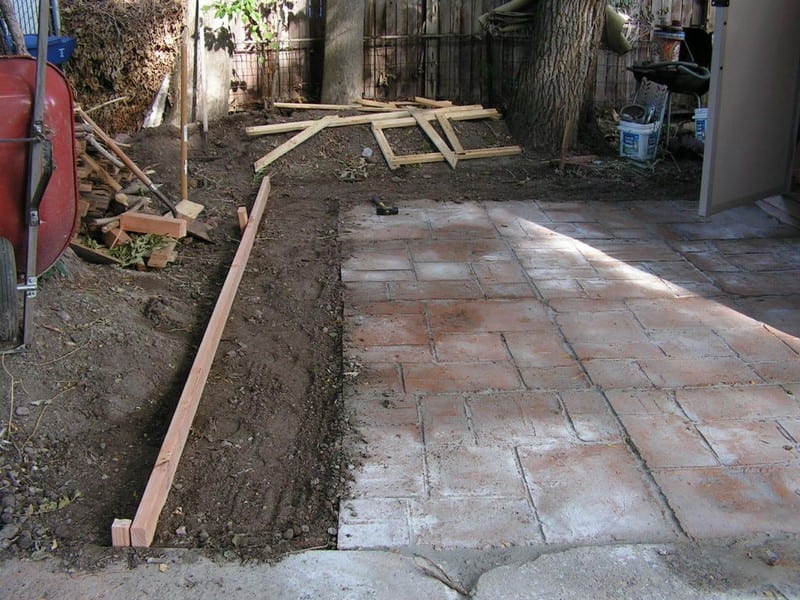
After allowing the cement to cure, I swept the mortar into the cracks and wet it down gently with the hose. The mortar ties the whole piece together and reinforces the cement, filling any voids. It was a long and arduous process, but finally, my patio was complete.

Thanks to bassman76jazz for this great project.