Last Updated on February 11, 2019 by teamobn
The assembly and fitting of a cat flap can be tricky when you’ve not done it before. It’s essential to get a cat flap that will work with your door and allow the cat easy in and out access while maintaining the security of your home. Here’s a guide to getting it right!

First of all, you need to measure your cat. It may sound obvious, but you want to be sure that your moggy can get in and out comfortably through the cat flap in the first place. You’d be amazed at the number of people who buy one that doesn’t meet this simple requirement! The average cat will need a flap positioned 10-15cm from the floor. On the door, mark this height in two places to ensure a straight line.

Most people tend to fit their cat flap in the center of their door, so before you get started with the cutting, find the center of the door and mark it up. Cat flaps generally come with a template showing the points at which you should drill. Match the template up to the center mark you made on the door. Stick the template to the door with masking tape.
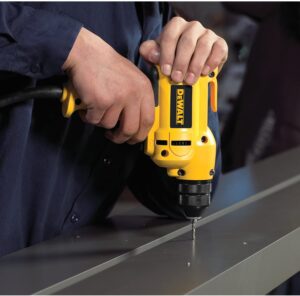
Select a drill bit that’s slightly wider than the tip of your jigsaw. Check your cat flap instructions to see if they suggest an optimum bit. Use the drill to make holes where the template instructs — usually the four corners of the marker. Use your jigsaw to cut out the shape for the flap. Do this with the door firmly closed to avoid slipping.
Smooth the edges of the hole with sandpaper. You can then place the flap against the hole to test the fit and ensure the door swings open and closed with ease. Hold it in place and mark the screw holes on the door in pencil. Drill through these holes with a bit that is slightly narrower than the screws themselves.
Place both sides of the cat flap on and screw them tightly in place. This is fiddly, so take your time and turn the nuts as tight as you can get them.
These instructions will work for wooden doors and UPVC door with insulated panels at the bottom. If you have a double-glazed panel at the bottom, it’s advisable to swap the glass panel for an insulated one.

All that’s left then is to train your furry friend to use the flap to get in and out again! It should take no more than a few hours to give your cat the kind of freedom it craves.
Images by tompagenet, Irish Typepad and Elsie.esq, used under Creative Commons license.
Have you installed a pet door? How did it go? Any suggestions or comments that can help others do it better or easier?

