Homeowners looking to add style and character to their areas without the hassle of conventional wallpaper have turned to peel and stick wallpaper. Whether accenting a feature wall or changing a room, this adaptable, simple-to-use solution provides countless design options. Peel and stick wallpaper offer a basic but efficient approach to updating your home décor with its no-mess adhesive backing and easy removal or repositioning capability.
This guide will address all you need to know about applying peel and stick wallpaper to give your house a modern, fashionable makeover.
Contents
What is Peel and Stick Wallpaper?
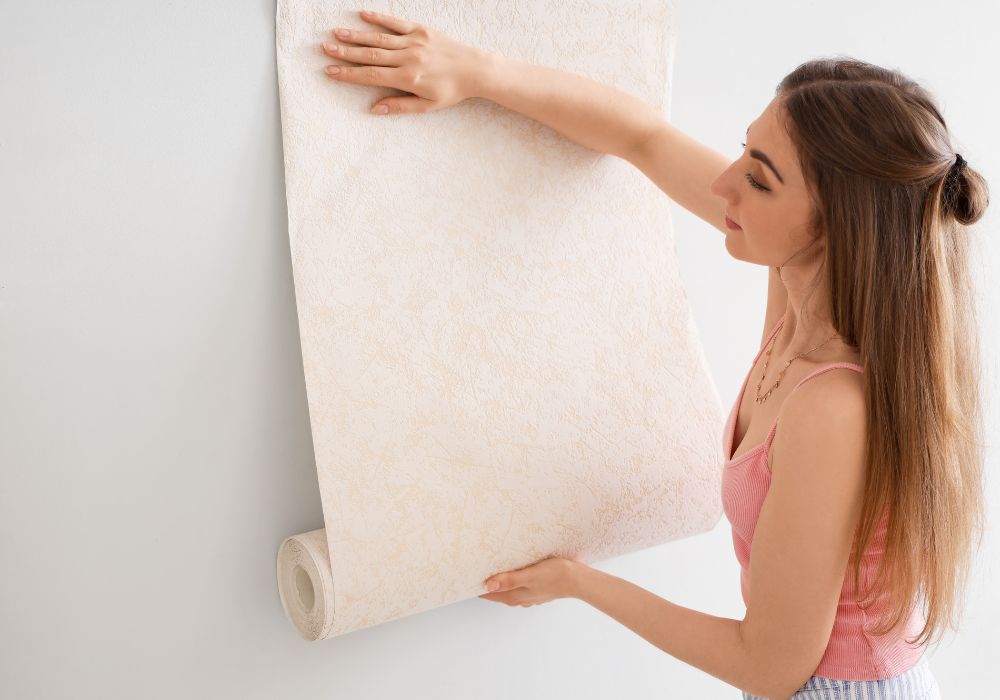
A peel and stick wallpaper is a modern and user-friendly substitute for conventional ones. Its self-adhesive backing makes application simple without referencing paste, water, or expert installation. The peel-off backing lets you place the wallpaper exactly on furniture, walls, or other surfaces; its repositionable character lets you change it until the ideal appearance is obtained.
Usually composed of vinyl or fabric, this wallpaper presents a strong yet flexible material that fits well in several environments. Removability of it is one of its main advantages. Peel and stick wallpaper is perfect for renters or those who enjoy often changing their décor since it can be removed without damaging the wall, unlike conventional wallpaper that calls for scraping and steaming to take down.
With so many patterns, textures, and colors available, peel and stick wallpaper lets homeowners investigate countless design ideas. It’s ideal for those wishing to update a room, create a feature wall, or perhaps accentuate furniture without a long-term commitment.
Choosing the Right Peel and Stick Wallpaper for Your Space
Peel and stick wallpaper has revolutionized home decor with its easy application and versatility. But with so many options available, selecting the right one for your space can be overwhelming. The key is to match your wallpaper to your design goals, room conditions, and personal style. Let’s explore the different types, considerations, and tips to help you find the perfect peel and stick wallpaper for your home.
Types of Peel and Stick Wallpaper
When it comes to peel and stick wallpaper, you’ll find a variety of materials and finishes. Each offers unique benefits depending on the room and surface you’re working with.
- Vinyl Wallpaper: Vinyl peel and stick wallpaper is one of the most popular options because of its durability and resistance to moisture. It’s ideal for high-traffic areas or spaces like kitchens and bathrooms, where walls are more prone to stains or dampness. Vinyl wallpaper is easy to clean with a simple wipe-down, making it a practical choice for families or homes with pets.
- Fabric Wallpaper: Fabric peel and stick wallpaper offers a softer, more luxurious feel. It often has a matte finish that lends itself to creating a more subtle, high-end look. While not as moisture-resistant as vinyl, fabric wallpaper is excellent for living rooms, bedrooms, or other areas where you want to introduce texture.
- Textured Wallpaper: Textured peel and stick wallpaper adds depth and dimension to your walls. It comes in various finishes, such as faux brick, wood, or stone, giving your space a more dramatic or rustic aesthetic. This type of wallpaper works particularly well in spaces where you want to create a feature wall or add architectural interest without major renovations.
- Metallic or Glossy Wallpaper: For those looking to make a bold statement, metallic or glossy peel and stick wallpapers can add a reflective sheen that catches the light and brightens a room. These wallpapers are perfect for smaller spaces like powder rooms or accent walls where you want to make a big impact.
Factors to Consider When Choosing Peel and Stick Wallpaper
To guarantee you make the best choice, consider many elements before deciding on the best peel-and-stick wallpaper for your room. These factors will guide you in making a decision, from the dimensions of the room to the illumination conditions.
- Room Size and Pattern Scale: Bigger rooms can accommodate stronger, more audacious designs without crowding the space. If your room is small, choose smaller-scale prints or more subdued designs. While smaller prints can open the room and create a more inviting environment, large patterns can make small areas seem confined.
- Room Functionality: Different rooms have different purposes. This should help you choose your wallpaper. Durable, easily cleaned vinyl wallpaper would help high traffic areas like playrooms or hallways. Conversely, fabric or textured wallpaper could be a better fit for areas like dining rooms or bedrooms where comfort and design take the front stage.
- Lighting Conditions: The impression of wallpaper on your walls is much influenced by natural and artificial lighting. A room with lots of natural light can allow you to play with darker, more vivid patterns. Lighter colors or metallic finishes, however, can help reflect light and brighten the room if the illumination is poor. Before committing, always think through how the wallpaper color and finish would look under various lighting sources.
- Personal Style: Your choice of wallpaper should highlight your own style. Peel and stick wallpaper comes in various choices to fit every taste, regardless of your inclination for classic, understated elegance or strong, modern designs. Spend some time investigating textures, colors, and patterns that fit your home’s general look and your own style.
- Ease of Removal: If you rent or intend to change your wallpaper often, ease of removal should be given first importance. While peel-and-stick wallpaper are also called removable wallpaper, some may require more effort to peel it off. Look up the instruction manual to find removable wallpapers that can be peeled with minimum effort.
Choosing the right peel and stick wallpaper for your space doesn’t have to be a daunting task. You can find the perfect match by considering the type of wallpaper, the size and function of your room, lighting conditions, and your personal style.
With proper measurements and planning, you’ll be well on your way to achieving a beautiful, stylish makeover that transforms your home with minimal effort. Whether you’re looking for bold designs or subtle elegance, peel and stick wallpaper offers an easy, flexible way to express your style.
Preparation: Getting Your Wall Ready
Before you start applying peel and stick wallpaper, it’s essential to properly prepare your walls. Taking the time to do this ensures a smooth surface and long-lasting results. Even though peel-and-stick wallpaper is designed to be user-friendly, preparation is key to avoiding bubbles, wrinkles, or poor adhesion.
Let’s review the steps to prepare your walls for the perfect application.
Clean the Wall Surface
- Remove Dust and Dirt: Dust, dirt, and grime can prevent the wallpaper from sticking properly. Start by wiping down your walls with a soft cloth or sponge and a mild soap-and-water solution. Make sure to pay attention to corners and edges, where dirt tends to accumulate. Avoid harsh chemicals that could leave a residue behind.
- Rinse and Dry: After cleaning, rinse the walls with clean water to remove any soap residue. Once rinsed, allow the walls to fully dry. You can use a clean, dry cloth to speed up the drying process or simply wait for a few hours to ensure the walls are completely dry before moving forward.
Repair Any Wall Imperfections
- Fill in Holes and Cracks: Inspect your walls for any holes, cracks, or imperfections. These will be visible once the wallpaper is applied, so it’s important to fill them in. Use spackle or joint compound to fill any small holes or dents. Once the filler dries, sand the area down until smooth.
- Smooth Textured Walls: Peel and stick wallpaper works best on smooth, flat surfaces. If your walls have texture, you may need to sand them down to create an even surface. Heavily textured walls may prevent the adhesive from sticking properly, leading to peeling or uneven application. A sanding block or electric sander can help make the surface smoother. For extreme textures, consider applying a wall liner to create a smooth base before installing the wallpaper.
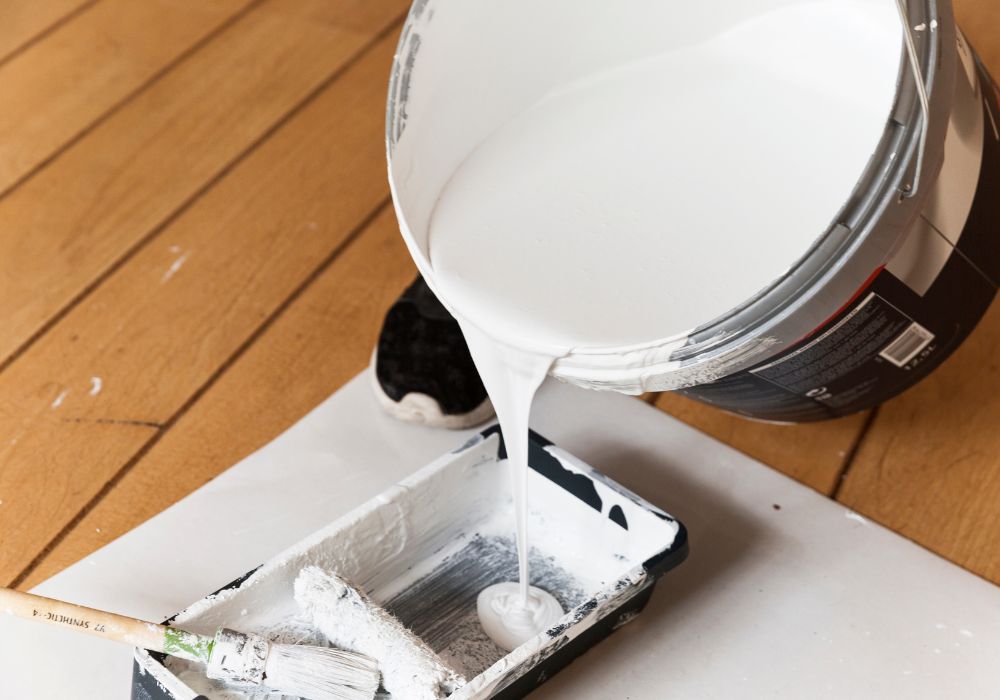
Prime the Walls
- Use a Wall Primer (Optional): While it’s not always required, using a primer can help improve adhesion and extend the life of your wallpaper. Priming the walls ensures the adhesive bonds properly, especially if your walls are porous or have been recently painted. Make sure to choose a primer that’s compatible with peel-and-stick wallpaper. Allow the primer to dry completely before proceeding.
- Test the Wallpaper on the Wall: Before covering your entire wall, it’s a good idea to test a small wallpaper section. Peel off a small strip and place it on the wall to see how well it adheres. This test will show you whether your wall is prepared correctly and whether any additional priming or sanding is needed.
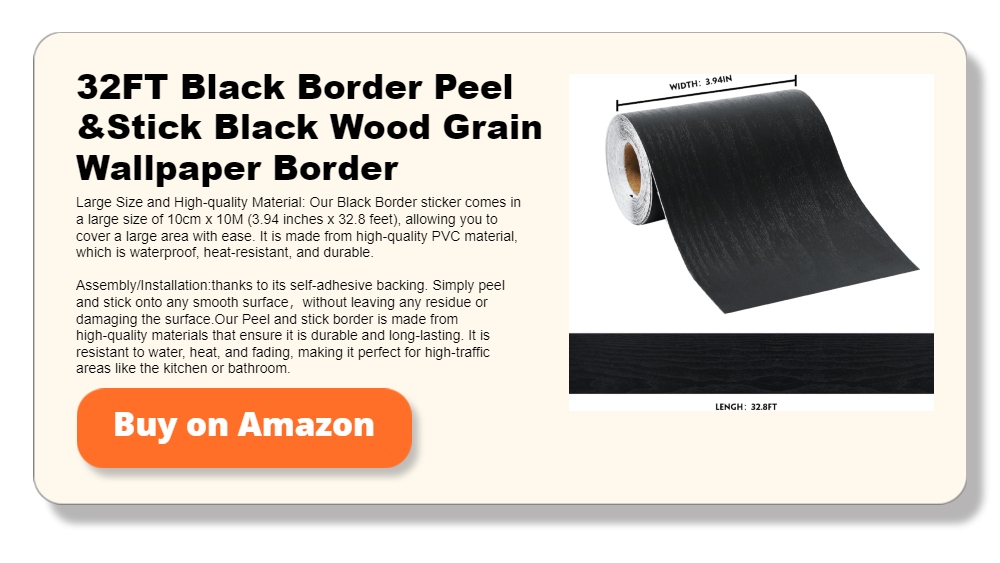
Ensure Proper Measurements
- Measure the Wall Area: Measure the height and width of your wall accurately before cutting your wallpaper. This will help you determine how much wallpaper you need for each section. You may also want to mark vertical lines using a level to ensure the wallpaper goes straight.
- Account for Obstructions: If your wall has outlets, light switches, or other obstacles, measure and plan around them. You can cut around these features when applying the wallpaper, but it’s best to have a plan to avoid interruptions during installation.
Final Check Before Application
- Make Sure the Wall is Completely Dry: Double-check that your walls are completely dry before installing wallpaper. Moisture or damp walls can weaken the adhesive, leading to peeling or bubbling.
- Gather Your Tools: Have your tools ready before starting. For the application, you’ll need a utility knife, smoothing tool, and measuring tape. It’s best to have everything within reach to ensure a smooth, uninterrupted process.
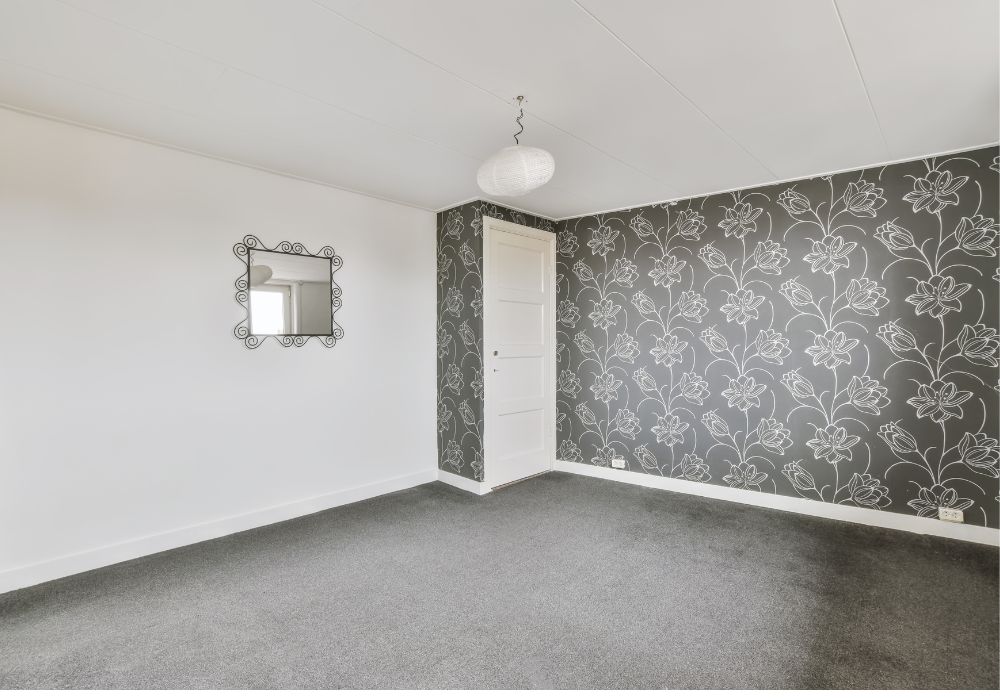
Proper wall preparation is crucial for a flawless peel and stick wallpaper application. By cleaning, repairing, priming, and measuring your walls, you create a smooth surface that ensures your wallpaper adheres properly and looks great for years. Preparing will save you from common issues like bubbling, peeling, or uneven lines, ensuring your DIY project turns out just how you envisioned it.
How to Apply Peel and Stick Wallpaper
Applying peel and stick wallpaper is an easy and mess-free process, but getting it right takes a little patience and the proper technique. When done correctly, you’ll have a smooth, bubble-free finish that looks professional. Let’s break down the steps for successfully applying your peel and stick wallpaper, from gathering tools to making the final adjustments.
Materials
Before you start, make sure you have all the tools necessary for the job. Having everything on hand will ensure a smooth and efficient process. Here’s what you’ll need:
- A utility knife or sharp blade for trimming
- A smoothing tool or credit card for pressing the wallpaper down
- Measuring tape to ensure straight lines
- A pencil or chalk for marking guidelines
- A level to ensure your wallpaper is applied straight
- A step ladder if applying to higher areas
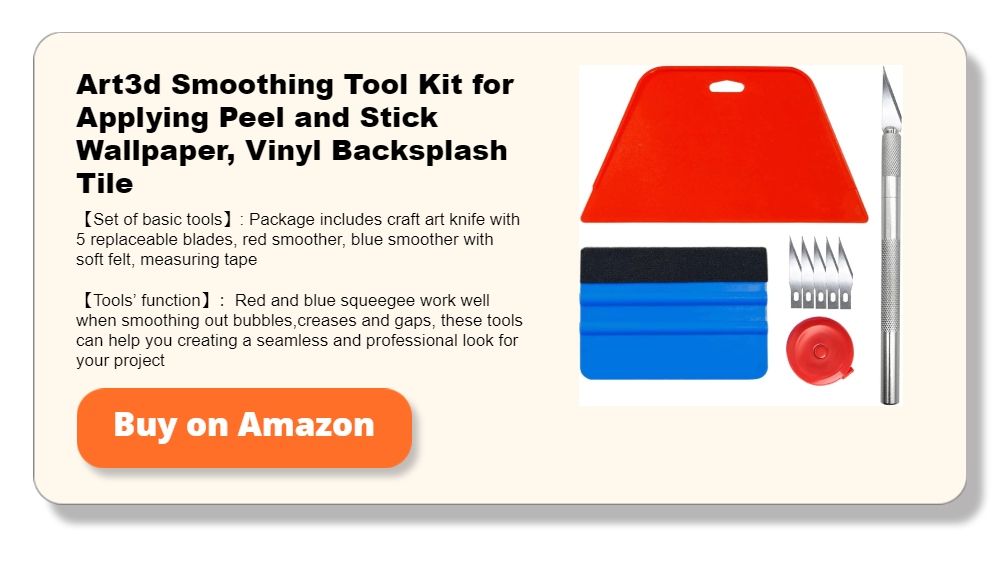
Step 1: Measure and Cut the Wallpaper
- Measure the Height and Width of the Wall: Use your measuring tape to measure the height and width of the wall where you will apply the wallpaper. This will help you cut the wallpaper panels to the appropriate size. If you’re covering an entire wall, it’s better to cut the wallpaper slightly longer than needed. You can always trim the excess after application.
- Cut the Wallpaper: Lay your wallpaper flat and use a sharp utility knife to cut it according to your measurements. Be sure to leave a little extra at the top and bottom for adjustments. If your wallpaper has a pattern, take care to align the design when cutting multiple panels to ensure a seamless look.
Step 2: Create Guidelines
- Mark a Straight Line on the Wall: Use a level and a pencil or chalk to mark a vertical line on the wall where the edge of your first wallpaper panel will go. This line ensures that your wallpaper is applied straight and doesn’t drift off as you work across the wall. Start in the middle of the wall or an edge if you’re covering a smaller area for best results.
Step 3: Start Applying the Wallpaper
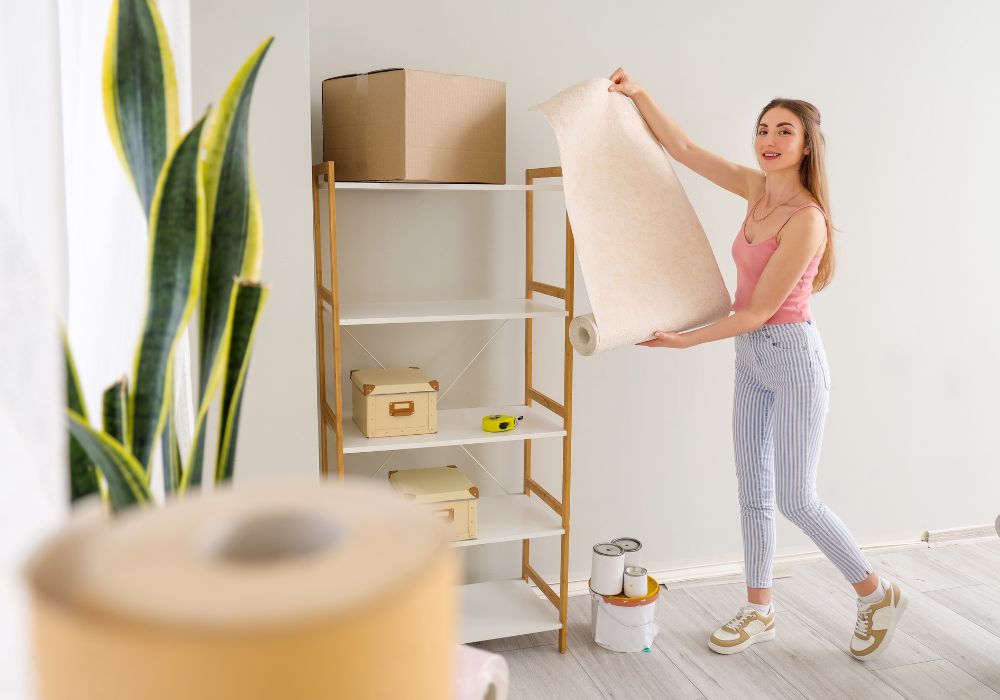
- Peel and Stick: Begin by peeling a small section of the backing off the top of your wallpaper. Line the wallpaper with the guideline you marked, ensuring the top edge is straight. Press the wallpaper onto the wall and use your smoothing tool to smooth it down. Continue peeling off the backing as you work your way down the wall. Take your time to avoid wrinkles and bubbles.
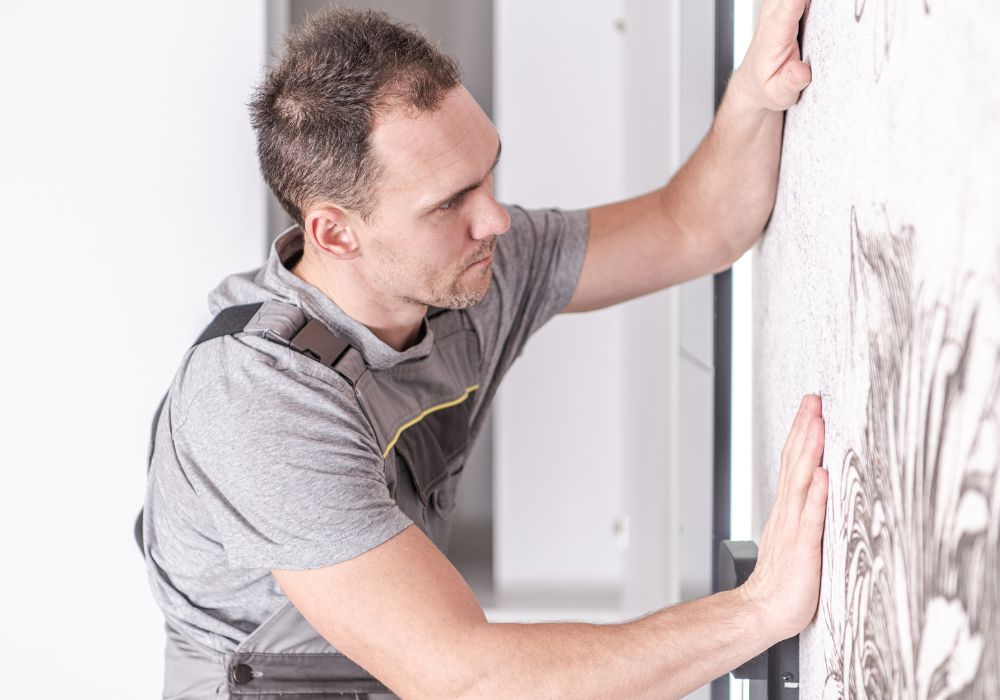
- Smooth as You Go: As you apply the wallpaper, use the smoothing tool to press the paper firmly against the wall. Start from the center and work outward to remove any air bubbles. This technique ensures a flat, smooth finish. If you notice a bubble, gently lift the wallpaper and reapply it, smoothing as you go.
Step 4: Align Patterns and Seams
- Match the Patterns: If your wallpaper has a pattern, carefully match the design as you apply additional panels. Take time to align the seams so the pattern flows seamlessly from one panel to the next. It may help to temporarily tack the next piece to the wall and adjust it until the pattern is aligned perfectly before peeling and sticking.
- Overlap and Trim: Slightly overlap the wallpaper panels’ edges to avoid gaps between them. Once the panel is in place, use your utility knife to trim the excess at the wallpaper’s top, bottom, and edges. Be sure to press down firmly around seams to make them seamless.
Step 5: Work Around Obstacles
- Cut Around Outlets and Switches: As you apply the wallpaper, you’ll likely encounter obstacles like outlets, light switches, or vents. Measure and cut the wallpaper around these areas before fully pressing it onto the wall. It’s easiest to remove outlet and switch covers before applying the wallpaper, and then use your utility knife to make precise cuts around the openings.
Step 6: Final Touches
- Trim the Excess: Once all the wallpaper panels are applied, use your utility knife to trim any remaining excess along the top, bottom, and sides. Be careful to cut in a straight line, and use a ruler or straight edge for guidance if needed.
- Smooth the Seams: Go over all the seams again with the smoothing tool to ensure that they are flat and secure. Press firmly along the edges to help the adhesive bond well to the wall.
These guidelines will help you to get a polished, professional-looking finish that changes your room. Whether you’re updating a whole room or building an accent wall, peel and stick wallpaper is a flexible choice that quickly accentuates your house with little effort.
Conclusion
Peel and stick wallpaper offers an easy and affordable way to elevate your home’s interior without the commitment or mess of traditional wallpaper. Its versatility in design and application allows you to customize any room to match your style. With proper preparation and careful installation, you can achieve a professional-looking finish that instantly transforms your space. Whether you’re adding a bold accent wall or freshening up furniture, peel-and-stick wallpaper is a simple, impactful solution for any home makeover.
We have more ways to boost your home’s interior space. Check out our wall decoration ideas!

