Last Updated on July 9, 2024 by teamobn
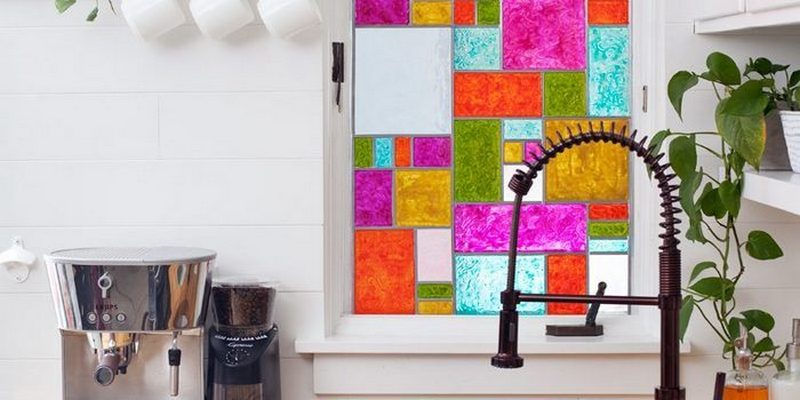
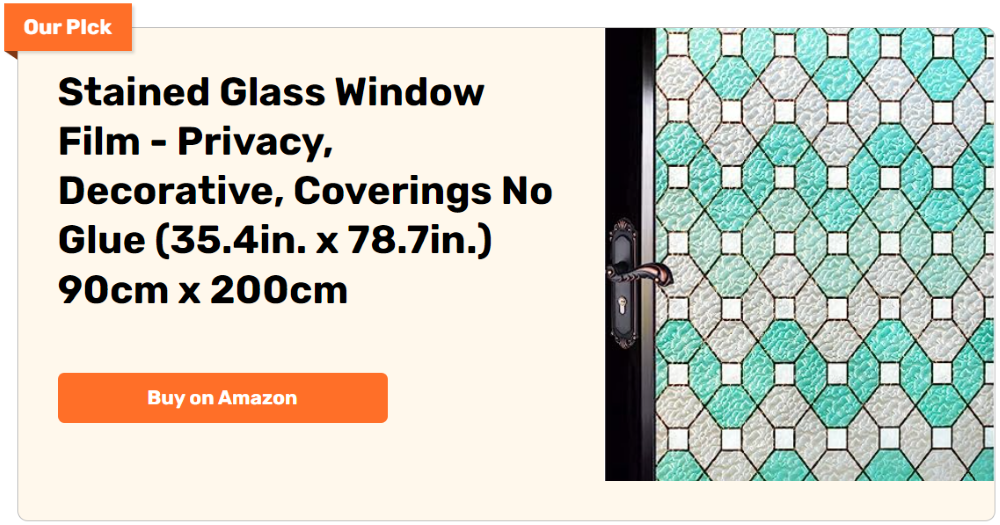
Faux stained glass windows can give any space an air of mystery and romance. The way light interacts with the different colours can be truly captivating, and can even transport you to another time. Whether you’re looking to add a touch of luxury to your home or office, or you’re simply hoping to bring some extra light into a space, stained glass windows are a beautiful option.
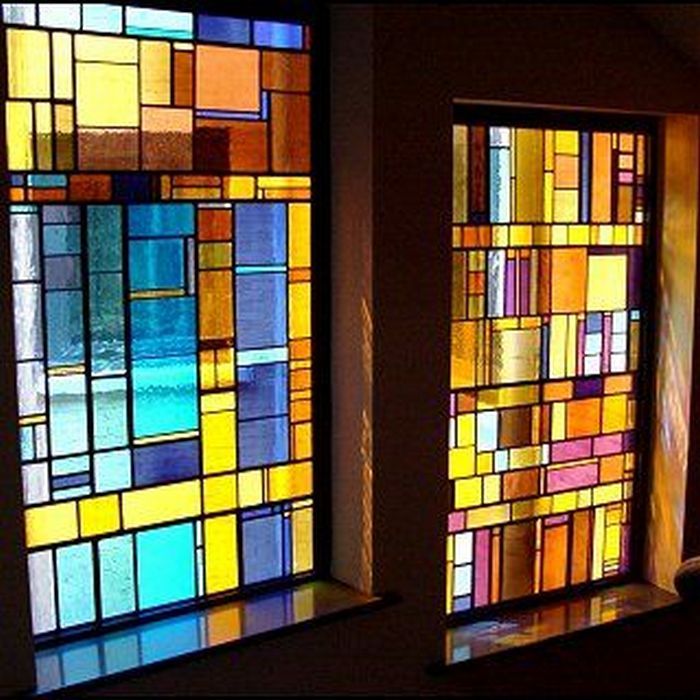
The art of making stained glass has remained unchanged down through the millennia. The process requires time and patience, as well as an appreciation for colour and line design. Stained glass is created by cutting pieces of coloured glass and assembling them into a pattern. The glass is then held together by a lead came, and the entire piece is soldered together. The end result is a beautiful, one-of-a-kind work of art that can brighten any space.
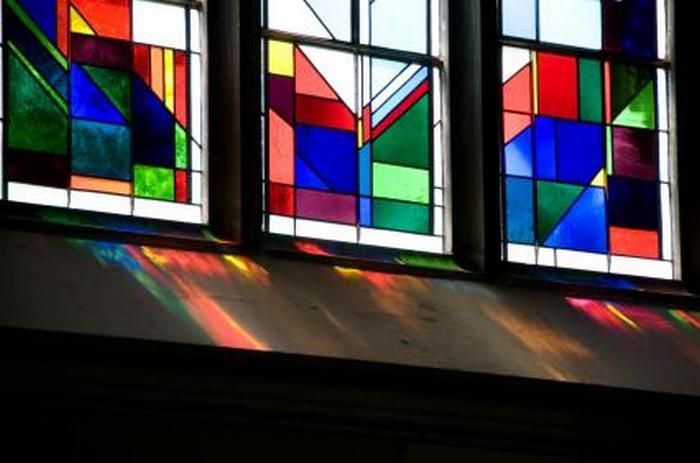
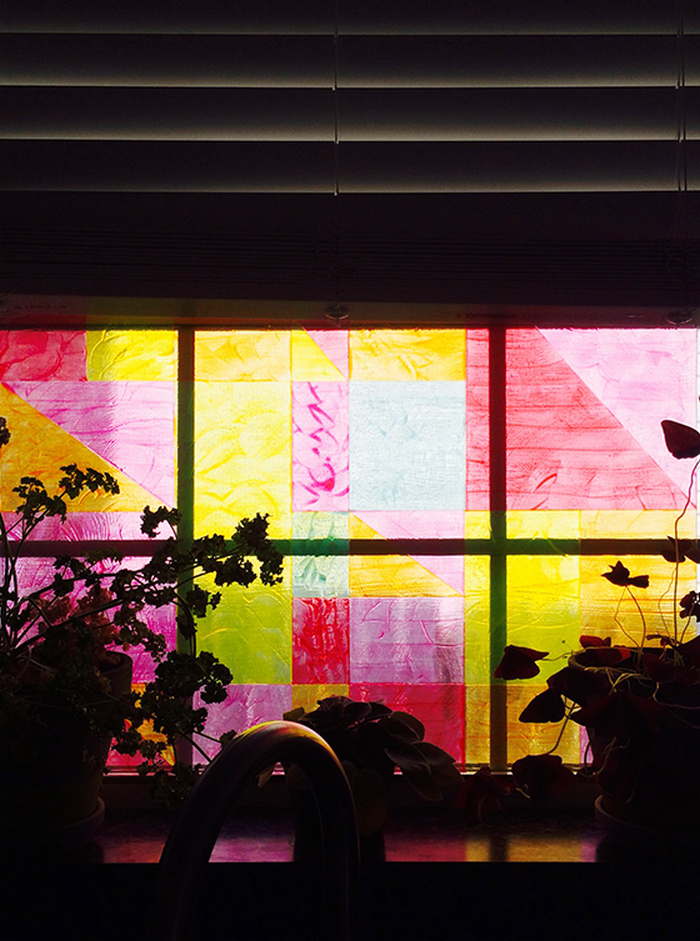
On bright, sunlit days, the patchwork of light that comes through stained glass windows can be extraordinary. The way the light falls on the different colours and textures of the glass can create a beautiful effect that is both calming and uplifting.
One way to upgrade the look of your home’s exterior is by staining your glass windows. This can be a simple and effective way to give them a facelift.
No, no, we are not suggesting that you buy stained glass windows – that would be too expensive. If those windows are still good, why replace them at all, right? You just need to paint them.
There are a few things to keep in mind when choosing to stain your windows. First, decide what type of look you are going for. There are a variety of colours and shades to choose from, so take your time in selecting the right one. Once you have chosen the colour, you will need to purchase the appropriate type of stain. You can find this at most home improvement stores. Be sure to follow the instructions on the package for the best results.
Well, this is a great project that could breathe life into those boring windows of yours. It involves faux staining. You don’t have to worry if you’re renting. These faux stains come off easily with soap and water. So what does this mean? If you change your mind and want a new pattern five months later, you’re good.
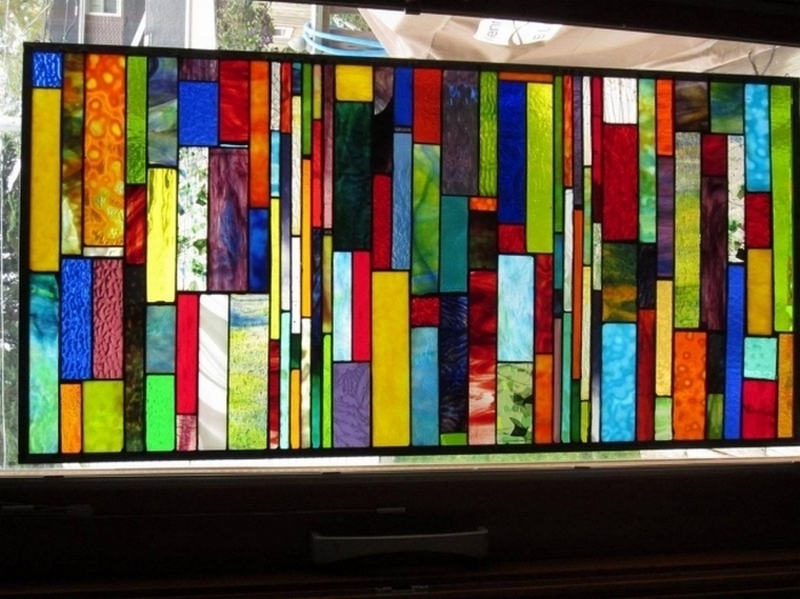
Do-it-yourself faux stained glass windows are the perfect opportunity for you to showcase your personality. By choosing your own colours and patterns, you can create a one-of-a-kind design that is sure to impress your guests. With a little bit of creativity and effort, you can easily transform a plain window into a beautiful work of art with this faux stained glass window.
There’s no need to be afraid of going bold in the faux stained glass windows project. You can be as conservative or crazy as you want to be. Clean lines and neutral colours are always an option but don’t be afraid to experiment with these faux-stained glass windows and bright hues. The possibilities are endless. Let your imagination be your guide.
To get started with your faux stained glass windows project, you’ll need to gather your tools and materials. Then, you can let your creativity flow! With the right supplies and a bit of imagination, you can create anything you can dream up. So, what are you waiting for? Get started with your faux stained glass windows today!
Contents
Making a Faux Stained Glass Window
Materials
- Marker
- Puffy fabric paint
- Acrylic metal paint
- Paper plate
- Pattern
Tools
- Foam brush
- Ruler
Instructions
Step 1: Choose Your Design
- Choose a design for your imitation stained glass. Designs either created on your own or seen online are On a sheet of paper suited for your window, print or sketch your selected pattern.
Step 2: Prepare Your Workspace
- To guarantee the window glass is free from dust and grease, clean the glass where you intend to put the fake stained glass. This improves the paint’s adherence.
Step 3: Transfer the Pattern
- Put your pattern behind the glass window so you may plainly view it. Track the design’s outline straight onto the glass with a marker. This will be your manual for using the paint.
Step 4: Create the ‘Lead’ Lines
- Well-shake your fluffy fabric paint. Beginning at the top of your design, gently paint the puffy lines you have created with the marker. These lines copy the lead in conventional stained glass. Usually few hours, let the paint dry totally.
Step 5: Mix Your Colors
- Spoon some acrylic metal paint on your paper plate. Use distinct portions of the plate for each color if you want several ones. If necessary, apply smoothes using the foam brush.
Step 6: Fill in the Design
- Apply the acrylic paint inside the regions delineated by the puffy paint “lead” lines using the foam brush. Add the appropriate hues to every part. Take care not to let the colors mix by overlapping them at the borders.
Step 7: Touch-Up
- Go back and touch up any places where the color might not be even or where you have unintentionally painted over the lines once all portions are painted. Correct any spills or smudges outside the lines with the marker or more puffy paint.
Step 8: Let It Dry
- Let the paint absolutely dry. The thickness of the paint will determine how long this takes—many hours to a whole day. Steer clear of touching the drying paint.
Step 9: Final Inspection
- Once dried, review your work. Perform any necessary last touch-ups. Should the window be subjected to sunshine, think about using a transparent UV-resistant sealer to guard against color fading.
Step 10: Installation
- Should you paint on a removable glass pane, you can now install it once again into the window frame. Should you work straight on a window, stand back and appreciate your creation!
Click on any image to start the lightbox display. Use your Esc key to close the lightbox.


You can get more step-by-step instructions here…
Advanced Techniques and Effects
Creating a faux stained glass window allows for both creative expression and interior enhancement. For those ready to advance beyond basic techniques, exploring more sophisticated methods can elevate your faux stained glass projects to resemble authentic stained glass artistry more closely.
Here’s how you can incorporate advanced techniques and effects to enrich the aesthetic appeal of your faux stained glass window.
Layering for Depth
Layering different shades and colors can add depth to your faux stained glass window. Begin by applying a lighter shade of your chosen color. Once dry, add a darker shade along the edges or in specific areas to create a gradient effect that mimics the light and shadow play in real stained glass. This technique is especially effective for floral or organic patterns where variation in light is natural.
Texturing with Paint
To give your faux stained glass window a more textured look, mix a small amount of sand or fine glitter into your acrylic metal paint before application.
Use a sponge instead of a brush to dab the paint onto the glass, creating a stippled effect that resembles the texture of actual stained glass.This effect not only enhances the visual depth but also plays interestingly with light.
Using Leading Strips for Authenticity
For a more authentic look, use adhesive lead strips instead of puffy fabric paint for the ‘lead’ lines in your faux stained glass window. These strips can be cut to length and curved to match intricate designs, providing a raised, three-dimensional look that closely mimics real leaded glass. This adds a professional touch to your project, making it appear more crafted and genuine.
Incorporating Metallic Shades
Metallic shades can be a game-changer in crafting a faux stained glass window. Use metallic silver or gold paint to outline areas of your window or to fill small sections completely. This technique not only adds a rich texture but also reflects light differently, enhancing the overall luminosity and dynamic color play of your faux stained glass window.
Creating Frosted Glass Effects
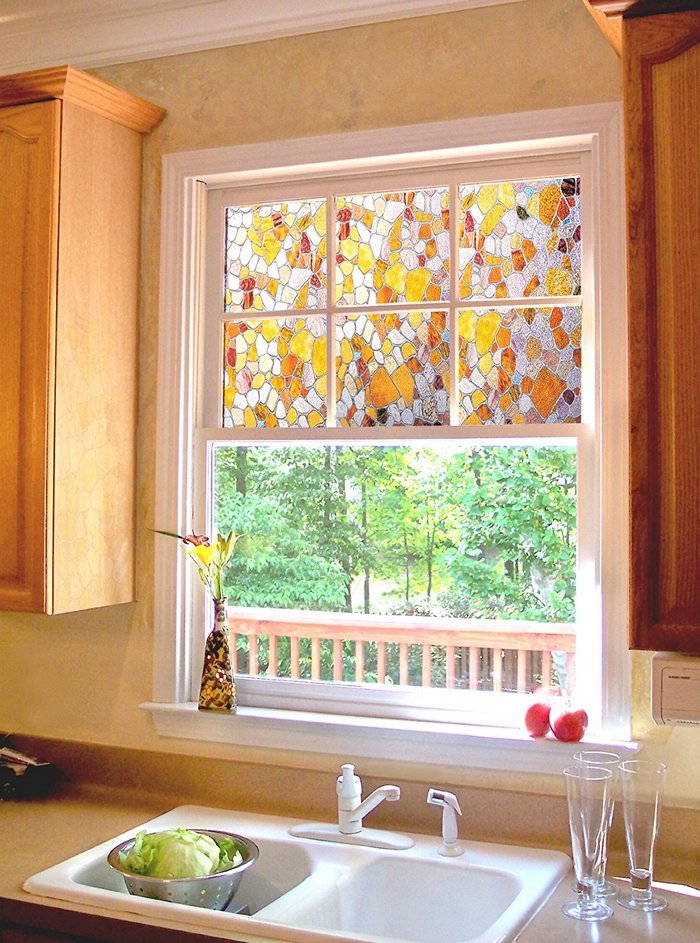
For areas where you want to soften light without adding color, apply a frosted glass effect. You can achieve this by mixing a matte medium with a clear or very light acrylic paint and applying it over the sections you wish to obscure slightly. This effect is particularly useful in faux stained glass windows meant for rooms where privacy is key, such as bathrooms or bedrooms.
By mastering these advanced techniques, you can elevate your faux stained glass window from a simple DIY project to a stunning piece of art that captivates and enhances any room’s decor. Each method offers a way to explore new dimensions of this craft, allowing for intricate, beautiful results that showcase your evolving skill set.
Conclusion
Making a fake stained glass window is a rewarding endeavour that turns regular glass into a vivid work of art. Anyone can create an amazing work that improves light and privacy in any environment with just imagination and the correct methods. This do-it-yourself project not only gives your house a personal touch but also lets you reasonably explore with colors and patterns.