Last Updated on June 24, 2024 by teamobn
If you’re looking for an easy way to store and access your kitchen utensils, then this hanging kitchen utensil lazy susan storage project is for you. This space-saving storage solution is perfect for small kitchens or any cook who wants easy access to their tools. The lazy susan utensil storage is simple to make and can be hung from any kitchen wall. It’s a great way to organize your cooking area and keep your utensils within reach. Plus, it’s a stylish way to display your kitchen tools.
This clever kitchen storage idea is great for keeping the kitchen counter clear of items not being used at the moment. We also like that it can hold so many kitchen utensils all at once, but it’s very easy to find what you need!
This organizer is both affordable and easy to make – and use! You can install it practically anywhere; underneath the overhead cabinet, underneath the kitchen island or even inside a cabinet. Plus, it’s out of your children’s reach – keeping them safe while you cook.
Do you need this clever idea in your kitchen?
Contents
Building a Kitchen Utensil Lazy Susan Storage
Materials
- 6″ Lazy Susan Bearing
- 6×6″ 1/2″ Plywood
- Iron-on Melamine Edging (optional)
- 3/4″ #10 Wood Screws
- Pegboard (small piece)
- Hooks
Tools
- Pencil
- Saw
- Drill
- Iron (optional for Iron-on Melamine Edging)
Instructions
Prepare the Plywood Base
- Measure and Mark: Use the pencil to measure and mark a 6×6 inch square on the plywood.
- Cut the Plywood: With a saw, carefully cut the plywood along the marked lines to create a 6×6 inch base.
- Sand Edges: Smooth any rough edges of the plywood with sandpaper for a clean finish.
Attach the Lazy Susan Bearing
- Center the Bearing: Place the 6-inch Lazy Susan bearing on the center of the plywood base. Use the pencil to mark the positions of the screw holes.
- Drill Pilot Holes: With a drill bit slightly smaller than the screws, drill pilot holes at the marked positions.
- Secure the Bearing: Attach the bearing to the plywood using the 3/4″ #10 wood screws. Ensure it’s firmly secured and rotates smoothly.
Optional: Apply Iron-on Melamine Edging
- Cut the Edging: Measure and cut the melamine edging to fit the perimeter of the plywood.
- Heat the Iron: Set your iron to a medium heat setting.
- Apply the Edging: Carefully iron the melamine edging onto the edges of the plywood, following the manufacturer’s instructions. Trim any excess and ensure it adheres well.
Prepare the Pegboard Top
- Cut the Pegboard: If necessary, cut the pegboard to match the 6×6 inch size of the plywood base.
- Mark Screw Holes: Place the pegboard on top of the Lazy Susan bearing, align it carefully, and mark the positions where it will be attached.
- Drill Pilot Holes: Drill pilot holes in the pegboard at the marked positions to align with the bearing’s screw holes.
Attach the Pegboard to the Lazy Susan Bearing
- Align and Secure: Place the pegboard on top of the bearing, aligning the pilot holes with those in the bearing.
- Screw in Place: Secure the pegboard to the bearing using the remaining 3/4″ #10 wood screws. Make sure the pegboard is firmly attached and rotates freely with the bearing.
Add Hooks for Utensils
- Insert Hooks: Place hooks into the pegboard holes. Arrange them based on the size and type of utensils you plan to store. You can adjust the placement as needed for optimal storage.
- Test the Hooks: Ensure the hooks are securely fitted and capable of holding the weight of your kitchen utensils.
Final Installation
- Choose a Location: Decide where you will install your Lazy Susan storage. It can be placed on the countertop, inside a cabinet, or mounted on a wall.
- Secure in Place: If installing under a cabinet or on a wall, use appropriate brackets or screws to ensure it’s safely mounted and easily accessible.
Organize Your Utensils
- Hang Utensils: Place your kitchen utensils on the hooks. Arrange them for easy access and to avoid overcrowding.
- Adjust as Needed: Rotate the Lazy Susan to test its functionality. Make any necessary adjustments to the hook placement for optimal use.
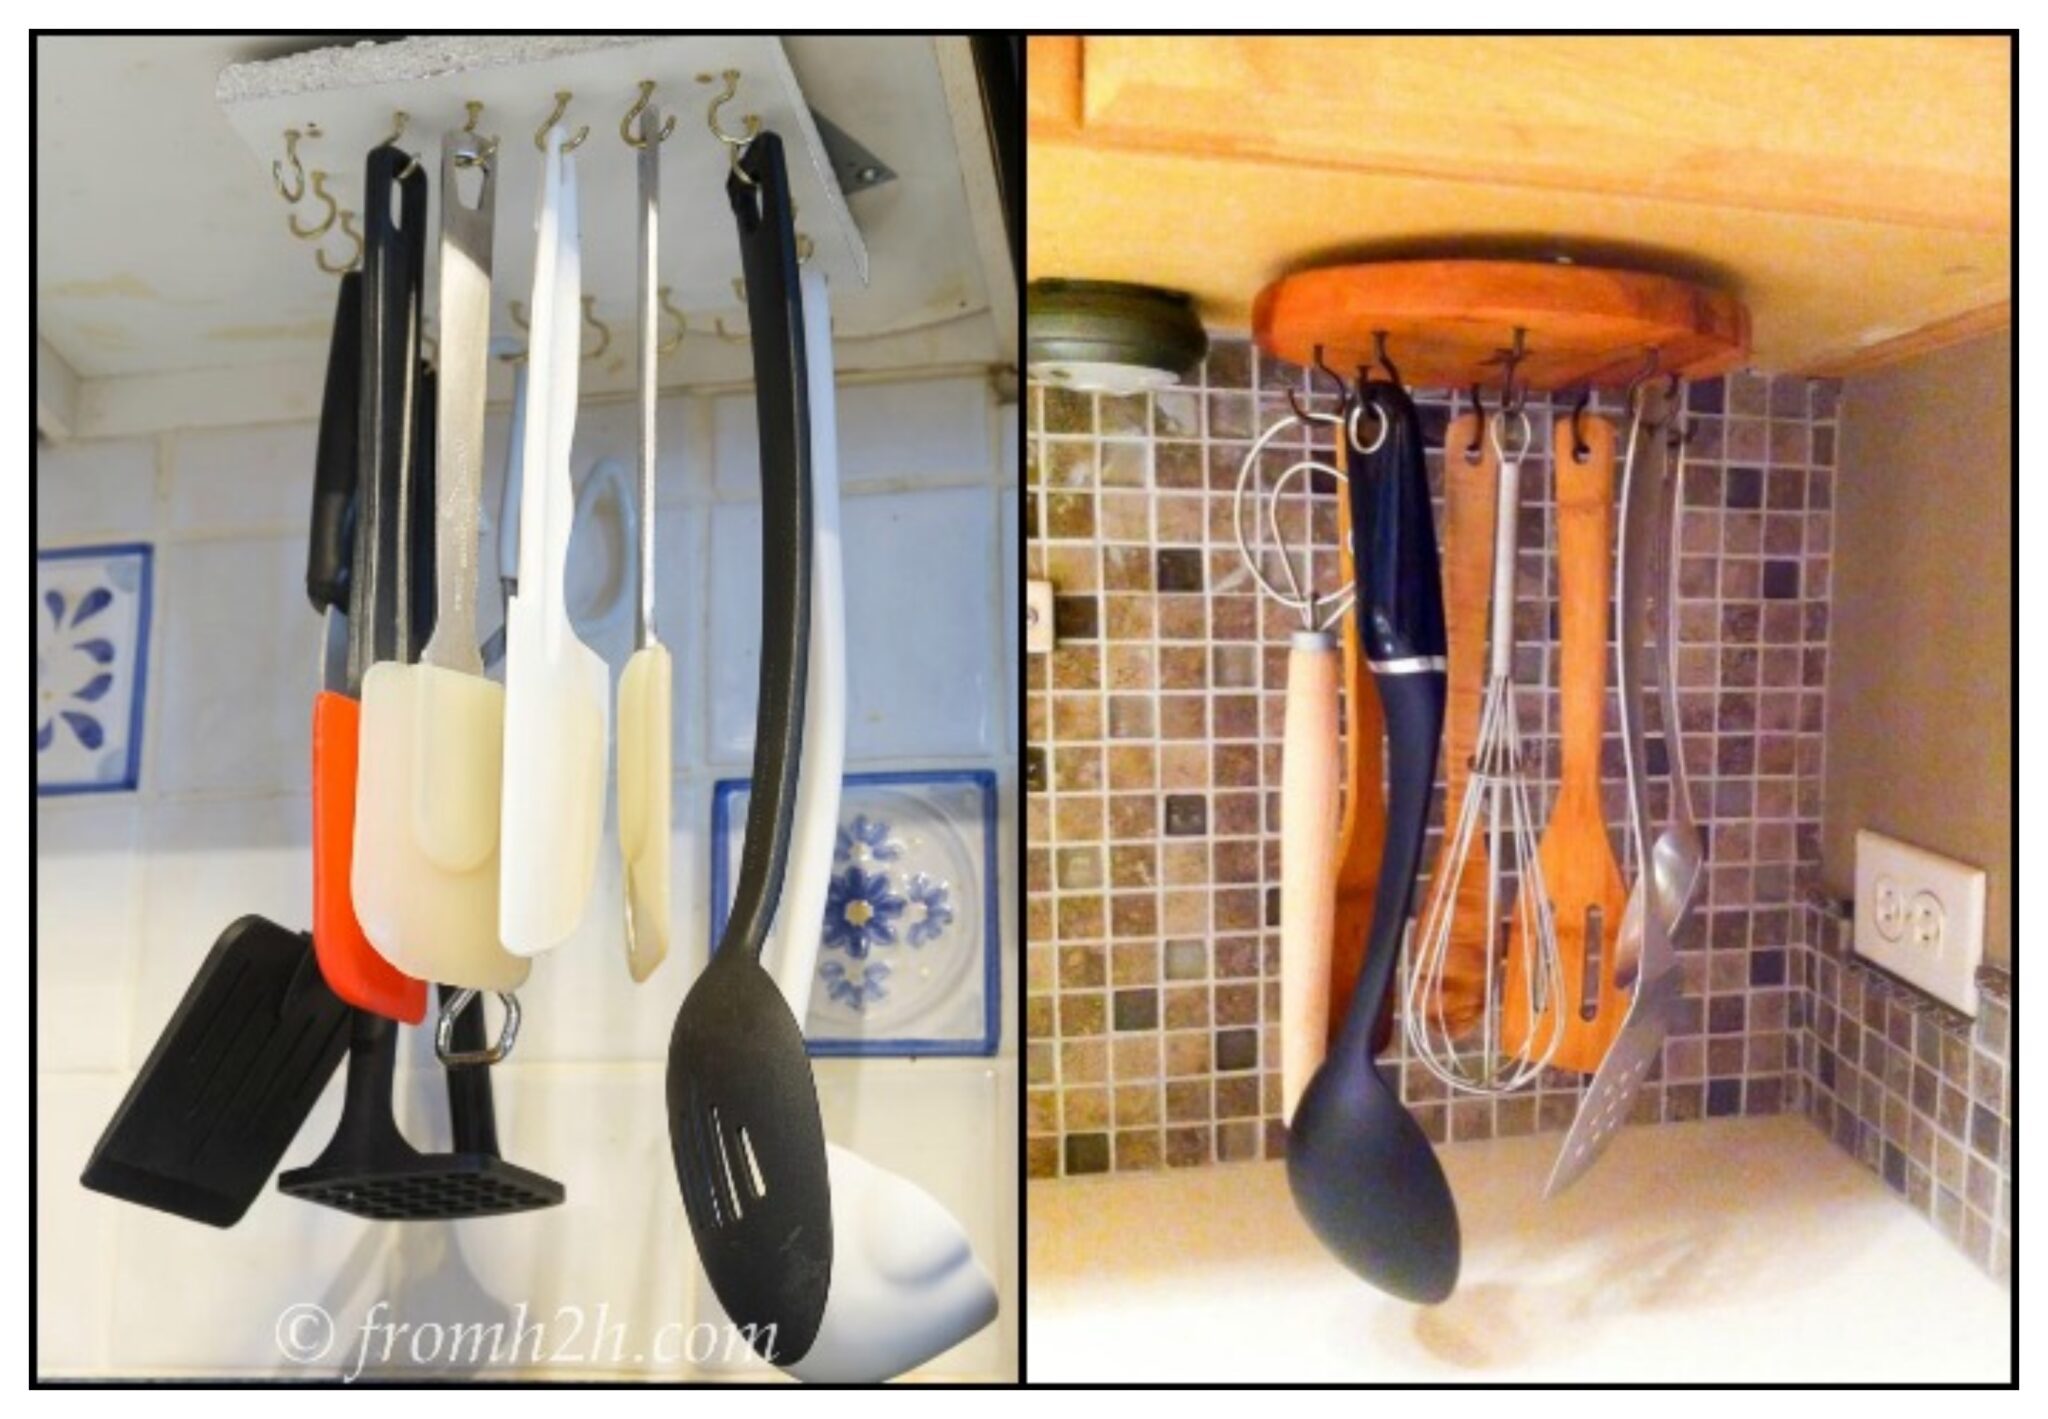
You can find more step-by-step instructions for a kitchen utensil lazy susan storage from From House 2 Home.
Creative Uses and Placement of Kitchen Utensil Lazy Susan Storage
The kitchen is the heart of the home, and keeping it organized can make cooking more enjoyable and efficient. One of the best tools for achieving this is kitchen utensil lazy susan storage. This versatile storage solution not only maximizes space but also provides easy access to all your kitchen tools. Whether you have a spacious kitchen or a cozy cooking area, here are some creative ways to use and place your kitchen utensil lazy susan storage.
Countertop Convenience
For those who love having their utensils within arm’s reach, placing kitchen utensil lazy susan storage on the countertop is ideal. It keeps everything from spatulas to whisks neatly organized and easily accessible. This setup is perfect for frequently used items, allowing you to grab what you need without rummaging through drawers.
Tips:
- Position the lazy susan near your main cooking area for quick access.
- Use a decorative base or add a small plant alongside for aesthetic appeal.
Inside Cabinet Storage
If you prefer a clutter-free countertop, consider installing kitchen utensil lazy susan storage inside a cabinet. This hidden storage solution keeps your utensils organized while maintaining a clean look in your kitchen. It’s an excellent option for those who want to keep their kitchen tools out of sight but still within easy reach.
Tips:
- Measure your cabinet space to ensure a perfect fit.
- Install it at a height that’s easy to reach, ideally at waist level.
Hanging Solution for Walls
Maximize your kitchen space by mounting your kitchen utensil lazy susan storage on the wall. This vertical storage option frees up valuable counter and cabinet space, making it ideal for small kitchens. You can hang it next to your stove or prep area for easy access to your cooking utensils.
Tips:
- Use sturdy wall anchors to support the weight of the lazy susan and utensils.
- Consider placing it near your cutting board or sink area for convenience.
Underneath the Overhead Cabinet
Utilize the often-overlooked space beneath your overhead cabinets by installing kitchen utensil lazy susan storage. This placement is great for keeping utensils close by but out of the way. It’s a clever way to store items like measuring spoons, tongs, and other frequently used tools.
Tips:
- Ensure there’s enough clearance for the lazy susan to rotate freely.
- Use this space for items you use regularly but don’t want cluttering your countertop.
Pantry or Closet Organizer
Expand the use of kitchen utensil lazy susan storage beyond the kitchen. Install one in your pantry or utility closet to keep small items like spices, cleaning supplies, or snacks organized. This multi-purpose use of the lazy susan makes it a versatile addition to any storage area.
Tips:
- Use labeled containers on the lazy susan for a tidy and organized look.
- Rotate the unit to access items stored at the back without having to reach in.
Under the Kitchen Island
Make use of the space under your kitchen island by adding kitchen utensil lazy susan storage. This is particularly useful for larger utensils or small appliances that you want to keep out of sight but still easily accessible. It’s an innovative way to enhance the functionality of your kitchen island.
Tips:
- Secure the lazy susan to the base of the island to prevent it from sliding.
- Organize items by frequency of use, keeping the most commonly used tools on top.
Conclusion
Kitchen utensil lazy susan storage is a versatile and practical solution that can be adapted to fit various spaces and needs in your kitchen. Whether on the countertop, inside a cabinet, or even on a wall, it helps keep your kitchen organized and your tools within easy reach. By creatively using and placing kitchen utensil lazy susan storage, you can enhance your kitchen’s functionality and enjoy a clutter-free cooking environment.
Alternative Kitchen Utensil Lazy Susan Storage Solutions
Click on any image to start the lightbox display. Use your Esc key to close the lightbox. ![]()
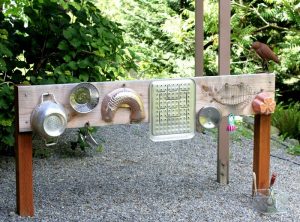
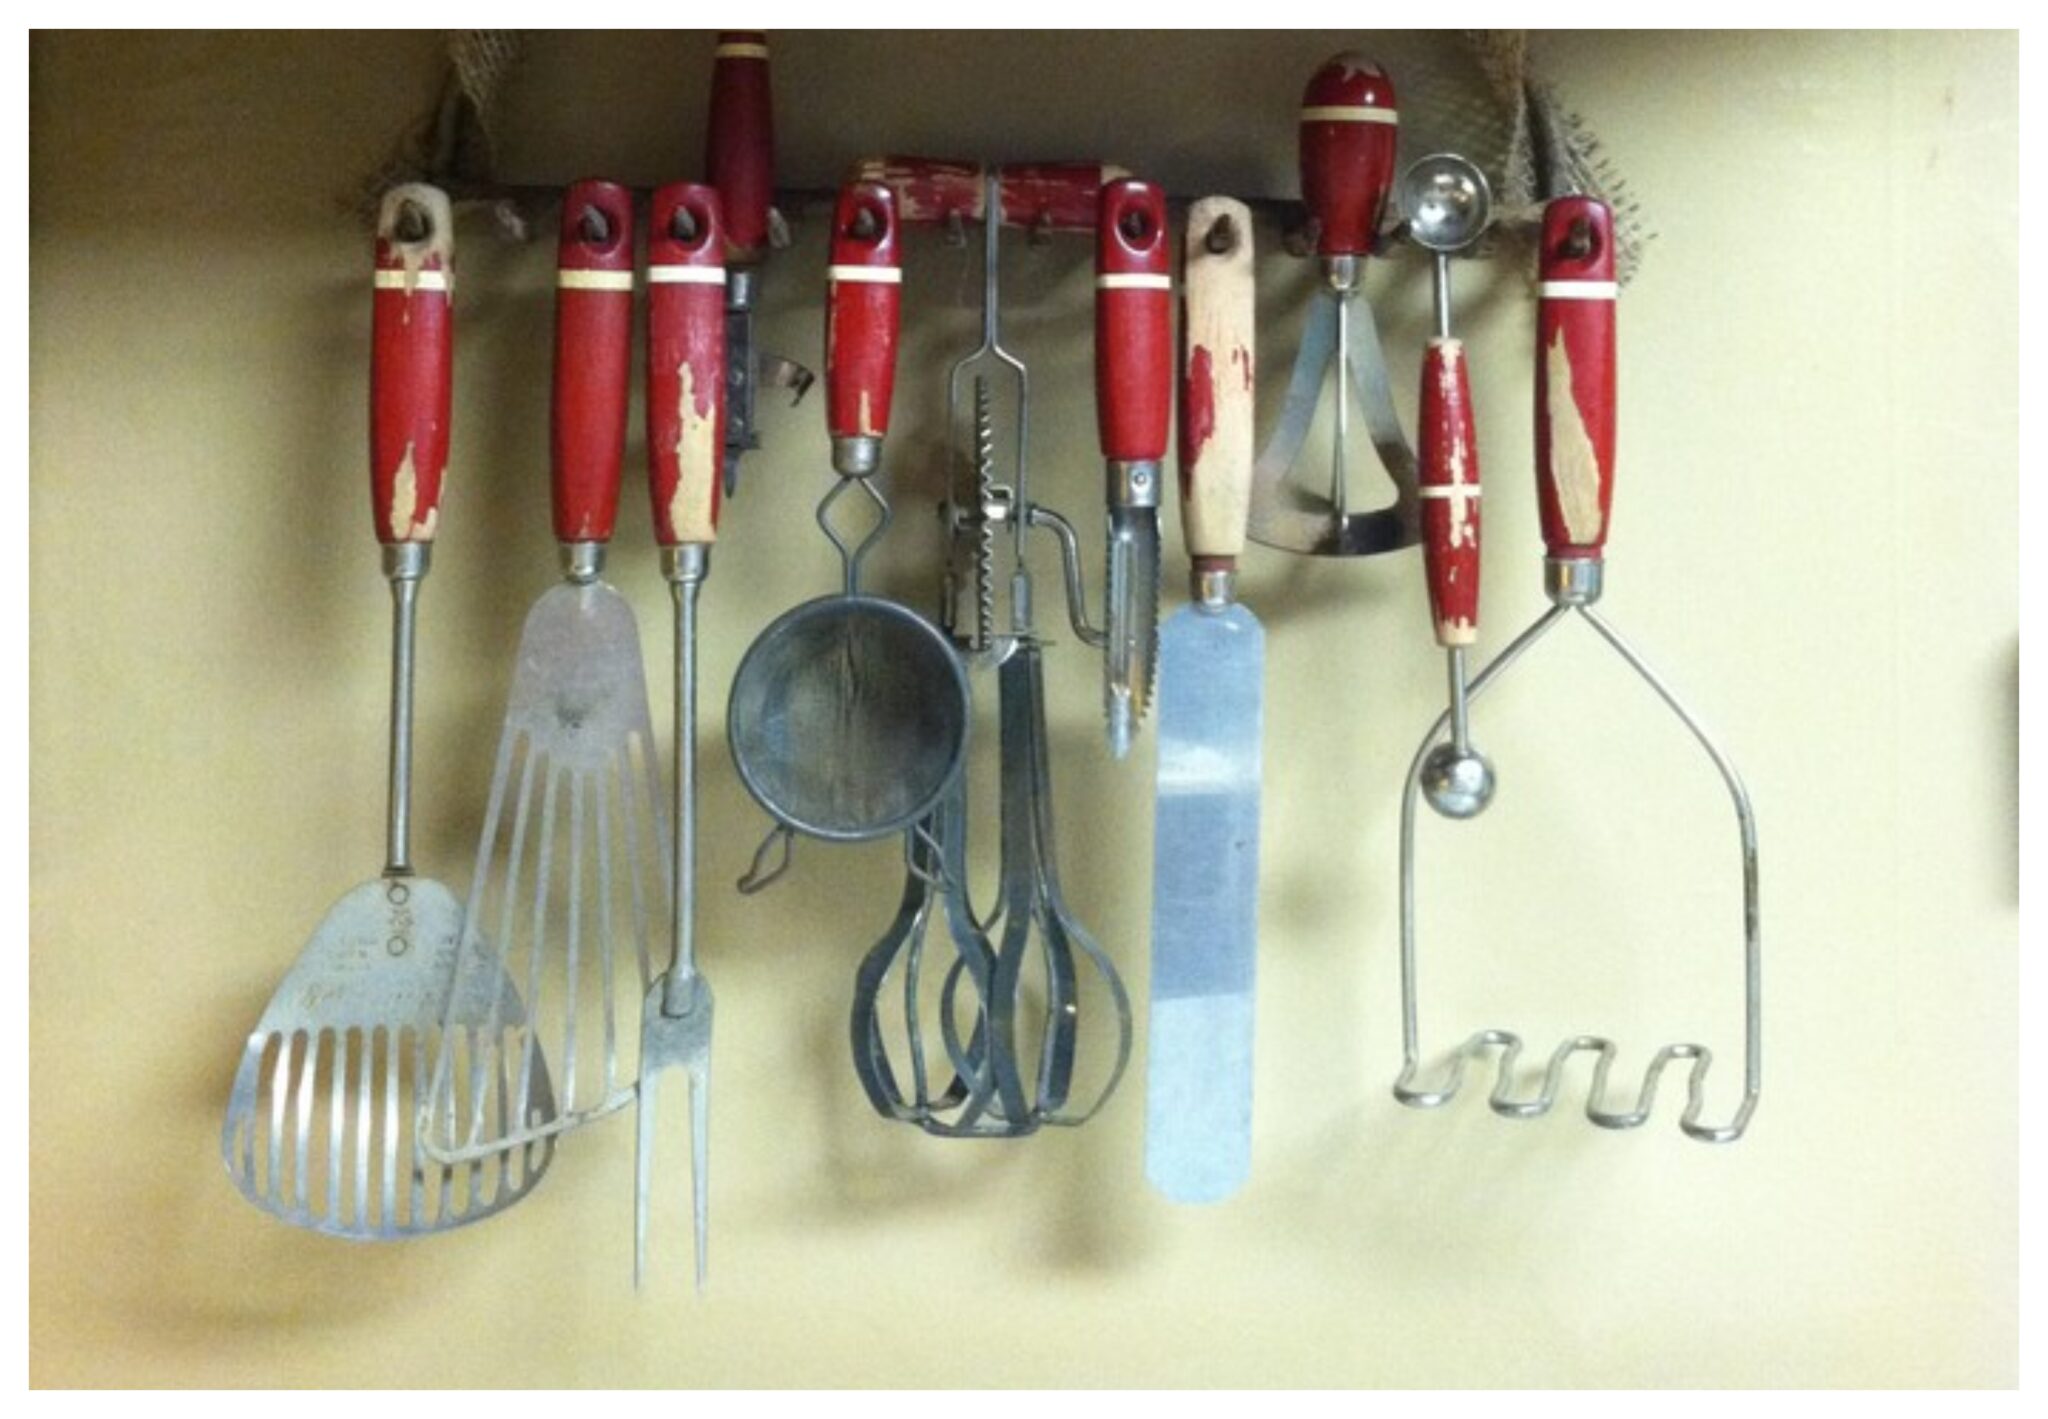
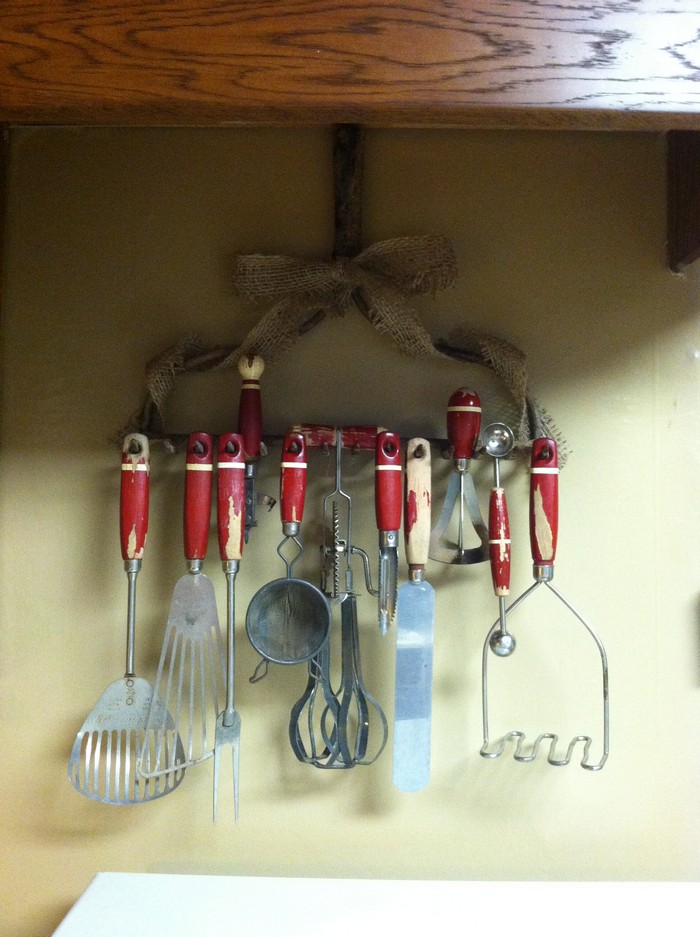
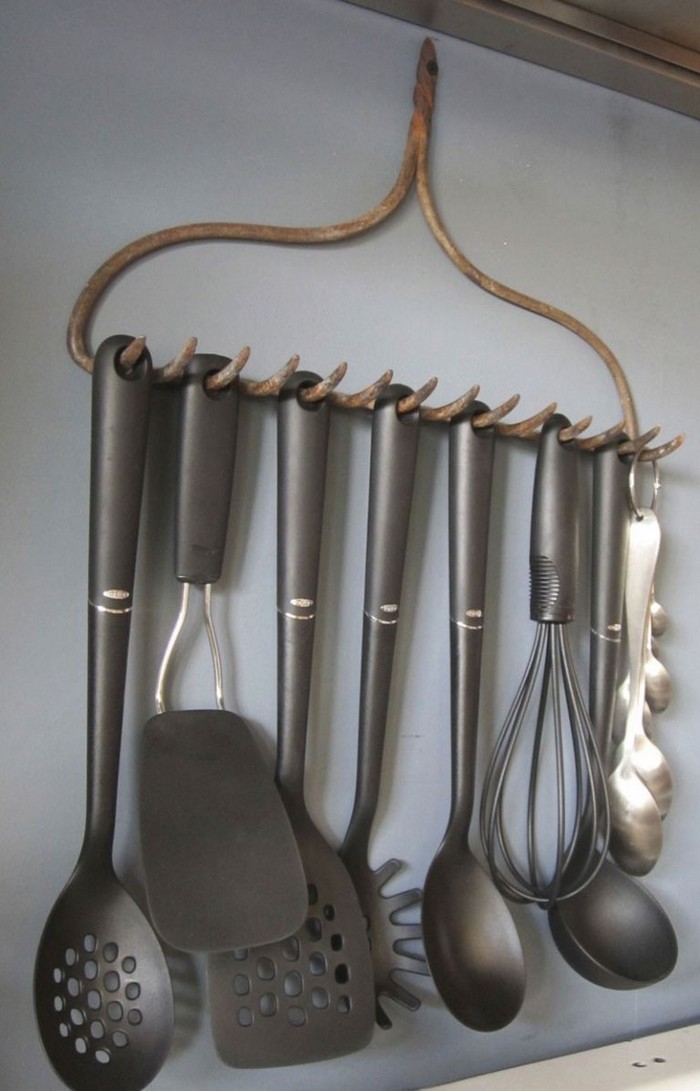
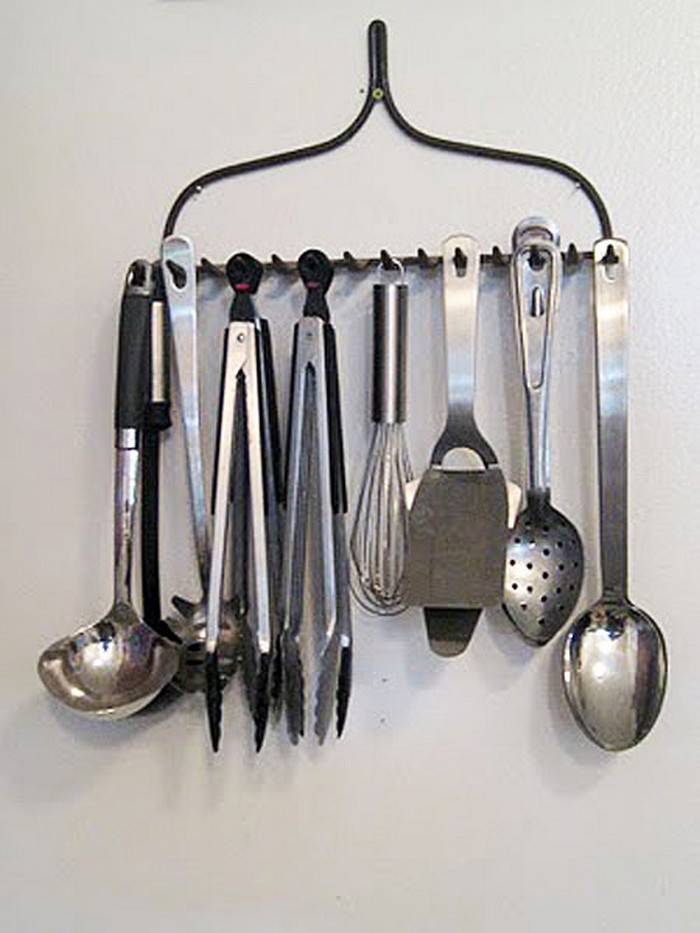
Upcycled Old Rake
Old rakes can be given new life as kitchen utensil lazy susan storage. This upcycling project is easy to do and only requires a few supplies. First, remove any dirt and debris from the rake. Next, sand down any rough edges.
Once the rake is prepped, paint or stain it to match your kitchen décor. Finally, use hot glue or another adhesive to attach hooks to the rake. Voila! You now have a unique and functional kitchen utensil organizer.
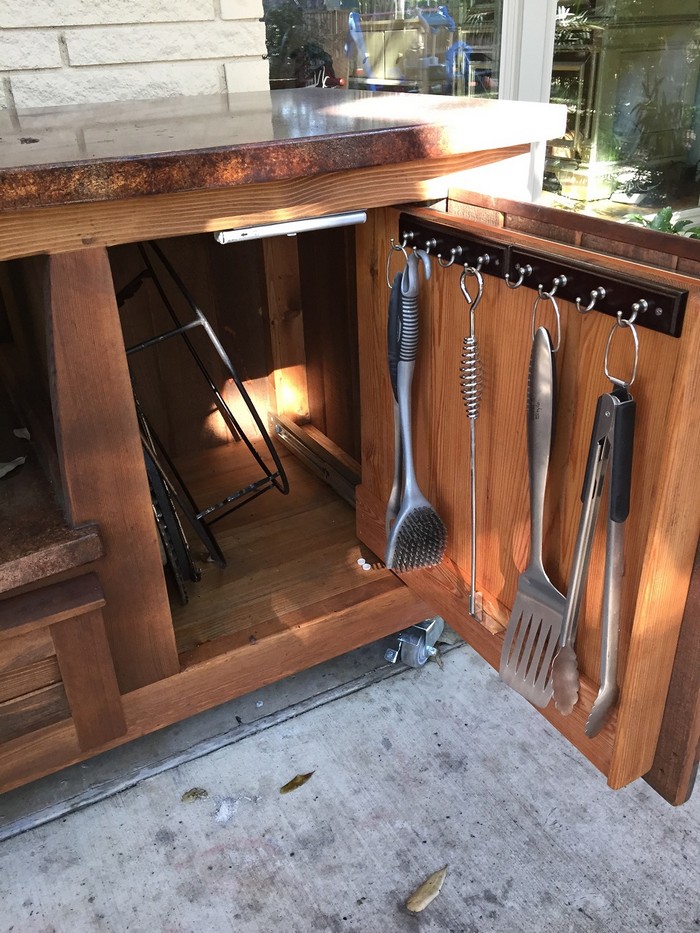
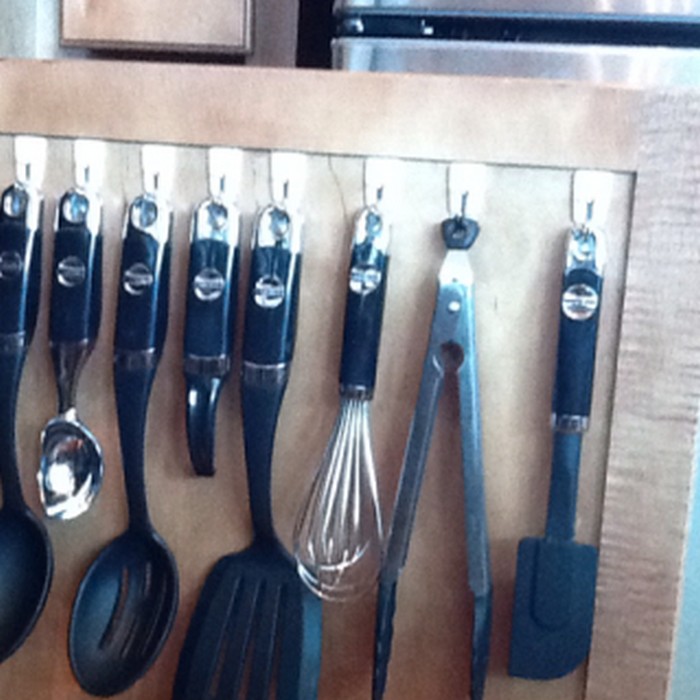
Hooks Inside Cabinet Door
If your kitchen is anything like ours, it’s always in need of a little organization. One way to declutter your countertops and keep your kitchen looking neat is to create a kitchen utensil organizer with hooks inside cabinet doors.
This is a super easy project that you can make in just a few minutes using some inexpensive supplies. All you need to do is measure and mark where you want your hooks to go on the cabinet door.
We recommend spacing them out evenly so that your utensils have plenty of room and you have enough storage for your kitchen utensils.

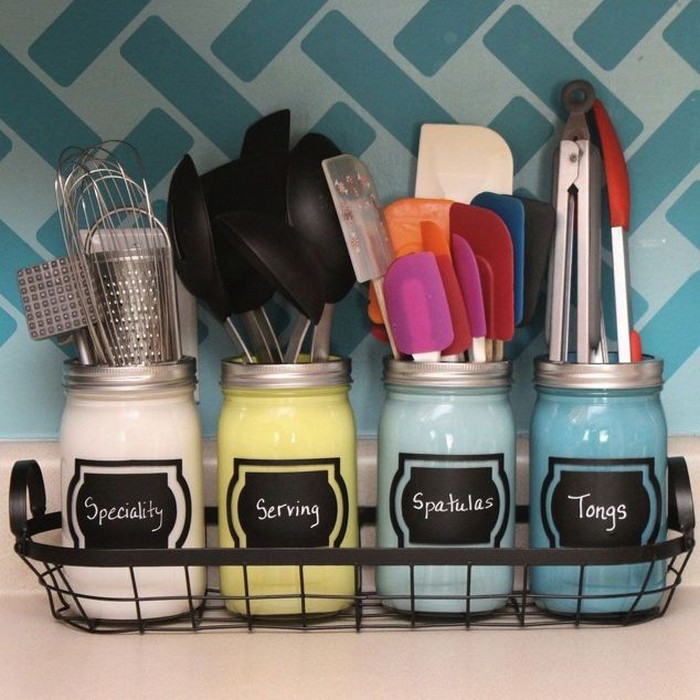
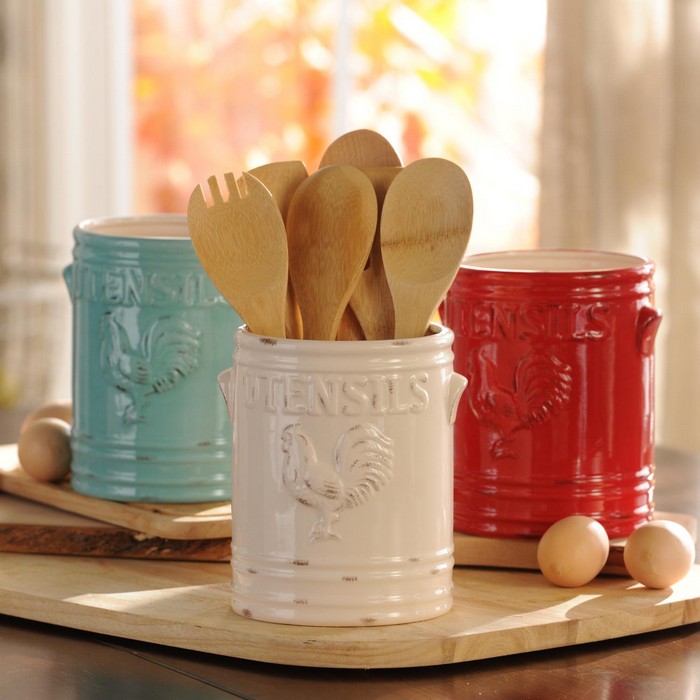
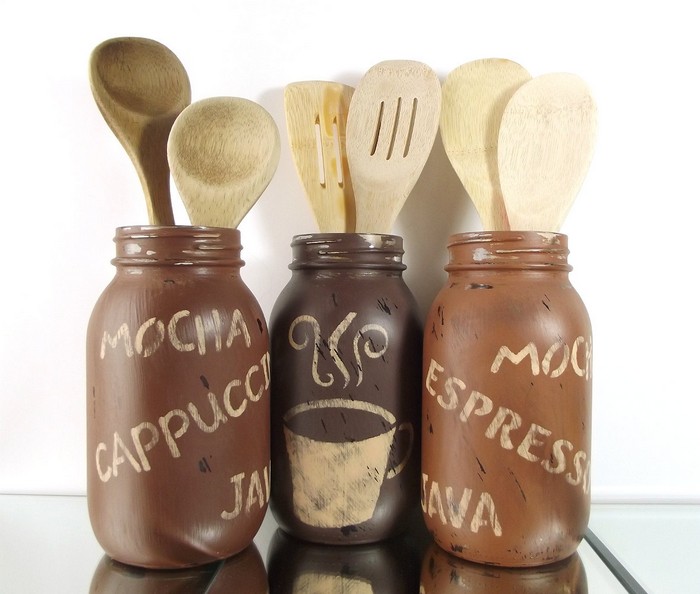
Labelled Containers
Organizing your kitchen utensils doesn’t have to be a daunting task. By creating a kitchen utensil organizer with labelled containers, you can easily keep track of your tools and ensure that they’re always within reach.
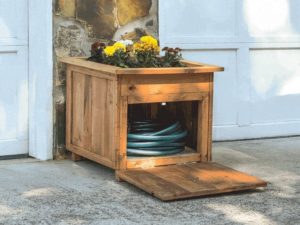
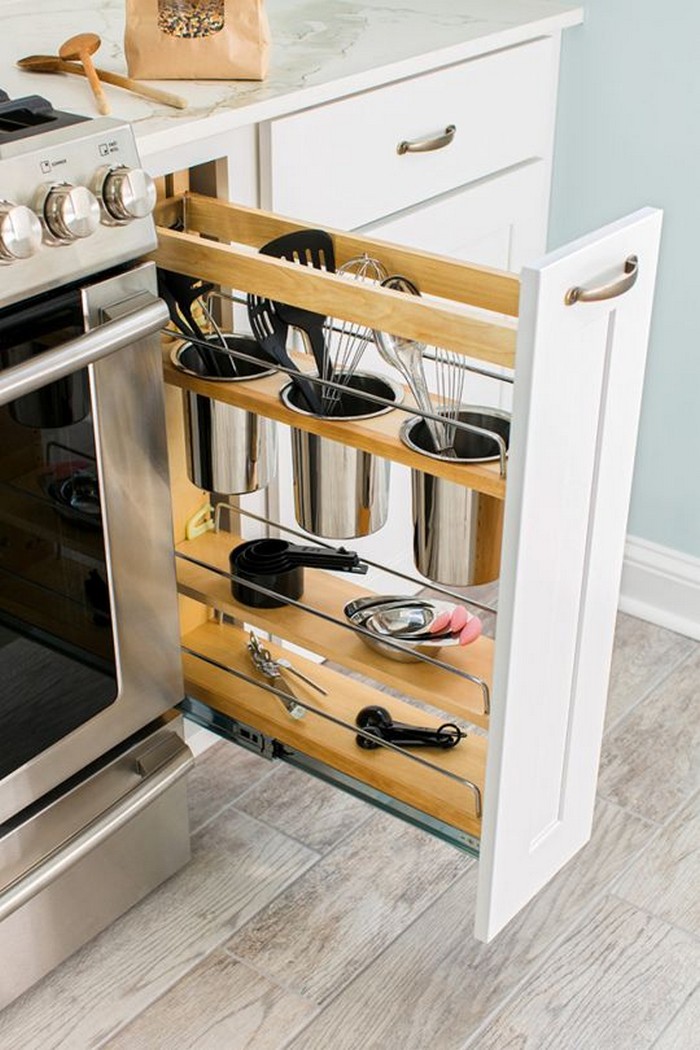
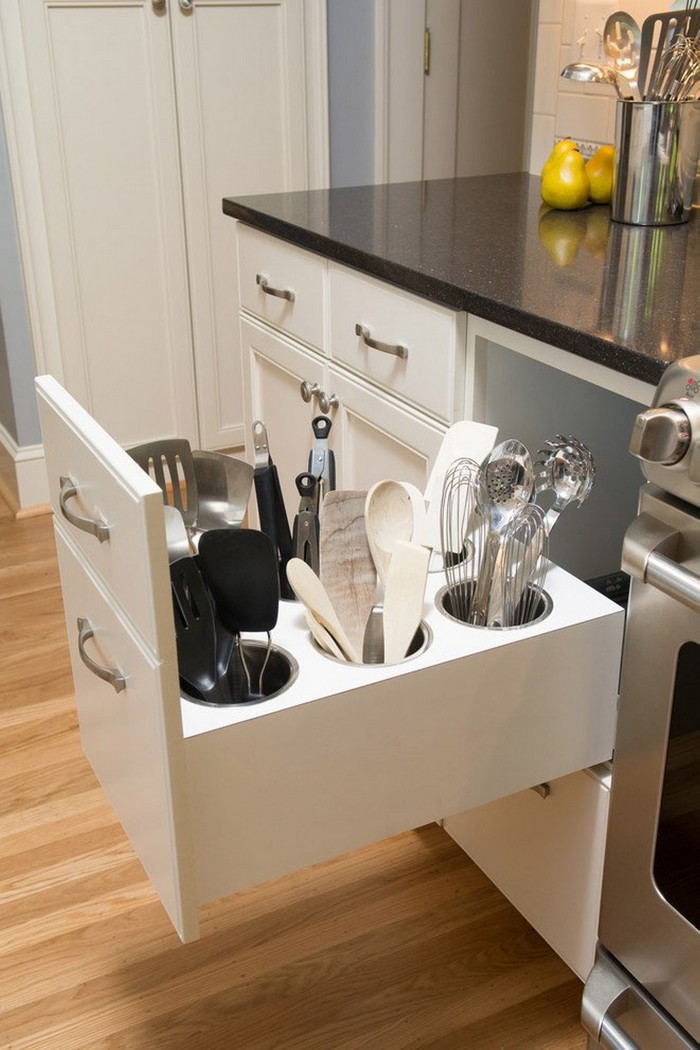
Pull-out Storage
If your kitchen drawers are overflowing with cooking utensils, it’s time to make a utensil organizer. This pull-out kitchen utensil storage easy project will help you get organized and make the most of your kitchen space.

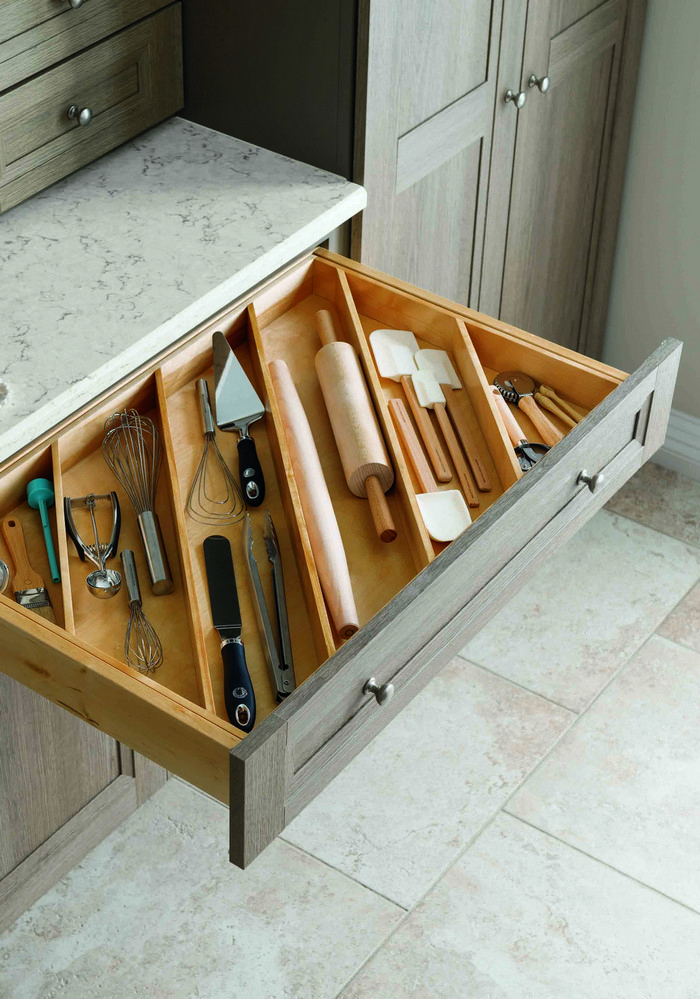
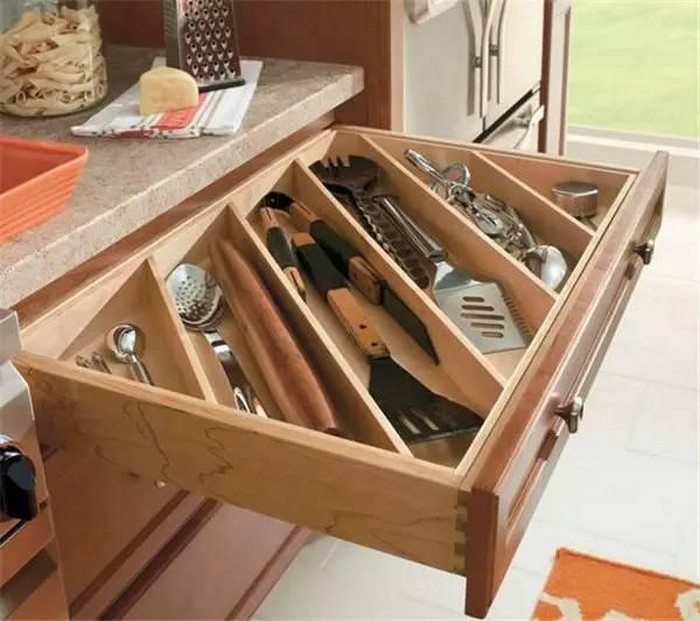
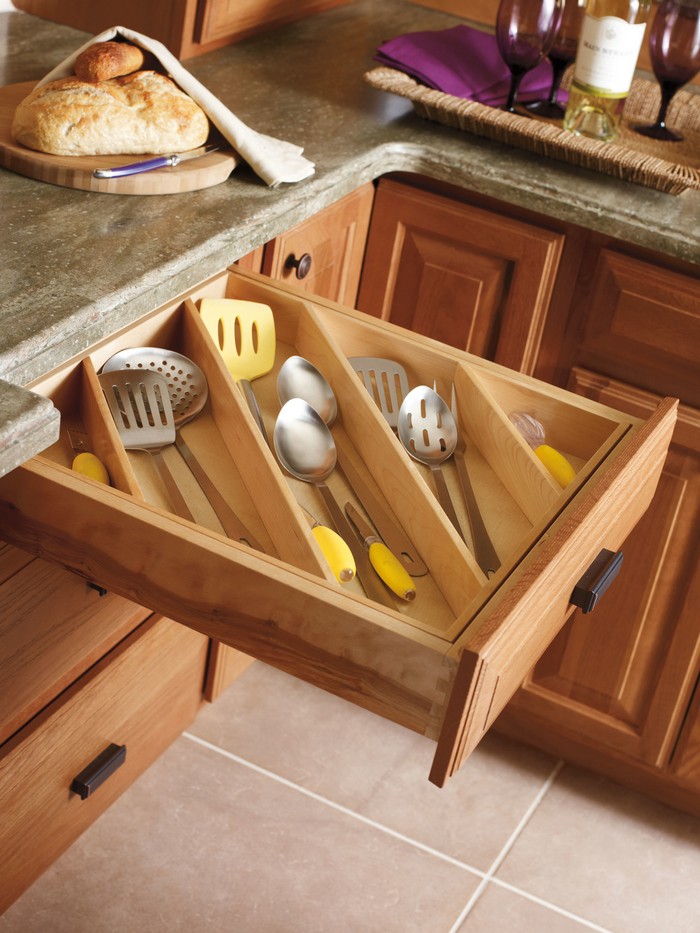
Drawer with Diagonal Dividers
This type of kitchen utensil lazy susan storage alternative is ideal for maximizing space and keeping your wares sorted and easy to find. It’s perfect for small kitchens or anyone who wants to declutter their countertops.
Conclusion
Building a kitchen utensil lazy susan storage is a practical project that enhances your kitchen’s organization. It offers easy access to your tools and saves valuable space, making cooking more enjoyable. With just a few materials and some basic tools, you can create a stylish and functional addition to your kitchen.