Last Updated on October 4, 2022 by teamobn
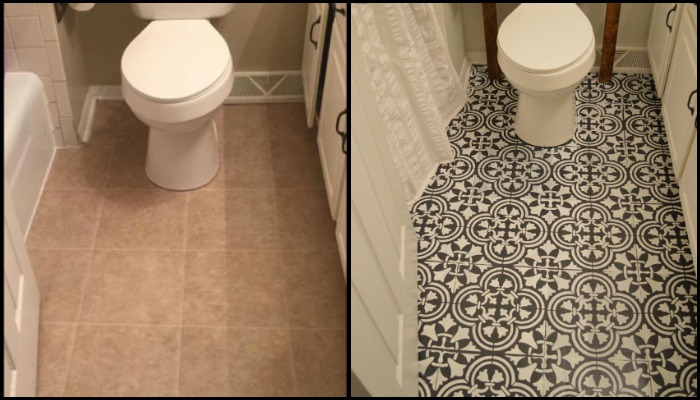
Want to give your bathroom a revamp? Makeover, renovation, revamp – they all usually require big budgets especially when you want a totally different new look. You can do that by repainting your bathroom walls or even just changing your floor tiles to give them a totally new look! If you’re on a tight budget or don’t want to put in a lot of work, here’s a great idea that uses floor tiles to make a significant impact.
Chalk paint is a much cheaper and easier option than completely redoing your floors, and it can give your space a whole new look. You can either use one tile colour to create a border around the room’s perimeter or get creative and use different colours and patterns to create a design. Chalk paint is also a great way to add some personality to your space without spending much money or time.
Chalk paint is a versatile type of paint that can be used to create a matte, chalky finish on a variety of surfaces. It is a popular choice for furniture and walls, as it can be easily distressed to create a shabby chic look. When using chalk paint, be sure to prep the surface properly and use a high-quality paintbrush for the best results.
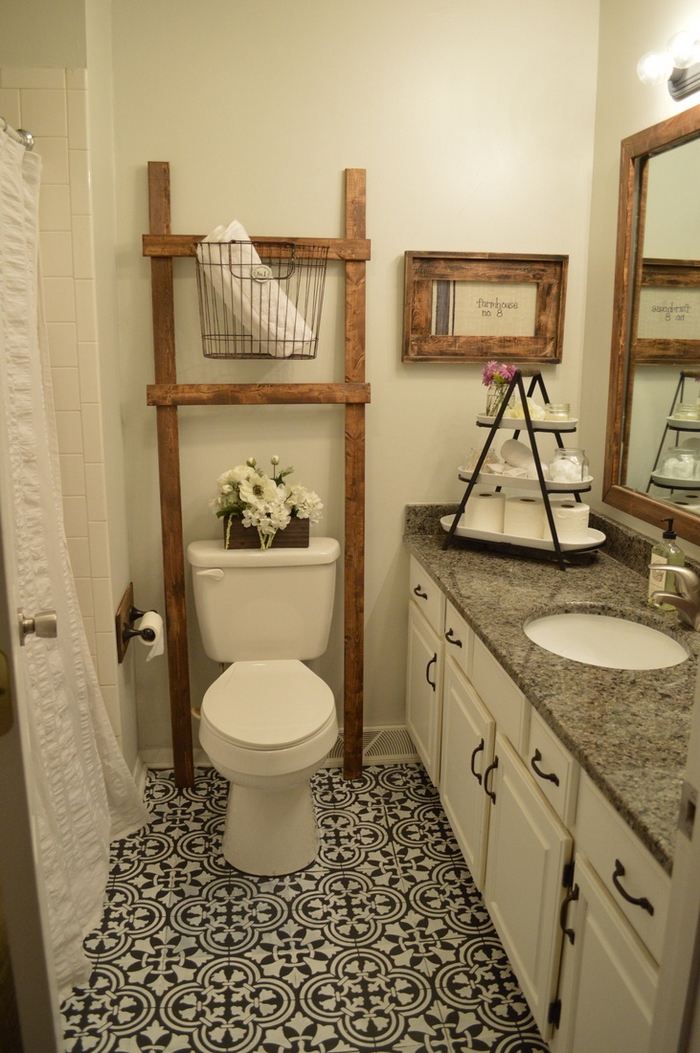
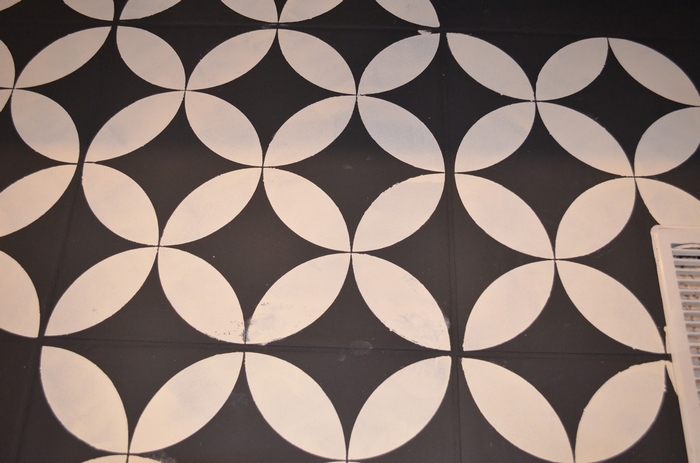
If you’re looking for a fun and unique way to update your home, why not try chalk paint on your tiles? You can design it with any stencil pattern you desire, and it’s a great way to add a pop of colour or personality to your space. Plus, it’s an easy and inexpensive project that you can do yourself.
Your local store is a great place to start if you’re looking for a beautiful stencil to use on your tile project. However, if you can’t find a stencil that’s the perfect size for your tiles, there are companies that accept custom stencil orders online. Custom stencils are a great way to get the exact design you want, and they’re also perfect for ensuring that your design is the right size for your tiles.
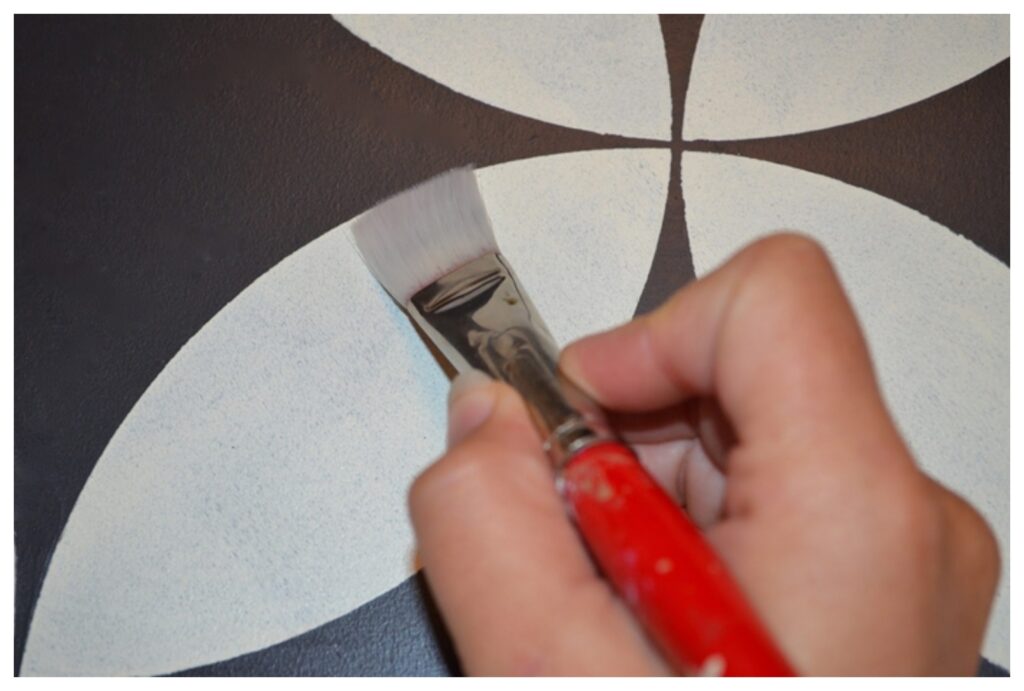
Yes – this DIY project really works. It will stick and it won’t chip as long as you apply it properly 😉
And the first and probably the most important thing you need to do is to clean the entire surface thoroughly. Because if you paint with some dirt still left on your floor, you’ll end up with spots and lines where the paint did not stick. And this will be very obvious if you are using dark-coloured paint! So vacuum it, mop it and just make sure there are no debris, dust or hair strands on your floor.
We also prepared an album of this project so you can easily view it for your inspiration. It includes some images from Susanna’s project (Livin’ the Life of Riley) which was inspired by the original blog post as well!
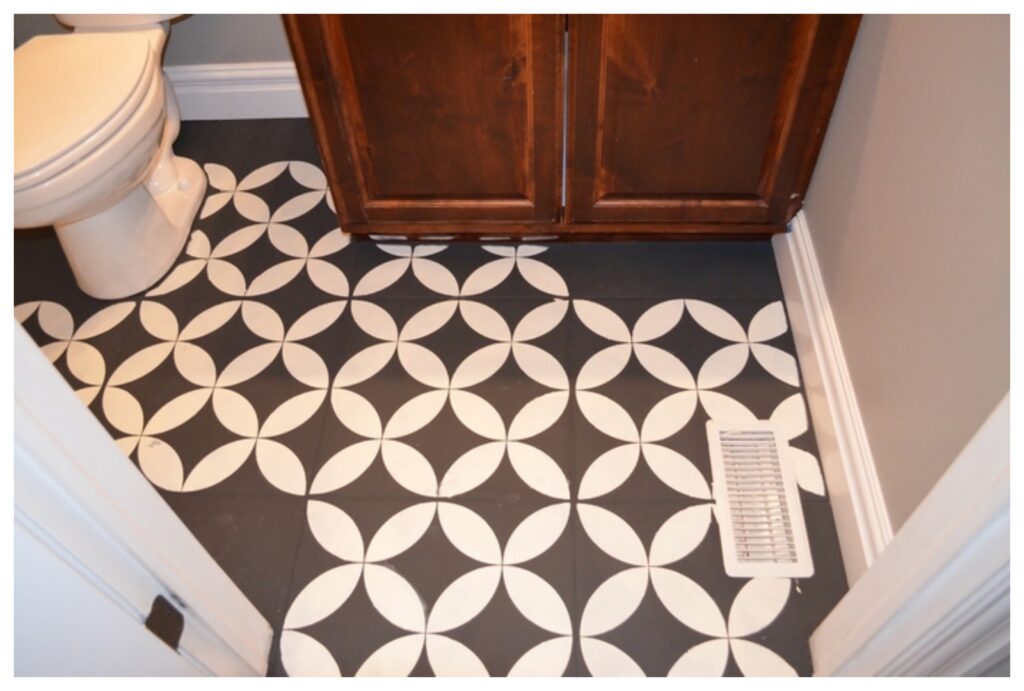
For more guidelines and tips for your DIY chalk paint project, you can head over to the tutorial by Mysha linked below!
You’ll need these materials:
- Old White & Graphite Chalk Paint (you can use any two colours that you desire)
- Matte Finish Polyurethane (sealant)
- Painters Tape
And these tools:
- Foam Roller
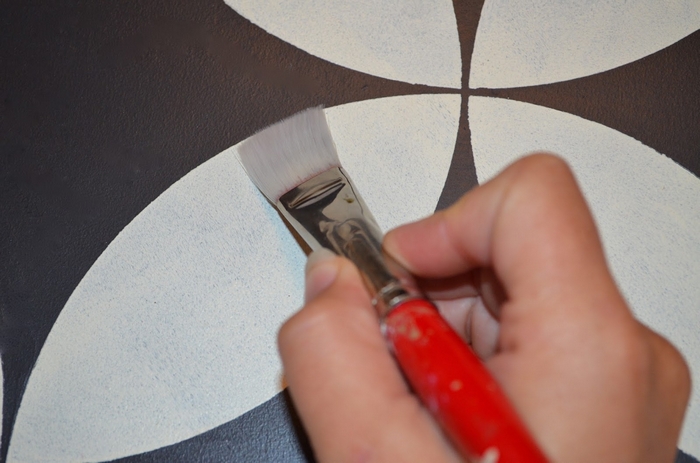
- Synthetic Paintbrush
- Custom Stencil
- Thin Craft Paintbrush
Click on any image to start the lightbox display. Use your Esc key to close the lightbox.![]()
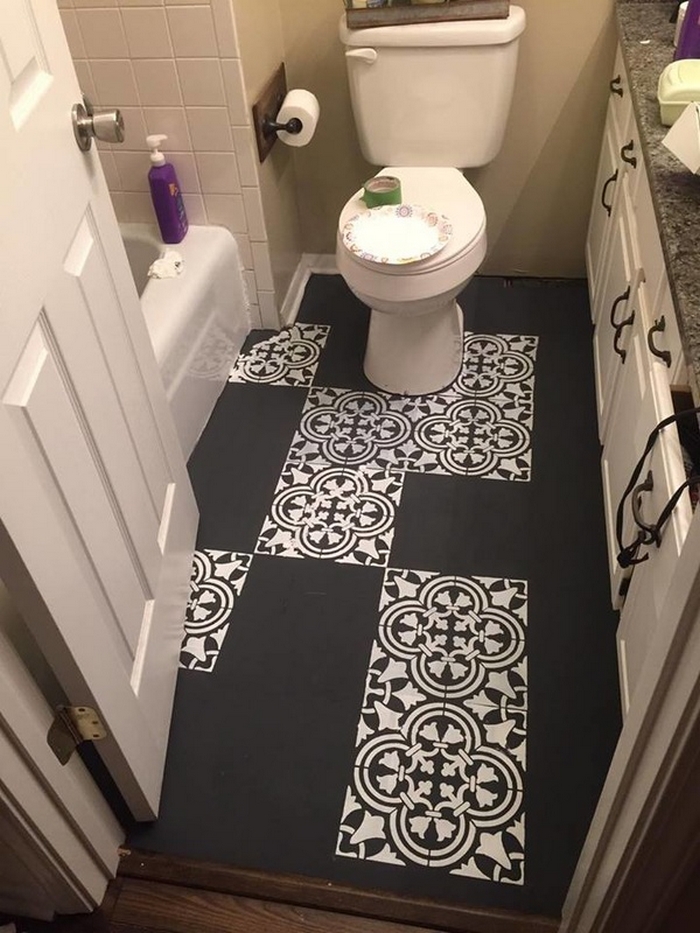

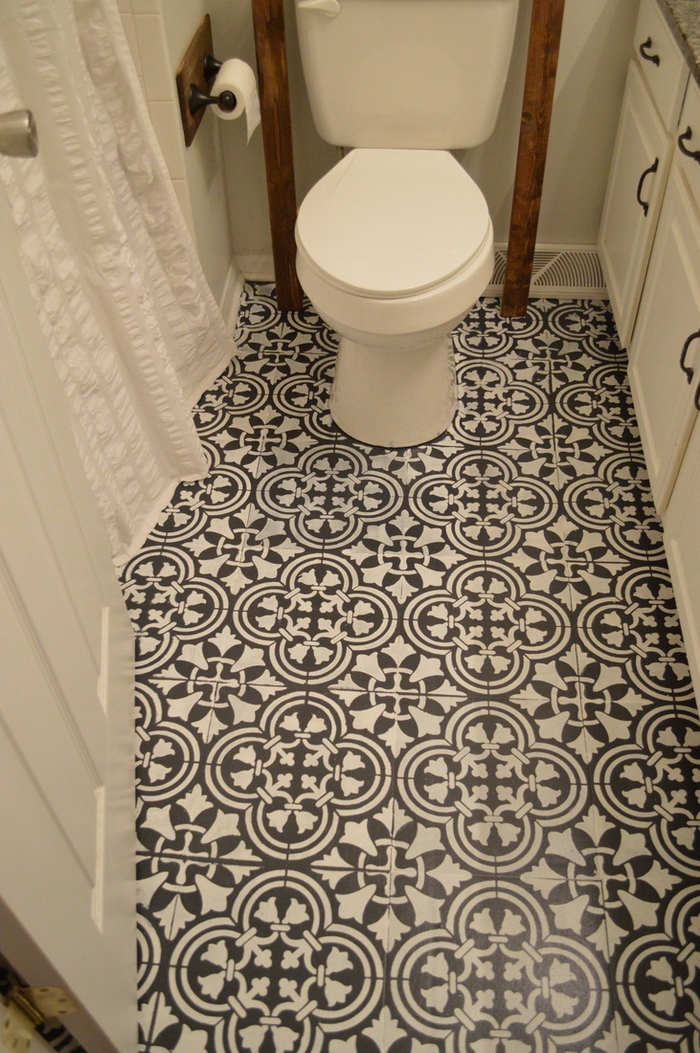
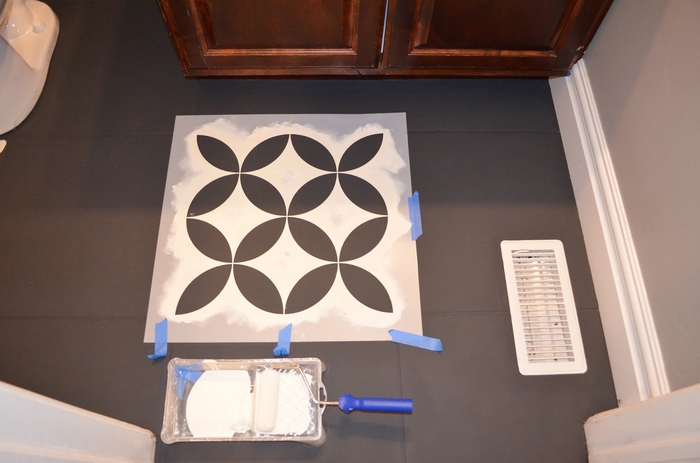
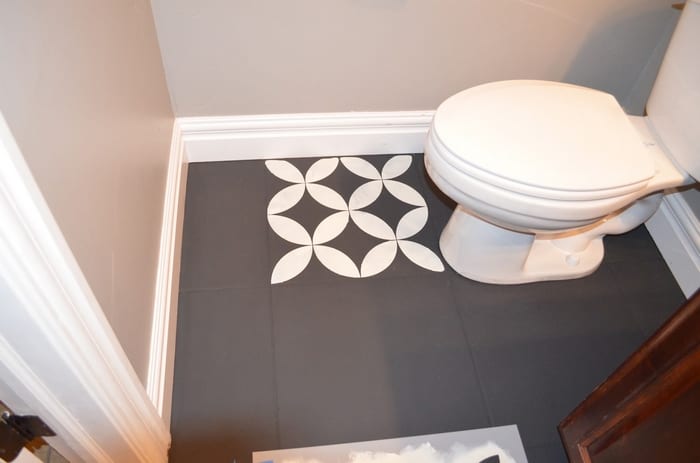
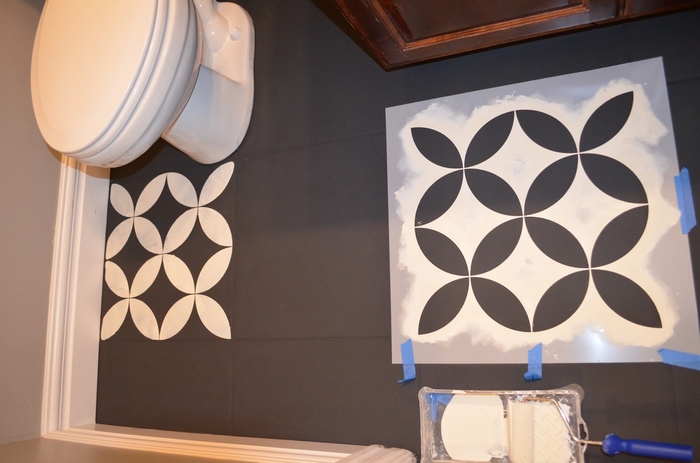
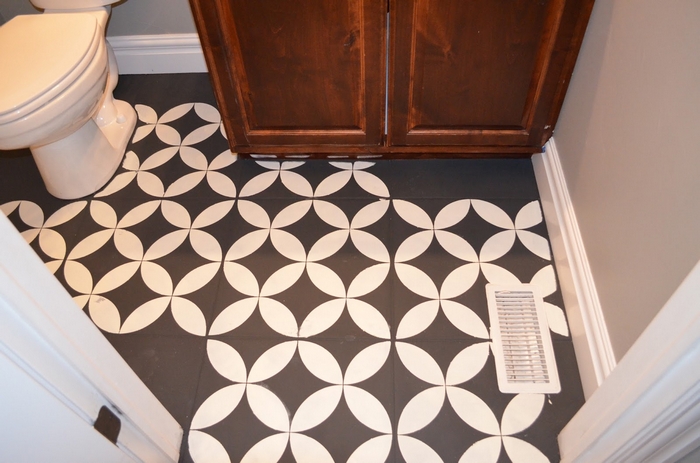
You can get a step-by-step tutorial from Mysha over at Remington Avenue…

