Last Updated on June 30, 2023 by teamobn
Are you always scrambling at the last minute to buy gifts for a loved one who’s a birthday you forgot? You might have forgotten to check your datebook, or missed the notification on Facebook. This functional and decorative event calendar is the solution!
People forget. There’s no getting around it. In fact, research shows that around one in three people commits the cardinal sin of forgetting the birthdays of their significant others.
There is no shortage of tricks you can use to remember important dates such as birthdays, but a calendar is probably the easiest and most practical.
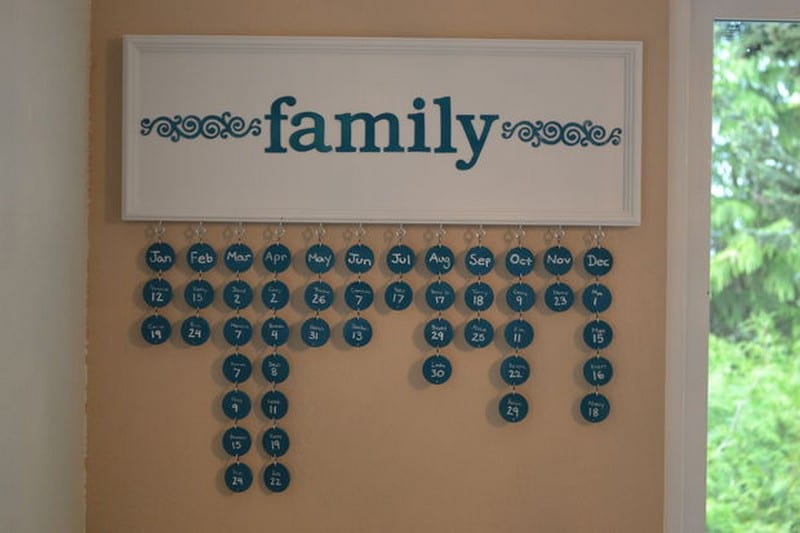
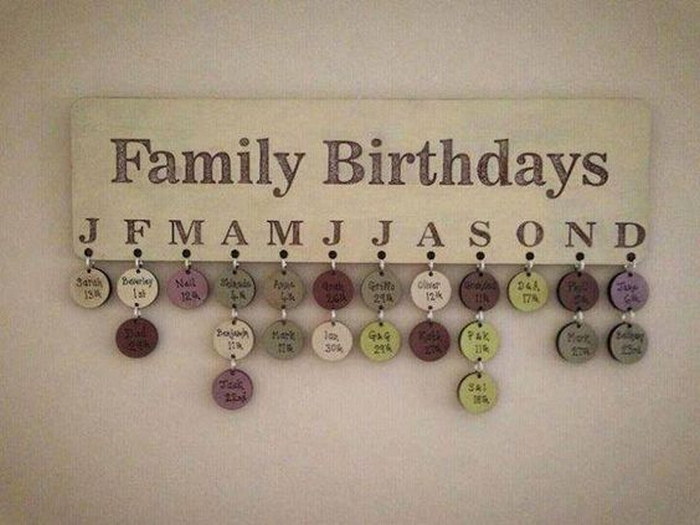
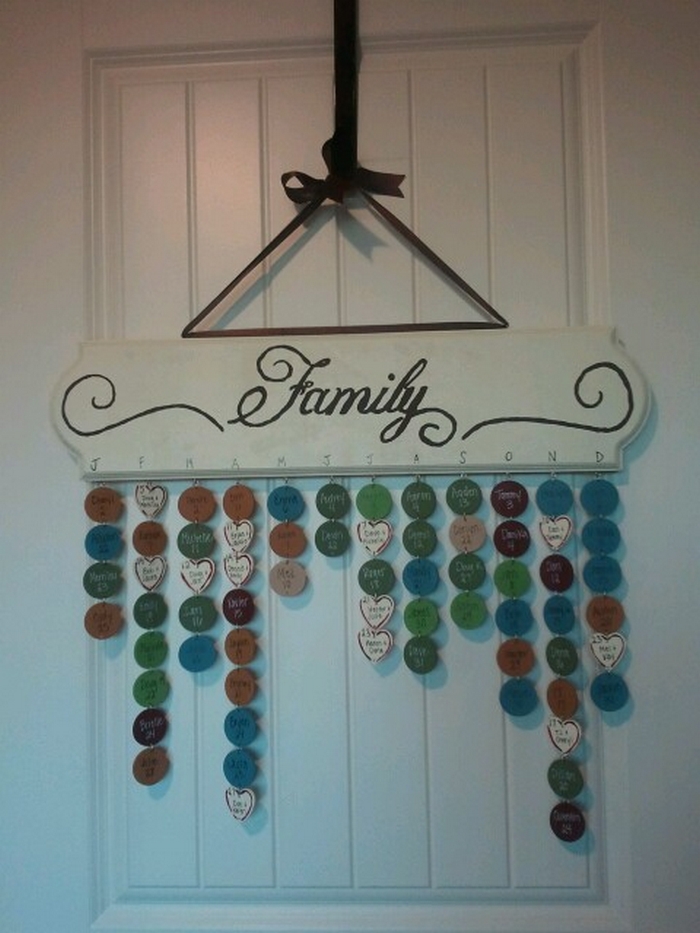
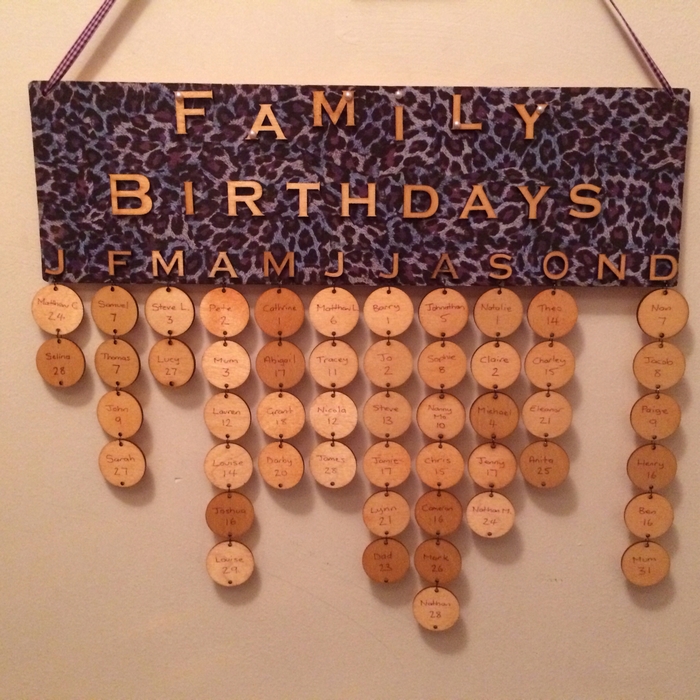
This calendar is very easy to make and is made of materials you can easily find at home, or source from your local hardware store. It has a board with 12 hooks, one for each month of the year. From these hooks hangs tags with the names and birthdays of each family member, relative, or friend.
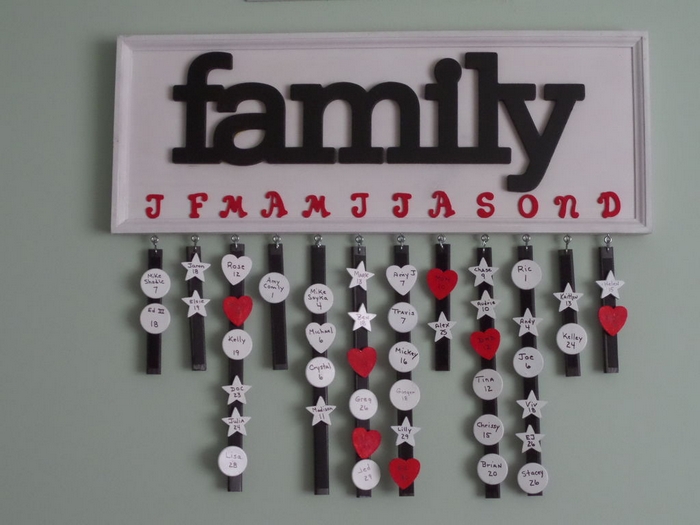
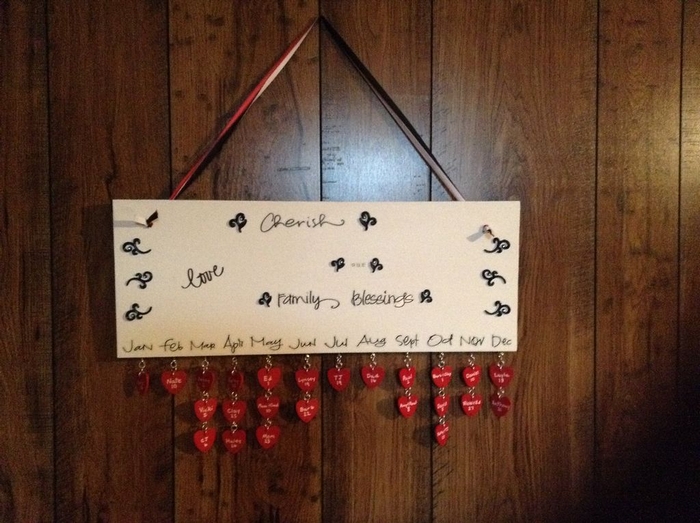
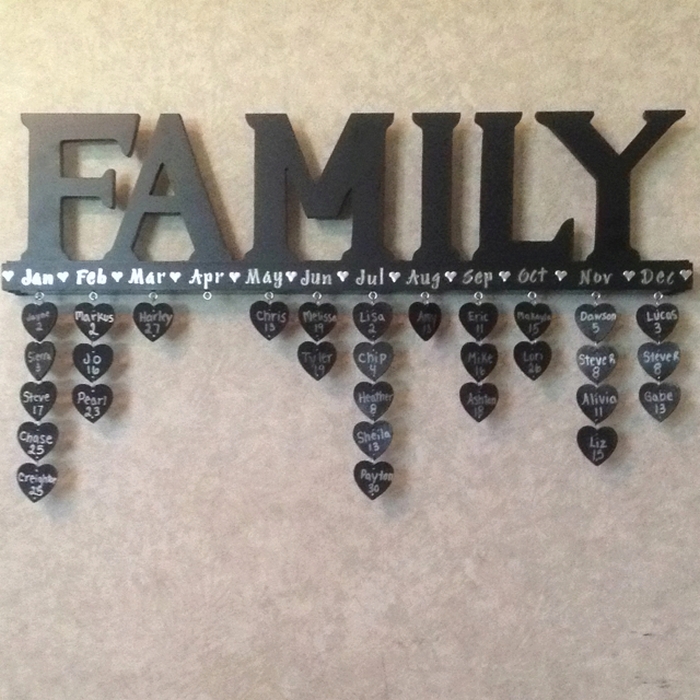
What’s great about this calendar is that it’s so easy to customize and personalize. You can use different colours to represent the gender of the celebrant. You can make use of different shapes of tags to indicate if it’s a family member, relative, or close friend. The customization opportunities are limitless.
Click on any image to start the lightbox display. Use your Esc key to close the lightbox. ?
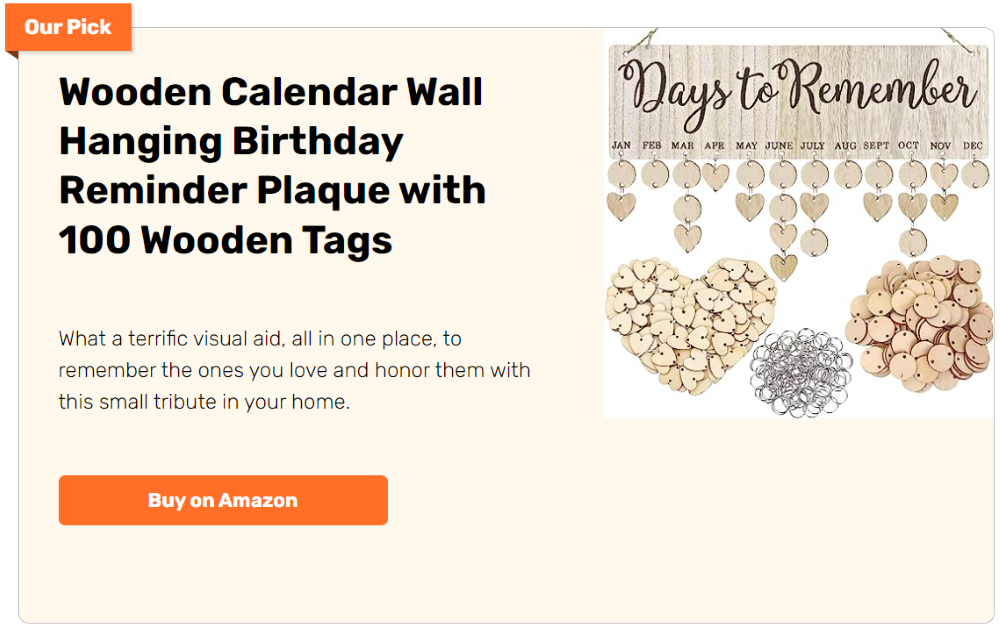
Don’t want to miss another birthday? Why not make this DIY birthday hanging calendar?
You’ll need these materials:
- Wooden Shapes – around 1 1/2″ wide and 1/8″ thick
- 3/4″ Wooden Board
- 5′ Wall Molding – just a thin one to give the calendar a better look
- The paint of various colours – depending on your design/preference
- Spackle – Used to fill gaps in the moulding corners and holes in the header board’s surface.
- 12 pieces Eyelet Screws – for each month
- S-Hooks – two hooks attached at one end forming an S shape to hang the names/dates. The quantity depends on the number of wood shapes you have – one S shape for each.
- Wood Glue
- 2 pieces Picture Hangers – or any piece you plan to hang your calendar
- Decorative Materials – Paint pens for writing on the disks, stencils for lettering the board, etc.
And these tools:
- Drill and Bits
- Sand Paper
- Painting Equipment
- Saw
- Mitre Box
- Fishing Line – Floss or very small gauge string will work too.
- Palm Sander – Optional but it is much easier than sanding everything by hand.
- Clamps
Steps:
How to make a DIY birthday calendar?
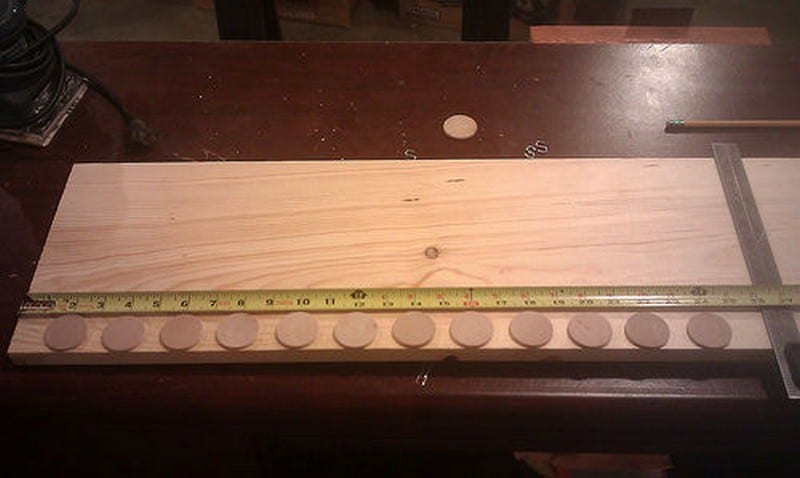
Line 12 wooden pieces across your board to determine the length. Make sure to offset the moulding trim on both sides and have enough spacing in between your wood pieces. Cut the board to the desired size.
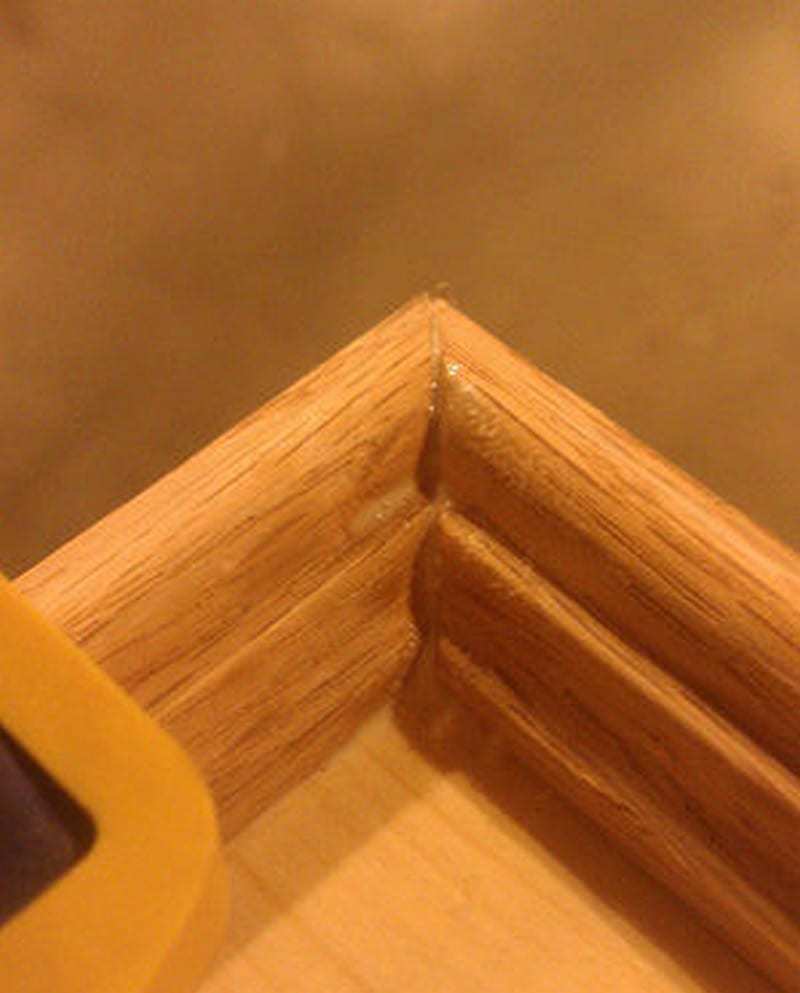
Measure and cut the thin mouldings, and mitre cut the ends.

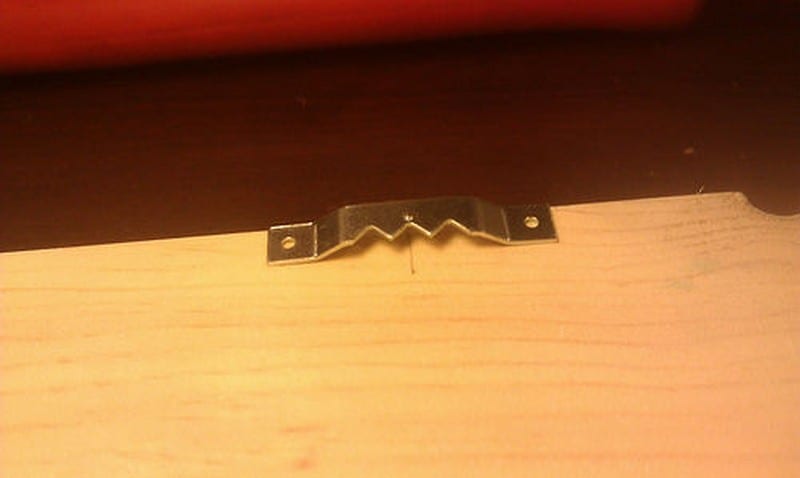
Sand the board and mouldings to prepare for painting and to get rid of rough edges. At this point, you can screw the hardware for hanging the birthday calendar. You can choose to install it after everything is done, but you risk damaging the face of your calendar if you are not careful enough.
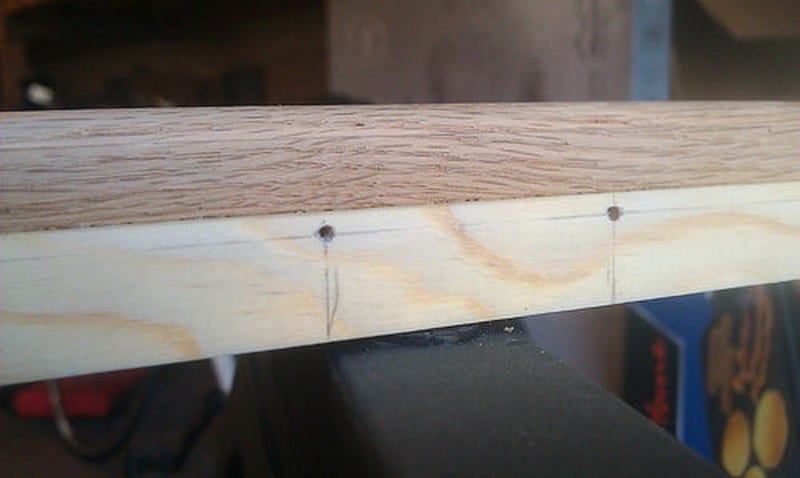
Drill pilot holes for each of the twelve eyelet locations at the bottom of the board. Determine standard spacing, center-to-center. In this photo, the holes are 2-inch apart from each other, and are about 1/8 of an inch from the front edge of the board.
Glue all the moulding to the board. Use clamps to secure a stronghold.

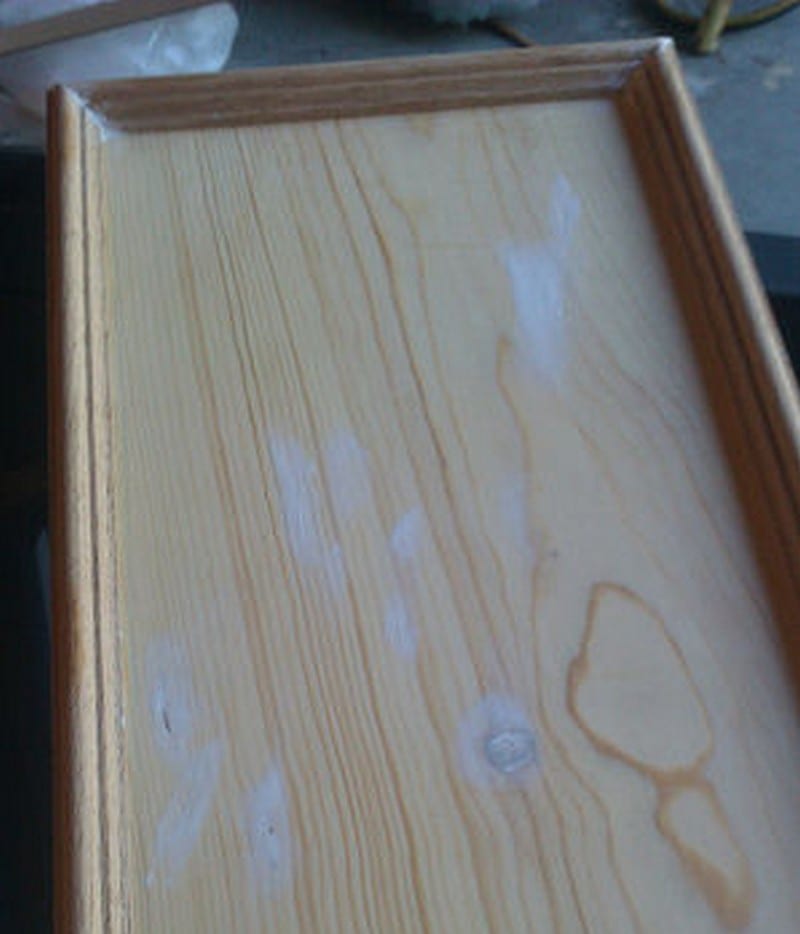
Spackle tiny holes or uneven surfaces. Then you are ready to paint.
Continued Page 2…