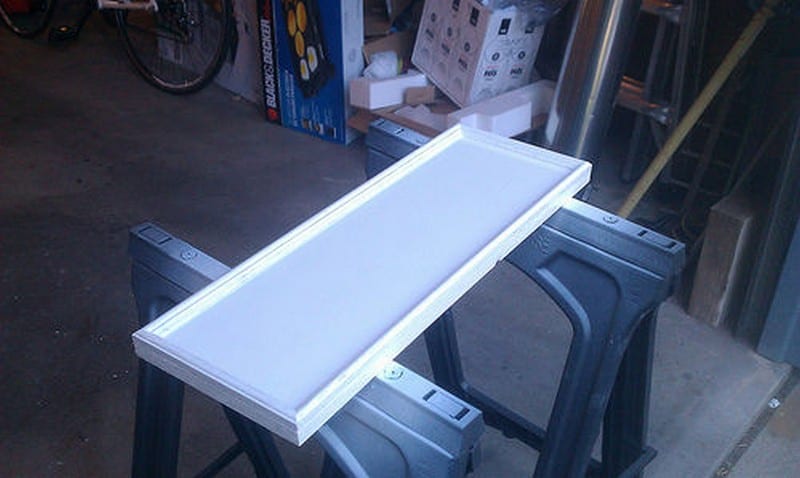
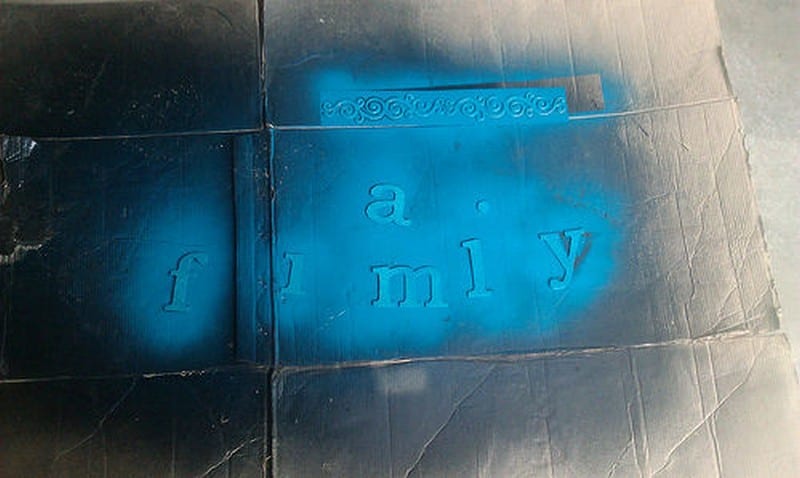
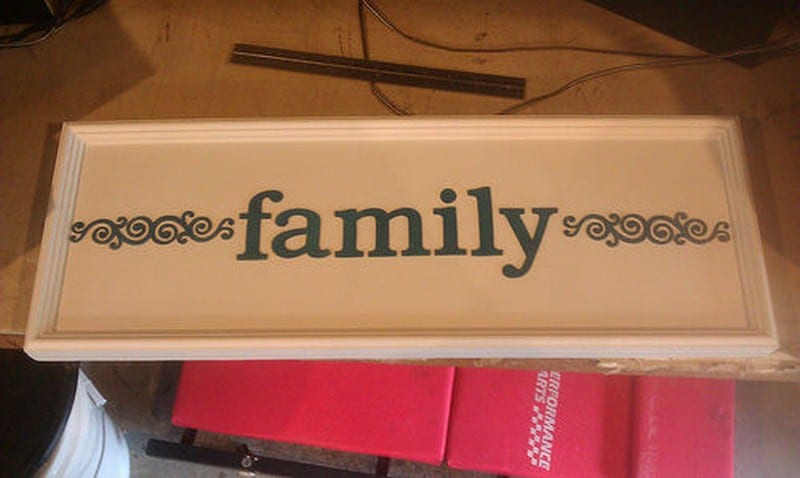
It is highly suggested to put a primer for a better paint finish. Add your lettering and design.
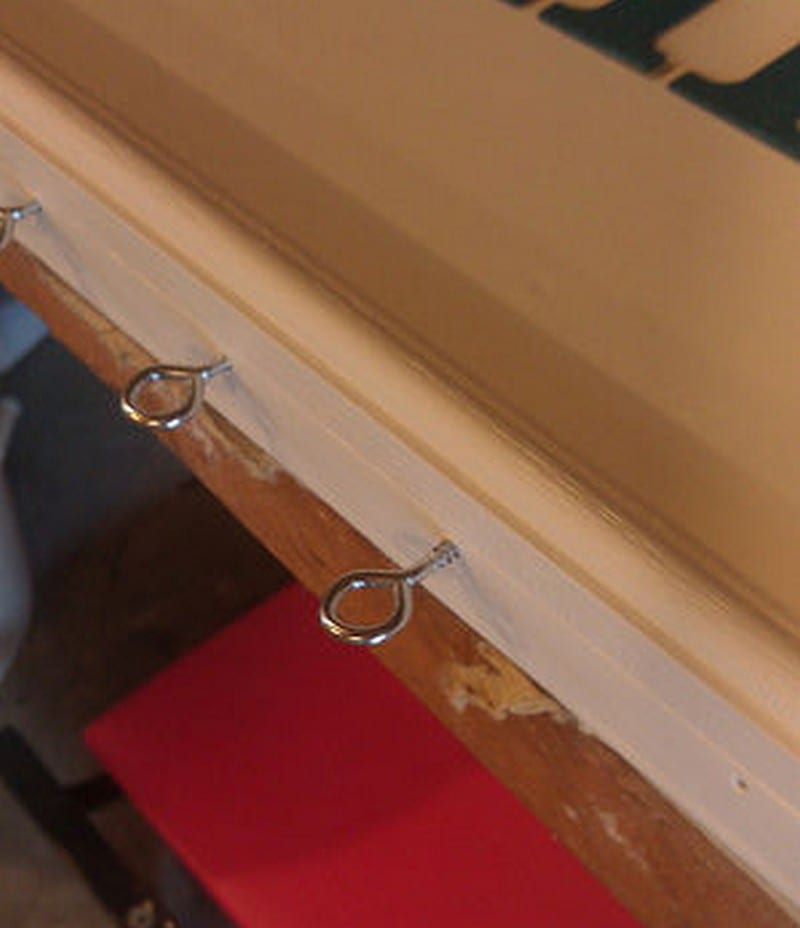
Install the eyelets so that their “faces” are parallel with the face of the board. Make sure all eyelets are equally threaded.
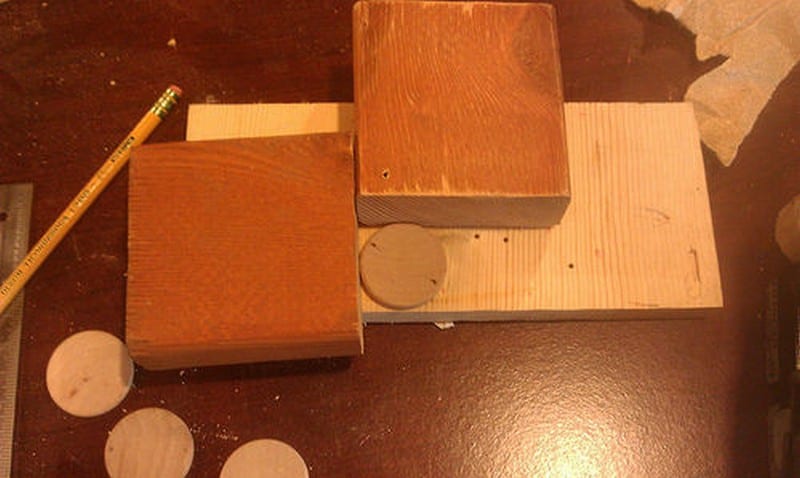
Moving on to the wood pieces: have a list of the complete dates and names of your family and relatives so that you know how many pieces to make – for now. Remember that you also need 12 pieces for the months. The first step is to drill two holes in each of them. Use only a slightly larger drill than the hooks. But if you want the pieces to be looser, use a larger bit. Make holes about 1/8-inch from the edges, on the centerline.
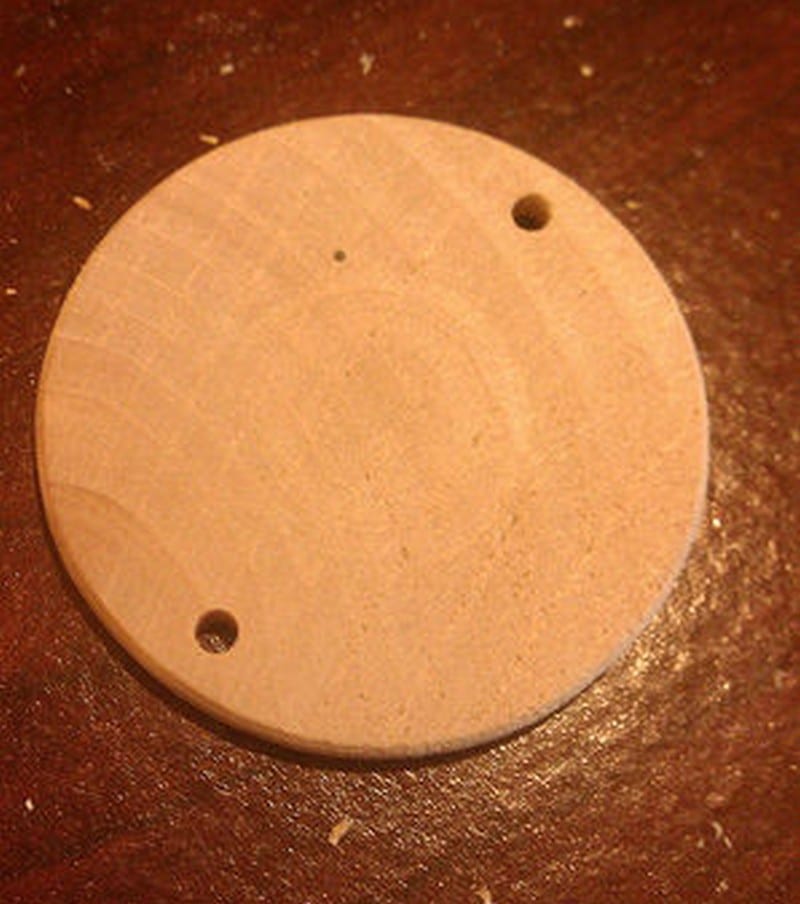
To make this process easier for the rest of the wood pieces, simply put the new pieces below a drilled one. Push them to a corner to secure alignment and drill.
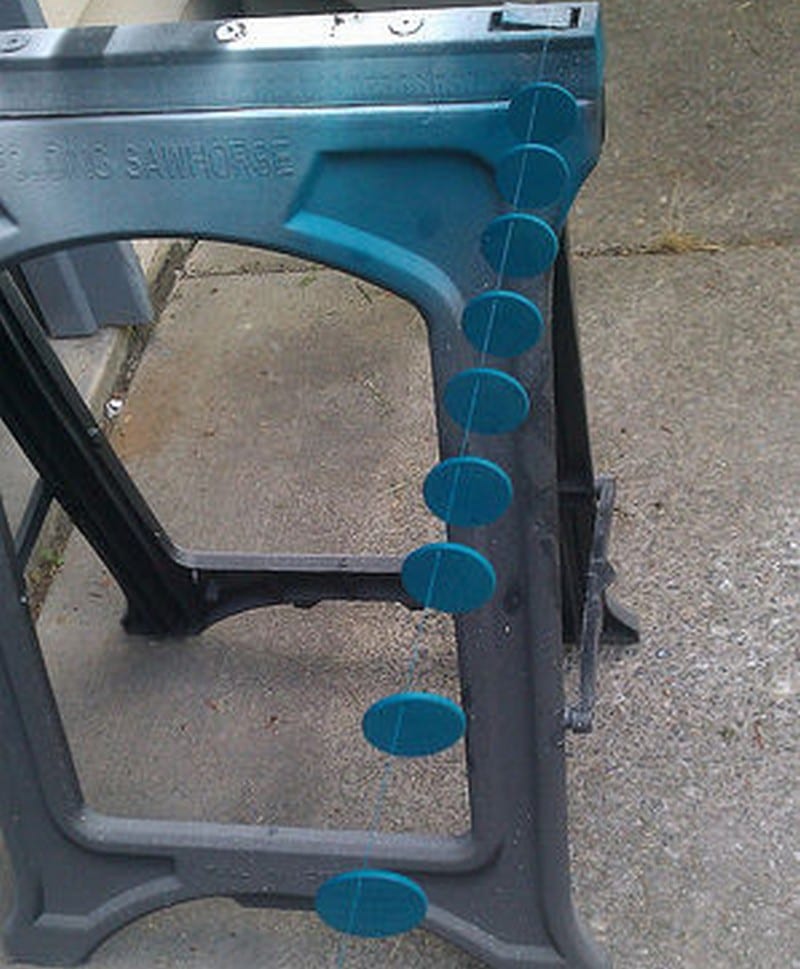
Thread all pieces onto a thin line, and use a needle so you can insert easily at every hole. Tie the line wherever you can so that they are stretched and the pieces spread with enough spacing between them. Spray paint, making sure you don’t miss a spot.
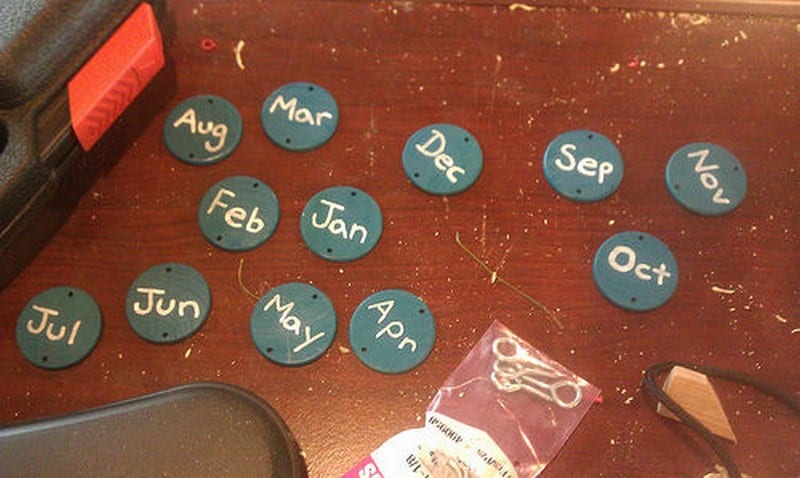
Once they have dried, you can start writing down the names and dates.
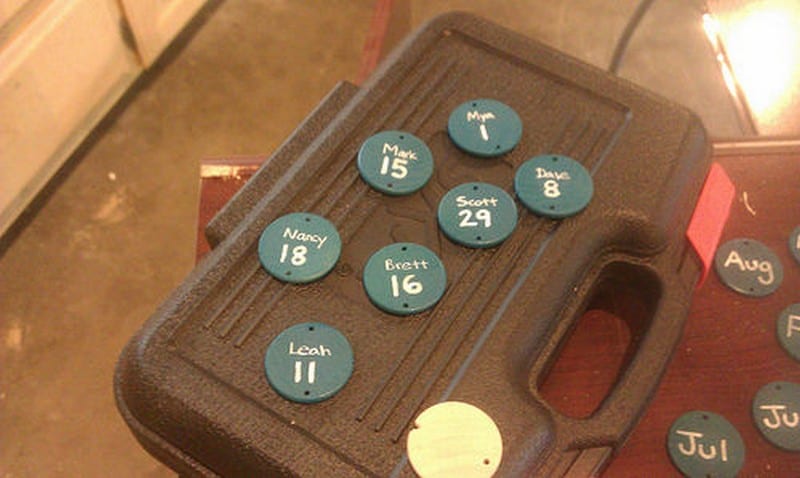
You can also use different colours per group (kids, parents, girls, or boys), or per side of the family. Organize your wood pieces, know how many you need for each group, and separate them for an efficient painting job.

Thanks to bwrussell for the original idea.