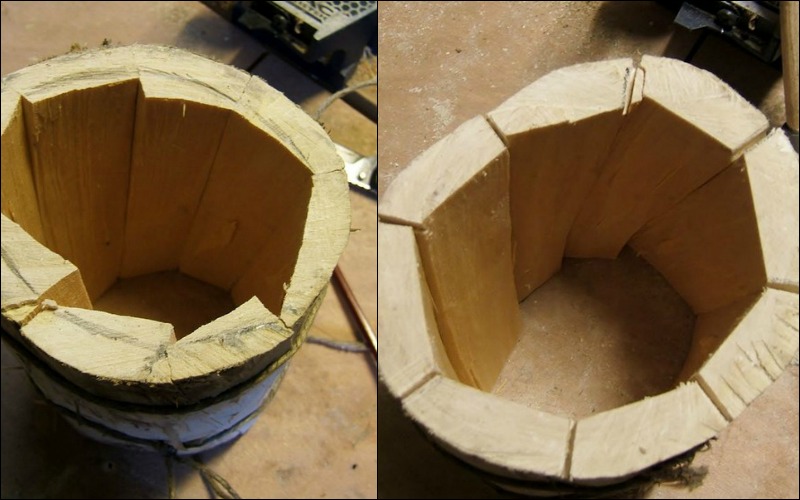
The aim is to have a border that’s ‘relatively’ uniform & therefore you’ll cut away the excess. A good hatchet and knife are all you’ll need.

Cut another piece of a big log, or cheat again. Split it & try to obtain the biggest plank you can get out of it. Cut it about a half-inch thick & let it dry.

Your beer mug needs grooves: two on the outside, one on the inside. The outsiders will serve as a tightening zone when you’ll reassemble the log while the insider will hold the bottom in place.

Reassemble the log & mark the future grooves. Start grooving.

What’s the best way to make solid no-glue-no-spike wood connections?

Let’s swallowtail!
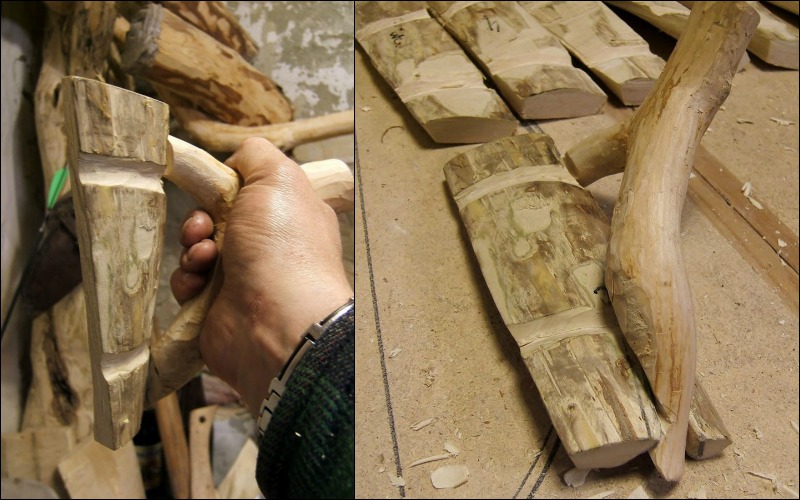

The inside groove’s got to be a lot deeper than the outsiders.

I started the insiders the way I did the outsiders, but after half an hour of labouring, I began to feel a desperate need for a simple saw. ‘Only for two little minutes!’ that bad bad little voice said to me. Since I promised myself not to use that tool for anything else but cutting the log I decided to ‘cheat without cheating.
So I turned my knife – temporarily – into a saw by smashing it into another knife to obtain a rougher cutting edge. No need to say that it worked perfectly. No rules in bushcraft.
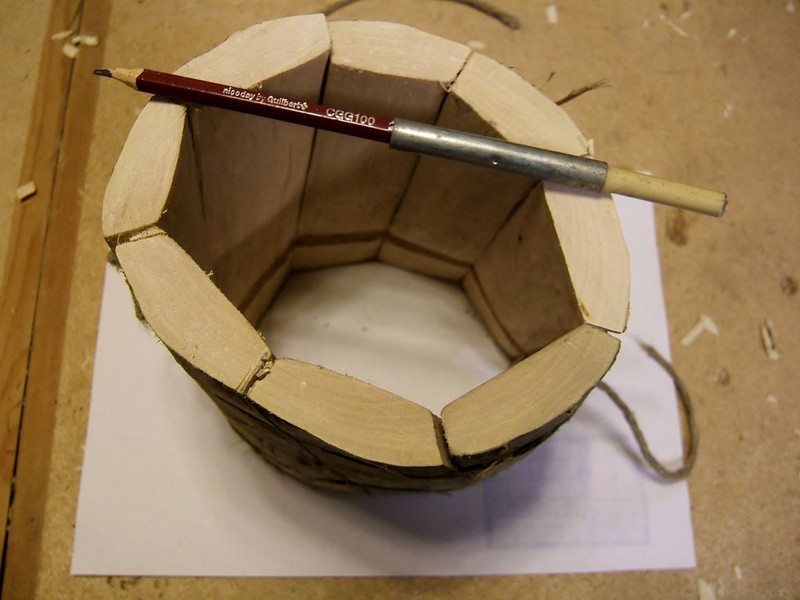
Reassemble the protomug. Put it on a piece of paper & copy the bottom – and make that pencil longer!

Look careful inside the beer mug to check the differences between the bottom and the shape of the ‘grooved area’ you need. Correct your design on the paper, copy it on the plank & start shaping.
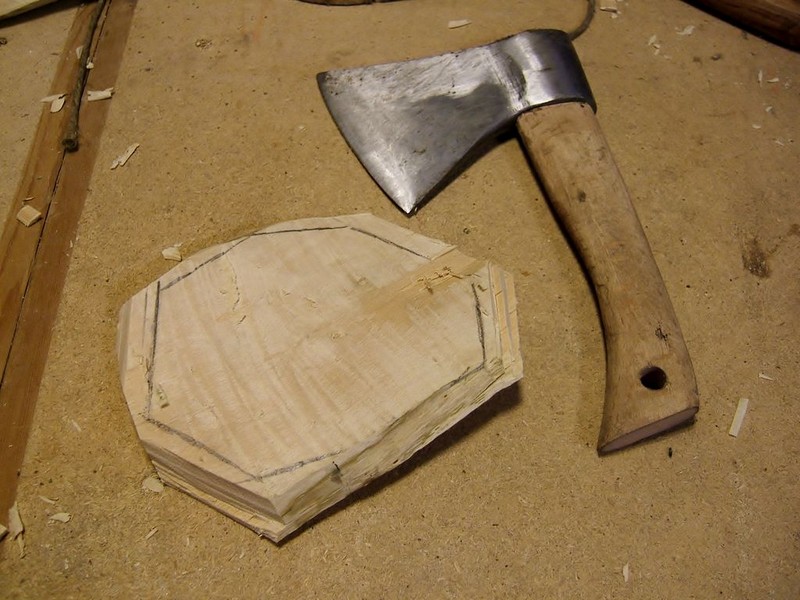
The good old axe will do the rough job, that good ol’ knife the rest.
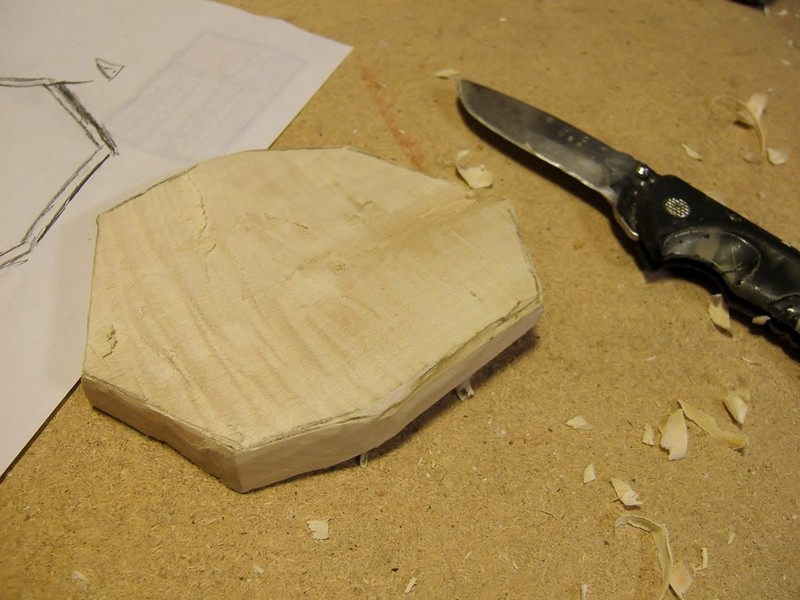
What follows is a series of tries & adjustments to get that bottom in good shape.
Continued Page 3…

