Last Updated on June 11, 2024 by teamobn
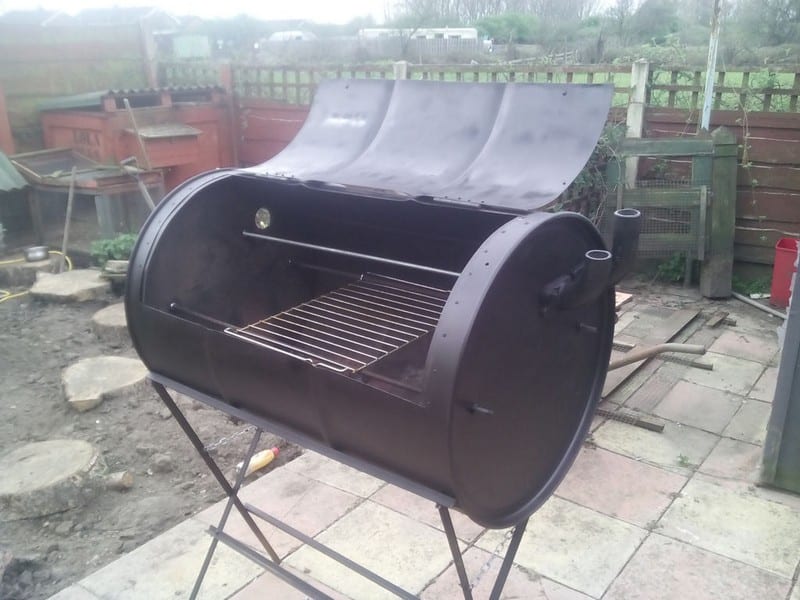
OK… you like (love?) smoked meat and you want to do it yourself but there’s the budget, right? Then this is a very inexpensive solution that’s easy to make, does not need any welding and the materials are mostly scrap!
Steel drums are key tools in industrial packaging. The reuse and repurposing of drums can help reduce the waste that ends up in landfills. Some drums have liners of LDPE #4 plastic which can also be removed and recycled.
However, be careful selecting your drum. If it has contained a volatile liquid make sure it is thoroughly washed out before doing anything that could create a spark… such as cutting into it with an angle grinder.
This no-weld drum BBQ smoker is very easy to build it doesn’t require any welding. There are lots of space to smoke food as it has two levels of racks.
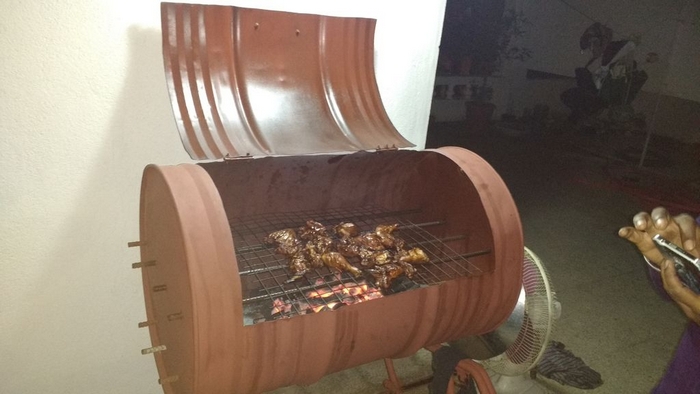
It’s great to have in your backyard when you’re having a weekend barbecue with your family and friends. It’s also an inexpensive addition to an existing outdoor kitchen.
What do you think?
Click on any image to start the lightbox display. Use your Esc key to close the lightbox.![]()

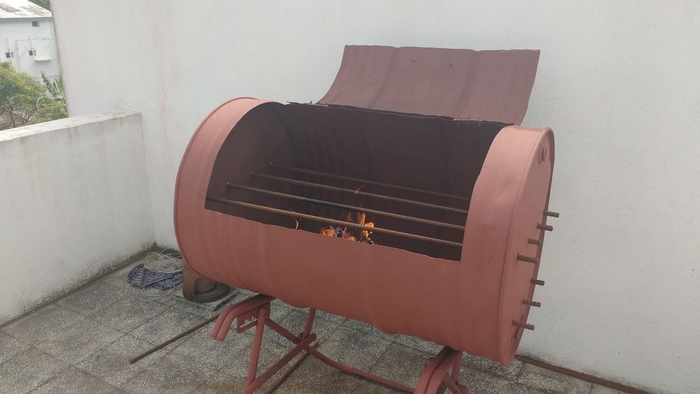
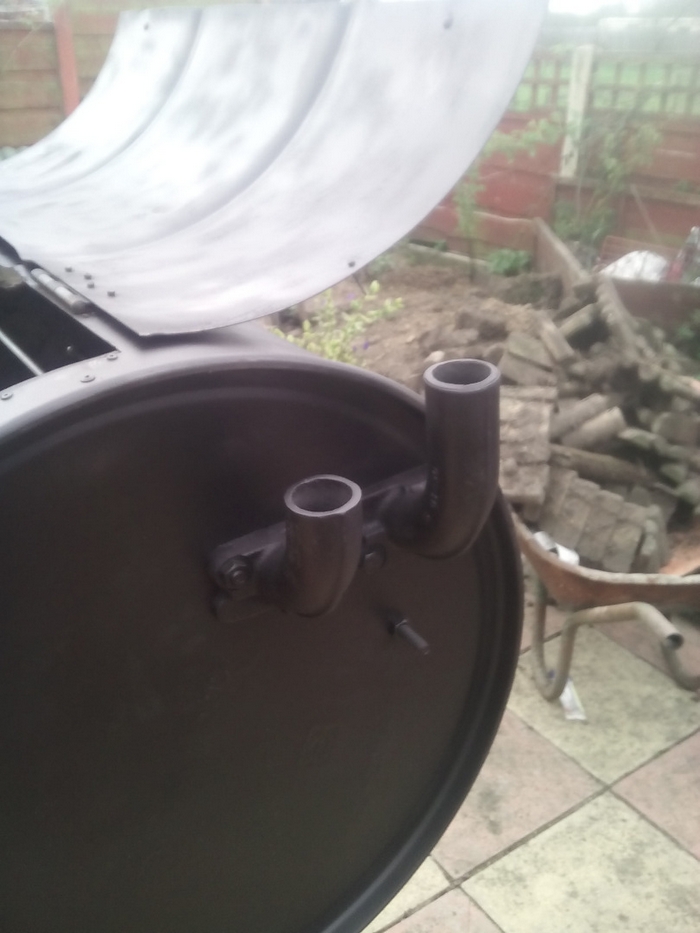
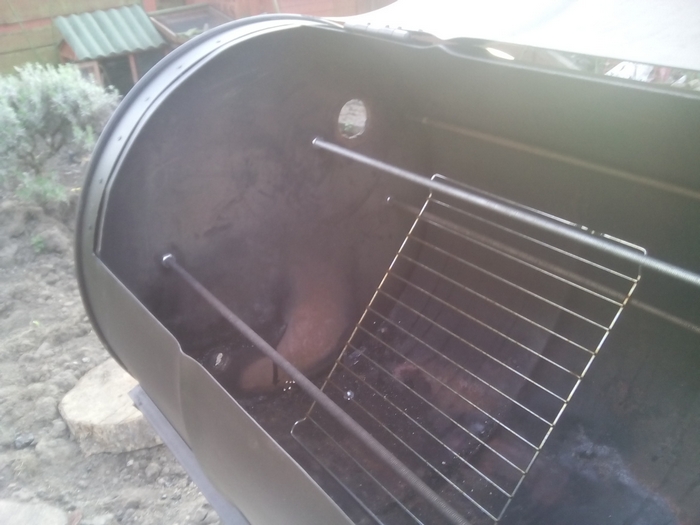
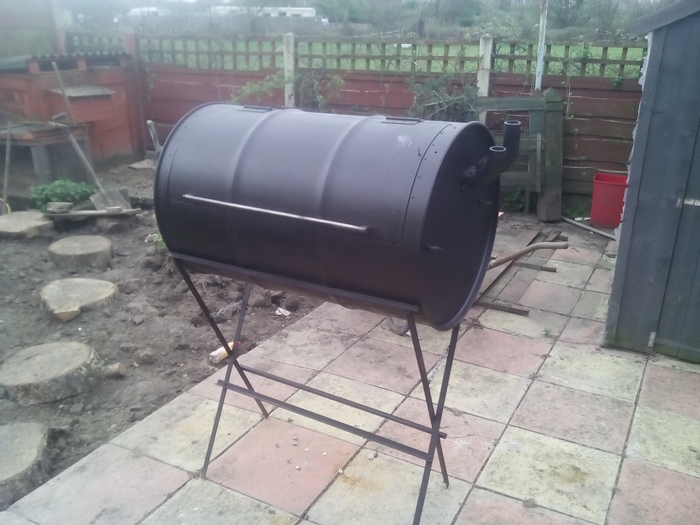
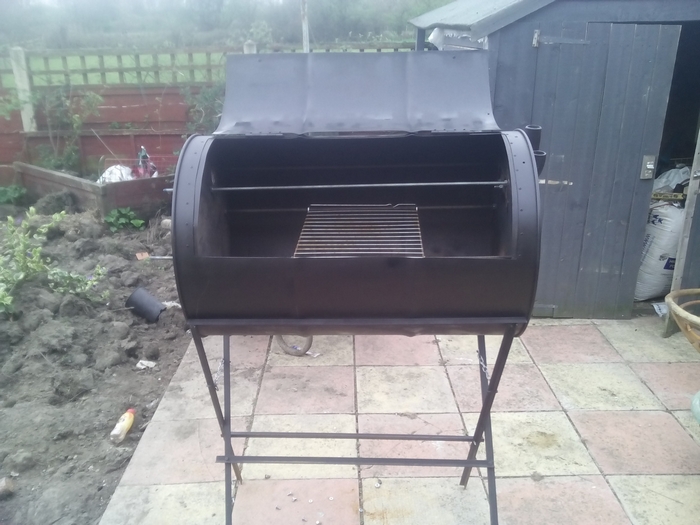
Building a No-Weld Drum BBQ Smoker
Materials
- Drum
- Rivet Bolts
- Hinges
- Metal Rods
Tools
- Angle Grinder
- Metal Cut and Grind Disks
- Spanners
- Nut Runners
- Drill
- Metal Drill bits
- Sanding Stuff (Grinder Flapper Wheel)
- High Temp Stove/BBQ Paint
- Set Square
Instructions
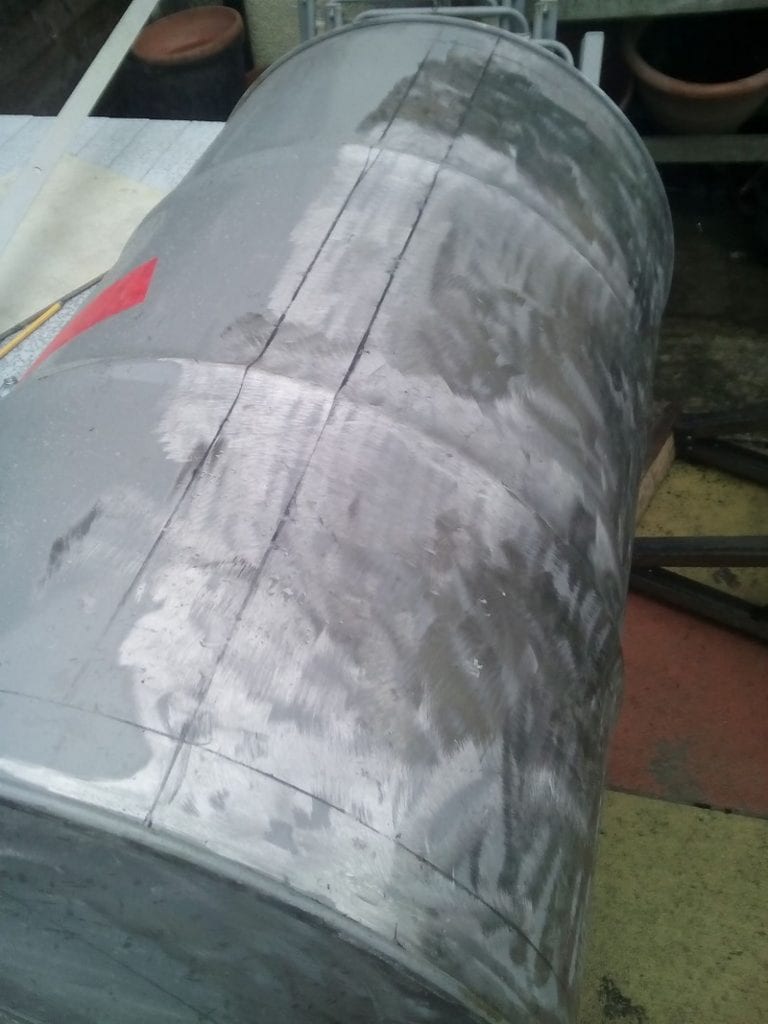
First I sanded off the paint on the no-weld drum BBQ smoker lid. I will sand the rest later — it’s wet here.
Using a piece of string I marked off a quarter, I then made a rectangle for the lid 40mm in.
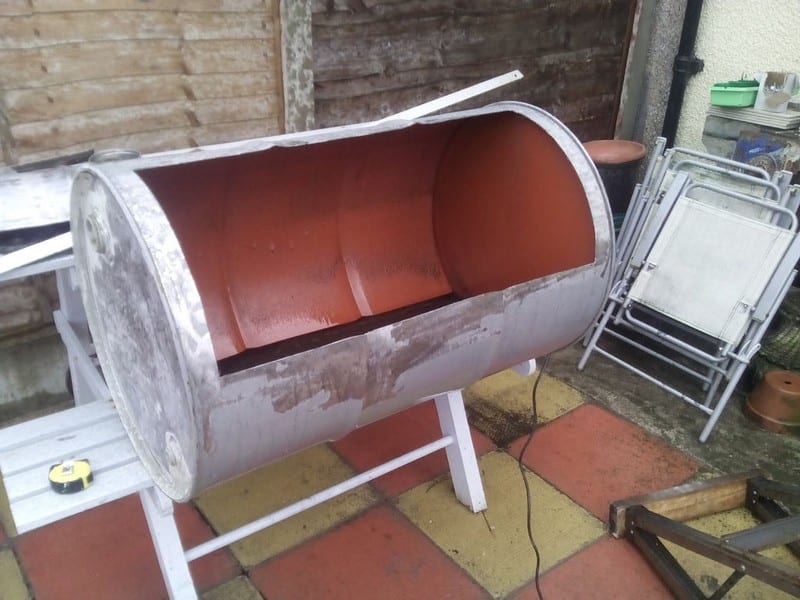
Using an angle grinder I cut out the no-weld drum BBQ smoker lid, being careful at the corners. I then cleaned up the edges with sandpaper. Also, I got some free soy sauce with mine!
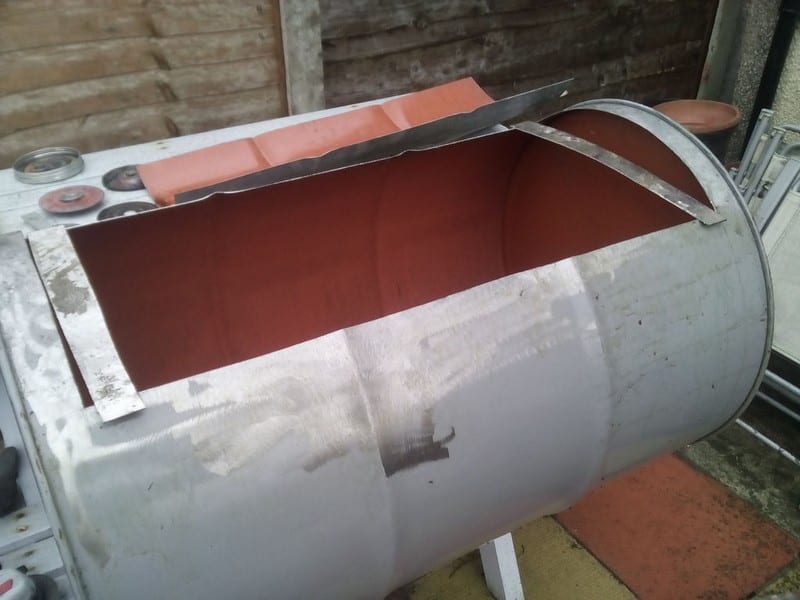
To stop the no-weld drum BBQ smoker lid falling through I used two thin strips of stainless steel I had, but use what you have.
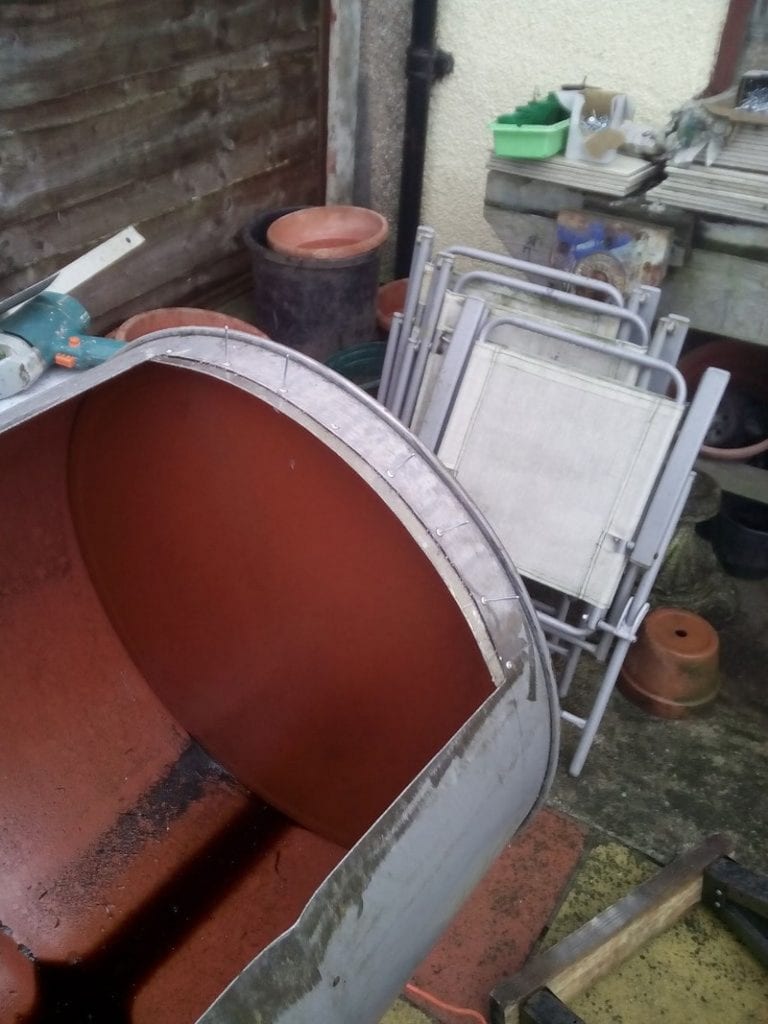
I cut the strips to length and riveted them on the inside of the barrel. I found starting in the center and riveting out kept them flush.

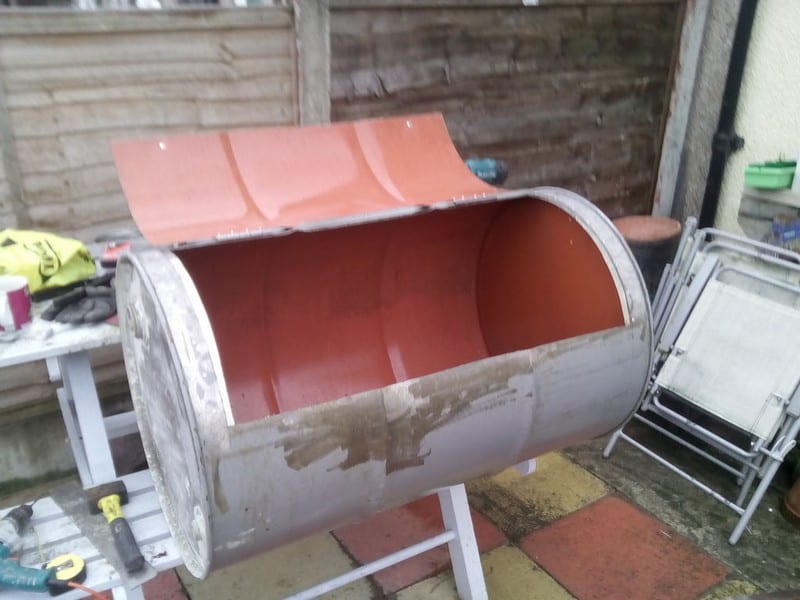
I lined up the hinges and centre punched and drilled two holes on each hinge at opposite corners. Then checking it swings properly and adjusted, drilled and riveted the rest.
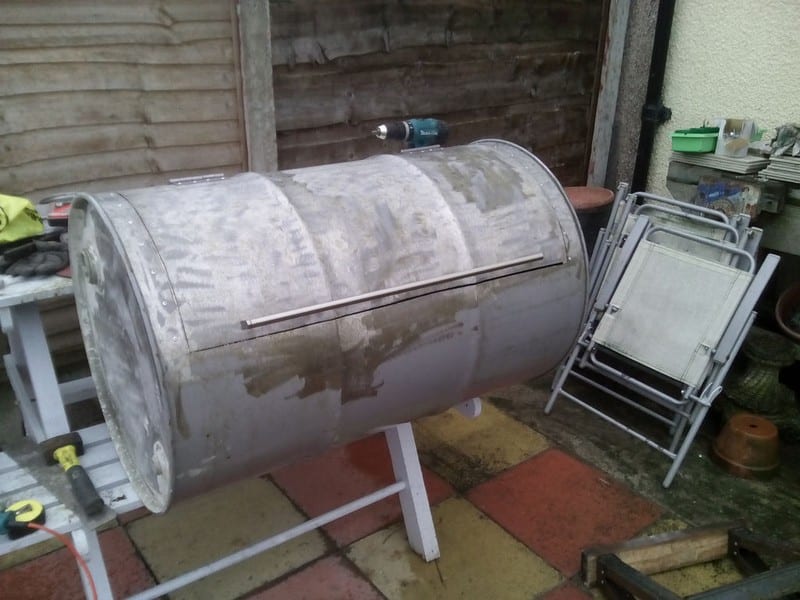
For the handle, I just used an old stainless steel cupboard door handle I had and drilled through the no-weld drum BBQ smoker lid.
Continued Page 2…

